The Different Kinds of Toilets

by

21 February 2018

Home & Garden

Kinds of Toilets

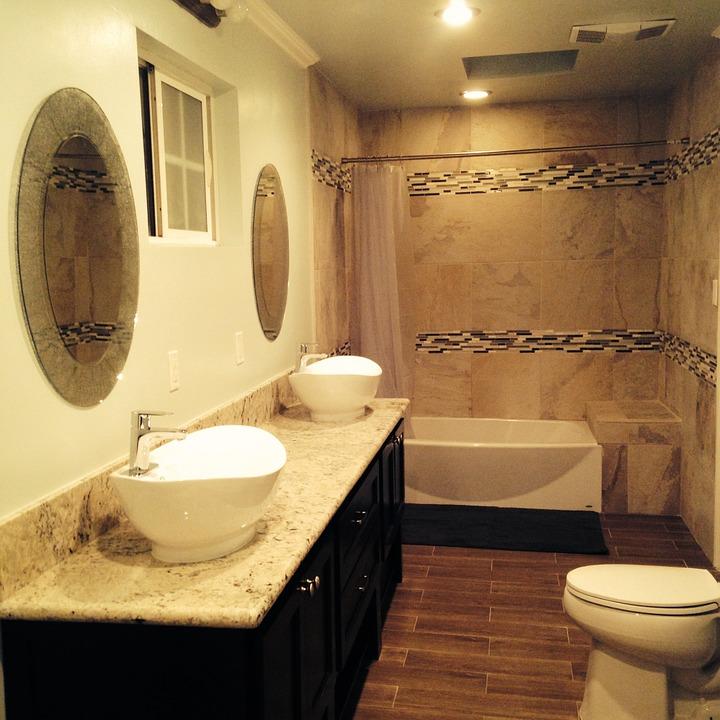
One of the efficient and convenient offerings of civilization is having the convenience to simply sit down or squat and answer the call of nature without worrying about modesty or potentially dangerous creatures slithering on the ground. The invention of the toilet was a mark of progress for mankind.

Some may think that there is only one kind of toilet. But the market has an abundance of toilets in any shape and form that it can be a headache to choose which one will suit one’s needs best. Technology makes it possible to equip something as simple as a toilet with innovative functions like automatic flushing and bidets—a fascinating change from what humans were used to centuries ago.

For families and homeowners who are planning to do a bathroom upgrade or thinking of one to add to their new homes, picking the most suitable toilet for their needs is not only a priority but also a sensible step before going through with the installation. Here are the different toilets one can choose from.

Different Kinds of Toilets:

1. The Two-Piece Toilet:

Two-Piece Toilet

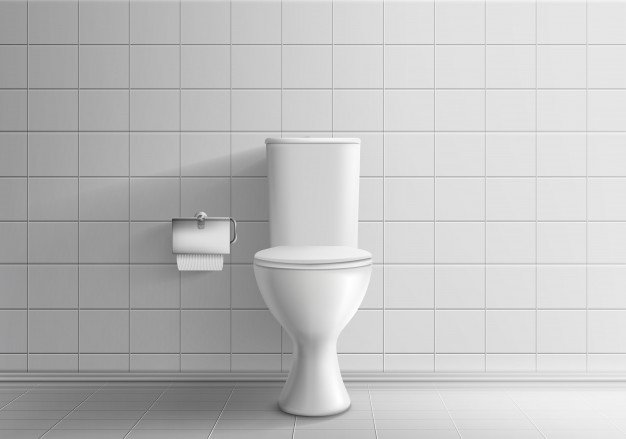
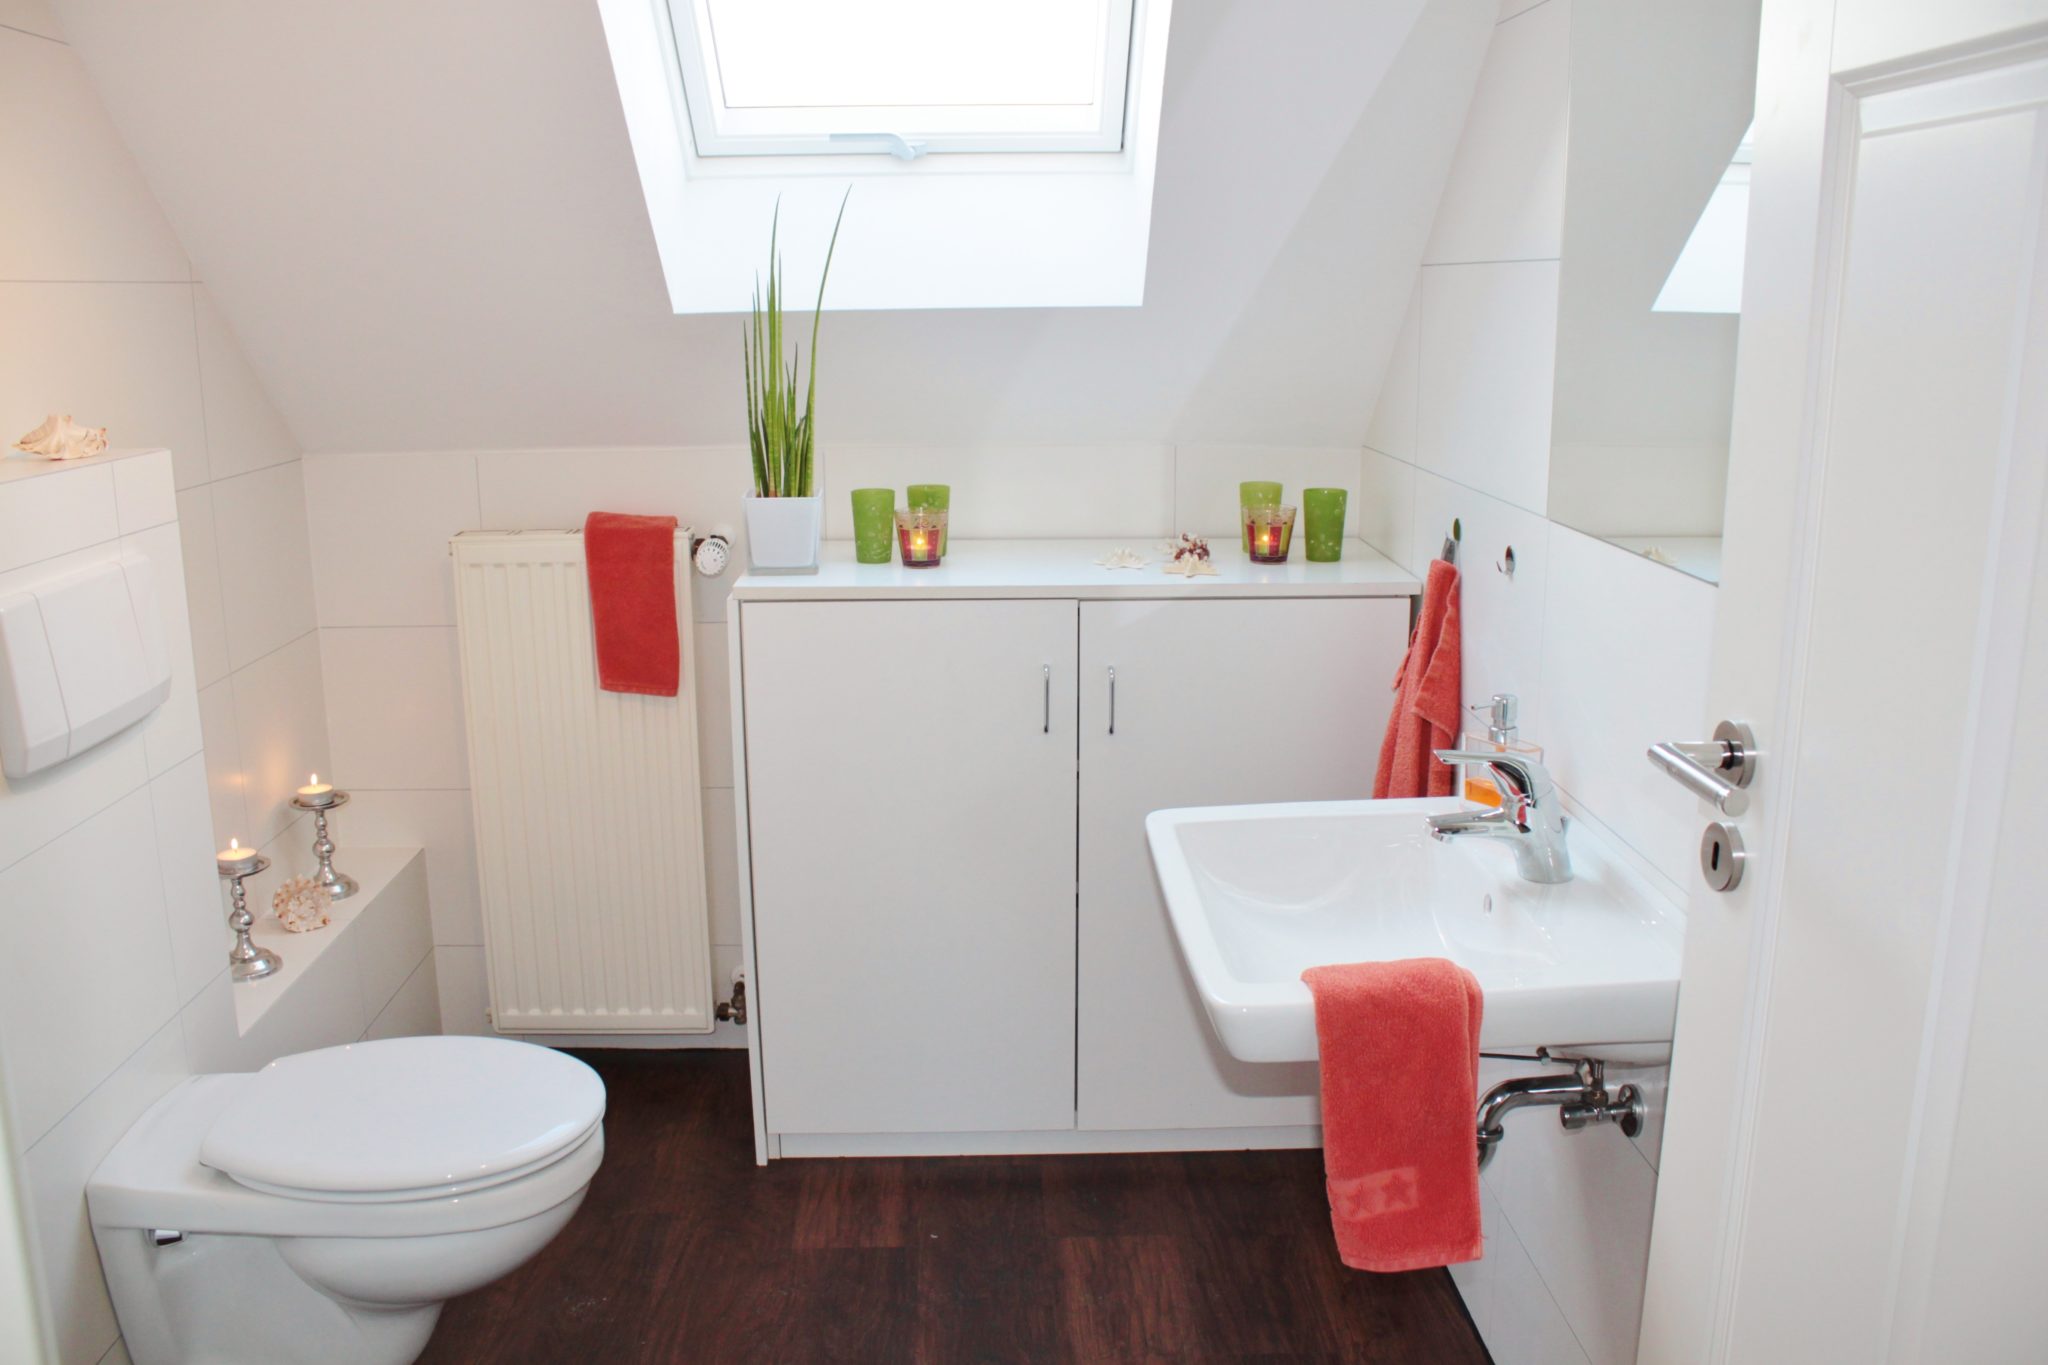
The toilet and the ceramic tank are created separately and only connected with bolts during installation. It is mounted on the floor, making it ideal for adults because of its suitable height. It can also be easily transported because the tank and the bowl are separate. The two-piece toilet is probably the most commonly used type of toilet in US households.

2. The One-Piece Toilet:

One-Piece Toilet

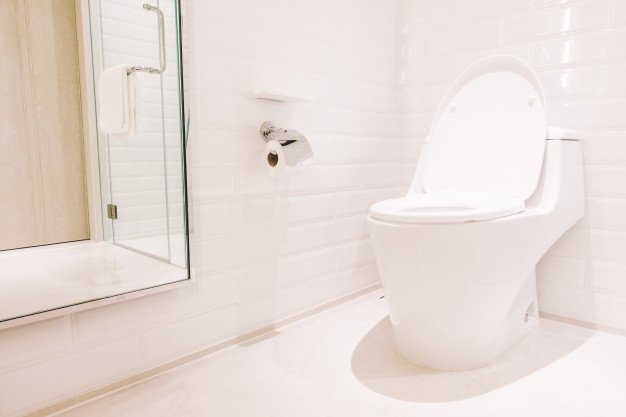
Unlike the former, one-piece toilets have an integrated tank and bowl, giving it a seamless, functional look. It is also slightly heavier; thus, it is not advisable if one is looking for a wall-hung model. Because of the absence of a gap between the tank and the body, the one-piece toilet is more manageable to clean and maintain.

3. Eco-Friendly Toilet:

Eco-Friendly Toilet

For those are who are concerned about the environment, eco-friendly toilets are the trend. There are toilets that minimize the use of water for flushing. One example is the Sanicompact toilet, a self-contained system that includes a china toilet bowl and macerator pump built into one compact unit. It can save water since it only requires a smaller amount than most toilets do in order to function. Others, like the composting toilets, break down waste into nutrient-rich soil. It is powered by electricity or batteries.

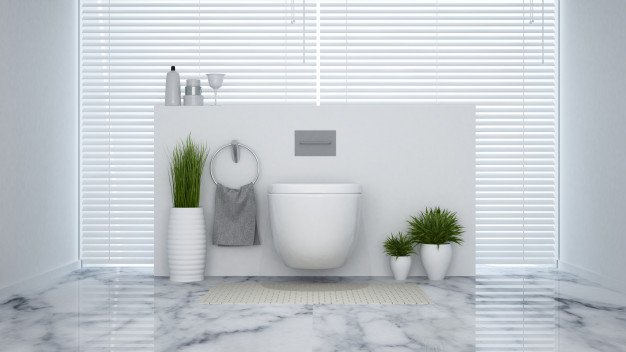
4. The Smart Toilet:

Some toilets are made for comfort but without compromising their functionality. Intelligent upgrades include heated seats, automatic flushers, self-cleaning wands, and deodorizing seats. Some are equipped with sensors that automatically open the toilet seat when someone approaches. This type of toilet allows homeowners to keep up with the trend while attending to their needs.

5. The Squat Toilet:

Squat Toilet

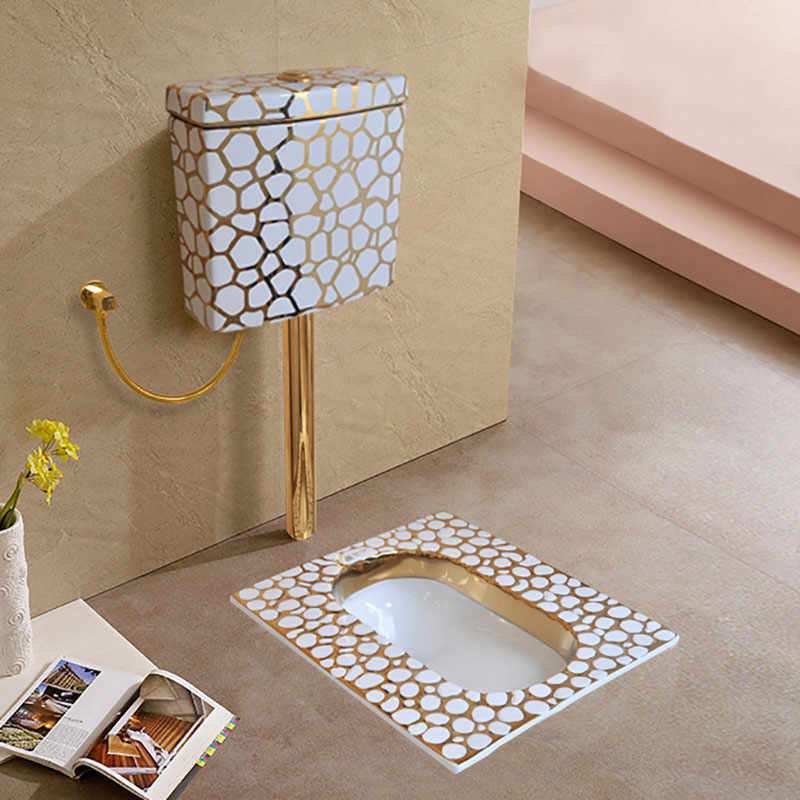
Prevalent in the Middle East, this toilet type is made of a pan on the floor level that requires one to squat when doing the business. It may be equipped with a water cistern for flushing, or it can also make use of a bucket of water.

There Are Lots Out There:

There are many more toilet types that can fascinate and expand one’s knowledge of toilet evolution. Some have intriguing histories, like the portable toilet developed during World War II by shipbuilders who wanted to make the most of their employees’ services by cutting down their need for toilet trek from the ships to the docks. Others are a reflection of the culture where they were birthed. People can learn a lot just by following the evolution of toilets.

There are many more toilet types that can fascinate and expand one’s knowledge of toilet evolution. Some have intriguing histories, like the portable toilet for construction sites developed during World War II by shipbuilders who wanted to make the most of their employees’ services by cutting down their need for toilet trek from the ships to the docks. Others are a reflection of the culture where they were birthed. People can learn a lot just by following the evolution of toilets.

Read More :

1. Pack And Move Without The Hassle

2. Using Feng Shui In Your Bathroom Design

3. Home Hacks: Stuff You Can Clean In One Hour Or Less

I enjoy writing and I write quality guest posts on topics of my interest and passion. I have been doing this since my college days. My special interests are in health, fitness, food and following the latest trends in these areas. I am an editor at Content Rally.

View all posts

Leave a Reply

Your email address will not be published. Required fields are marked *

Related

Messy Store Room

6 Smart Organizing Tips for a Messy Store Room

Imagine going into your bedroom wardrobe and not finding a spot to display your clothing or finding shelves or cabinets to wrap your folded garments, clothes, and accessories away? This won't be easy to keep the clothing sorted without the framework and storage structures in place. The same laws extend to warehouses! This often appears that the best thing about storerooms is their weakness: they always become a blank canvas. These become open space or closet deficient in organizing, sometimes resulting in being a drop zone and landing area for bins and things to build up over time.When it causes you a headache when you try to search and grab it, it might be time to arrange your storeroom and unpack it. Here are some of the tips you can consider to organize your storeroom. 6 Smart Organizing Tips for a Messy Store Room: 1. Categorize and De-clutter the area You want to arrange similar things together, close to having sorted in certain parts of your house. This physical activity can help you see just what you possess, how much of it, and what to consider when determining when to go in the garage. Gather your childhood mementos, gather your holiday decor, take out your luggage and travel supplies, dig out service pieces, etc. Categorize the things that you don't need anymore. While making the area clean, do not forget to spray a Responsible Pest & Scorpion Control medicine to make your storeroom pests free. 2. Widen the vertical space Don't confine yourself to a room on the board. Usually, the storerooms have relatively high ceilings, so step up. The more things that you can push into more upper shelving or shelves, the more floor room you can open up and bring in your work workers, which is also a bonus. 3. Make adjustable shelves They are perfect for tiny rooms because you can change the shelves' heights to match different storage requirements and wishes. Make some storage unit shelves to get things placed easily. This will give the room a more approachable and organized look. 4. Place the most important things in front When putting something, you need it more frequently in front of you, and you would be able to get to them faster. Often, moving boxes or objects further would then be needless to enter the purpose you seek. It does away with unnecessary confusion and discomfort. 5. Make Labels The trick to an efficient storage room has to learn where each object is. It's possible to lose track of where they are, no matter how beautiful the memory can be. Making labels for your room's storage choices allows it more accessible to easily find items and recognize where to place new products when you buy them. 6. Keep checking and Clearing your storeroom To stop the hoarding of products, periodically visit your storeroom to give away outdated goods or give away things that have not been used for more than half a year. It will keep the items from collecting in the storage room, which will motivate you to tidy up more effectively.Read Also:Small Kitchen Storage Ideas How to Decorate a Room with no Cost 5 Innovative Ideas To Lend Your Bedroom With More Space

READ MOREDetails
how to harvest dill

How to Harvest and Preserve Dill for Year-Round Use?

The tender, fern-like leaves of dill almost beg to be touched. If you want to cook them, trim the fresh dill foliage and gather the seeds for pickling. Or you can chop the feathery leaves and yellow umbels for attractive bouquets of homegrown flowers.In addition, black swallowtail caterpillars love to feed on it. Its tiny yellow blooms are great at drawing in a wide range of pollinators. Dill grows as an annual for summer harvests in USDA Hardiness Zones 2–8. In other parts, it may self-seed and is hardy in the winter in Zones 9–11.Here is everything you need to know about how to harvest dill. Keep reading for a comprehensive guide.How to Harvest Dill?Fresh dill clips easily, but it soon starts to droop. Sounds familiar to Cilantro, right? Its flower umbels may look lovely in a mixed bouquet, but after a few hours, don't be shocked if they start to wilt. When harvesting dill for recipes, use it as soon as possible because its flavor starts to fade after a few days.Cut off the flower stalks of dill after the yellow blooms have faded but before the seeds start to ripen and come away from the umbel. Cover the entire flower head with a small paper bag that has a few tiny holes for ventilation.Hang the plant upside down in a cool, dry place. Watch for the seeds to fall and collect them in the bag's bottom. The seeds should be kept in a cool, dry, and dark area in an airtight glass container.When and How to Plant Dill?Dill grows best outside and is simple to start from seed. Plant the seeds directly into the ground, 1/4 inch deep and spaced 1 to 2 inches apart, in the springtime following the last frost. If you want the dill plants to be able to self-sow, plant the seeds in tufts so the seeds can fall and sprout the following year.Or you can plant them in rows spaced about 6 inches apart. You might want to think about succession planting if you want a reliable supply of dill. During the growing season, start by planting a small number of seeds from the packet at a time and then a few more every week.Typically, seeds take 7 to 14 days to germinate. Also, dill can be grown from transplants grown in nurseries planted in the ground or in containers in spring. You can plant dill outside a few weeks before the last predicted spring frost because it can withstand light frost.To achieve lush growth and stop crowded seedlings from producing seed heads, which stops the production of foliage, thinning is essential. Every 12 to 24 inches, reduce the number of seedlings to just the strongest one once they reach 3 or 4 inches in height.As they get bigger, some start to flop. Plants can be kept upright by placing a stake or a sturdy twig in the ground close to the plant's base. To loosely secure the plant to the stake, use garden twine.You can start the dill seeds indoors four to six weeks prior to the last frost. And you can move the seedlings to the ground once the risk of frost has passed. Transplanting mature dill does not work well, so plant your seedlings where they will be able to grow and thrive.Where To Plant Dill?Dill should be planted in a spot with well-drained soil and at least 6 to 8 hours of daily full, direct sunlight. Particularly for cottage gardens, the delicate foliage gives garden beds and borders textural interest. Choose a location for your dill that will shield it from the wind if possible.Just like spinach, high winds can easily damage its stalks if you do not stake the dill. You can plant dill's fragrant foliage in perennial garden container plantings. Or you can plant them alongside other herbs or vegetables in a traditional kitchen garden.In an edible garden, cruciferous vegetables such as Brussels sprouts, collard greens, broccoli, and cabbage are good companion plants for dill. Dill draws beneficial insects like ladybugs and bees and drives away common brassica pests like loopers and cabbage worms.But avoid planting dill close to carrots. Carrots can be stunted by dill, and because they are closely related, dill can cross-pollinate with carrots to produce inferior hybrid plants. Planting dill close to tomatoes is also not recommended.Mature dill will probably stunt your tomatoes' growth, even though some studies have indicated that tomatoes and dill can be beneficial companions when they are young.How to Propagate Dill?Seed is the most effective method of dill propagation. Cuttings can also propagate Dill, though this isn't as dependable.Seed: Direct sow the dill seeds in early spring at a depth of 1/4 inch in a prepared garden bed. Dill does not tolerate transplanting well. Thin the seedlings so they are 12–24 inches apart when they are 3–4 inches tall.Cuttings: Using shears or scissors, cut off the stem with at least 3 to 4 inches of new growth to take a dill cutting. Place the cutting in a water-filled container, making sure to remove any leaves below the water's surface, and allow the roots to grow for two to three weeks.Fertilizer and rooting hormones are not required. Plant the dill in a container or on the ground once the roots are 2 to 3 inches long.Is Dill a Type of Weed?No, I am not talking about WEED weed (read: marijuana). Although dill isn't technically a weed, some individuals and spice companies call the plant dill weed, possibly due to its feathery leaves. Dill weed is a dried or fresh foliage plant. Flower umbels are yellow and used to make dill seeds.How Should Dill Be Stored for Optimal Quality?You can keep fresh dill in the fridge by wrapping its leaves in a moist paper towel. Or you can tuck its stems into a container of water. Fresh dill can be frozen by submerging it in water in ice cube trays. Place the cubes in cooked dishes that have enough moisture to withstand them.Dill seeds and leaves can also be easily dried for later use, though the flavor is a lot more muted.Water and SoilSow dill in soil that is moist but well-drained. If there is a lot of clay in your soil, add organic matter to the top few inches to aid in drainage. If you have trouble with poor soil drainage, plant this herb in raised beds or containers. Growing dill requires proper irrigation.As the seeds germinate, keep the soil evenly moist. Dill plants require one to two inches of rain or extra water each week once they begin to grow.Humidity and TemperatureDill tolerates temperatures as low as 25ºF, but 70ºF is the ideal temperature for it. Dill often bolts, sending up flower stalks to set seeds when temperatures rise. This annual herb dies after it flowers and produces seeds. Get rid of the flowers to prolong the plant's growing season.Apply FertilizerWhile most herbs, including dill, don't require extra fertilizer, you can give them once or twice during the growing season by applying a balanced 10-10-10 fertilizer. When planting, either mix a liquid fertilizer with water or etch a time-release fertilizer into the soil.Refer to the product label for instructions on how much to use.TrimmingDill should be pruned early in the growing season to prevent limb bending. Cut off the top leaves of the plant to promote more growth of the lower leaves. Food preparation and cooking can be done with anything that has been pruned.Repotting and PottingYou can grow dill in pots on a sunny balcony or deck, even if you don't have an outdoor garden. Due to the deep taproot that dill plants have, choose a container that is at least 12 inches deep. Because clay and terracotta pots don't retain as much moisture as plastic or glazed ceramic pots.They are ideal for growing dill. Make sure the container you select has good drainage and is big enough to allow you to space your plants 12 to 24 inches apart. It is best to start over in a new, larger container. Especially if your dill plant outgrows its current one because it does not take well to transplant.If the temperature where you are planting is not too high, you can keep planting seeds into the summer.Types of DillDills can be of many types with each of their distinct looks and flavors. Here are the three different types of dill you can grow in your kitchen or backyard.Long Island MammothAlso known as Long Island Mammoth this one is an old-time favorite. Its fern-like leaves can be dried and stored for a long time, or they can be harvested fresh. It produces big clusters of yellow flowers with flat tops. They turn into brown seed heads, and they can reach a height of five feet.FernleafGrown to a height of only 18 inches, Anethum graveolens, or Fernleaf, is a highly productive dwarf variety. It works well in container gardens or small in-ground beds. Its feathery, delicate foliage has a great flavor of dill. From midsummer into fall, it blossoms.BouquetThe 'Bouquet' cultivar produces plants up to thirty inches tall with fine bluish-green foliage. The enormous, six-inch-diameter yellow flower heads are ideal for drying, creating an enduring arrangement. Or you could chop them for fresh floral arrangements.How to Keep New Dill Fresh?Dill weed quickly wilts after harvesting and gradually loses its distinctive flavor and aroma. If you know how to store your freshly harvested dill, this shouldn't be a problem. Here are two straightforward techniques that you can use:Put It in the Crisper Drawer of the RefrigeratorLoosely wrap the recently cut and cleaned leaves in damp kitchen towels before putting them in a container or sealed bag. Put the container in the crisper drawer of the refrigerator, which has a lower humidity than the other sections of the appliance.Utilize the herbs before they begin to wilt and dry out, which should happen in a few days.Put It in WaterTo make this method function, when harvesting the herb, you must cut off the entire stem. After gathering the stems, put them in a glass of water and seal the opening with a plastic bag. Every day, change the water. Unlike potatoes, dill leaves can remain fresh for up to a week when stored in this manner.How to Freeze Fresh Dill?Freezing is the best way to preserve extra dill for later use if you've harvested more than you can use at once or in a few days. Dill freezes most effectively when chopped into smaller pieces and added to ice cube trays with just enough water to cover the freshly minced dill.This allows the herbs to be kept for four months or longer. This will ensure you always have dill on hand for when a recipe calls for it.How to Dry Fresh Dill?Dried fresh dill is a popular method if you're searching for another way to store dill for a long time. The herb has many uses, even though it won't have as much flavor as when it's fresh or frozen. All year long, you can use it as a herb in cooked dishes or to make tea.Stick to hang-drying if you don't want much of the flavor to be lost. This is a very easy method to use. All you must do is gather a few dill leaves and then bind them with a string. Later, place them in an area with adequate ventilation upside down. Place them in an airtight container once they're crumbling and dry. Even though fresh dill is always preferable, make sure to save some for later use. Particularly if you don't have a year-round indoor herb and spice garden.Wrapping UpGrowing dill is a great way to add flavor to fish and seafood dishes. A little goes a long way because fresh dill leaves have a strong licorice flavor. It is best that you add dill toward the end of cooking, in salads, or as a garnish for soups. Because once cooked, it tends to lose its flavor.If you have thoughts to share or questions to ask about how to harvest dill, please leave a comment below. We would love to hear from you!Read Also:Asparagus 101: When, How, And How Often To Harvest?How To Harvest Sunflower Seeds: A Fun And Easy Activity For The Whole FamilyHow TO Harvest Lemongrass: Tips AND Tricks FOR Growing AND Using This Versatile Herb

READ MOREDetails
Small Kitchen

Small Kitchen Storage Ideas

If you have a small kitchen, you could find it challenging to organize it and keep your space clutter-free. When you continue to struggle with small kitchen storage, then it’s time to assess how you organize everything. This will help you maximize every inch of kitchen space and ensure that no valuable space is wasted. Top-rated house cleaning in Tucson goes over step by step how to accomplish this task. How To Organize Small Kitchen If you are struggling with storage space, here are a few affordable small kitchen storage ideas to make life a little easier. 1. Tension rod No doubt, a small kitchen could mean having a tough time arranging essentials. But a tension rod can come in handy, especially to keep cleaning supplies safely. Hang your kitchen cleaning supplies from a short tension rod where they are easy to access. What’s more, you can hang rubber cleaning gloves on the tension rod. Your dish-drying towels too can be hidden from plain sight on a tension rod installed in the cabinet. 2. Use up the wall space Another small kitchen storage idea is to leverage the wall space to store kitchen accessories. Free up the drawer space and use the walls instead of clutter-free storage. You may stash knives on a magnetic rack to make access easy when food preparation is underway. 3. Stack on the rack One interesting small kitchen storage solution is to locate a bookshelf near the kitchen to store mist essential cooking supplies. You may leverage the space to stack spices, dishware, and even cookbooks. 4. Hang baskets When it comes to organizing a small kitchen, baskets can come in handy to stack kitchen utensils and cleaning supplies. Better still, you may hang a couple of baskets above a sink to leverage the vacant space. It’s one of the best ideas to stack wet dishes and sponges for quick drying.Another stylish kitchen storage solution is to hang a wire basket from the ceiling. It could be single or multi-tiered, depending on your storage needs. You can store potatoes, onions, garlic, and any other stuff that also adds visual interest to your kitchen. 5. Floating shelves Another kitchen storage idea is to add a pair of floating shelves for that extra storage space. This comes in handy if your kitchen lacks room for cabinetry. Easy to install, floating shelves can be hung just about anywhere – even under the bottom shelf. You can hang hand towels, utensils, or coffee mugs. 6. Corner drawer A small kitchen has little space. But with some creative ideas, you can create smart kitchen storage solutions. The corner drawer is one such space-saving storage idea in a small kitchen, especially for awkward corners. These drawers connect the corners diagonally. As a result, they can pack a lot of stuff that horizontal cabinets cannot. 7. Utensil drawer When your small kitchen lacks space for crockery and silverware, opt for a built-in utensil drawer. One similar DIY solution, which is affordable as well, is to place stainless steel pots in a deep drawer that has little space. Use these pots for holding small kitchen accessories. 8. Adopt a pantry Another way to make a small kitchen look bigger is to de-clutter the space by adding a pantry. It is a good storage solution that provides easy access while freeing up the burden on over-stuffed cabinets. 9. On-the-go space A portable kitchen trolley is a handy addition to a small kitchen. Take it anywhere while it safely stores bulky items. It works like an excellent solution to wheel food to the dining table. 10. Wall-mounted cabinets Get a little creative with the kitchen décor when you are looking for tips to organize a small kitchen. You may choose a mix of open shelves to show off your favorite cutlery and wall-mounted cabinets to keep stuff out of sight.Leave some gap between the two to create the impression of extra storage. Picture ledges and hooks can free up the work surface and spruce up the décor. 11. Velcro strips Velcro strips can come to your rescue in a small kitchen, where you are short on storage space. Attach these strips in two spots to hang towels and other similar stuff to save space. 12. File folders as racks While a file folder sits empty in your garage, why not put it to the right use in the kitchen? You may be surprised to see that it can be used smartly to organize your kitchen. They come in especially handy to store your kitchen cleaning supplies. Just place all the supplies into the file folders and you do not have to worry about a shortage of space.Read Also:The New Trend: Drawer Boxes 7 Expert Hacks for Downsizing to a Smaller Apartment Design your Kitchen According to Your Budget and Work in Organized Manner Top Secrets That Slash Your Kitchen Remodeling Bill in Half 10 Unique Kitchen Hacks to Save your Time in Kitchen and Cooking 7 Unique Kitchen Design Ideas That Your Family Will Enjoy

READ MOREDetails