


4 Essential Tools Needed to Maintain Your Garden in the Winter
Published on: 08 June 2021
Last Updated on: 21 December 2024
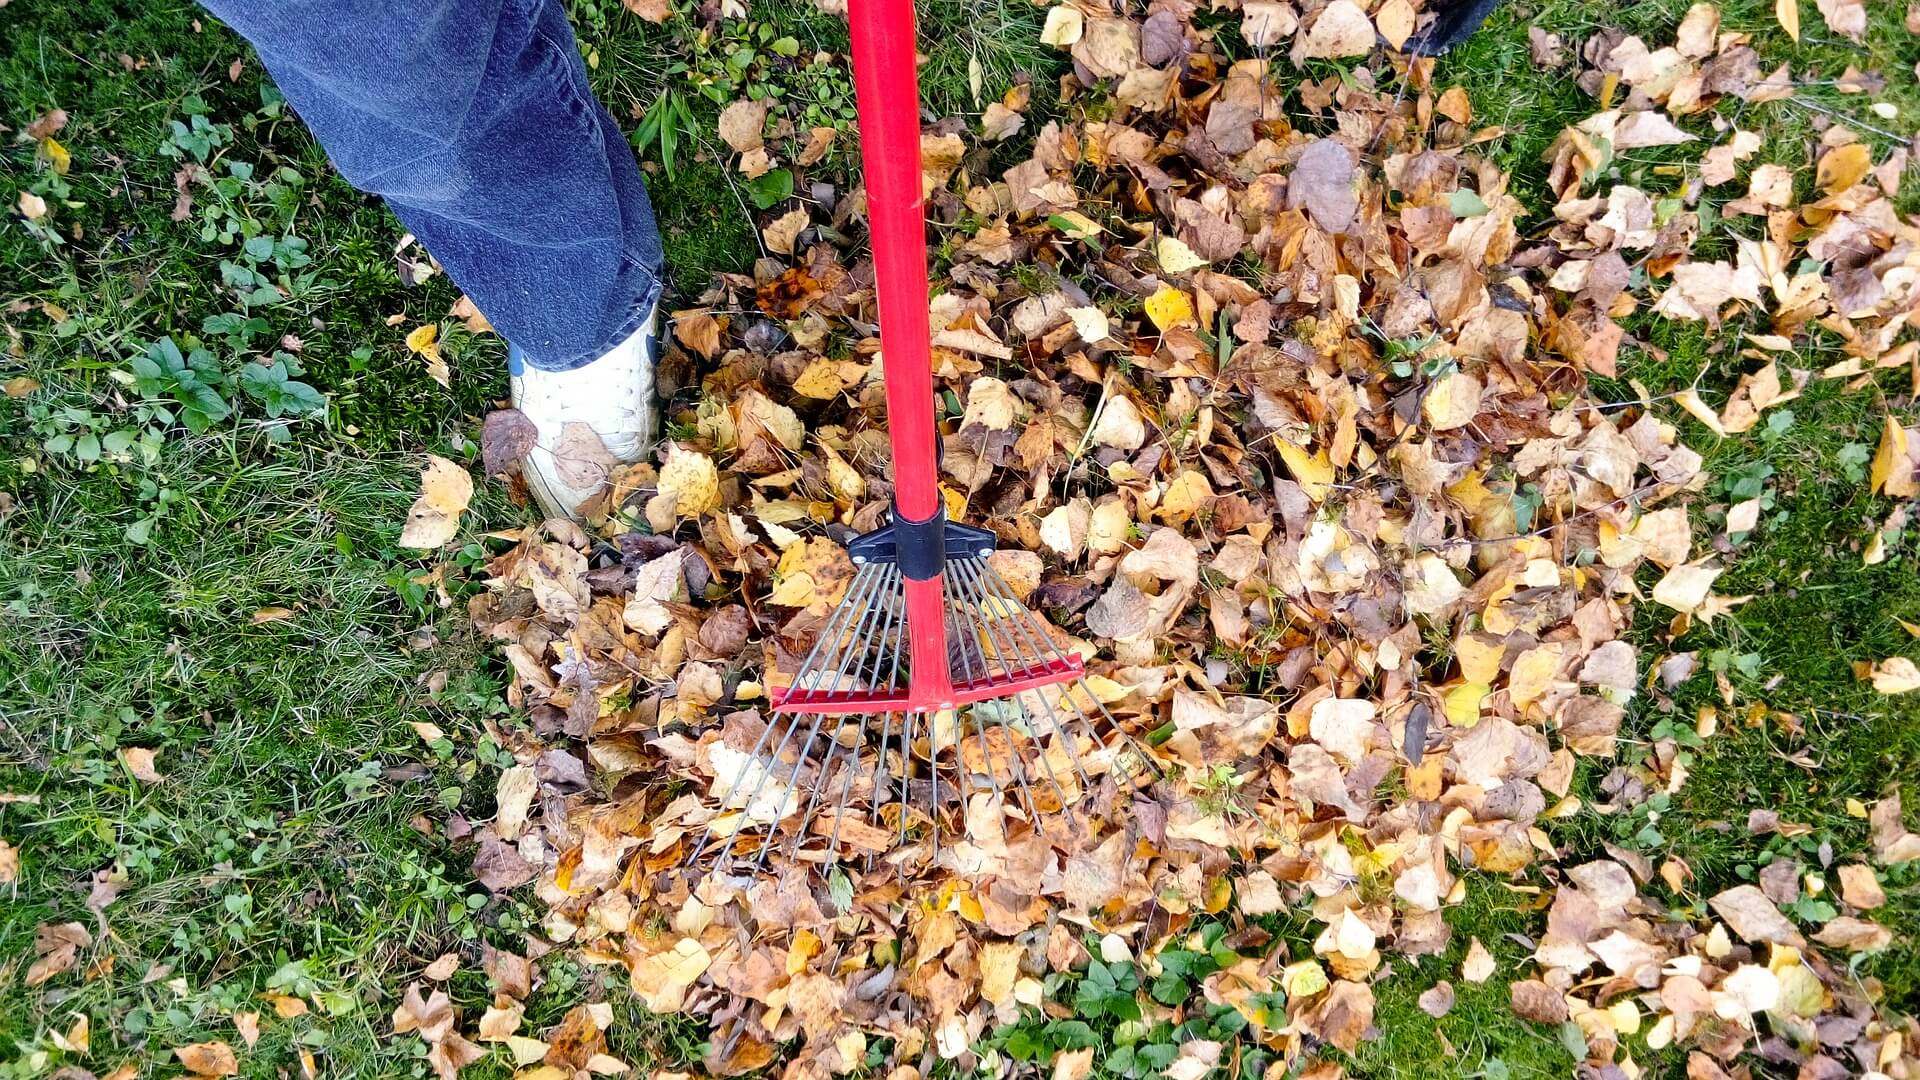
You may not expect that it is necessary to do yard work in the winter, but it is more important than you think. Properly preparing your lawn in the beginning months of cold weather and even though snowy conditions will ensure you have the best-looking lawn come springtime. These four tools are essential in maintaining a healthy yard during the winter.


Popular

Technologies For Creating A Startup Idea
20 Feb 2023

How to Download Facebook Videos on Android?
07 Feb 2019

7 Rules of Effective Ecommerce Web Design
28 Jan 2021

Why Are Online Transactions Convenient?
07 Dec 2023

Recent
Related

Why You Must Use A Residential Roofing Company For Your Home
Asphalt roofing is a type of residential roofing that is being used in 80% of The Homes that you will get to see all over the United States. However, this might look very attractive to the eyes, but it is essential to give and keep in mind that you will have to replace it after some time. If you want to reduce the frequency of the replacement of the roof of your home, then there are certain measures you have to take for that. The solution for this is to work with professional roofing companies, and it is going to bring multiple benefits along with it as well. What Are The Advantages Of Taking The Help From Residential Roofing? In this article, we will discuss why you should use a residential roofing company for your home. Keep on reading to find out more information below about longrun companies. 1. Quick The first major benefit of working with a residential roofing company is that they are going to get the job done real quick. Whenever you are looking for a quick roof replacement, then you can get in touch with them, and they will get the service done within a few hours instead of weeks or days. Nothing is that you cannot reside in your home when the roofing replacement is going on, and you need to find some other place to live for some time. However, that is not going to be a problem for you whenever you get in touch with a professional residential roofing company because they will get the job for a few hours. You only need to be out of your house so everything will return to normal. 2. No Damages Commonly, many times different areas of houses get damaged whenever they are getting the residential roofing replacement job done because the companies are not professional now. And another benefit that you are going to get when you get in touch with a professional residential-looking company is that they are not going to damage your property. There is no damage cost that you have to face, and there is no additional money that is going to go into repair, especially when you are getting your roof replacement done by my professional company. 3. Warranty You never know when things can go wrong, then that is why you need to make sure that the service that you are getting is covered by a warranty. The warranty ensures your residential roofing cost remains under the budget. Usually, every service covers the roofing work under warranty. Before taking the services, always go through the warranty papers' terms and conditions. And ask about the extension policies of the terms and conditions. A professional residential roofing company is always going to provide you with a warranty that you can claim, and they are going to make sure that they will go the extra mile to provide you with the quality materials and the quality roofing that they are installing in your home. 4. Safety Then it's the benefit of working with a professional company, they're going to get the job used securely, and there is no risk. You cannot get this job done by yourself because it is a dangerous thing to do, especially when a ladder is involved. Working with professional residential roofing companies is always going to be a breeze because there are going to be no accidents involved. Breakable residential roofing is causing serious trouble for homeowners. Through residential roofing, you can minimize the chances of any sudden coming accidents. 5. Upgrade The Roof Quality Residential roofing is more like a new warranty on your roof. Even if you want a new roof makeover, this will also be a great choice. Your residential roofing will save the roof of your house and give your roof a stunning makeover. Often the roof areas are getting destroyed due to heavy rainfall or snowfall. So the best way to recover the roof's health is to call professional residential roofing services, and that’s all. Your roof quality, along with the look both getting upgraded. Your residential roofing is going to enhance the quality of your roof along with the outstanding look. So if you want to upgrade the look of your house, this will be a pretty smart shortcut process. Wrapping Up: Residential roofing and commercial roofing are different. Residential roofing requires minor touch-ups as regular residential places do not have any protective layer. But the residential places require top-to-bottom roofing constructions to protect the area from snowfalls and rain. Additional: How To Install Metal Roofing Over Shingles The Right Way? 5 Things You Want From Your Home To Make It A Remote Worker’s Paradise
READ MOREDetails
Modern Home design ideas for crowded families
A house with many family members is hard to manage as everyone loves to have their own space. But the limited space can make it crowded by giving your home giving an ugly look. All thanks to modern ideas which have introduced several ideas for crowded families. It makes the house look arranged while keeping in mind adjustments. The look involves the latest trends and lifestyles to develop my sense of styling while keeping my mind comfortable. Apart from these comes your pets, for whom a small kennel door with a dog door could be placed on the lawn of your house. In this article, we will discuss modern home design ideas for crowded families. Ideal space for Teenagers A crowded family must have children and teenagers who demand their own space. However, providing each one of them with their separate rooms may not be possible. To overcome this solution, the idea of the shared bedroom can be considered. The design of the bedroom should focus on the needs of children according to their age. To create more space, bunk beds are the most flexible options, leaving you with some empty spaces to play around. Nowadays, study stable comes with multiples shelves fixed from the wall and can be closed when not in use while creating a good space-saving idea. These shelves are useful hacks for putting their stuff, toys, and books in a proper place. The sofa cum bed could also be turned on into a great option. The beds also come with lots of storage box options where new things, including sports or musical instruments, can be put on. Lastly, the wardrobe cabinet with multiple small shelves and space for hangers will store all their clothes methodically. If there are both boys and girls in a room, try keeping a neutral color of walls like calm grey, which would look pleasant without overly decorated. Give a multi-dimensional look to your dining room. For a home with a large number of people, there is much need for multifunctional spaces. The dining spaces could be transformed into a games room or a corner used as a reading place. You can place an armchair with bookshelves placed on the walls. One needs to focus on the preferences of family members for doing so. A television set could also be placed on the other side of the wall there with a lounge for entertainment purposes. You can add some masterpiece painting, vases, or wallpapers to give a modern look in your room. Place a dining table where your family can fit in have a meal together. The buffet tables or smart dining tables with extendable chairs are a great way to save space. Go for an open kitchen You can plan your dining room entrance just before the open kitchen as it will save a lot of space in the kitchen. The open kitchen doesn't make it look congested, and the dining room's access will recreate more space into it. It would be easy to serve food and won't create a mess around long pathways. You can place a covered shelves box or drawers in the wall and arrange all your cutleries there for storage options. Make sure to build cabinets below the kitchen slabs where you can store multiple ingredients along with a cylinder at the corner. Put your microwave in one corner and attach extended shelves or cabinets on the walls for keeping more utilities there. A larger counter place would eliminate high trafficking in a home where more than one person works. You can create a specific station in the kitchen for getting your work more organized. Turn out your lawn into a place to get together For having a good time, a lounging area can be considered an entertainment room option. The large family tries to do everything together, so the lawn or balcony could be placed with comfy diwan and sofa sets. One could turn it up as a garden by putting up many plants, and the place would be great for a mini picnic spot. You can also add bean bags or swings and decorate them with warm lighting to create a unique evening look. The place would be great for barbeques, or a small get-together. If you don't have much space, you can create a window seat and do partitions using some fabrics to create a visual barrier. Create congenial public spaces For your living thing, the best would be to go with L-shaped sofas. They are useful to handle the long stream of guests and can be placed with some more small seaters around. If you have a larger living space, you can break it into shorter sitting with cushions for private conversations. Make sure to use durable surfaces that would be durable and easy to clean the mess in a busy family. This setup will give a warm and comfortable space. You can also place a wall red sea aquarium to use the best of areas. Placing a wall aquarium will consume less space and it will be a center of attraction for everyone. Conclusion To avoid the mess, place a standard shoe stand. You can also use the garage's extra space as a storeroom by putting up the different things there. Utilize the basement of your house for this purpose. You can save more space by having shared bathrooms placed between the bedrooms. Read Also: 7 Ways to Add Character and Style to Your Home 5 Tips For Designing a Tiny House Design your Kitchen According to Your Budget and Work in Organized Manner How to Make Your Home Look Like You Hired An Interior Designer How to Make your Home Look Beautiful in the Upcoming Holidays
READ MOREDetails
How To Keep Your House Clean – A Beginner’s Guide
Starting the process of tidying up and arranging your home might feel overwhelming, but it's incredibly rewarding. A clean, organized space not only brings a sense of calmness but also sets the stage for enjoyable moments with loved ones. This beginner's manual on cleaning and organizing equips you with the essentials to kickstart your journey towards a serene living environment. So, let's get started with it. Step - 1: Begin Your Journey with Something Small Beginning with a small area can help alleviate the overwhelming feeling of cleaning and organizing your home. For example, starting in just one room or a tiny section within a room can reduce the stress associated with the task. Once you've tidied up and organized that small space, it tends to inspire further progress. It's like a chain reaction— as soon as you initiate the process, you'll often find the motivation to continue. The sense of accomplishment from cleaning that initial space acts as a catalyst, propelling you to tackle more cleaning and organizing tasks. Step - 2: Declutter Your Rooms. All of Them! Before diving into organizing, it's crucial to declutter thoroughly. Start with a smaller space like your fridge. Empty its content, discarding expired or inedible items. Clean all of the surfaces using a damp cloth and your preferred all-purpose cleaner. When clearing out various areas in your home, prioritize keeping only the things you truly need or cherish. If it's challenging to part with certain items, remember they might serve someone else while giving you more room at home. Consider donating or selling belongings you no longer adore. Discard broken, incomplete, or heavily worn-out items. Items that are no longer in use—like old toys, baby gear, clothes, or furniture—can find new homes through donation or sale. This decluttering not only creates space for other purposes but also makes it easier to access and appreciate the things you genuinely value and use. Step 3: Get a Cleaning Caddy for Yourself Before starting your home cleaning routine, it's helpful to prepare a portable cleaning kit that you can easily carry around. You don't need a multitude of cleaners or tools—just include what you'll actually use. Your cleaning kit can be as simple as a bucket, plastic bin, canvas bag with handles, or any larger container that suits your convenience. Whether store-bought or homemade, the key is to have a portable solution that suits your needs as you move from room to room. Step 4: Keep the Surfaces Clean After completing the decluttering process, it's crucial to tidy up the space before organizing. Quickly cleaning the area will impart a fresh feel, enhancing the likelihood of maintaining its cleanliness for an extended period. Here are some cleaning tips that you might need… Create a cleaning caddy for easy access to supplies. Then clean from higher surfaces downward to catch falling debris as you progress. Utilize a vacuum attachment to clear drawers, shelves, cabinets, or closets of any remaining debris. Use a damp microfiber cloth to wipe surfaces, ensuring thorough cleaning. Remove any items that don't belong in the cleaned area. Step - 5: Organize Everything The crucial element in home organization is to gather similar items together. Whether it's your refrigerator, pantry, kitchen cabinets, bathroom, living room, kids' rooms, closets, or garage, arranging items of the same kind is essential for easy access and visibility. Scattered items make it difficult to locate what you need and can lead to clutter. By grouping similar items, you create a clear system that helps in both finding items and guiding your family when it comes to tidying up. I: How to Organize Your Kitchen? It's beneficial to begin organizing your kitchen by focusing on a small area first, as this can inspire you to tackle other spaces. The kitchen often serves as the hub of a home and sees frequent use, making it a great starting point. Once you've sorted out your kitchen, the task of taking care of the rest of your house becomes more manageable. A smart step in this process is to begin with your refrigerator. Streamlining your fridge organization can serve as a catalyst for organizing other areas. II: Organizing Your Fridge Arranging your refrigerator involves categorizing similar food items–together for better organization. With adjustable shelves and doors, along with additional bins, you can optimize the space quite easily. Clear plastic bins are particularly helpful as they allow easy visibility of their contents. They're convenient for accessing snacks, packing lunches, and planning meals. Here are examples of foods that should be grouped together either in bins, on shelves, or in drawers for a more organized fridge... Bagged fruits and vegetables Cheeses and lunch meals Fresh vegetables and fruits Sauces and condiments Salad dressings III: Organizing the Other Parts of Your House After you've sorted one area, take the same approach to the rest of your house. Use the refrigerator organization tips as a template for each room: clear out unnecessary items, tidy up, and then arrange everything neatly. Remember, the key is to tackle each room gradually to avoid feeling swamped, following the same method each time. If there are any similar types of items available in your house, group them together. Clean the area once you are done with the former step. Get rid of anything and everything that you don't want to use. Step 6: Disinfect the Surface Areas and Countertops Clean the hard surfaces around your home thoroughly, including countertops, appliances, cabinets, doorknobs, light switches, TV remotes, and phones. Disinfect surfaces that are commonly touched to reduce the spread of germs. Create a natural disinfectant by combining one-fourth to half a cup of white or apple cider vinegar with one cup of water. They'll work like magic for you. Make It a Group Activity Collaborating as a team is a top-notch method for swiftly tidying up a house. Plan ahead with your family for a designated time and distribute specific chores among everyone. Joining forces not only injects some enjoyment into the cleaning process but also ensures a sparkling home in no time. You can also opt for a reputable cleaning service that can help you with the process. It can seem a little more expensive than usual, but it's much more sustainable per see. Read Also: Vancouver House Cleaning Services with Local Home Cleaners Near You What You Need to Look for When Hiring House Cleaning Service 5 Hotel Housekeeping Tricks You Need To Clean Your Bathroom
READ MOREDetails