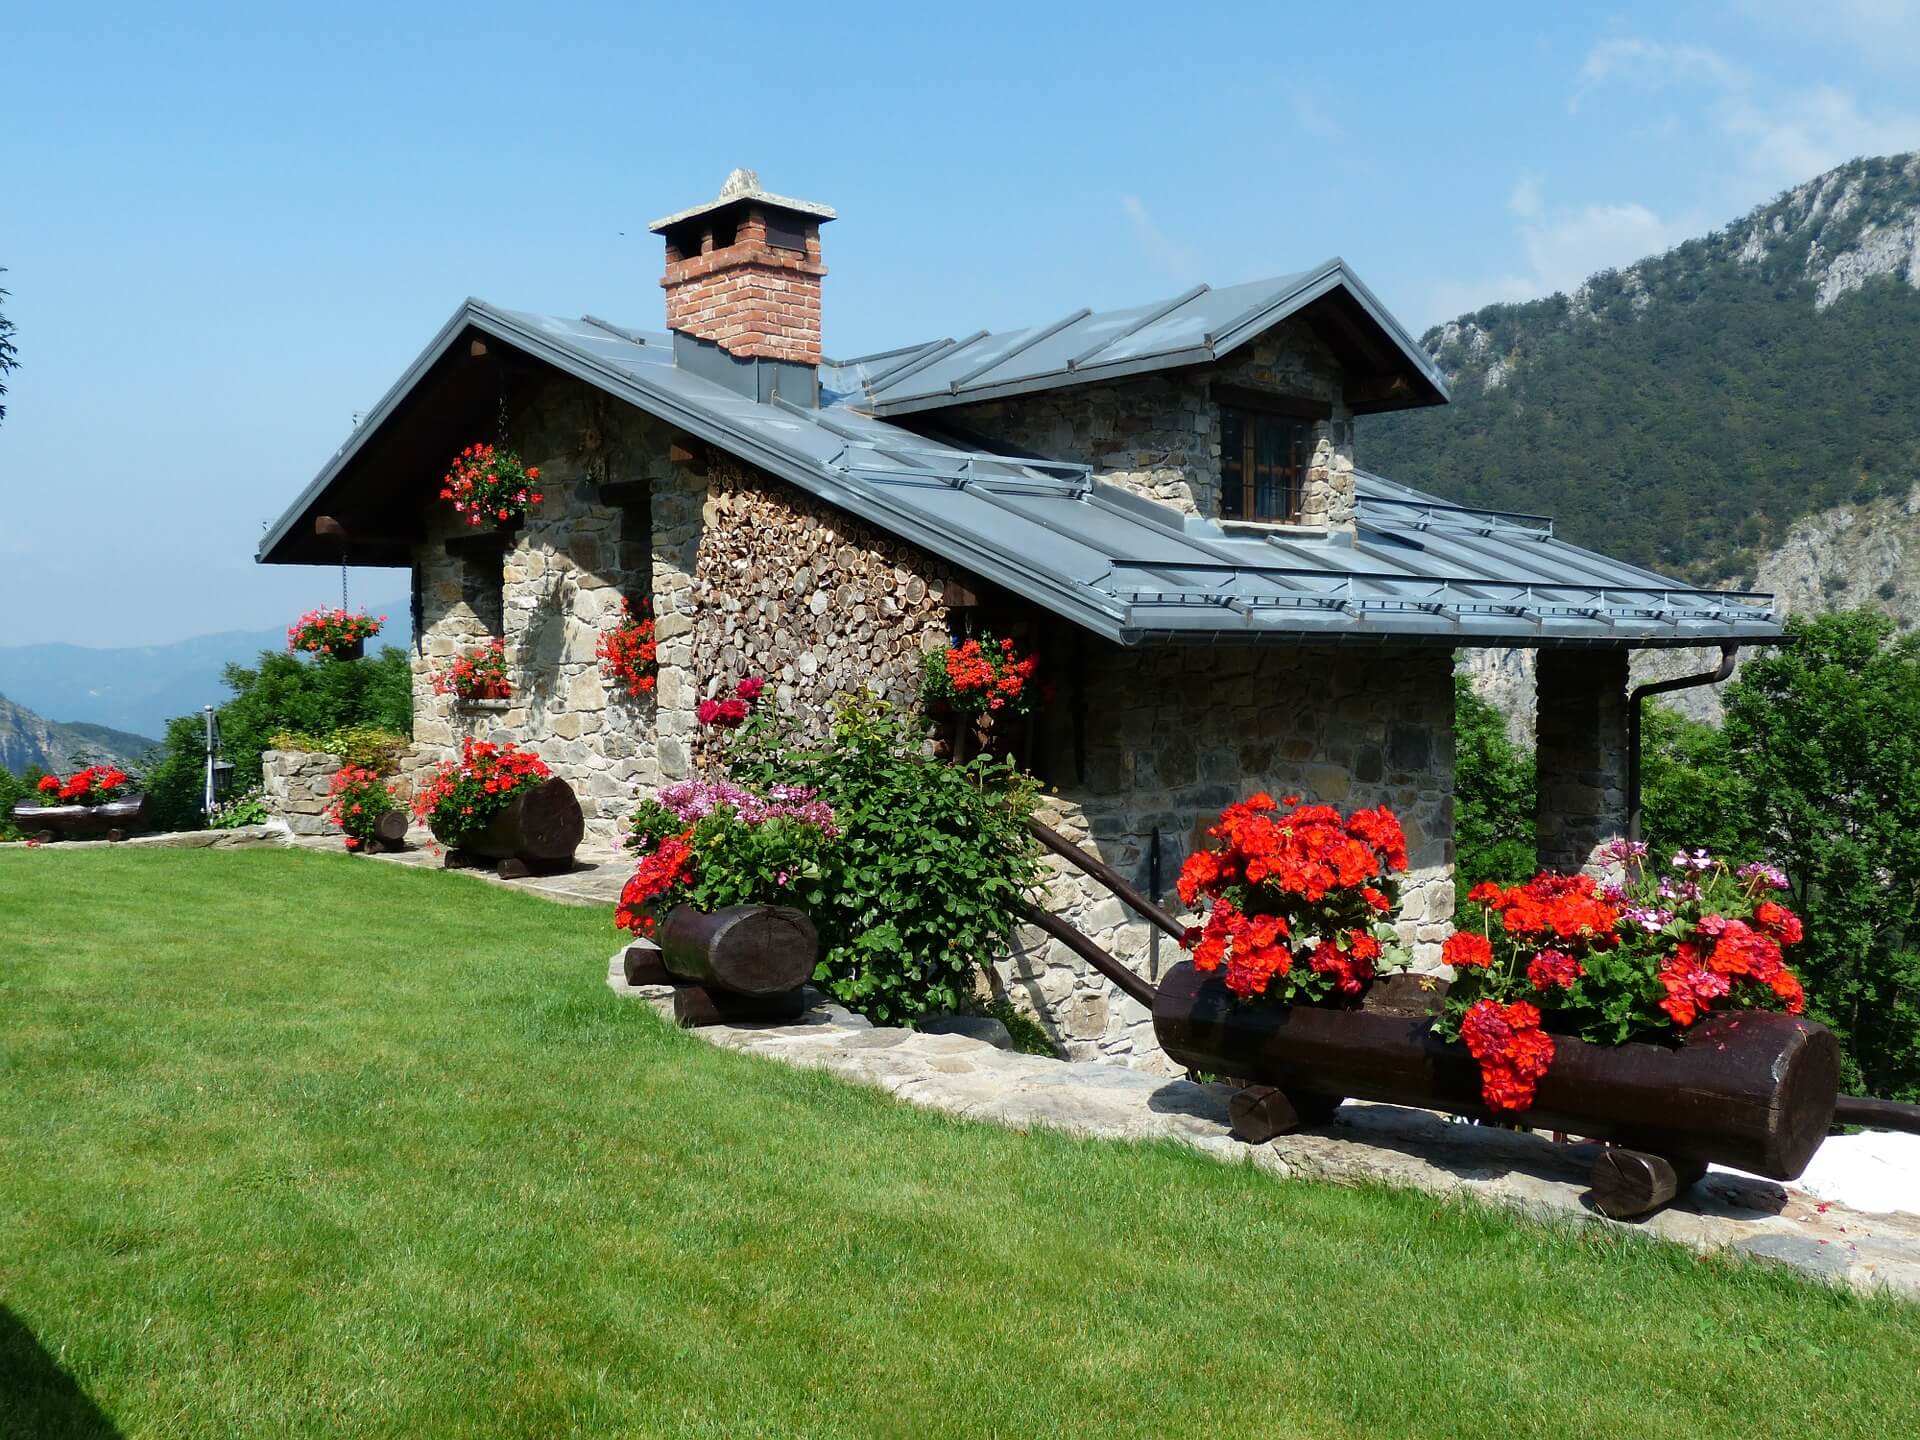
When it comes to property maintenance, it’s not uncommon to overlook garden railings, whether they are made of wood, iron or steel. They are outdoor fixtures that are often regarded as unessential and not necessitating care. To many, nothing significant changes if they are damaged or if they become structurally weakened. This way of thinking shouldn’t be the case, though. Railings in the garden are not only installed as decorative outdoor fixtures.
Treat them as fences:
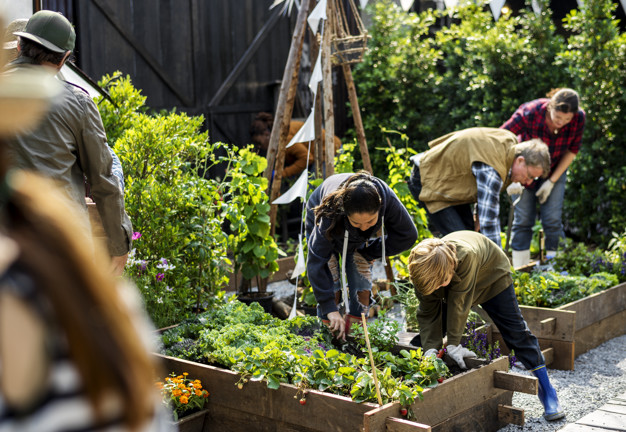
Just like fences, you have to make sure that their structural integrity is maintained. They may not be there to provide security, but it’s important to make sure that they are as sturdy as they should be. Railings are installed for different reasons. For one, they could be used as protection for plants from pets or people who may unwittingly step on small plants. They will not be able to serve this purpose if they are weakened.
On the other hand, railings also serve as occasional support structures for those who walk around the garden. If you lose your balance while strolling around, you will likely hold on to the railing if you see one. If the rail breaks with the slightest of pressure, it will aggravate accidents. Aside from not being able to support your weight when you lean on them, they may expose some sharp parts as they break or bend. These sharp pieces can result in wounds.
Maintaining wooden railings:
For garden railings made of wood, remove the vines that climb on them. These vines can hasten the disintegration of wood as it keeps moisture and prevents the sun from drying the wood. They can also serve as a hiding place for vermin. If the paint has already faded or peeled off, be sure to do a new paint job. Paint does not only improve the appearance of wooden rails. It also helps protect them from the elements.
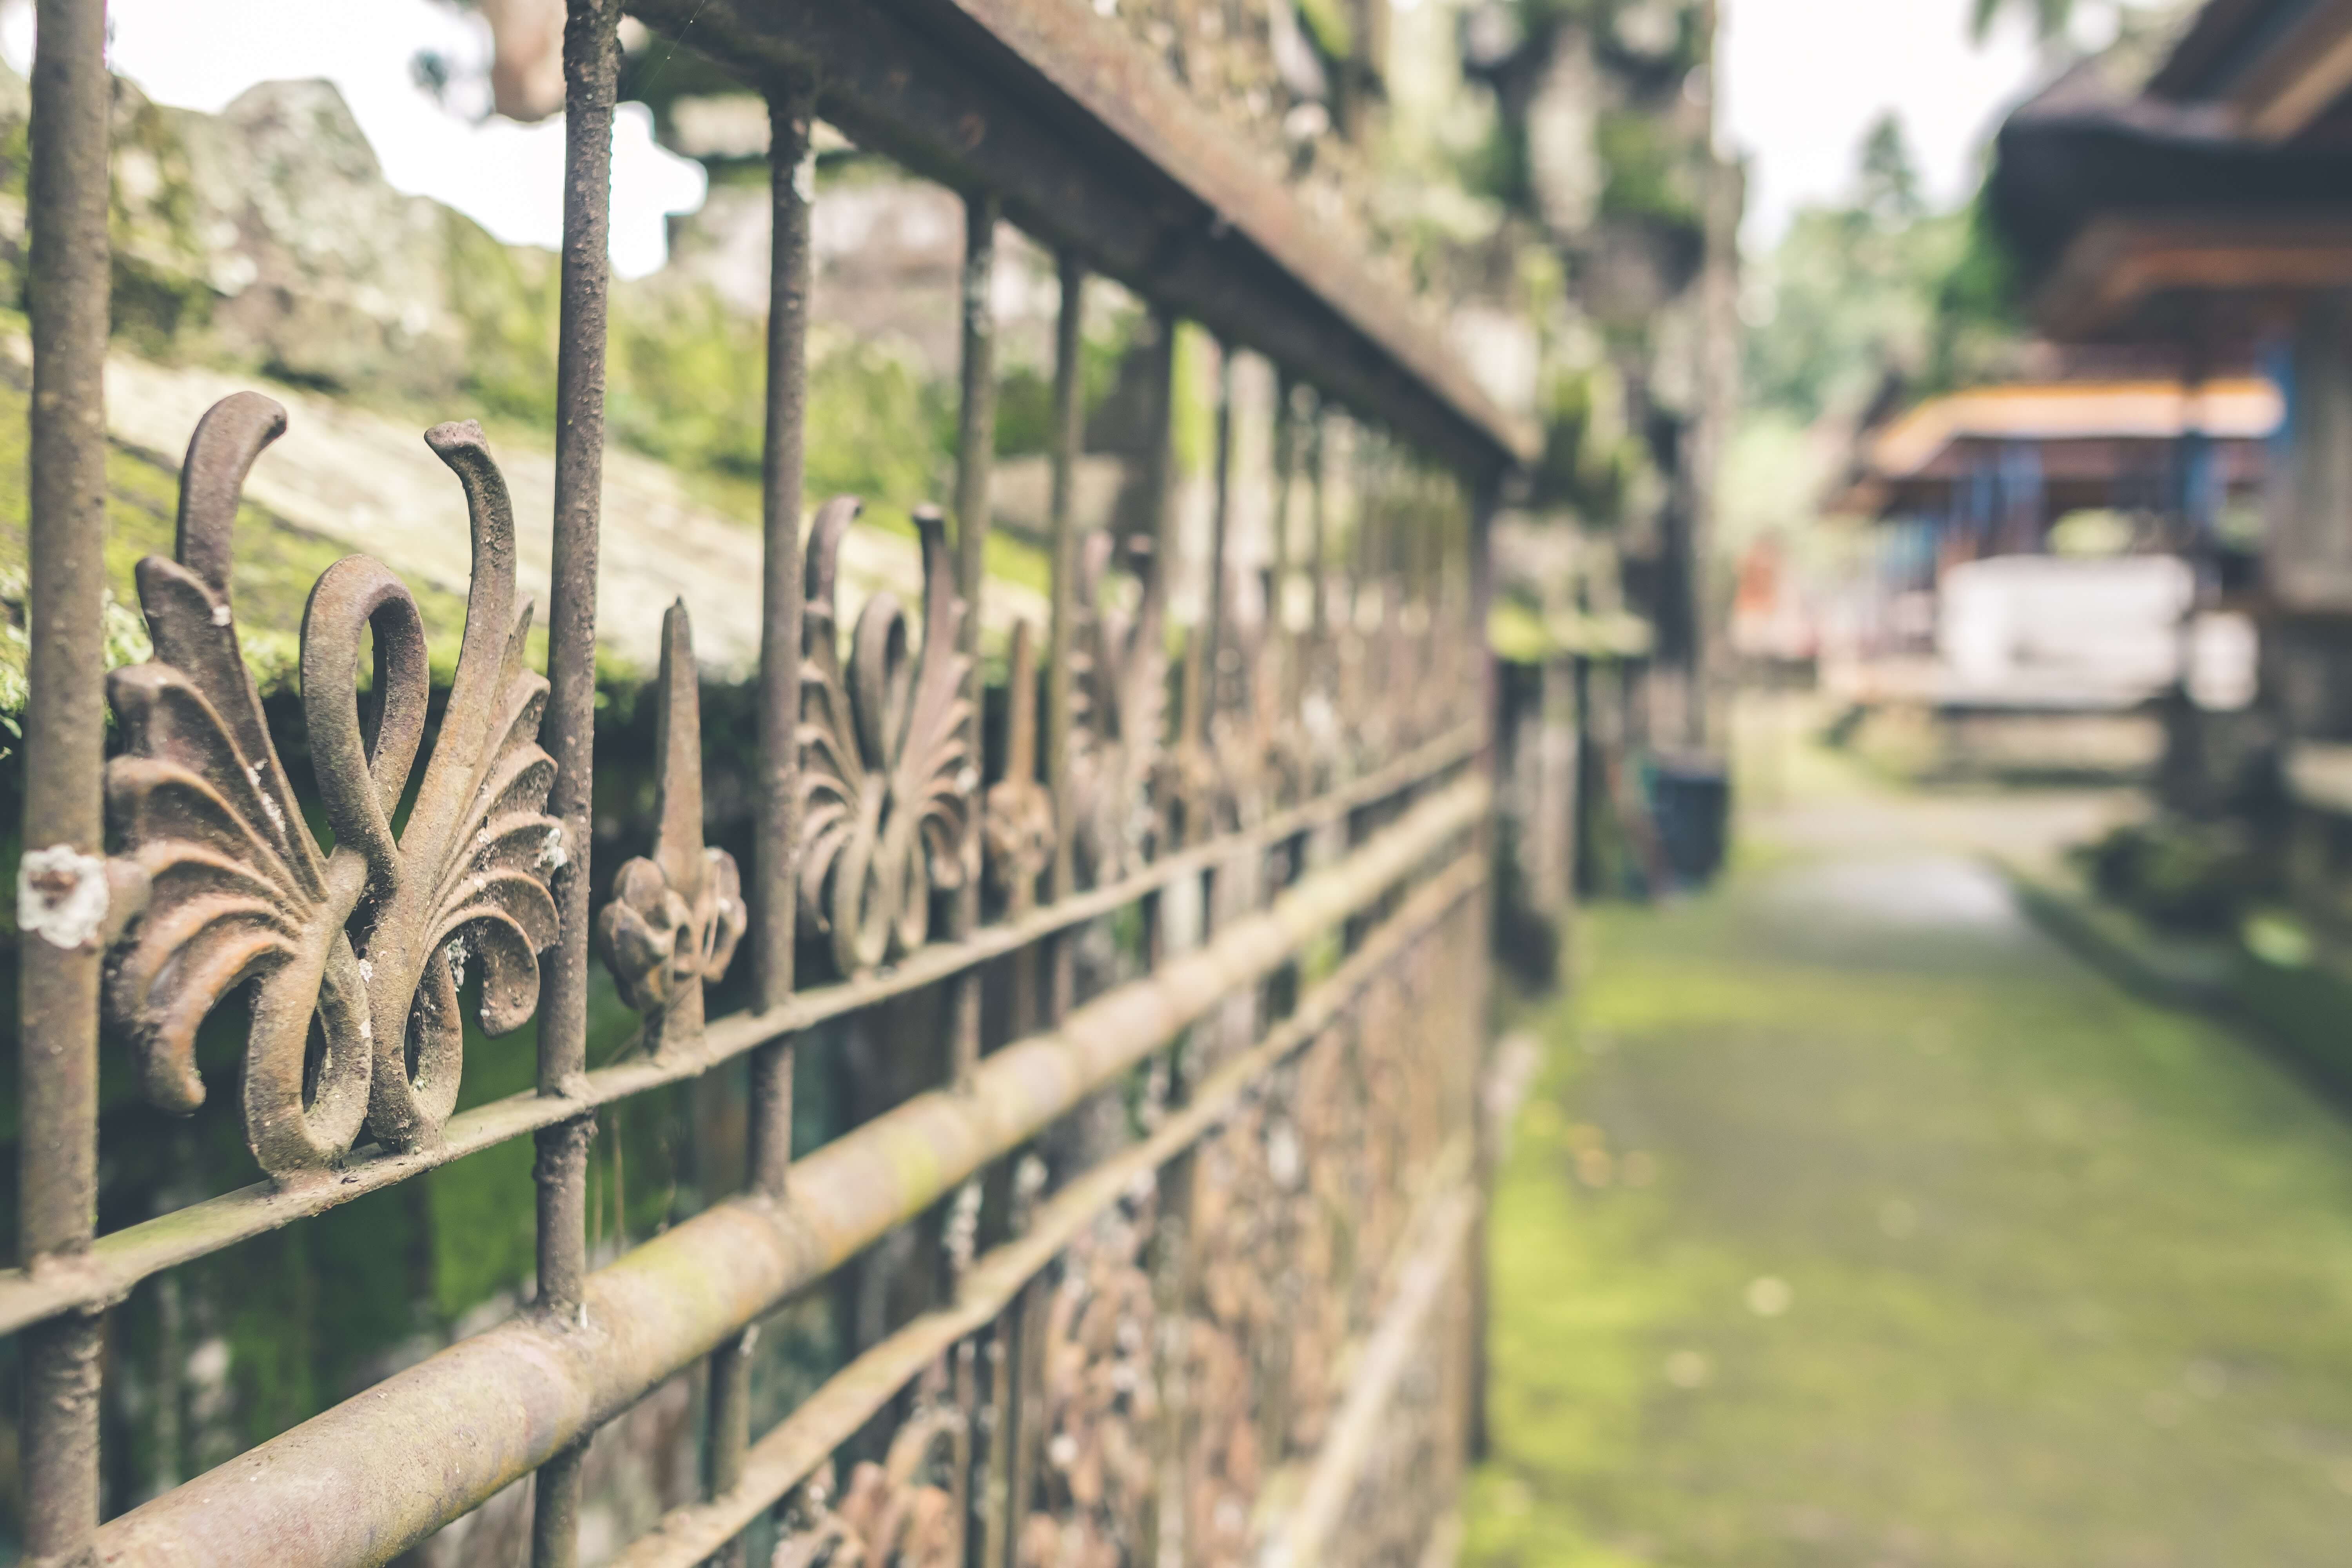
Maintaining steel or iron railings:
One of the most important steps for garden railing maintenance is cleaning. Make sure nothing unwanted is stuck to the rails not only to keep them looking good but also to prevent damage. You’ll be surprised how the fecal matter of birds or the nesting of insects can speed up the wear and tear of your railings. Don’t let weeds cover the rails. Locate their origin, so they don’t quickly crawl back up again.
Be on the lookout for rust. If corrosion develops, it means your coat of paint protection has been scratched. Scrape the rust off and repaint the affected portion. Examine the rest of your railings to see if there are other parts that could use a new layer of protective coating. If you use lawn trimmers or grass cutters, realise that the repeated strikes against your railing’s lower sections can become a starting point for severe damage.
Strive to make your railings last long. They may not be an essential part of your property, but you spent good money on them. You may not feel like you lose anything if they are taken away, but those railings in your garden are there for a reason.
Content Rally wrapped around an online publication where you can publish your own intellectuals. It is a publishing platform designed to make great stories by content creators. This is your era, your place to be online. So come forward share your views, thoughts and ideas via Content Rally.
Staircases tend to be a huge and important part of a home. A good staircase will allow one to have access to the building's upper levels. It allows one to do this safely. The staircase is also a major feature of a home. We usually do not need to select a new staircase often.
But if you need to, you may be confused about where to start. Staircases are available in many varieties. When selecting the type of stairs that you want, it is important to choose wisely.
The following are some points to keep in mind when selecting an amazing staircase:
1. Your budget matters
This is one main factor that will influence the type of staircase you will get. This will aid you in choosing the type of materials that will be employed for the stairs along with the style of your stairs.
Aluminum metal staircases tend to be more cost-effective in comparison to solid timber ones. There are also certain mixtures of the two materials that fit within the various price ranges.
Look for the type of staircase that you like then get some quotes. This will help you know if the budget you have given to the stairs is enough for the one you like.
2. Space available
You need to keep in mind the space that you have available. This will aid you in figuring out a design that will not end up taking much space. If the area that you have is larger, you can even choose a larger as well as more decorative type of staircase.
A straight staircase will take up more space within the room below and will need a thin and long rectangular opening within the ceiling above.
Spiral staircases actually take up less space within the downstairs area and need a square or maybe circular opening present in the ceiling above. This may sometimes end up taking more space particularly in the area above.
3. Safety matters
It is important to keep in mind the safety of the stairs. Look at present building regulations that are made to help, giving minimum width needs for certain applications.
The regulations also make sure that no gaps should be present on the staircase that are above 100mm therefore not letting kids be able to climb through the balusters.
You should know that a spiral staircase is actually as safe as any standard staircase. It should not be thought to be dangerous in any way.
4. Occupants are important
You need to keep in mind the occupants of the property. For instance, if there are any seniors and kids in the family, you can consider stairs that have landing plates as well as handrails.
The above are only some points that you should consider when choosing a staircase design.
You can look at a staircase design in Melbourne if you want to get some ideas. Work with a good company who will be able to help you get the staircase that you want.
Read Also:
Top 10 most wonderful houses of 2021
7 Ways to Add Character and Style to Your Home
Things To Do In Israel That You Must Know
The tender, fern-like leaves of dill almost beg to be touched. If you want to cook them, trim the fresh dill foliage and gather the seeds for pickling. Or you can chop the feathery leaves and yellow umbels for attractive bouquets of homegrown flowers.
In addition, black swallowtail caterpillars love to feed on it. Its tiny yellow blooms are great at drawing in a wide range of pollinators. Dill grows as an annual for summer harvests in USDA Hardiness Zones 2–8. In other parts, it may self-seed and is hardy in the winter in Zones 9–11.
Here is everything you need to know about how to harvest dill. Keep reading for a comprehensive guide.
How to Harvest Dill?
Fresh dill clips easily, but it soon starts to droop. Sounds familiar to Cilantro, right? Its flower umbels may look lovely in a mixed bouquet, but after a few hours, don't be shocked if they start to wilt. When harvesting dill for recipes, use it as soon as possible because its flavor starts to fade after a few days.
Cut off the flower stalks of dill after the yellow blooms have faded but before the seeds start to ripen and come away from the umbel. Cover the entire flower head with a small paper bag that has a few tiny holes for ventilation.
Hang the plant upside down in a cool, dry place. Watch for the seeds to fall and collect them in the bag's bottom. The seeds should be kept in a cool, dry, and dark area in an airtight glass container.
When and How to Plant Dill?
Dill grows best outside and is simple to start from seed. Plant the seeds directly into the ground, 1/4 inch deep and spaced 1 to 2 inches apart, in the springtime following the last frost. If you want the dill plants to be able to self-sow, plant the seeds in tufts so the seeds can fall and sprout the following year.
Or you can plant them in rows spaced about 6 inches apart. You might want to think about succession planting if you want a reliable supply of dill. During the growing season, start by planting a small number of seeds from the packet at a time and then a few more every week.
Typically, seeds take 7 to 14 days to germinate. Also, dill can be grown from transplants grown in nurseries planted in the ground or in containers in spring. You can plant dill outside a few weeks before the last predicted spring frost because it can withstand light frost.
To achieve lush growth and stop crowded seedlings from producing seed heads, which stops the production of foliage, thinning is essential. Every 12 to 24 inches, reduce the number of seedlings to just the strongest one once they reach 3 or 4 inches in height.
As they get bigger, some start to flop. Plants can be kept upright by placing a stake or a sturdy twig in the ground close to the plant's base. To loosely secure the plant to the stake, use garden twine.
You can start the dill seeds indoors four to six weeks prior to the last frost. And you can move the seedlings to the ground once the risk of frost has passed. Transplanting mature dill does not work well, so plant your seedlings where they will be able to grow and thrive.
Where To Plant Dill?
Dill should be planted in a spot with well-drained soil and at least 6 to 8 hours of daily full, direct sunlight. Particularly for cottage gardens, the delicate foliage gives garden beds and borders textural interest. Choose a location for your dill that will shield it from the wind if possible.
Just like spinach, high winds can easily damage its stalks if you do not stake the dill. You can plant dill's fragrant foliage in perennial garden container plantings. Or you can plant them alongside other herbs or vegetables in a traditional kitchen garden.
In an edible garden, cruciferous vegetables such as Brussels sprouts, collard greens, broccoli, and cabbage are good companion plants for dill. Dill draws beneficial insects like ladybugs and bees and drives away common brassica pests like loopers and cabbage worms.
But avoid planting dill close to carrots. Carrots can be stunted by dill, and because they are closely related, dill can cross-pollinate with carrots to produce inferior hybrid plants. Planting dill close to tomatoes is also not recommended.
Mature dill will probably stunt your tomatoes' growth, even though some studies have indicated that tomatoes and dill can be beneficial companions when they are young.
How to Propagate Dill?
Seed is the most effective method of dill propagation. Cuttings can also propagate Dill, though this isn't as dependable.
Seed: Direct sow the dill seeds in early spring at a depth of 1/4 inch in a prepared garden bed. Dill does not tolerate transplanting well. Thin the seedlings so they are 12–24 inches apart when they are 3–4 inches tall.
Cuttings: Using shears or scissors, cut off the stem with at least 3 to 4 inches of new growth to take a dill cutting. Place the cutting in a water-filled container, making sure to remove any leaves below the water's surface, and allow the roots to grow for two to three weeks.
Fertilizer and rooting hormones are not required. Plant the dill in a container or on the ground once the roots are 2 to 3 inches long.
Is Dill a Type of Weed?
No, I am not talking about WEED weed (read: marijuana). Although dill isn't technically a weed, some individuals and spice companies call the plant dill weed, possibly due to its feathery leaves. Dill weed is a dried or fresh foliage plant. Flower umbels are yellow and used to make dill seeds.
How Should Dill Be Stored for Optimal Quality?
You can keep fresh dill in the fridge by wrapping its leaves in a moist paper towel. Or you can tuck its stems into a container of water. Fresh dill can be frozen by submerging it in water in ice cube trays. Place the cubes in cooked dishes that have enough moisture to withstand them.
Dill seeds and leaves can also be easily dried for later use, though the flavor is a lot more muted.
Water and Soil
Sow dill in soil that is moist but well-drained. If there is a lot of clay in your soil, add organic matter to the top few inches to aid in drainage. If you have trouble with poor soil drainage, plant this herb in raised beds or containers. Growing dill requires proper irrigation.
As the seeds germinate, keep the soil evenly moist. Dill plants require one to two inches of rain or extra water each week once they begin to grow.
Humidity and Temperature
Dill tolerates temperatures as low as 25ºF, but 70ºF is the ideal temperature for it. Dill often bolts, sending up flower stalks to set seeds when temperatures rise. This annual herb dies after it flowers and produces seeds. Get rid of the flowers to prolong the plant's growing season.
Apply Fertilizer
While most herbs, including dill, don't require extra fertilizer, you can give them once or twice during the growing season by applying a balanced 10-10-10 fertilizer. When planting, either mix a liquid fertilizer with water or etch a time-release fertilizer into the soil.
Refer to the product label for instructions on how much to use.
Trimming
Dill should be pruned early in the growing season to prevent limb bending. Cut off the top leaves of the plant to promote more growth of the lower leaves. Food preparation and cooking can be done with anything that has been pruned.
Repotting and Potting
You can grow dill in pots on a sunny balcony or deck, even if you don't have an outdoor garden. Due to the deep taproot that dill plants have, choose a container that is at least 12 inches deep. Because clay and terracotta pots don't retain as much moisture as plastic or glazed ceramic pots.
They are ideal for growing dill. Make sure the container you select has good drainage and is big enough to allow you to space your plants 12 to 24 inches apart. It is best to start over in a new, larger container. Especially if your dill plant outgrows its current one because it does not take well to transplant.
If the temperature where you are planting is not too high, you can keep planting seeds into the summer.
Types of Dill
Dills can be of many types with each of their distinct looks and flavors. Here are the three different types of dill you can grow in your kitchen or backyard.
Long Island Mammoth
Also known as Long Island Mammoth this one is an old-time favorite. Its fern-like leaves can be dried and stored for a long time, or they can be harvested fresh. It produces big clusters of yellow flowers with flat tops. They turn into brown seed heads, and they can reach a height of five feet.
Fernleaf
Grown to a height of only 18 inches, Anethum graveolens, or Fernleaf, is a highly productive dwarf variety. It works well in container gardens or small in-ground beds. Its feathery, delicate foliage has a great flavor of dill. From midsummer into fall, it blossoms.
Bouquet
The 'Bouquet' cultivar produces plants up to thirty inches tall with fine bluish-green foliage. The enormous, six-inch-diameter yellow flower heads are ideal for drying, creating an enduring arrangement. Or you could chop them for fresh floral arrangements.
How to Keep New Dill Fresh?
Dill weed quickly wilts after harvesting and gradually loses its distinctive flavor and aroma. If you know how to store your freshly harvested dill, this shouldn't be a problem. Here are two straightforward techniques that you can use:
Put It in the Crisper Drawer of the Refrigerator
Loosely wrap the recently cut and cleaned leaves in damp kitchen towels before putting them in a container or sealed bag. Put the container in the crisper drawer of the refrigerator, which has a lower humidity than the other sections of the appliance.
Utilize the herbs before they begin to wilt and dry out, which should happen in a few days.
Put It in Water
To make this method function, when harvesting the herb, you must cut off the entire stem. After gathering the stems, put them in a glass of water and seal the opening with a plastic bag. Every day, change the water. Unlike potatoes, dill leaves can remain fresh for up to a week when stored in this manner.
How to Freeze Fresh Dill?
Freezing is the best way to preserve extra dill for later use if you've harvested more than you can use at once or in a few days. Dill freezes most effectively when chopped into smaller pieces and added to ice cube trays with just enough water to cover the freshly minced dill.
This allows the herbs to be kept for four months or longer. This will ensure you always have dill on hand for when a recipe calls for it.
How to Dry Fresh Dill?
Dried fresh dill is a popular method if you're searching for another way to store dill for a long time. The herb has many uses, even though it won't have as much flavor as when it's fresh or frozen. All year long, you can use it as a herb in cooked dishes or to make tea.
Stick to hang-drying if you don't want much of the flavor to be lost. This is a very easy method to use. All you must do is gather a few dill leaves and then bind them with a string. Later, place them in an area with adequate ventilation upside down.
Place them in an airtight container once they're crumbling and dry. Even though fresh dill is always preferable, make sure to save some for later use. Particularly if you don't have a year-round indoor herb and spice garden.
Wrapping Up
Growing dill is a great way to add flavor to fish and seafood dishes. A little goes a long way because fresh dill leaves have a strong licorice flavor. It is best that you add dill toward the end of cooking, in salads, or as a garnish for soups. Because once cooked, it tends to lose its flavor.
If you have thoughts to share or questions to ask about how to harvest dill, please leave a comment below. We would love to hear from you!
Read Also:
Asparagus 101: When, How, And How Often To Harvest?
How To Harvest Sunflower Seeds: A Fun And Easy Activity For The Whole Family
How TO Harvest Lemongrass: Tips AND Tricks FOR Growing AND Using This Versatile Herb
Learning how to sew is one of the most amazing moments in life. Maybe you want to return some of the skills you lost early in life or you are learning the art of sewing for the first time in life. One challenge you could be having is how to choose the Best Sewing Machines for Beginners. The truth of the matter is that the market as a long list of machines that beginners can use. This can cause more confusion but an ideal machine will depend on what you wish to make. Maybe you want to whip up quilts or cushions. This article gives you the best recommendations from leading home sewers all over the world. These machines match the needs or beginners in the sewing industry.
10 Best Sewing Machines for Beginners:
1. Bernina B215 :
This is among the most affordable sewing machines from the Bernina brand. In fact, it is among the easiest computerized machines that you can find in the market. You simply have to press that is adjacent to your desired stitch and you are good to go. It has almost all the features of the machines that we are going to review in this article. However, this brand does not come with the start and stop button. You can also personalize it with vinyl ‘skins’ and you can do this on your own. With the LCD screen, you can view the snap-on presser foot you need to use. The additional accessories and machine feet can be quite expensive but it is worth the investment for any determined sewer.
2. Brother JK4000 :
This machine is normally marketed to individuals who possess intermediate sewing skills but I know of people who started by buying this fully computerized sewing model. In fact, it is one of the best sewing machines for beginners you can think about. The good thing with this sewing machine is that you will be able to grow with it. Therefore, you will not have to buy another sewing machine as your skills advance. It has a long list of features including the start and stops button and automatic foot release. This model really gives you the value for your money. You can easily use the LCD screen and dial to select stitches.
3. Brother Innovis NV15 Electronic :
This model can really change your mind whenever you are prompted to think about computerized devices. You may think that its features are confusing to beginners but you will discover that it has an intuitive interface upon trial. It has sixteen stitching options that include stretch stitches and you have a simple jog dial for selecting. The device has all the essential electronics like the start and stops button, needle threader, speed limiter, and the needle up and down control. Threading on this machine is east and it will even pull the bobbin thread up on your behalf.
4. Brother cs6000i :
This is a sixty-stitch sewing machine that is fully computerized. The model has the ability to satisfy both veterans and beginners alike. It is more valuable to buy this machine because it has more features in comparison to what other beginner devices that are in the same price range offer. Apart from the impressive 60-stitches, you will also find nine presser feet, LCD screen, quilting foot, and walking foot that is mostly found on more expensive devices. Its convenience and ease of use make it fall among the best sewing machines for beginners.
5. Janome DC3050 :
This is another computerized machine that is easy to understand. The good thing with this model is that you will not outgrow it quickly. It has a total of 47 pre-programmed stitches and 3 one-step buttonhole styles to select from. The machine is a genuine workhorse with its capacity to handle a broad range of fabrics with a lot of ease. It can even accommodate the slippery silks and thick coating that most basic machines can’t accommodate. Therefore, it is among the best sewing machines for quilting. The machine does not have several features like other sewing machines in this price range but it will give you real value for your money.
6. Singer 7258 :
This 100-stitch computerized sewing machine is ideal for beginners who have some experience and are looking for a machine that they can grow with. The easy to use features and advanced options in this machine blend quite well. This also includes
the six one-step buttonholes and ten presser feet. It is appropriate for any sewer who is gaining confidence and wishes to experiment with a more advanced machine.
7. Janome 7025 :
This sewing machine is quite similar to the Janome 525 that is used on The Great British Sewing Bee. However, this model is more affordable and ticks all the boxes. It has three dials for selecting the width, length, and type of the stitch. It has an automatic one-step buttonhole with an easy loading bobbin that has a clear cover. Janome 7025 sewing machine has more metallic parts in comparison to other brands and this makes it feel weightier for the price range. Any person who has done some form or sewing will find its set up to be quite easy.
8. Singer 4424 :
This is an extra-high-speed heavy duty sewing machine. The machine is tougher and speedier in comparison to the other sewing machines in the market. It can make 1100 stitches each minute due to its motor that is stronger than usual. The machine has 23 inbuilt stitches with a one-step buttonhole and four presser feet. Some of the features you will find on the Singer 4424 include dial controls, top-loading bobbin, needle threader, adjustable thread length, and a clear case for travel or storage. It’s the best option if you wish to work on thick or rugged fabrics like upholstery.
9. Singer 4411 Heavy Duty :
This sewing machine is specially designed to handle those heavy upholstery fabrics, vinyl, leather, and denim like a dream. It has smooth stitches and you can still use it for lightweight and delicate fabrics. One thing that may put off beginners is that this machine sews at some speed. Beginners may find it quite challenging to sink their teeth in some intricate projects. The ease of use and stitch quality will surely exceed your expectations. You can operate this machine for several days with no struggles at all.
10. John Lewis JL110 :
Are you on a budget and in the process of dipping the toe in the home sewing waters? This brand will offer the best service to you. It has 14 stitching options that can allow you to work on most of the projects. The machine also has a classic setup that allows you to saw at a fairly fast speed by just reading the manual. However, any person who wished to use stretch fabrics for sewing may lose control of the stitch width. The bobbin is also concealed behind a front door and you can really find it tricky to access it once you get a tangle. The beauty of it is that this machine is sturdy and you can find it in a broad range of colors. It is one of the best sewing machines for home use.
Summary :
With all this knowledge, you now have all it takes to pick the best sewing machines for beginners. The most important thing is to pick a gadget that can handle the kind of work you wish to undertake.
Read Also :
How Can Conveyancing Services Help You?
Top 5 Types Of Startup Business Loans