The Beginner’s Guide to Landscaping Design: 7 Tips for New Homeowners

Published on: 06 June 2019 Last Updated on: 12 September 2024
Landscaping Design

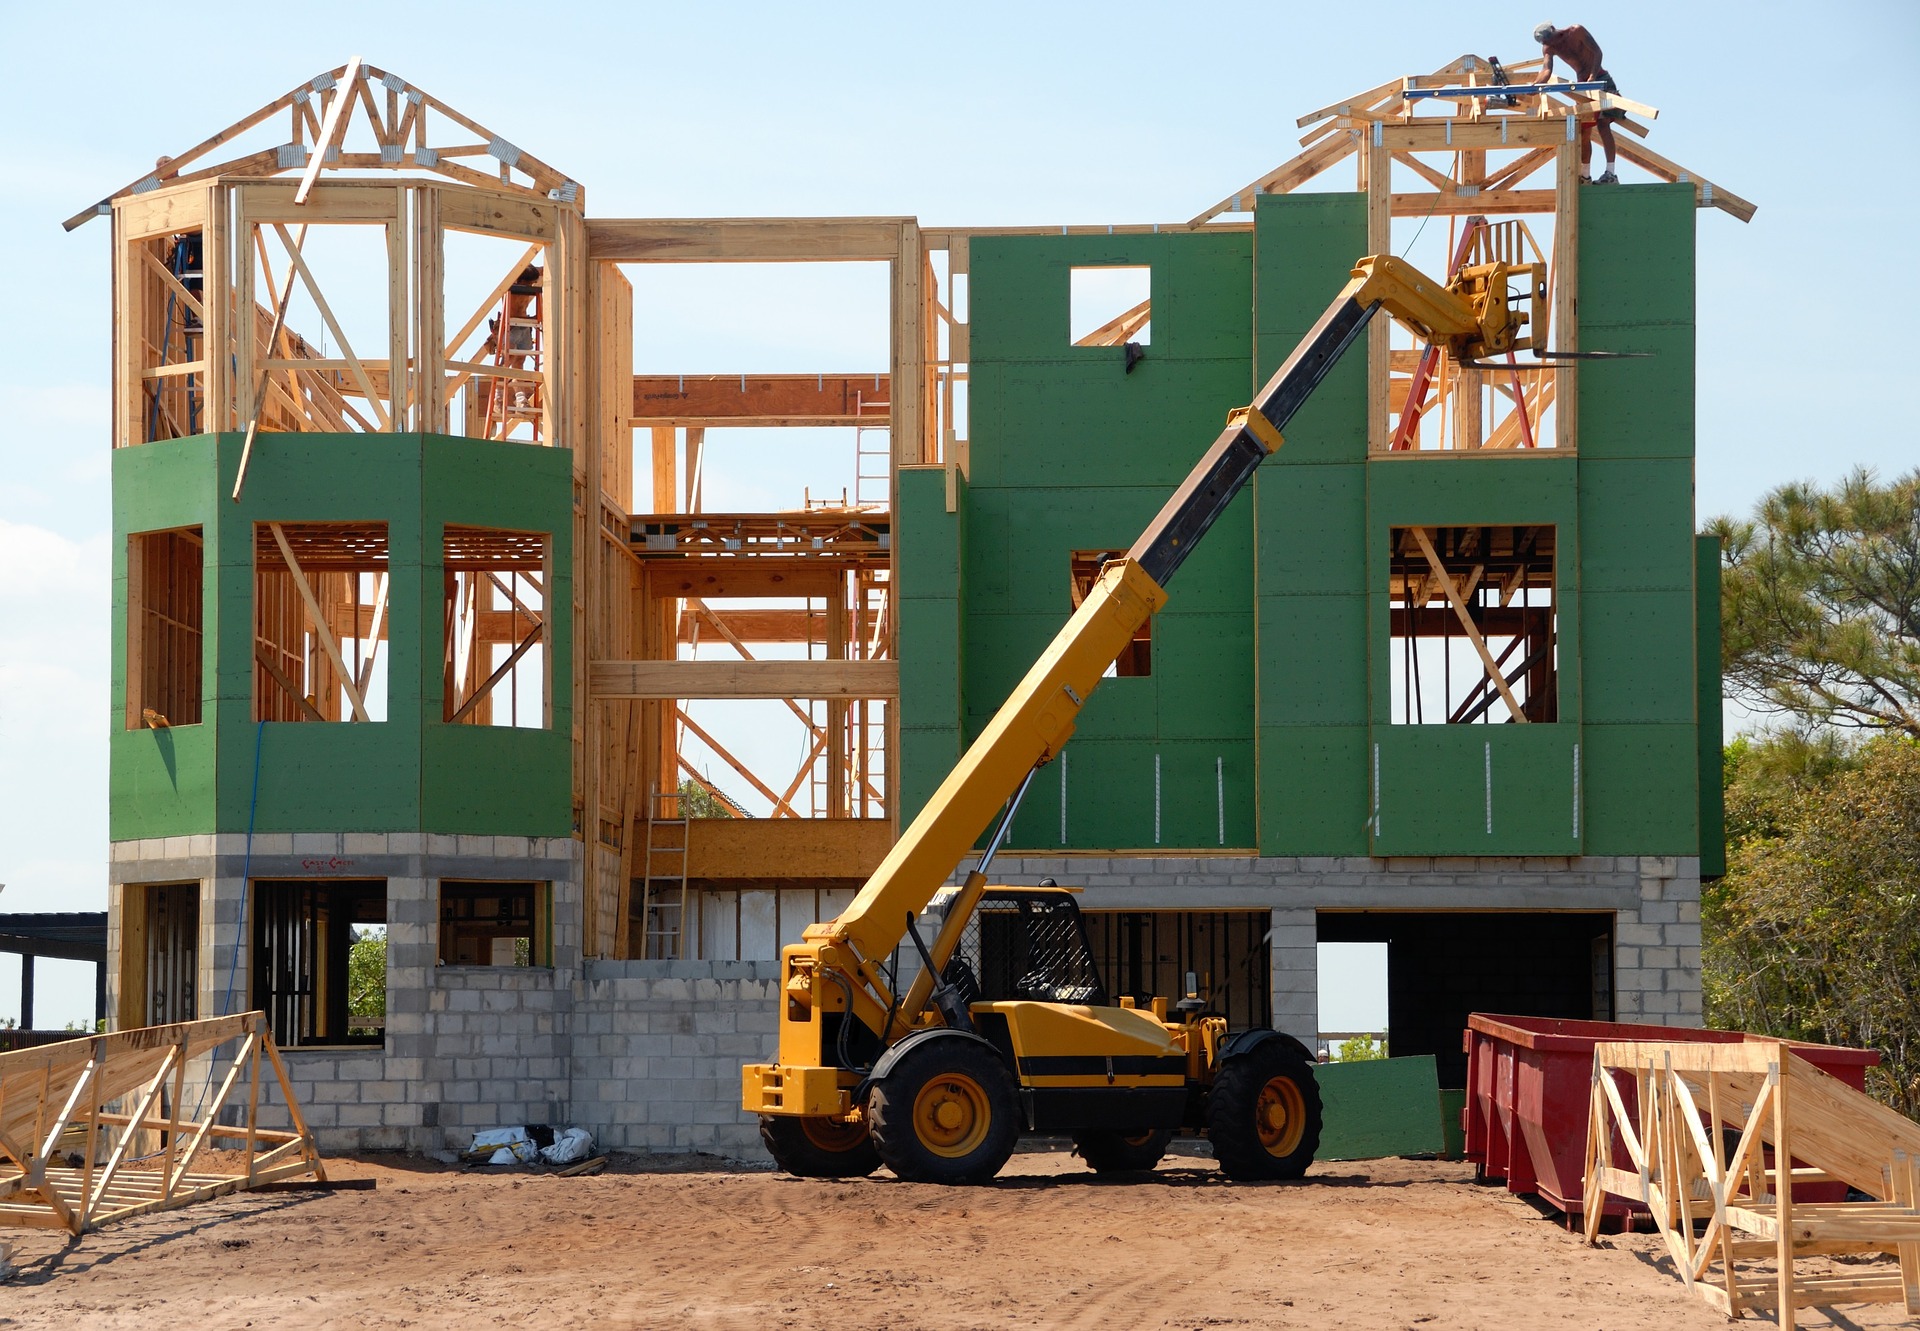
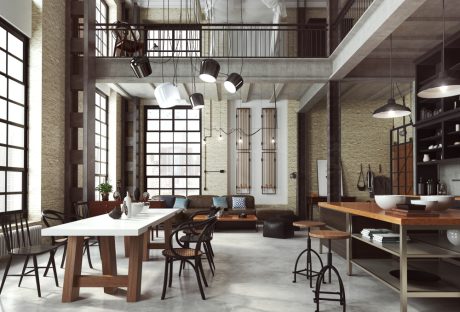
Buying a new home has to be one of your greatest achievements. But with owning a new home comes a lot of responsibility. Aside from the renovations and paintings, you surely can’t forget your garden. After all, people do first see the exterior before actually entering your home. And you want a stunning yard that matches your exquisite interior, right?

If you’re new to landscape design, you might find the whole process intimidating. But we’re here to assure you that the creativity you displayed when arranging your rooms, is the same you can use outdoors. Below are a few ideas.

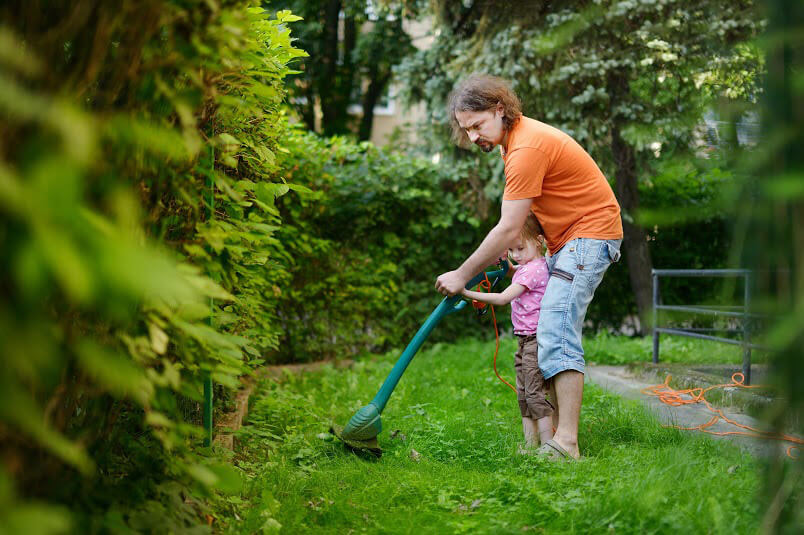
What are Your Needs as a Family?

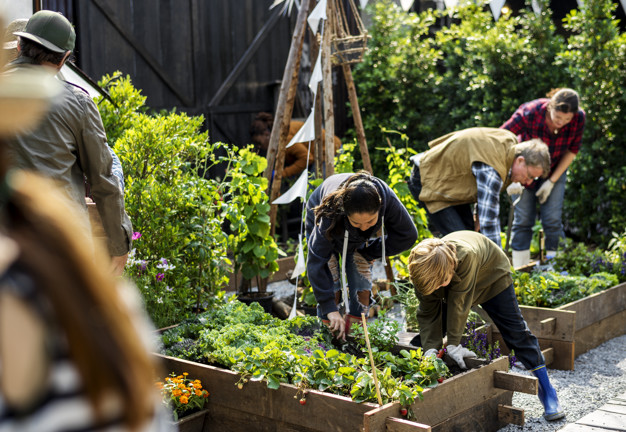
You need to establish what your landscaping needs are as a family. Do you have any young children? If yes, then you need to ensure that you make provision for a kids’ play area. You don’t want all the space to be taken up by flowers, fountains, and trees.

Do you plan on doing a lot of gardening? Then you’ll have to create ample space for your gardening projects.

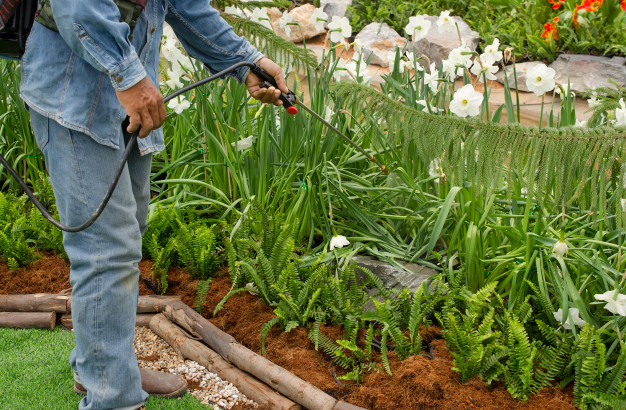
Use the Correct Equipment

landscaping equipments

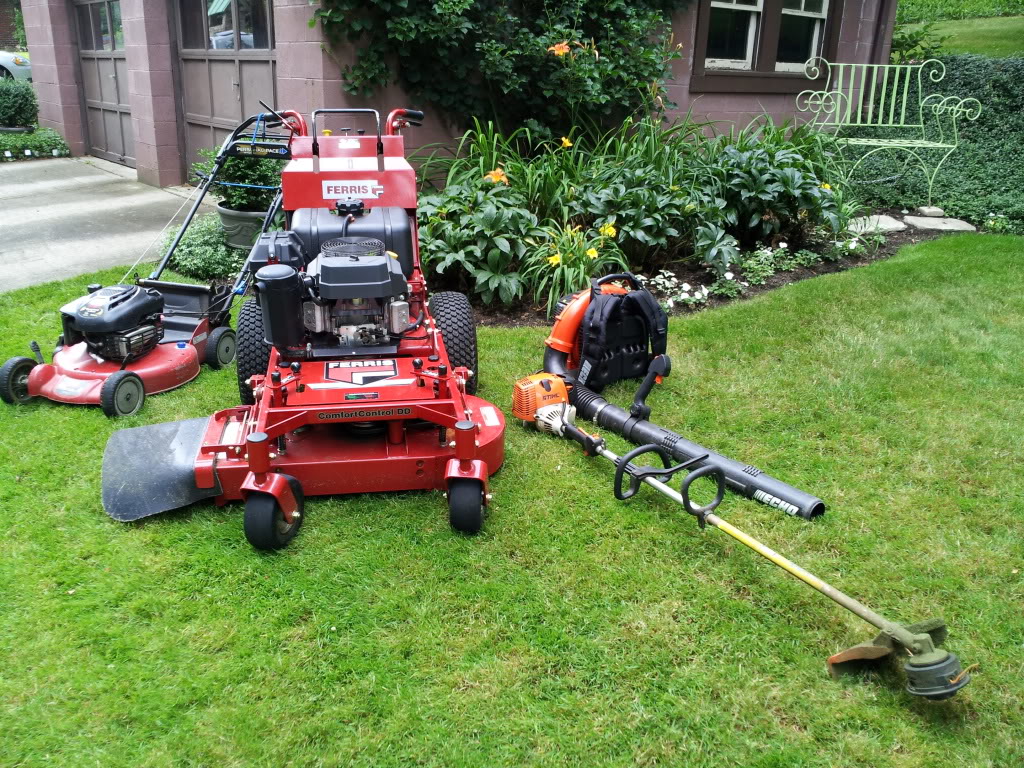
Make sure you use the correct equipment for the job. You may be a DIY lover, but chances are you may not have the right equipment to undertake the necessary project. This is when you can consider equipment hire.

Seek the advice of reputable manufacturers to give you the best advice regarding the type of equipment you’ll need for a particular project.

Location is Important

The next thing you need to do is to determine the location where you want to place your different features:

  • Where do you want your fountain to be?
  • Do you want in a central position?
  • Where will you place your patio?

Before picking a specific location, it’s important to consider the weather and sun elements. Do you prefer having sundowners on your patio as the sun is going down? It’s a wise idea to first study how the position of the sun changes throughout the day. This way you’ll know where exactly to position your patio.

You Can’t Do It All at Once

It’s important to remember that the landscaping design process takes time. You certainly can’t achieve your desired landscape vision in as little as three days. So why not take it one step at a time? Start with a small bed of flowers then move on to the bigger tasks like creating a fountain. Creating several goals will let the project seem less overwhelming, especially if you’re doing this for the first time.

Establish a Focal Point

When it comes to landscaping, it’s important that you establish the area where you want to draw attention to. Rather than going about it in a haphazard manner, why not add a few stunning items to shift the focus to. You can incorporate the following ideas:

  • Adding a stunning piece of sculpture
  • An exotic plant
  • A bunch of bright and beautiful colors
  • An eye-catching pavement
  • Terraced stone steps

Coordination is Important

You may probably have many ideas regarding what you want your yard to look like. But what’s important is to make sure that everything is coordinated to avoid your backyard from looking chaotic.

You want to end up with a well put together look and you can try the following to achieve that:

  • Design experts say that there’s something attractive about coordinating different shapes and sizes. This means you should avoid planting plants of the same size throughout your yard. Why not place tall plants behind a flat flower bed?
  • You can also create a footpath that features a stunning combination of granite and marble.
  • Make sure you have a theme in mind with regards to the color and type of flowers you use. This means you must ensure that you repeat certain colors and plants throughout your yard to achieve a coordinated look.

But while coordination is important, the last thing you want is to make your yard monotonous. Here you can consider adding some unique pieces that are totally unique so that they can stand out. This can include anything from:

  • Fire Pits
  • Outdoor showers
  • Stone fireplaces

Budget-Friendly Plants

You don’t always need to spend a lot of money to design your garden area or front porch. To save on costs while creating a stunning yard, you can incorporate the following ideas:

  • Opting for heat tolerant plants that won’t wither away prematurely after being exposed o extreme heat.
  • Purchase plants that have low water requirements. In other words, opt for plants that don’t need regular maintenance like watering. These types of plants will definitely last you longer than some others.
  • Install pavers in the middle of your lawn. This means you don’t have to water as much of the surface area.

Final Words:

We’re certain the above-mentioned tips will give you the head start you need to embark on your landscaping journey with a positive mindset. Always remember that landscaping takes time, so a lot of patience is required on your part.

Also, your tastes and preferences are likely to change as time goes by. A plant you thought was beautiful when you planted it may not look so appealing after a few months—and that’s okay. Be open to change and enjoy gardening for as long as you have the pleasure of staying there.

Read Also:

Content Rally wrapped around an online publication where you can publish your own intellectuals. It is a publishing platform designed to make great stories by content creators. This is your era, your place to be online. So come forward share your views, thoughts and ideas via Content Rally.

View all posts

Leave a Reply

Your email address will not be published. Required fields are marked *

Related

Home

How To Make Your Home Look Like A Splendid Hotel?

But, when you enter your home after such a lavish holiday, don’t you feel irritated to see the unmade bed and cluttered bathroom? Yes right!! So, It’s worth to experience even a small version of this luxury in your daily lifestyle. With that point of view, I am listing out today some really effective ways through which you can easily attain a deluxe and opulent experience at your home. Have a look!! A lavish bedroom is the first priority You’ve to agree with the fact that when you go to a luxury hotel the first thing which catches your attention is a well-designed bed with matching cushion, bedsheets, and mattress. So, at the very first step, start with a premium quality mattress and then layer it up with the fluffy and big pillows. Choose a king or queen size bed with a headboard upside, two bedside tables, two beautiful side lamps, etc. Make a stupendous entry-way Just think of the last awesome hotel you visited, you would have noticed a well-organized lobby with some pretty orchids, designer mirrors, and dim lighting. Incorporating such a view in your small entry-way of your home is not a tough job. You just have to do a simple thing to attract your visitor’s eye to an attractive centerpiece. It can be a small table made up of marble, wood or glitzy lacquer. A refreshing spa bathroom When you’re thinking of imitating a luxury hotel, one thing which is must-have is a posh bathroom décor. You can add a glass confined walk-in shower, a dip sink with large mirrors and extremely appealing and pleasant smelling soaps. And to make it more hi-fi and comfortable things which you can add are soft towels like the puffy clouds and a bathrobe. Designer curtains are must When it comes to the window and door curtains, these are very important. It’s because the whole look of your home is dependent on these curtains up to a great extent. If you go for cheap curtains from the local store then you’re spoiling your home decor. The curtains should be of exact measurements and the ones which are in contrast with the color of your walls look more good. Read also: Top Expert Tips For A Stunning Condo Interior! Gorgeous lighting is necessary A five-star or seven-star hotel is never dark or dreary. It has enough lights that brighten up the whole interior and give the hotel-room a prominent look. At first, think of the huge overhead lights in your home. You shouldn’t use the out-dated ones and instead go for the modern and lush light-fixtures. Then add some beautiful lamps to your side-tables. An artistic look of the lamps makes a real difference. You can try that. Next, don’t forget to add some light scones over your artwork which will make them effectively visible. Flowers and greenery give the ultimate touch You can add some pretty, pleasing, elegant and aromatic floral arrangements in your every room. And even you can add those decorative plants to give an aesthetic look and make the rooms look more like a hotel room. When you enter a hotel room, the first thing which you smell is some sweet-smelling blooms. So, add up them to your home as well. These changes in your home decor will surely change it for better and will make you feel as if you’re in one of the snuggest hotels of the town. Lastly, have a happy home and great living!! Read also: Best Vietnam Trekking Tours With North Vietnam Travel Three Amazing Travel Destinations In Africa

READ MOREDetails
Home Accessories

5 Perfect Ways to Create Size Illusion in Room with Home Accessories

In modern times, when people are flocking towards cities, the demand for homes has increased like anything. Builders have perfectly met this demand, but with some tricks. The sizes of the homes have gone smaller. Just look at the room sizes of rooms in the cities like Mumbai; these are really very small. Small room size doesn’t mean that it has to really look small. Every problem comes with a solution, and the expert interior designers and creative people have found the solution to this problem as well. There are so many tips and tricks to create an illusion of larger room sizes. 5 Perfect Ways to Create Size Illusion in Room with Home Accessories You just need some specific home furnishing accessories suitable as per Indian homes, right paint colors, and furniture to make your small bedroom look large. 1. Mirrors are the ultimate solution to create an illusion By adding some mirrors to the bare wall in the bedroom, you can make it look bigger. If you want to create depth or height, you can buy an angled mirror. When talking about mirrors in the bedroom, most people find the solution in the mirrored closet doors. But this is not the right trick for every bedroom. If you want to create an illusion of a wider space, you should place the mirror near the window. Read also: Convex Mirror – An Essential Thing For Your Daily Needs How Activity Mirrors Add Value to Exercise Place! 2. Smaller lamps When buying lighting fixtures or lamps for the bedroom you should not rely only on the single source that hangs in the middle of the ceiling. Instead, you can use a combination of different smaller lamps to draw attention to the room. The best way for this is to place the lamps on the bedside table. Read also: A Rundown of the Basic Led Lighting 3. Carefully decide the height and color of the curtains Curtains make in important home decoration and furnishing item. The best way to use curtains that are a few inches above the floor. Drapes that run all the way to the floor disturb the flow of the room and make it look more congested. For the best effect, you can also tie them with designer curtain tiebacks. Further, the color of the curtains also makes an impact on the size of the room. You should buy light-colored curtains. If nothing matches your style, it is better to avoid using curtains. 4. Simple Carpets Today’s homeowners love to buy patterned carpets due to their beautiful designs and themes. But for small rooms, you should avoid rugs or carpets with heavy patterns. If you don’t want completely plain carpets for your living room or bedroom, you can look for the ones with vertical stripes. These help you create an illusion of a longer room. Though carpets make the room look beautiful, there is no compulsion of using them. Sometimes these can make the room look more cluttered. Instead, you can try for solid continuous flooring to make the room look bigger. 5. Try something bold to divert the attention Most people suggest bright colors for small spaces, but sometimes the opposite can work wonders. Experiment with some accessories in bold and loud colors to divert the attention from the space to other things. You can either use some different colored furniture or just small cushions in bold and big prints. These are just a few tips to make your small bedroom look larger. Above all the tips, you need to keep your room clutter-free and organized. Conclusion No matter how much you spend on online shopping of home accessories, these are useless until your room is clean. So use the tips, opt for the right color coordination, experiment with different home accessories and you are ready to surprise the guests by creating an illusion of a bigger room.

READ MOREDetails
how to harvest dill

How to Harvest and Preserve Dill for Year-Round Use?

The tender, fern-like leaves of dill almost beg to be touched. If you want to cook them, trim the fresh dill foliage and gather the seeds for pickling. Or you can chop the feathery leaves and yellow umbels for attractive bouquets of homegrown flowers. In addition, black swallowtail caterpillars love to feed on it. Its tiny yellow blooms are great at drawing in a wide range of pollinators. Dill grows as an annual for summer harvests in USDA Hardiness Zones 2–8. In other parts, it may self-seed and is hardy in the winter in Zones 9–11. Here is everything you need to know about how to harvest dill. Keep reading for a comprehensive guide. How to Harvest Dill? Fresh dill clips easily, but it soon starts to droop. Sounds familiar to Cilantro, right? Its flower umbels may look lovely in a mixed bouquet, but after a few hours, don't be shocked if they start to wilt. When harvesting dill for recipes, use it as soon as possible because its flavor starts to fade after a few days. Cut off the flower stalks of dill after the yellow blooms have faded but before the seeds start to ripen and come away from the umbel. Cover the entire flower head with a small paper bag that has a few tiny holes for ventilation. Hang the plant upside down in a cool, dry place. Watch for the seeds to fall and collect them in the bag's bottom. The seeds should be kept in a cool, dry, and dark area in an airtight glass container. When and How to Plant Dill? Dill grows best outside and is simple to start from seed. Plant the seeds directly into the ground, 1/4 inch deep and spaced 1 to 2 inches apart, in the springtime following the last frost. If you want the dill plants to be able to self-sow, plant the seeds in tufts so the seeds can fall and sprout the following year. Or you can plant them in rows spaced about 6 inches apart. You might want to think about succession planting if you want a reliable supply of dill. During the growing season, start by planting a small number of seeds from the packet at a time and then a few more every week. Typically, seeds take 7 to 14 days to germinate. Also, dill can be grown from transplants grown in nurseries planted in the ground or in containers in spring. You can plant dill outside a few weeks before the last predicted spring frost because it can withstand light frost. To achieve lush growth and stop crowded seedlings from producing seed heads, which stops the production of foliage, thinning is essential. Every 12 to 24 inches, reduce the number of seedlings to just the strongest one once they reach 3 or 4 inches in height. As they get bigger, some start to flop. Plants can be kept upright by placing a stake or a sturdy twig in the ground close to the plant's base. To loosely secure the plant to the stake, use garden twine. You can start the dill seeds indoors four to six weeks prior to the last frost. And you can move the seedlings to the ground once the risk of frost has passed. Transplanting mature dill does not work well, so plant your seedlings where they will be able to grow and thrive. Where To Plant Dill? Dill should be planted in a spot with well-drained soil and at least 6 to 8 hours of daily full, direct sunlight. Particularly for cottage gardens, the delicate foliage gives garden beds and borders textural interest. Choose a location for your dill that will shield it from the wind if possible. Just like spinach, high winds can easily damage its stalks if you do not stake the dill. You can plant dill's fragrant foliage in perennial garden container plantings. Or you can plant them alongside other herbs or vegetables in a traditional kitchen garden. In an edible garden, cruciferous vegetables such as Brussels sprouts, collard greens, broccoli, and cabbage are good companion plants for dill. Dill draws beneficial insects like ladybugs and bees and drives away common brassica pests like loopers and cabbage worms. But avoid planting dill close to carrots. Carrots can be stunted by dill, and because they are closely related, dill can cross-pollinate with carrots to produce inferior hybrid plants. Planting dill close to tomatoes is also not recommended. Mature dill will probably stunt your tomatoes' growth, even though some studies have indicated that tomatoes and dill can be beneficial companions when they are young. How to Propagate Dill? Seed is the most effective method of dill propagation. Cuttings can also propagate Dill, though this isn't as dependable. Seed: Direct sow the dill seeds in early spring at a depth of 1/4 inch in a prepared garden bed. Dill does not tolerate transplanting well. Thin the seedlings so they are 12–24 inches apart when they are 3–4 inches tall. Cuttings: Using shears or scissors, cut off the stem with at least 3 to 4 inches of new growth to take a dill cutting. Place the cutting in a water-filled container, making sure to remove any leaves below the water's surface, and allow the roots to grow for two to three weeks. Fertilizer and rooting hormones are not required. Plant the dill in a container or on the ground once the roots are 2 to 3 inches long. Is Dill a Type of Weed? No, I am not talking about WEED weed (read: marijuana). Although dill isn't technically a weed, some individuals and spice companies call the plant dill weed, possibly due to its feathery leaves. Dill weed is a dried or fresh foliage plant. Flower umbels are yellow and used to make dill seeds. How Should Dill Be Stored for Optimal Quality? You can keep fresh dill in the fridge by wrapping its leaves in a moist paper towel. Or you can tuck its stems into a container of water. Fresh dill can be frozen by submerging it in water in ice cube trays. Place the cubes in cooked dishes that have enough moisture to withstand them. Dill seeds and leaves can also be easily dried for later use, though the flavor is a lot more muted. Water and Soil Sow dill in soil that is moist but well-drained. If there is a lot of clay in your soil, add organic matter to the top few inches to aid in drainage. If you have trouble with poor soil drainage, plant this herb in raised beds or containers. Growing dill requires proper irrigation. As the seeds germinate, keep the soil evenly moist. Dill plants require one to two inches of rain or extra water each week once they begin to grow. Humidity and Temperature Dill tolerates temperatures as low as 25ºF, but 70ºF is the ideal temperature for it. Dill often bolts, sending up flower stalks to set seeds when temperatures rise. This annual herb dies after it flowers and produces seeds. Get rid of the flowers to prolong the plant's growing season. Apply Fertilizer While most herbs, including dill, don't require extra fertilizer, you can give them once or twice during the growing season by applying a balanced 10-10-10 fertilizer. When planting, either mix a liquid fertilizer with water or etch a time-release fertilizer into the soil. Refer to the product label for instructions on how much to use. Trimming Dill should be pruned early in the growing season to prevent limb bending. Cut off the top leaves of the plant to promote more growth of the lower leaves. Food preparation and cooking can be done with anything that has been pruned. Repotting and Potting You can grow dill in pots on a sunny balcony or deck, even if you don't have an outdoor garden. Due to the deep taproot that dill plants have, choose a container that is at least 12 inches deep. Because clay and terracotta pots don't retain as much moisture as plastic or glazed ceramic pots. They are ideal for growing dill. Make sure the container you select has good drainage and is big enough to allow you to space your plants 12 to 24 inches apart. It is best to start over in a new, larger container. Especially if your dill plant outgrows its current one because it does not take well to transplant. If the temperature where you are planting is not too high, you can keep planting seeds into the summer. Types of Dill Dills can be of many types with each of their distinct looks and flavors. Here are the three different types of dill you can grow in your kitchen or backyard. Long Island Mammoth Also known as Long Island Mammoth this one is an old-time favorite. Its fern-like leaves can be dried and stored for a long time, or they can be harvested fresh. It produces big clusters of yellow flowers with flat tops. They turn into brown seed heads, and they can reach a height of five feet. Fernleaf Grown to a height of only 18 inches, Anethum graveolens, or Fernleaf, is a highly productive dwarf variety. It works well in container gardens or small in-ground beds. Its feathery, delicate foliage has a great flavor of dill. From midsummer into fall, it blossoms. Bouquet The 'Bouquet' cultivar produces plants up to thirty inches tall with fine bluish-green foliage. The enormous, six-inch-diameter yellow flower heads are ideal for drying, creating an enduring arrangement. Or you could chop them for fresh floral arrangements. How to Keep New Dill Fresh? Dill weed quickly wilts after harvesting and gradually loses its distinctive flavor and aroma. If you know how to store your freshly harvested dill, this shouldn't be a problem. Here are two straightforward techniques that you can use: Put It in the Crisper Drawer of the Refrigerator Loosely wrap the recently cut and cleaned leaves in damp kitchen towels before putting them in a container or sealed bag. Put the container in the crisper drawer of the refrigerator, which has a lower humidity than the other sections of the appliance. Utilize the herbs before they begin to wilt and dry out, which should happen in a few days. Put It in Water To make this method function, when harvesting the herb, you must cut off the entire stem. After gathering the stems, put them in a glass of water and seal the opening with a plastic bag. Every day, change the water. Unlike potatoes, dill leaves can remain fresh for up to a week when stored in this manner. How to Freeze Fresh Dill? Freezing is the best way to preserve extra dill for later use if you've harvested more than you can use at once or in a few days. Dill freezes most effectively when chopped into smaller pieces and added to ice cube trays with just enough water to cover the freshly minced dill. This allows the herbs to be kept for four months or longer. This will ensure you always have dill on hand for when a recipe calls for it. How to Dry Fresh Dill? Dried fresh dill is a popular method if you're searching for another way to store dill for a long time. The herb has many uses, even though it won't have as much flavor as when it's fresh or frozen. All year long, you can use it as a herb in cooked dishes or to make tea. Stick to hang-drying if you don't want much of the flavor to be lost. This is a very easy method to use. All you must do is gather a few dill leaves and then bind them with a string. Later, place them in an area with adequate ventilation upside down.  Place them in an airtight container once they're crumbling and dry. Even though fresh dill is always preferable, make sure to save some for later use. Particularly if you don't have a year-round indoor herb and spice garden. Wrapping Up Growing dill is a great way to add flavor to fish and seafood dishes. A little goes a long way because fresh dill leaves have a strong licorice flavor. It is best that you add dill toward the end of cooking, in salads, or as a garnish for soups. Because once cooked, it tends to lose its flavor. If you have thoughts to share or questions to ask about how to harvest dill, please leave a comment below. We would love to hear from you! Read Also: Asparagus 101: When, How, And How Often To Harvest? How To Harvest Sunflower Seeds: A Fun And Easy Activity For The Whole Family How TO Harvest Lemongrass: Tips AND Tricks FOR Growing AND Using This Versatile Herb

READ MOREDetails