10 Cork Board Ideas That’ll Enhance Your Home

Published on: 12 February 2019 Last Updated on: 08 August 2019
cork board ideas

Did you know that cork is an eco-friendly building material? That’s right—more and more people are opting to install cork flooring, countertops, and even walls.

Of course, you don’t need to undergo a whole renovation to utilize cork in your home. There are plenty of simple and affordable cork board ideas that will enhance your home while helping you stay organized.

Do you want to know more? Keep reading to discover the top 10 cork ideas you need to try ASAP!

10 Cork Board Ideas That’ll Enhance Your Home:

1. Create a Backsplash:

Luckily, you don’t always need a professional to install cork in your home. If your kitchen backsplash needs a makeover, consider going DIY by using wine corks.

You’ll need to be patient and accurate during this process, but the final result will be unique, durable, chic, and eco-friendly!

2. Give the Whole Family a Board:

There’s no denying how convenient and helpful cork boards are. If you have a busy family, don’t settle for just one cork board—give one to every member of the family!

They can use their board to hang notes for themselves, or they can hang notes on your board to remind you to sign their permission slip for school or to pick up milk on your way home from work.

3. Use Wine Corks:

Have you been collecting wine corks just waiting for a fun way to use them? Well, look no further!

You can create a unique cork board by gluing your wine corks horizontally on a piece of wood or sturdy cardboard. You’ll still be able to hang notes or pictures using pushpins, but your board will look much more stylish.

4. Give It a Fun Shape:

Who says cork boards have to be rectangular? If you’re looking for a fun DIY project to fill up a rainy afternoon, consider making a uniquely-shaped cork board.

You can order cork rolls online or look in your local craft store. Just lay out a section of the roll and outline whatever shape you want your cork board to be in. This could be something simple, like a heart or a star, or you could personalize it by using the first letter of your first name.

Then, cut out the shape and you’re all done! If you want to take this one step further, consider attaching a brightly-colored string to hold photos without having to poke holes in them.

5. Organize Your Jewelry:

Is your jewelry constantly getting tangled up? You may be thinking about investing in a nice jewelry organizer, but you can easily organize your bracelets, rings, and necklaces with a cork board.

All you need to do is use thumbtacks as hooks to hang your jewelry from. Of course, you can dress this up a bit by framing the corkboard or covering it in a piece of fabric.

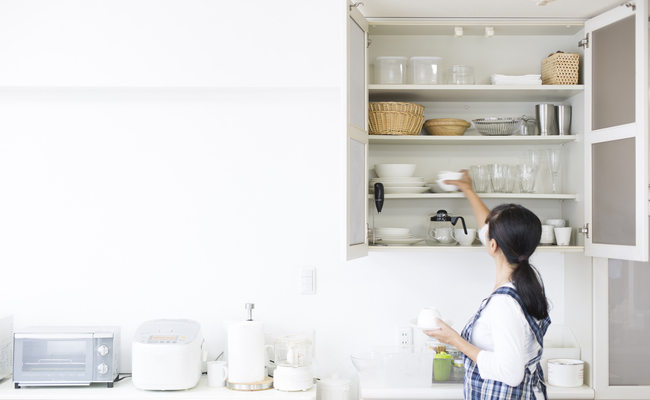
6. Install Cork Inside Your Cabinet Doors:

Are you constantly running out of room in your kitchen? An easy way to stay organized is to install cork on the inside portion of your cabinet doors.

You can then hang small kitchen utensils, like measuring spoons, on it. This is also a great place to store recipes or your grocery list, so you never lose it.

7. Make Coasters:

Of course, cork can be used for more than just cork boards. You can also create coasters out of small sheets of cork.

You can either go for a fun shape, like the outline of your state or stick with a classic circle and paint designs on it. It’s cute, affordable, and won’t scratch your furniture!

8. Hang Your Dartboard on It:

If you have a dart board in your home, stray darts may have put small holes or marks on your wall. An easy way to keep your dartboard and protect your wall is to use a large slab of cork.

Just hang your dartboard in the middle and let the surrounding cork take the blow from missed darts. You can even decorate this by covering it with a piece of fabric or painting it to match the decor.

9. Put Cork Above Your Keyring Holder:

Do you have a million thoughts running through your mind as you get ready in the morning? A cork board is a great place to hang notes to yourself, so you can just relax with a cup of coffee instead of trying to remember everything.

But the location is everything! Put your corkboard above your keyring holder, so you can see your notes before you leave. If you don’t leave a lot of notes for yourself, you can also get a stylish keyring holder and hang photos on your cork board to decorate your entryway.

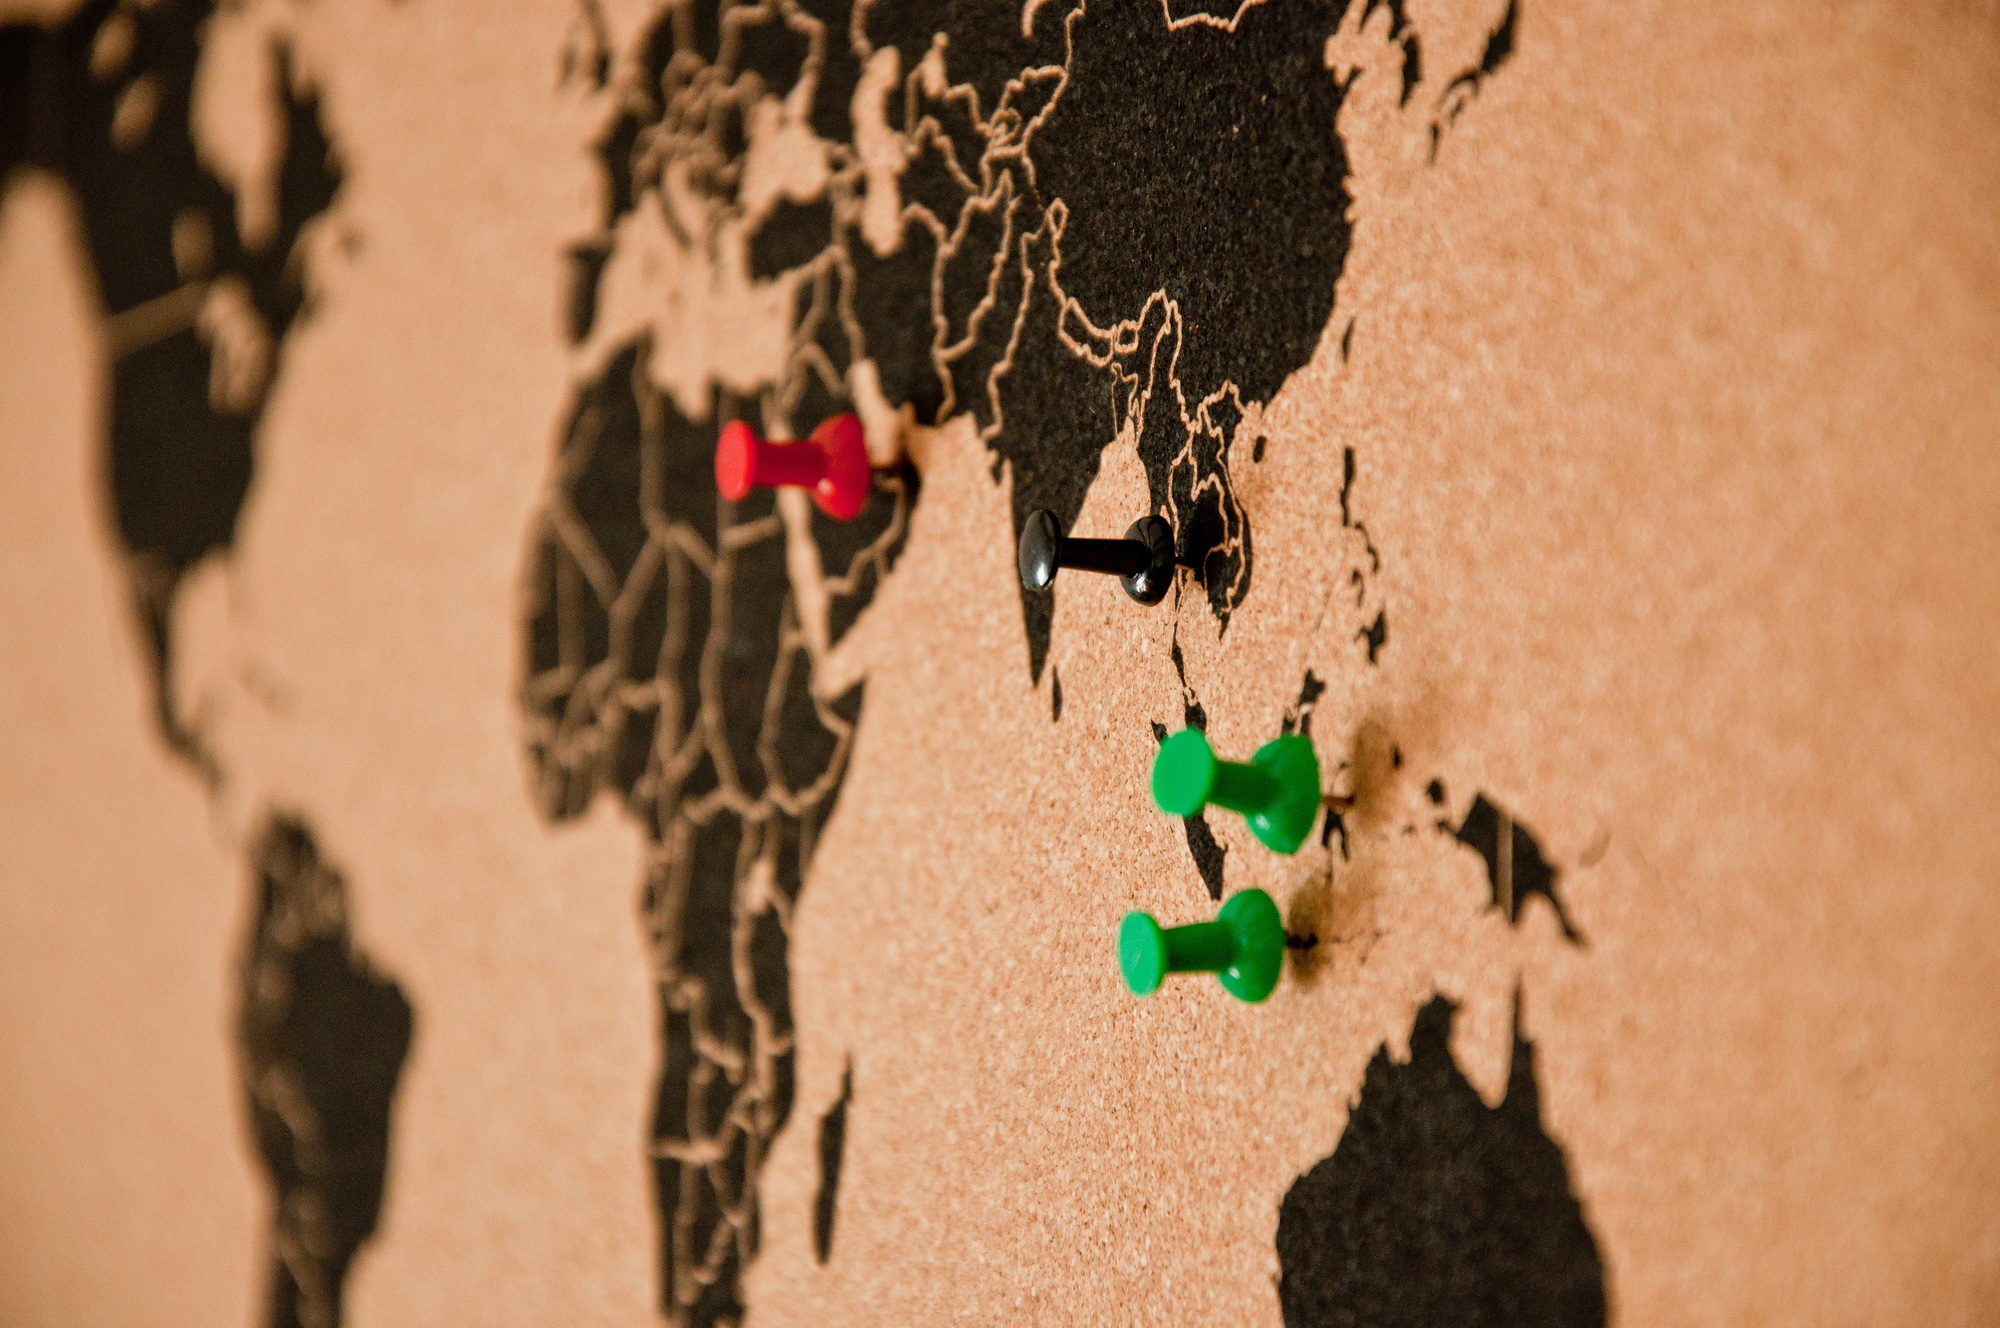
10. Create a Travel Board:

Are you constantly counting down the days until your next vacation? Whether you travel once a year or once a month, a travel board can be a fun addition to your home.

Just place a map over a slab of cork and put a pin in every place you’ve been. If you’re travels have been focused in the United States, consider cutting your cork into the shape of the country to make it stand out even more.

The Best Cork Board Ideas:

Don’t settle for a boring old cork board anymore! From organizing your jewelry to creating a travel board, there are tons of cork board ideas that will look amazing and enhance your home.

Of course, it isn’t just the interior of your home that matters. Learn more about installing stone veneers to your home’s exterior to increase its value and curb appeal!

Read Also:

Content Rally wrapped around an online publication where you can publish your own intellectuals. It is a publishing platform designed to make great stories by content creators. This is your era, your place to be online. So come forward share your views, thoughts and ideas via Content Rally.

View all posts

Leave a Reply

Your email address will not be published. Required fields are marked *

Related

Artificial Grasses

Best Games To Play On Artificial Grasses

The best part of summer is finally getting to spend time with your family. Lawn games are a perfect way to bond and stay in shape at the same time. And playing on artificial grasses makes it even more fun, as you don’t have to worry about damaging it. More and more people are deciding to use artificial grasses for back gardens. You might ask - why? Well, apart from the fact that it is durable, it is also very cheap and requires low maintenance (mainly because you don’t have to mow it). Because of these reasons, people are slowly changing from natural grass to fake one - they don’t have to care for it, they can just leave it be. Want to know what are the best games in which you can play on an artificial lawn? If you do, you just have to keep reading. Best Games To Play On Artificial Grasses: 1. Cornhole: Cornhole is one of the most popular lawn games - its popularity has been growing mainly in the last few years. In this game, two teams stand across from each other, trying to toss small bags into holes that are on the planks in front of them. You can either make the set by yourself, or you can buy one is a local shopping center. Artificial grasses is perfect for this game, as the surface on which you are playing must be flat. It makes the game fair, as no team has an advantage over another. Another thing is that you can play this game even after heavy rain as artificial grasses dries very quickly, in contrast to natural grass that gets too sloppy for it. Cornhole is a game that everyone can enjoy, no matter the age or physical condition - you don’t need to be an athlete to have fun. With almost no risk of injury, it’s a safe and enjoyable game. 2. Water Balloon Fight: A water balloon fight is an ideal game to play during the summer when the days are hot. Furthermore, artificial grasses is a perfect surface for playing it. Firstly, if you have kids, you can make sure that they don’t get hurt by adding extra cushions beneath the lawn. Also, cleaning empty balloons is an easier task if you have artificial turf. Another thing is that thanks to the lawn’s drainage system, the grass won’t get soggy or slippery as the water will be quickly removed from it. Lastly, since you don’t water your lawn, you don’t have to worry about it getting too much water - it will be removed anyways. 3. Bocce Ball: Even though this game is more than a thousand years old, it has been gaining popularity again in the last few years. And lawn made out of artificial grasses is one of the best places to play it. Especially since for a game to be fair, there needs to be a flat surface - the height of the grass and the slope of the lawn can have an impact on the motion of the ball. Since artificial grasses is very durable, it won’t allow any dips or holes to appear. Since it’s a simple game, you can easily play it with your children. You can buy a bocce ball set at any shopping centre, and if you’re looking for something more professional, you can try installing a bocce ball court in your backyard, so that you can play whenever you want. 4. Football: Football is a big part of the culture in many countries. Families gather together to cheer on their favourite teams. It’s also a sport that people of any age can enjoy - it’s not unusual to play it on family parties. If your family loves to play friendly football matches against each other, you should think about installing an artificial lawn. Natural grass can very easily get damaged if the game gets too intense, contrary to fake grass which is very durable. There’s also a smaller chance of you getting hurt if you play on the artificial lawn, as you can install a turf padding underneath. Interestingly, football teams were among the first people to embrace fake grass. 5. Ring Toss Games: Ring toss games are an excellent option for those who want to play a fun game that doesn’t require any major skills. When you play it on the artificial lawn, you don’t have to worry about causing damage to it. Remember, however, that when buying the game, you should buy one that doesn’t require you to insert a metal stake into the ground. You can also build it by yourself. All you need is a couple of wood boards that will support the stake. Drill or hammer the stake into the board and voilà - you’re all set to play. Conclusion: The artificial lawn is a perfect place to play many games, mainly because it’s very hard to damage it. It doesn’t matter what kind of game it is that you’re playing - the most important thing is that you have fun doing so and spend some quality time with your family by making them join you in it. Have fun! Read Also: Edmonton Landscape Maintenance Tips 7 Secrets To Keeping Your Lawn Tidy And Green 4 Essential Tools Needed To Maintain Your Garden In The Winter

READ MOREDetails
Deadheading Petunias

Interesting Facts about Celery and Deadheading Petunias

How long does celery last? Do you know about Deadheading Petunias? Celery lasts for as long as any other quick expiring ingredient in the recipe. Many individuals consume celery stalks, but the leaves are also beneficial and edible. They make an excellent addition to soups and stir-fries. You can find celery seeds either in extract form, whole seed form, or ground up, with its impressive health benefits. In many parts of the universe, people grow this plant because of its beneficial seeds. When you crash them, you can use the seeds as a spice because it contains a unique oily compound called apiol. The spice is good for providing flavor and also has medicinal benefits. Celery facts: Celery has a cholesterol-lowering power that makes it useful for maintaining heart health. The seeds contain a unique compound called BuPh that has lipid-lowering properties. However, researchers believe that this plant contains many other beneficial compounds that are still under research. In a recent study, rats feeding on celery continuously for eight weeks recorded lower lipid levels in their blood compared to those that did not feed on celery. This group of rats also experienced reduced serum cholesterol, triglyceride concentrations, and low-density lipoprotein cholesterol. Celery also contains polysaccharides and antioxidants that act as anti-inflammatories, especially polyphenol and flavonoid antioxidants. They support the overall health of individuals as they age by fighting free radical damage that causes inflammation. Inflammation causes chronic diseases like heart disease, arthritis, cancer, and much more. Researchers have come up with several antioxidant types from celery which is beneficial like ferulic acid, caffeic acid, and phenolic acid, as well as flavors like quercetin. These acids make celery the right solution for treating inflammatory conditions like joint pain, liver and kidney infection, gout, irritable bowel syndrome, skin disorders, and urinary tract infection. When you consume celery, and you have high blood pressure, the risk of high blood pressure reduces. These seeds help in controlling the chronic levels of blood pressure. The seeds contain aqueous ethanolic, methanolic, and hexane extracts that lower inflammation improves blood circulation, and help in controlling blood pressure. These seeds also help in reducing bloating and boosting digestion with the aid of the NBP oily compound that contributes to detoxifying the body. The digestive benefits result from its diuretic effect. If you want to lose weight, consuming celery is vital because it has vital nutrients that help in regulating lipid metabolism. How do you prune Deadheading petunias blooms? Many garden tips will guide you on how to deadhead petunia. You need to allow your flowers to start blooming. You need to wait until the plant spends about six hours in the sun and are full of blooms. Once the flower starts dying, it is the right time to deadhead. You will also have to get a sharp pair of scissors and pruning shears. Give the plant a sharp cut when you use scissors. You will then have to pick the petunia stem gently with many blooms. You need to aim at the area that contains the most spent blooms and cut with your shears. Even though you need to cut back healthy sections of the plant to encourage new growth of Deadheading Petunias, pruning your plant extends your season of growth and helps produce more blooms. It is recommended that you prune one stem per week on a small plant and eight stems for the large hanging basket. Regular pruning will help you avoid pruning the whole plant at once. On some occasions, you will have to prune a healthy-looking bloom so that the plant looks healthy for an extended period. If you cannot do it on a weekly basis, it is advisable to wait for the mid-summer season to make it bloom for long. You need to keep fertilizing Deadheading Petunias every two weeks. Read also: Smart Fun Gardening: How To Take Care Of A Money Tree 5 Good Luck Plants That Deserves A Place In Your Home

READ MOREDetails
how to harvest basil

Everything You Need To Know About Harvesting Basil!

Basil is one of the most popular and versatile herbs you can grow in your garden or indoors. It has a fresh and aromatic flavor that can enhance any dish, from salads and soups to pizzas and pastas. Basil is also rich in vitamins, minerals, and antioxidants just like cilantro. It can benefit your health and well-being. But how do you harvest basil properly so that it keeps growing and producing more leaves?   If these are some of the things you want to know, I have you covered! In this article, I will answer all these questions and more and give you everything you need to know about harvesting basil! So, keep on reading this blog till the end to learn more…  How to Harvest Basil Leaves? The first thing you need to know about harvesting basil is when to do it. The best time to harvest basil leaves is in the morning when the plant is still fresh and moist. Avoid harvesting basil in the afternoon or evening when the plant is dry and wilted. Also, avoid harvesting basil when it is raining or wet, as this can cause the leaves to rot or mold. Steps to Harvest Basil Leaves To harvest basil leaves, you will need a pair of scissors or a sharp knife and a basket or a bowl to collect the leaves. You can also use your fingers to pinch off the leaves, but be careful not to damage the stem or the plant. Here are the steps to follow: Start from the top of the plant, and look for the stems with leaf clusters. These are called the terminal buds, and they are where the basil flowers will grow. You want to remove these buds, as they will make the plant stop producing new leaves and focus on flowering and seeding. This will reduce the flavor and quality of the basil leaves. Cut or pinch off the stem just below the terminal bud, leaving about a quarter of an inch of stem above the next pair of leaves. This will encourage the plant to grow two new stems from the leaf nodes and produce more leaves. You can also cut or pinch off any other stems that are too long or leggy and leave about four to six pairs of leaves on each stem. Repeat this process for all the stems that have terminal buds, and collect the leaves in your basket or bowl. You can also harvest some of the lower leaves but leave enough leaves on the plant to allow it to photosynthesize and grow. You should not harvest more than a third of the plant at a time, as this can stress the plant and reduce its growth and health. After harvesting, rinse the leaves with water and pat them dry with a paper towel. You can use them fresh or store them for later use. How to Harvest Basil So It Keeps Growing One of the benefits of harvesting basil is that it stimulates the plant to grow more leaves and branches and prevents it from flowering and seeding. However, you need to harvest basil regularly and correctly, so that it keeps growing and producing more leaves. Here are some tips to follow. For instance, you must harvest basil: At least once every two weeks, or more often if you see the terminal buds forming. This will keep the plant bushy and compact and prevent it from becoming woody and bitter. From different parts of the plant, and not always from the same spot. This will ensure that the plant grows evenly and does not become lopsided or uneven. Before it flowers. This is because the flowers will reduce the flavor and quality of the leaves. If you see any flowers forming, remove them as soon as possible. You can also pinch off the flowers and use them as edible garnishes or decorations, as they have a mild and sweet flavor. Before the frost, as the cold weather will kill the plant. You can either harvest the whole plant and store it for later use, or bring it indoors and keep it in a sunny and warm spot. You can also propagate the plant by taking cuttings and rooting them in water or soil and grow new plants for the next season. How to Harvest Basil Without Killing The Plant? Harvesting basil is different from harvesting lettuce or other plants. The process is good for the plant and you, as you can enjoy the fresh and aromatic leaves in your dishes. However, you need to be careful not to harvest too much or too often, as this can harm and kill the plant. Here are some dos and don'ts of harvesting basil without killing it: Do harvest basil from the top of the plant, not the bottom or the middle. This will allow the plant to grow stems and leaves from the lower nodes and maintain its shape and structure. Don't harvest basil from the main stem or cut it too close to the ground. This will damage the plant and prevent it from growing new stems and leaves. Leave at least four to six pairs of leaves on each stem and about an inch of stem above the ground. Do harvest basil gently and carefully, and not roughly or forcefully. This will avoid injuring the plant and exposing it to diseases or pests. Use a sharp and clean tool, such as scissors or a knife, and make clean and smooth cuts. You can also use your fingers to pinch off the leaves but be gentle and precise. Don't harvest basil when it is stressed or unhealthy, such as when it is wilting, yellowing, or diseased. This will weaken the plant and make it more susceptible to further damage. Wait until the plant recovers and looks healthy and green before harvesting. You can also water and fertilize the plant to help it grow and thrive. Do harvest basil when it is young and tender, not old and tough. This will ensure the leaves are fresh, flavorful, and not bitter or woody. Harvest basil when the leaves are about two to three inches long before they curl or turn brown. How to Pick Basil Leaves? Picking basil leaves is another way to harvest and use the leaves in your dishes. You can pick basil leaves with your fingers or with a pair of tweezers, depending on your preference and convenience. Here are some tips on how to pick basil leaves. For instance, you can pick it: From the top of the plant, not the bottom or the middle. This will allow the plant to grow stems and leaves from the lower nodes and maintain its shape and structure. From the stems that have terminal buds, not from those that have none. This will prevent the plant from flowering and seeding and producing more leaves. You can also pick some of the lower leaves but leave enough leaves on the plant to allow it to photosynthesize and grow. Gently and carefully, and not roughly or forcefully. This will avoid injuring the plant and exposing it to diseases or pests. Use your fingers to pinch off the leaves or a pair of tweezers to pluck them off. Be gentle and precise, and do not pull or tug on the leaves or the stems. When they are young and tender and not when they are old and tough, this will ensure the leaves are fresh, flavorful, and not bitter or woody. Pick basil when the leaves are about two to three inches long before they curl or turn brown. How to Store Basil Leaves? Storing basil leaves is a great way to preserve and enjoy them for later use. You can store basil leaves in different ways, depending on how long you want to keep them and how you want to use them. Here are some of the best ways to store basil leaves: Refrigerate Them You can refrigerate basil leaves for up to a week, by wrapping them in a damp paper towel and placing them in a resealable plastic bag or an airtight container. This will keep them moist and fresh, and prevent them from wilting or drying out. However, you should not wash them. Freeze Them You can freeze basil leaves for up to six months, by blanching them in boiling water for a few seconds, and then plunging them in ice water to stop the cooking process. This will preserve their color and flavor, and prevent them from browning or oxidizing. Then, pat them dry with a paper towel, and place them in a resealable plastic bag or an airtight container. You can also chop them and mix them with some olive oil, and freeze them in ice cube trays. This will make it easier to use them in soups, sauces, or dressings. Dry Them You can dry basil leaves for up to a year, by hanging them upside down in a warm and dry place, such as a closet or a pantry. This will dehydrate them and concentrate their flavor, and make them last longer. However, you should avoid drying them in direct sunlight, as this can bleach them and reduce their quality. You can also dry them in an oven or a microwave, but be careful not to burn them or overcook them. Once they are dry, you can store them in a glass jar or a spice container, and crush them or grind them before using them. Make Pesto You can make pesto with basil leaves, by blending them with some garlic, pine nuts, parmesan cheese, and olive oil. This will create a delicious and versatile sauce that you can use for pasta, sandwiches, salads, or dips. You can store pesto in the refrigerator for up to a week, or in the freezer for up to six months. You can also customize pesto by adding other herbs, nuts, cheeses, or spices, according to your taste and preference. How to Cut Basil? Cutting basil is a simple and easy way to harvest and use the leaves in your dishes. You can cut basil with scissors, a knife, or your fingers, depending on your preference and convenience. Here are some tips on how to cut basil: Wash and dry the basil leaves before cutting them to remove any dirt or insects. You can rinse them under running water or soak them in a water bowl with a few drops of vinegar. Then, pat them dry with a paper towel or spin them in a salad spinner. Cut the basil leaves just before using them, to preserve their flavor and aroma. If you cut them too early, they will lose their freshness and wilt. You can also bruise or damage the leaves if you cut them too roughly or with a dull tool. Cut the basil leaves according to the size and shape that you need for your recipe. You can either leave them whole or chop them finely or coarsely. You can also cut them into ribbons or strips, by stacking several leaves together, rolling them up, and slicing them thinly. This is called the chiffonade technique, and it creates a beautiful and elegant garnish. Cut the basil leaves with a sharp and clean tool, such as scissors or a knife, and not with a blender or a food processor. This will avoid bruising or crushing the leaves and releasing their oils and juices. You can also use your fingers to tear or pinch off the leaves but be gentle and careful. How to Use Basil Leaves? Using basil leaves is a fun and easy way to add flavor and aroma to your dishes. You can use basil leaves in different ways, depending on your mood and occasion. Here are some of the best ways to use basil leaves: Fresh You can use fresh basil leaves to garnish and enhance your dishes, such as salads, soups, pizzas, and pastas. Also you can use fresh basil leaves to make salads, such as caprese salad with tomatoes, mozzarella cheese, and basil, or Greek salad with cucumbers, feta cheese, and basil. You can also use fresh basil leaves to make drinks, such as lemonade, tea, or cocktails, with basil, lemon, sugar, and water. Cooked You can use cooked basil leaves to flavor and season your dishes, such as sauces, stews, curries, and casseroles. Also you can use cooked basil leaves to make dishes, such as tomato sauce with basil, garlic, and onion, or chicken with basil, cream, and mushrooms. You can also use cooked basil leaves to make breads, such as focaccia with basil, olive oil, and salt, or muffins with basil, cheese, and eggs. Preserved You can use preserved basil leaves to store and enjoy them for later use, such as freezing, drying, or making pesto. Also you can use preserved basil leaves to make dishes, such as pesto pasta with basil, garlic, pine nuts, and parmesan cheese, or roasted vegetables with basil, olive oil, and salt. You can also use preserved basil leaves to make snacks, such as crackers with basil, cheese, and honey, or popcorn with basil, butter, and salt. Wrapping It Up! Basil is a wonderful herb that you can grow and harvest in your garden or indoors. It has a fresh and aromatic flavor that can enhance any dish, and a rich and nutritious profile that can benefit your health and well-being. By following the tips and tricks in this article, you can learn how to harvest basil properly, so that it keeps growing and producing more leaves, how to cut basil, pick basil leaves, and store them for later use, and how to use basil leaves in different and delicious ways. Read Also: Some Facts You Need to Know About Rainwater Harvesting Asparagus 101: When, How, And How Often To Harvest? Exploring Ideas For A Biophilic Home Design

READ MOREDetails