How to Thicken Chili – Tried and Tested

Published on: 30 May 2021 Last Updated on: 23 December 2024
how to thicken chili

A cold winter night with a delicious dish of chili is all you need to enjoy your moment. But wait, Are you left with too much liquid in your chili? Ah! No need to worry at all. There are numerous ways on “how to thicken chili”.

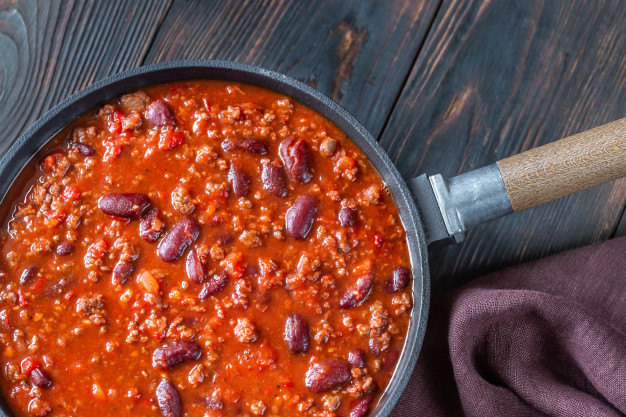
Honestly, you don’t want a thin chili because there is nothing better than a cheerful bowl of thick chili as your winter dish. Many times, just to thicken the chili, people cook it more than it is necessary. Later, other ingredients in it fall apart and turn to mush. 

Don’t panic. There are effective and easy ways to thicken chili at your home, and all of these methods are tried and tested. Just be sure to use at least some of these methods to thicken chili before your precious moment turns into sour.

How To Thicken Chili – Tried and Tested

Thicken Chili

You may be wondering that cooking your dish for a little longer will make your chili thick. But do you know that you are mushing other ingredients in it? So, you must know other effective ways about how to thicken chili. Below listed are the perfect ways to thicken chili for the perfect night.

1. Flour – Standard Thickening Method:

Flour

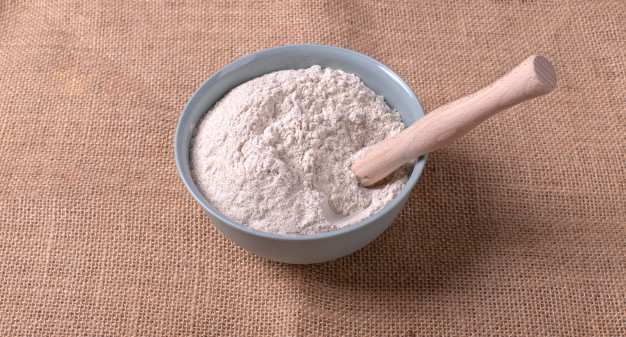
Wheat flour is composed of proteins, sugars, lipids, starch, and enzymes. It is used for making different types of foods. Flour is widely used for thickening chili in most of the kitchens. It really works great. Now its time to try for yourself as well.

Ingredients: 

30ml or two tablespoons of flour and 60ml or ¼ cup of cold water.

How to Use?

  • Take a separate bowl. Mix flour and water thoroughly in it. 
  • Make sure that the resulting mixture has no lumps and is smooth.
  • Then add the flour mixture in your thin chili while cooking it in medium-high heat.
  • Stir constantly. Let the mixture boil and thicken well. It will hardly take few minutes.
  • Make sure to continue stirring an additional few seconds to see if you are able to detect flour in your chili flavor. 

So, here is your hearty chili dish! Now, it is much thicker and tastier than before. You can even serve this to your guests.

2. Arrowroot- Best Thickening Agent:

Arrowroot powder

Arrowroot contains Vitamin B, Iron, Potassium, low-protein, starch, etc. It is widely used as a thickening agent in all household kitchens. It is a starch that is extracted from the arrowroot plant. When you will use arrowroot in your dish, then it will give an amazing surface gloss to your liquid chili. 

Ingredients:

5ml or 1 tablespoon of Arrowroot and 5ml or 1 tablespoon of cold water.

How to Use?

  • Take a separate bowl. Mix thoroughly water and arrowroot to turn it into a smooth paste.
  • Make sure that you add only a small amount of arrowroot as it is potent and flavorless.
  • Then add slurry into your thin chili cooking it in medium heat.
  • Stir constantly below the boiling point.
  • Then after 1 to 2 minutes, your thin chili will thicken instantly.

Arrowroot adds gloss like appearance to your chili dish making your dish thicker and delicious. I have used this method and got the result, so now it’s your time!

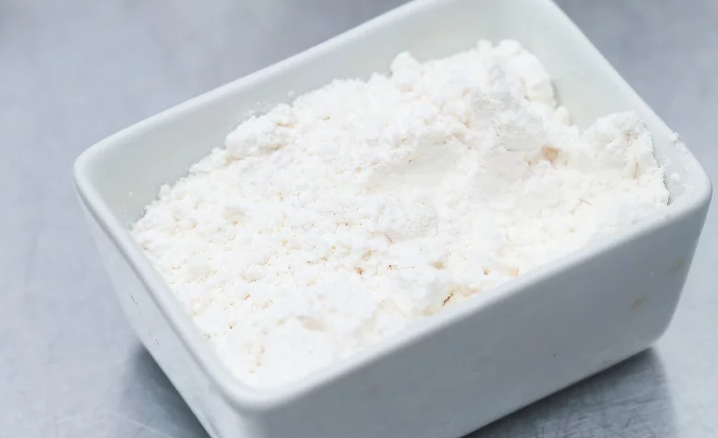
3. Cornstarch- Anti-sticking Agent:

Cornstarch

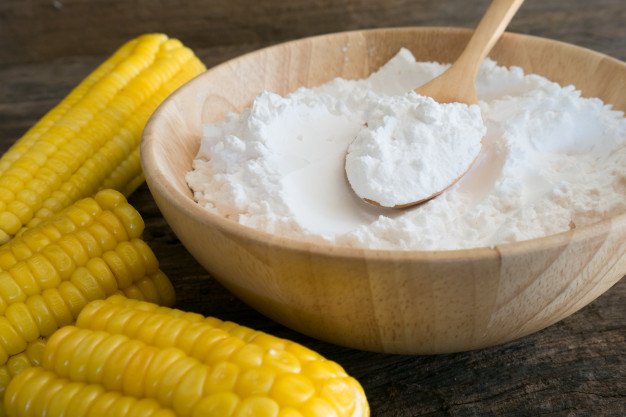
Cornstarch is also known as Maize starch which is extracted from the maize grain. It is a food ingredient that is used in thickening soups and sauces. Cornstarch gives a moderate glossy appearance and when mixed with liquid, it rearranges itself. 

Ingredients:

15ml or 1 tablespoon of cornstarch and 15ml or 1 tablespoon of cold water.

How to Use?

  • Take a separate bowl. Mix thoroughly cornstarch and water before mixing it to chili.
  • After adding cornstarch paste to chili, heat it in a medium to high flame.
  • Stir it well until the bubbles start appearing.
  • Wait for few minutes to see the results.
  • If you still feel that your chili should be thicker then you can add more cornstarch and water on it. 
  • Then let it cook for an additional few minutes.

You can use cornstarch to thicken your chili because it will not alter the taste of your dish of chili as cornstarch is flavorless.

Other Simple Ways to Thicken Your Thin Chili:

4. Mix it in Tomato Paste

chili Tomato Paste

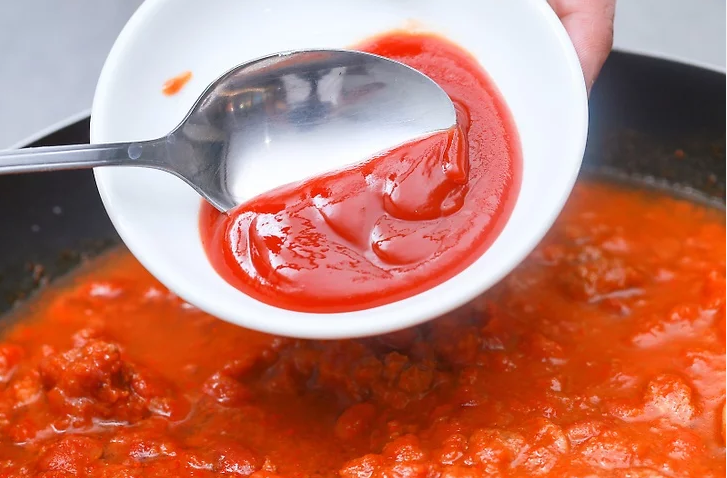
Now, no need to worry about how to thicken chili. If you want your chili only a little thick then you can use this method. Tomato is one of the main elements in chili. So adding it to your mixture won’t alter its taste and makes your chili thicker.

Ingredients:

170 grams of tomato paste.

How to Use?

  • I am suggesting that you should use fresh handmade tomato paste.
  • Since tomato paste is recognized as bitter in taste, so you can add a pinch of sugar in it.
  • Sugar will add a mild sweetness to your dish by removing tomato’s bitterness.
  • During the final thirty minutes of cooking add 170 grams of tomato paste into your thin chili.
  • Slowly add tomato paste to your thin chili. You can also add it after every ten minutes if you wish (⅓ of the tomato paste).
  • Stir constantly to combine it well.

You can use tomato paste to thicken your thin chili dish. But keep all the instructions in mind so as not to make any mistakes while preparing it.

5. Use More Beans to Thicken Your Thin Chili:

Beans to thicken chili

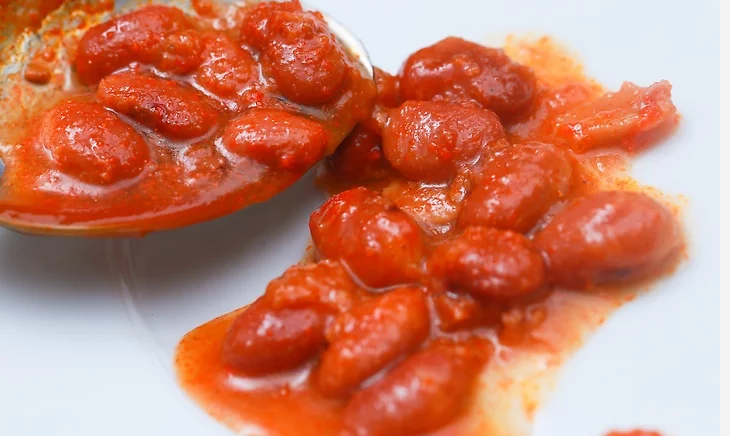
A bean is a seed of numerous genera of the flowering plant. They have the ability to curl up on any medium. Beans can be use to thicken your thin chili. Do you know that India is the largest producer of dry beans in the world? Yes, it is. 

Ingredients:

125ml or a half-cup beans.

How to Use?

  • If your chili contains beans then strain half cup of beans. Then refry and blend it.
  • Then again mix this mixture to your chili and cook for a few minutes.
  • Stir occasionally to warm it well.
  • You can use canned or home-cooked beans as per your wish. 
  • If you still feel that your chili is thin, you can add extra beans in it but make sure you blend it well.

Here you go! Your thick chili dish is ready now to serve your family. If you don’t like beans then no need to worry. You can add meats to make your chili thicker.

Wrapping it Up

“How to thicken chili” is one of the major problems for all the cook masters. Even I have used many methods to thicken my thin chili but all went in vain!

Therefore, all the above methods are tried and tested about how to thicken chili. So, you can use it to thicken your thin chili. I know nobody likes to serve thin chili to their family or guests. Even I don’t like it. Do you? 

Image source: wikihow

Read Also:

Content Rally wrapped around an online publication where you can publish your own intellectuals. It is a publishing platform designed to make great stories by content creators. This is your era, your place to be online. So come forward share your views, thoughts and ideas via Content Rally.

View all posts

Leave a Reply

Your email address will not be published. Required fields are marked *

Related

Baked Chicken Thighs Recipe

Garlic Butter Baked Chicken Thighs Recipe

These days, all the love goes to boneless skinless chicken breasts. Maybe because they cook quickly, they are healthy and they are cheap. Baked Chicken Thigh Recipe is very delicious. How about making a case for skin-on bone-in chicken thighs, because honestly, they are all-around better. Thighs are better because they contain more fat and as you know fatter means more flavor. Skin-on together with dark meat is a bit more extra fat, which makes a huge difference in the flavor. Is there really any delicacy more delicious than a crispy chicken skin? Chicken thighs are not difficult in cooking, but compared to chicken breasts, they need a little more style especially if you want to bake them. Just follow the below simple rules and you will never have to sit through a single boring chicken dinner. Baked Chicken Thigh Recipe Procedure You Need To Follow  Pat the chicken thighs dry: This easy procedure makes a big difference when going through a garlic butter baked chicken thigh recipe because while baking, moisture forms steam that will provide you pale, flabby skin rather than delicious golden skin. Pick up a couple of paper towels and dab the thighs on each side. Let the chicken thighs come to room temperature: Placing out your chicken thighs to reach room temperature delivers huge things as the end result. Basically, if you bake your chicken cold, the outside cooks quicker than the inside which is colder, and the outside will be overcooked by the time the piece at the center reaches up to room temperature. Basically, it is simple to overcook chicken thighs when they are cold, therefore forming dry meat. The process does not take long, so you do not need to worry. Chicken thighs are quite tiny, so they will only take about thirty minutes to arrive at room temp. If you take them out at a similar same time as you preheat the oven, you will be good to go! Generously season the thighs: In a baked chicken thigh recipe, the thighs are better when seasoned generously. Season each side using salt and remember to not season the inside. While the thigh cooks, the salt will dissolve its way inside it, thus entirely flavoring every piece. Salt assists the meat in maintaining its moisture, making the thighs more juicy and plumper. Garlic Butter Baked Chicken Thigh RecipeIngredients One unsalted butter maintained at room temperature One lemon zest Ground black pepper Five minced cloves garlic Kosher salt One tablespoon freshly chopped parsley, for garnish One tablespoon fresh thyme leaves One lb. quartered baby potatoes Three lb. bone-in, skin-on chicken thighs One lemon, slit into rounds Garlic Butter Baked Chicken Thigh RecipeDirections: Preheat your oven up to 425 degrees and pat the chicken thighs dry using a paper towel. Season the meat using pepper and salt. Stir thyme, lemon zest, garlic, and butter together inside a medium bowl. Rub the butter mixture on the chicken thighs. Put chicken thighs, potatoes and lemon rounds inside a 9"-x-13" baking dish. Bake the thighs until it registers 160°F on an instant-read thermometer, about thirty-five minutes. Read Also: 7 Surprising Benefits Of Alkaline Foods 6 Tips To Improve Your Cooking Overnight 10 Best Protein Shake Recipes For Weight Loss

READ MOREDetails
Baking

8 Baking Essentials For The Home Cook

Getting into baking as a home cook can be pretty daunting, especially when faced with a plethora of options and tons of confusing advice. You might just be standing in the store staring at the different products wondering whether you're supposed to buy a mixing bowl or a souffle dish. Believe us; you wouldn't want to end up with drawers full of unuseful stuff. So if you are a newbie looking for some advice for your baking journey, besides taking up some bakery courses, continue to read on and learn about some essentials you need. List of Top 8 Lucrative Baking Equipment For Home Cook 1 - Measuring Cups This one might be a no-brainer, but many people skip the basics when starting with baking. If you're wondering why you can't save some money by just using the same cup to measure everything - well, there are different measuring cups for wet and dry ingredients. Mixing those will make accurate measuring difficult and mess up your whole recipe. For sticky ingredients like honey and peanut butter, you can look into adjustable measuring cups, which are super convenient and prevent product waste. 2 - Spatulas There are varying uses of spatulas when it comes to baking. Whether scraping, stirring, or lathering, you'll find yourself repeatedly reaching for this handy tool. All the options might confuse you, so let's narrow it down to the basics. Ideally, you need spatulas that are: a) flexible and b) heat resistant. Even within those categories, there are many different options you can explore. So if you want to get into more detail, you can find out about the different kinds of spatulas here. As for between wooden and rubber spatulas, we'd recommend rubber. There are specific rubber spatulas that are meant to be heat resistant. So you get the best of both worlds. But if you are looking for more of an eco-friendly option, wooden spatulas are also great. 3 - Baking Pans Pans work as the base on which you start building up your dish, there is no baking without pans, and you can't get away with just getting one and calling it a day. But that doesn't mean you have to start buying every type of pan you can get your hands on. So again, we'll focus on the essentials. Muffin tins are a must and versatile since they can be used to make much more than the usual cupcakes. You can start with a smaller 6-cup pan or go up to 12 if you work with the smaller goodies more often. Loaf tins are also very important to have, and it's a purchase you won't regret. The possibilities are endless, and we recommend going for a non-stick one on the lighter side. 4 - Mixers Mixers are tools that can be a bit heavy on your wallet, but it's definitely worth the price. Many consider stand mixers the best option and have many pros: they're fast, thorough, and all-around convenient. The con? They can't fit into everyone's budget. If a stand mixer doesn't fit your budget, handheld mixers, specifically electric ones, are certainly not a bad choice. They don't hurt your finances and are easy to store as well. While not as fast as stand mixers, they still get the job done fairly quickly. 5 - Kitchen Scales Regarding accuracy, there is no tool better than digital kitchen scales. While you can certainly go for manual ones, the accuracy won't quite compare to digital ones. Measuring weight proves to be much more accurate than measuring volume. Whether your top priority is appearance or taste, accurate measurements are essential for both. It also cuts down a lot of the work you have to put in after you're done baking by decreasing the number of dishes used. If you're an experienced baker, a digital scale is a must since almost all professional bakers use it. 6 - Pastry Brushes Pastry brushes might seem like something you should skip over, but they're an essential item, and you'll regret not getting one. Pastry brushes are best used for tasks that require a more delicate touch, like glazing, coating with melted butter, and greasing pans. They can even be used to clean your dish by brushing off excess coating. They're fairly easy to use and don't make a mess, as the bristle soaks up liquids. 7 - Sifters If you're working with flour and sugar, you need a sifter or a sieve. The fine mesh allows you to sift sugar and flour, which is an important step in making brownies and cakes. Many recipes require your flour to be super fine, and the sifter is the perfect tool for achieving it. Dusting the tops of cakes or similar baked goods with icing sugar also becomes super easy when you have a sieve. Plus, it's very affordable and can last for years. 8 - Rolling Pins Getting a rolling pin seems fairly straightforward, but a fair amount of options are available for different preferences and types of recipes. Rolling pins with no handles and tapered edges are preferred because they can give you super smooth and even dough. These are called french style pins. Pins with handles are great for speed since you have better control over your movements. Going for more than one size will be helpful if you work with a lot of icing. Mini pins help when you need to be more careful and work with an intricate design. When it comes to material, wood is the best way to go since the flour sticks to it, making the process a lot easier. Conclusion So here's our list of baking essentials you need if you're a home cook! We understand how stressful it can be to be faced with so many options and wanting the best while trying to stay within budget. Still, if you stick to the basics, you're already equipped for most recipes. You can add to your tools as the need arises, and that's how you make sure you aren't getting things that will do nothing but take up space. We hope you found this helpful and happy baking! Additionals: Which Edible is Right for You?Garlic Butter Baked Chicken Thighs Recipe

READ MOREDetails
calixar

Only the Best Membrane Protein from Calixar

There are not many people around the world who have heard about the name of Calixar. Yes, this company is not one of those big companies with a great name all over the world, but the things that they made s totally amazing. This company is working on the isolation process of the membrane protein isolation, making sure that all of the people around the world can get the highest possibility for the isolated membrane protein. This kind of thing might not be important for some people, but if you know how great this thing is, especially in the world of the pharmaceutical industry, you will be glad that Calixar can make something this amazing. Calixar is not a big company since there are not many people working for this company. Even so, you can be sure that this company is one of the best in its field because there are at least nine PhDs that are working every single thing on this company. For your information, the isolation process for the membrane protein cannot be considered as an easy thing. Of course, doing the isolation process of the membrane protein is not that hard too since there are a lot of companies that are doing a similar thing. However, in order to get the best form or the best result is not the same as doing the isolation process itself. That is because, in order to get the purest result of the isolation, you need to make sure that the isolation process is done with no mutation and deletion. By doing this, you can surely get the purest result with the high purity of isolated membrane protein. This is one thing that will help those companies who need the isolated membrane protein for their further products. Only the Best Membrane Protein from Calixar As one of the best in this field, Calixar is not only doing the common things that they do to isolate the membrane protein to get the purest result. That is because they are also creating and inventing new ways and methods that they can develop in the future to make sure that the isolation process is done without any trouble at all. Because of that reason, they are not only doing one or two methods of the membrane protein isolation, but more than that and the GPCR technology is just one of those that can be considered as a masterpiece. The Final Thoughts: The last but not least, you might want to know that the isolated membrane protein is totally helpful in the world of pharmaceuticals. That is because many companies in this kind of field are using the isolated membrane protein to make the new antibody, medicine, and vaccine that can help many lives all around the world. Therefore, if those companies are not using the best materials, the high purity membrane protein, you can be sure that the vaccines and antibodies are not going to work that well. Because of that reason, Calixar tries to give the purest isolation result of the membrane protein that all of those pharmaceutical companies need Read More : Best Whey Protein for Women. 5 Protein Enriched Food To Improve Mental Health.

READ MOREDetails