5 Essential Tips for the Traveling Photographer

Published on: 15 April 2017 Last Updated on: 03 September 2024
Photography tours

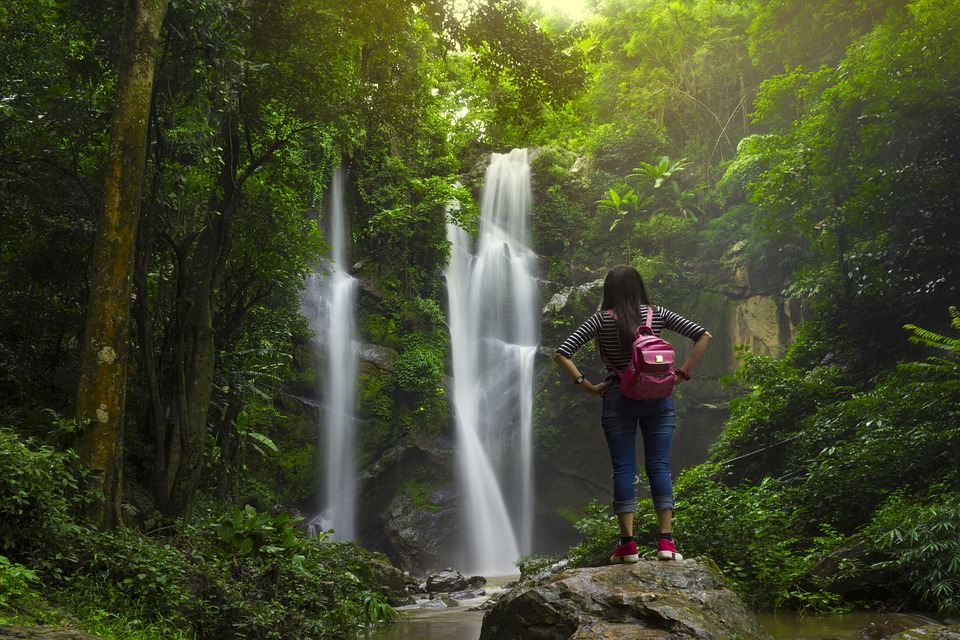
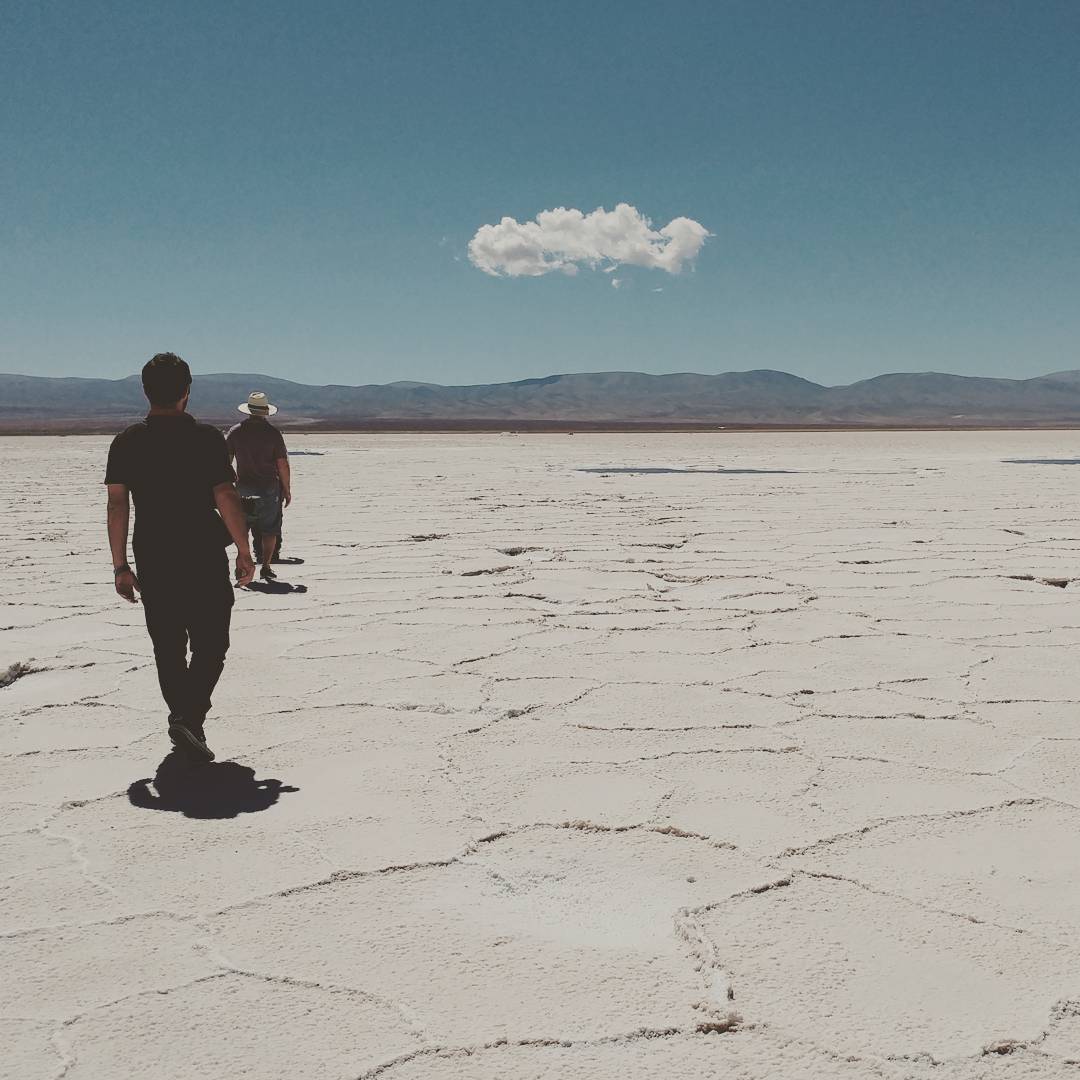
Photography tours are a one of a kind opportunity to enhance and create extraordinary new photos.

The exponential development of digital photography technology has permitted a booming phenomenon for the world of photography. Increased resolution and miniaturization has contributed to this expansion while significantly reducing equipment’s prices thus broadening its massive world reach. This has in part permitted a new audience to express themselves photographically.

The causal image exploration attributed to the common availability of portable devices, such as smartphones and action cameras, are creating many new storytellers and video YouTubers with unique, local and fresh content to share with the world audience.

This new generation of casual photo and video content creators has touched and reached virtually every spot on the planet, nowadays you can find images and photo references online for any part of the globe.

Even if you’re not a professional photographer, traveling to a new destination has many advantages, the most obvious relates to the singular experience of the journey and its cultural immersion.

Make sure you keep these 5 easy suggestions at bay while preparing for your photo tour

1. Pack Accordingly

Travel packing

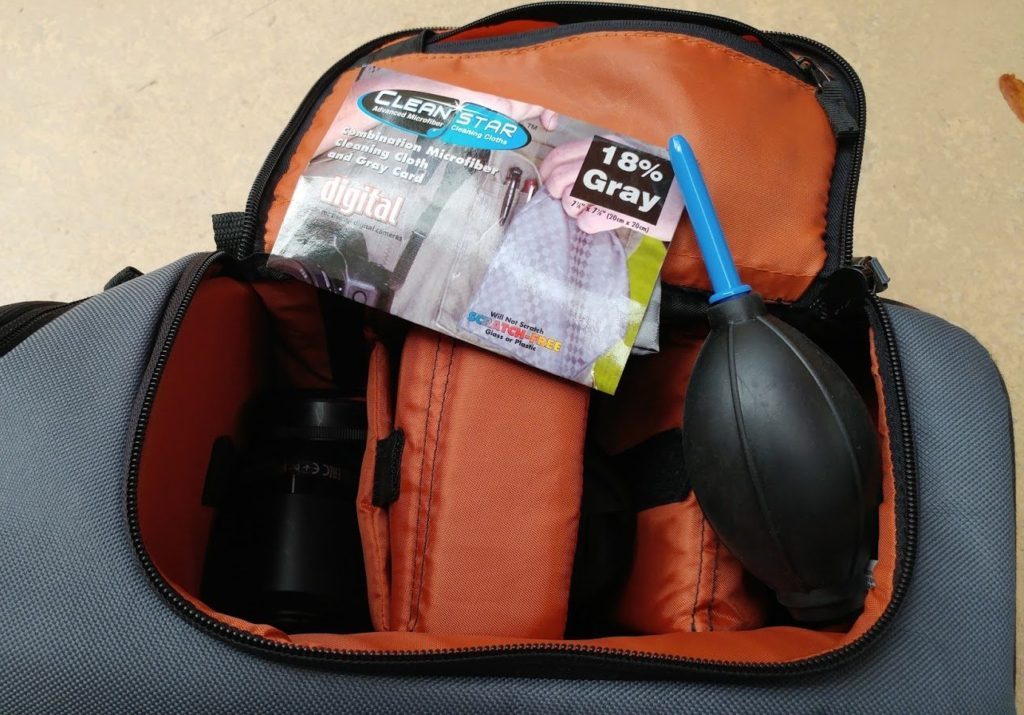
It’s a good idea that for any given trip, to pack your gear accordingly. A photography tour is not different. Make sure you carry enough batteries to last you for the entire day. It’s a good idea to bring at least two battery chargers, so you can charge multiple batteries simultaneously. This is also a good idea in the eventuality of charger failure.
Once I had the unfortunate experience of arriving to a hotel room where only a single electrical outlet was available. Electricity might not be very reliable at your destination, so it’s a good idea to pack a small power strip with surge protection. This will add a layer of protection and the convenience of charging multiple devices at the same time. A fried camera is not fun under the sun!

2. Plan Ahead

Plan Ahead

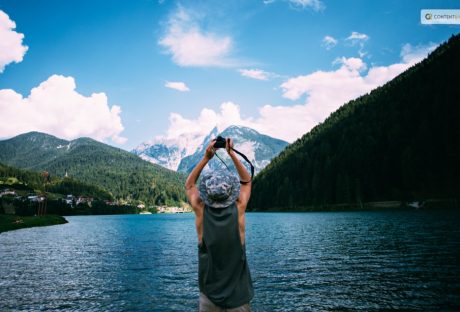
Balancing your sleep with photography can be a challenge. Usually, depending on your location and time of the day, the available light can be very unique during different parts of the year. Photographers love to photograph at the golden hour (usually at sunrise and sunset) This might require for some planning, and setting an alarm clock, but well worth it for landscape photography.

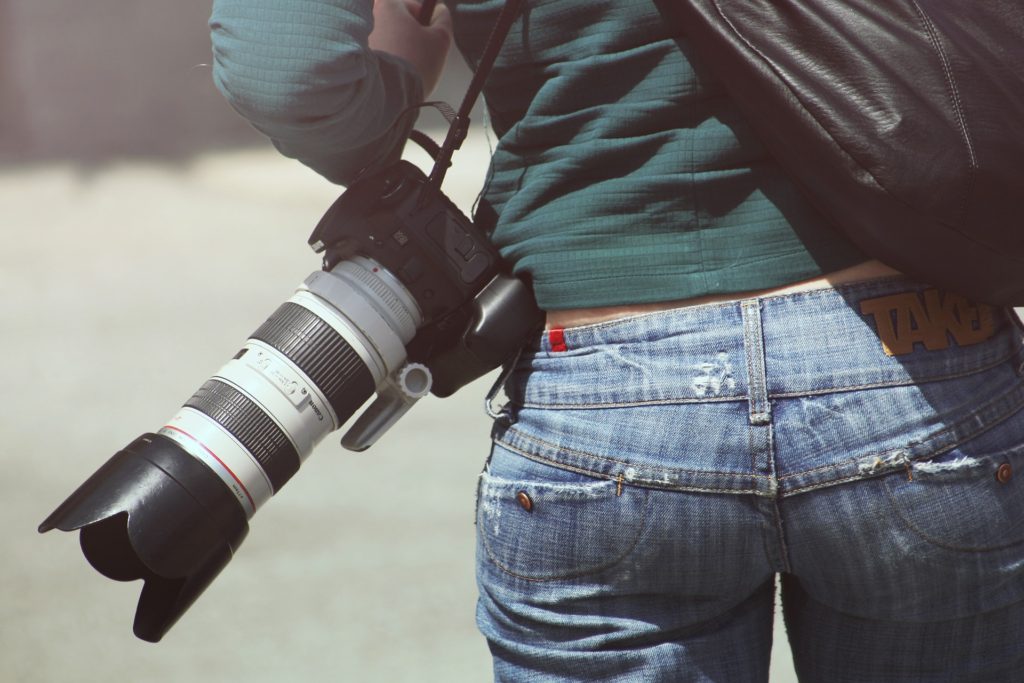
3. Bring your Smartphone Along

While on location I usually walk with my professional camera, but sometimes I just want to take a quick snapshot and instantly share it in my social media stream. Use your smartphone camera, it has a more than decent megapixel resolution and it’s quick and easy. Tip: Make sure you keep your smartphone in airplane mode in order to save on battery life.

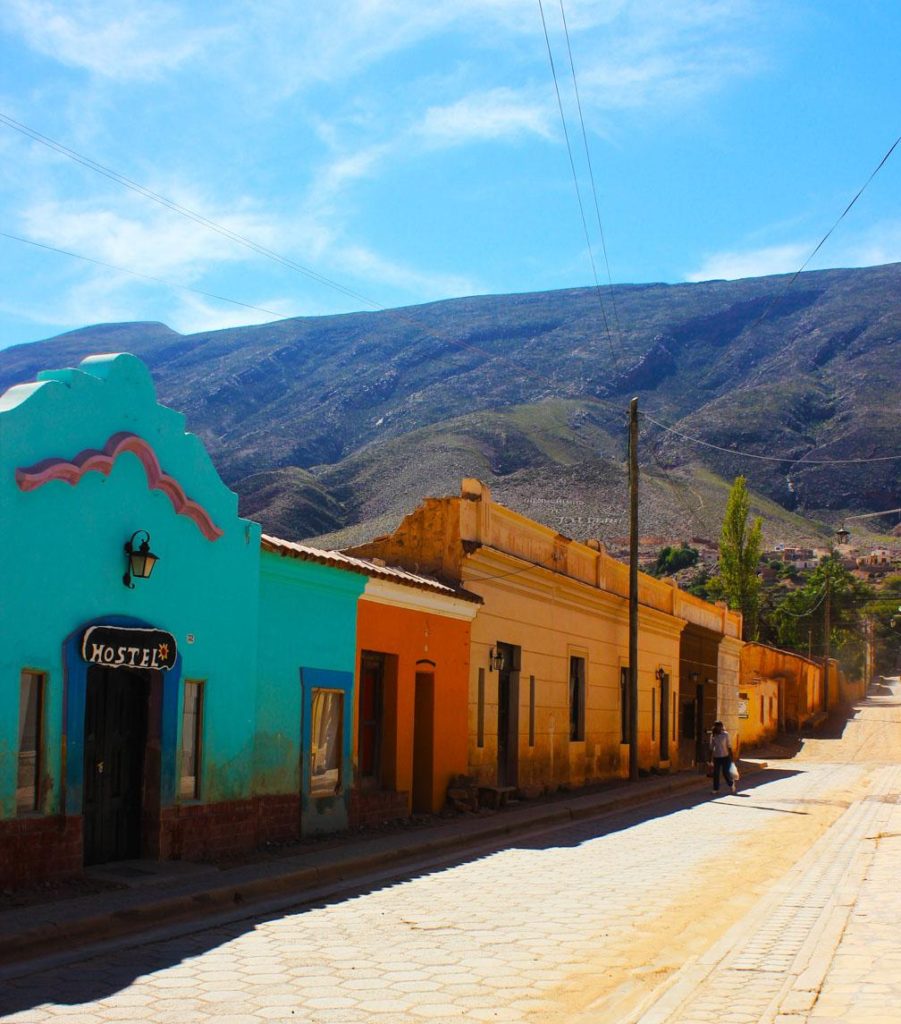
4. Get Off the Main Road

Journey

Sometimes we tend to follow and stay in the common path during an excursion. It might drive your guide insane, but this will prove fantastic. Explore alternative roads. Taking an exact photo from the exact location then everyone else will produce the exact same photo. Try alternative angles and get off the main road.

It doesn’t matter where you travel. Being prepared and doing your homework will prove to be an invaluable advantage. Pack accordingly for the type of photography you’re intending to do since it could mean the complete success or failure of your photography adventure.

Safe journey and may you take incredible photos

Read also:

Content Rally wrapped around an online publication where you can publish your own intellectuals. It is a publishing platform designed to make great stories by content creators. This is your era, your place to be online. So come forward share your views, thoughts and ideas via Content Rally.

View all posts

Leave a Reply

Your email address will not be published. Required fields are marked *

Related

Canvas Printing

Tips to Consider When Choosing an Excellent Picture for Canvas Printing

One of the fields you can enjoy pursuing is photography. The memories you capture during spring isn't the same you obtain in summer. One picture will have the beauty of leaves and flowers covering the ground while the other will have beaches. Both portray beautiful scenes. However, how do you keep such memories in a more special way other than putting the pictures on social media? Try canvas prints Canada. Canvas is a photo printing material to display beautiful and attractive images. Things to Consider When Choosing a Picture to Print on Canvas and the Process of Printing: 1. Quality of Canvas and Printing: First, ask professional such as asCanvas & Décor about the ink they use to make canvas prints Canada. While some companies deal with matte canvas, others use gloss. However, you'll find a company that provides both matte and gloss finishing to canvas or custom designs. Ask about the durability of the canvas, which by the way, shouldn't be less than 150 years. 2. Print Style: When it comes to the style of canvas prints in Canada, you need to think about the number of images you need to be printed on the canvas. So, if you want a single image, choose the shape that your image should take. The main forms include landscape, square, panoramic, and portrait. Also, consider printing your pictures in collages if they are holiday or wedding pictures. This way, you will see many photos on a single canvas. 3. Composition of the photo: When choosing a photo to place on the canvas, you need to consider the composition of it. The picture should be balanced, captivating, engaging, provoke curiosity, and tells a story. Who are you appealing to? What are their pain points? What do they like? What do they don’t like? What is the story that you want your photo to transpire to your audience? How do you capture them to look at your photographs, pause, and say, “This is me on this photo.” With this, it’s easy for your art to up its level. 4. Remove the flaws: Look at the picture and rule whether it is worth to be printed on canvas prints Canada. Ask yourself whether the image will look good on a more prominent place as compared to where it’s now. So, if the camera captures you yawning, are you willing to place such a picture on a 60*100 canvas? Also, consider the resolution of the picture and lighting. 5. Finishing details: Finishing details include the hanging option, how the corners are fixed and uniformity of the picture. Like other materials, it’s prone to fading, especially if not take care of. Therefore, make sure that the printer laminates the canvas to protect it from UV rays and other environmental elements that destroy the canvas. Conclusion If you want the best canvas to hang on the wall, ensure it passes the threshold. Consider factors like the size, resolution of the picture, composition, and shipment of your canvas. Read Also: The Brilliance Of Metal Prints The Best Photo Editing Software You Need To Know About Featured image: canvasprintsmalta.com

READ MOREDetails
Wedding Photos

10 Smart Strategies for Unique Wedding Photos

Wedding photos are an absolute must, and you want yours to be completely unique. Try one of these strategies for a photo set unlike any other. 10 Smart Strategies for Unique Wedding Photos: Here are the 10 smart methods listed for unique wedding photography. 1. Try Aerial Vantage Points: Overhead shots aren't always easy to accomplish, but they're definitely worth the effort. Try an aerial shot of the bride and groom laying in the grass, or climb up on a balcony to catch a group photo from an unusual angle. Both staged and surprise aerial photos will make an excellent addition to the photo set. 2. Shoot a Time Lapse: A time-lapse style photo is a great way to capture the hustle and bustle of a large event. Set a camera that points at the catering table, dance floor, or even the wedding aisle. Use slow shutter speed to capture the events of a few minutes or even a few hours. 3. Play with Group Layout: Group shots are essential to a wedding photo collection. Have some fun by arranging the guests in unique ways. You could have them stand in the shape of a heart, play out a mock battle scene, or hold the bride and groom over their heads as if they were crowd surfing. The more guests there are, the more fun the photo will be. 4. Find a Secluded Spot: A good wedding photographer can capture the most romantic moments. Steal some time at the wedding venue and find a private place for the couple to relax. Doorways, staircases, trees, and other shady spots are perfect for subtle and sentimental photographs. Look for interesting architecture that lends itself to a quiet but charming scene. 5. Use Mirrors for Fun Effects: When you have access to a tall mirror, people can be in the picture even when they're on the other side of the room. Play with the mirrors in your location to set up truly unique visual effects. The bride could look into a mirror while her family stands behind her. The groom might see his new wife reflected right beside him. Multiple mirrors could be used to create an infinitely cascading image. Have fun and take advantage of your setting. 6. Make a Wedding Photo Gif: Wedding photo gifs turn snippets of video into charming animations. Dances, hand-holding, kisses, and hugs can all be captured with these moving moments. If you're truly in love with one of your wedding gifts, bring the motion into the real world with a few side-by-side photo frames of your favorite stills. 7. Bring Props into the Photo Shoot: Balloons, flowers, wine glasses, and long veils are all excellent additions to a creative wedding photo set. Experiment with both sentimental items and humorous props. Try asking the bride and groom to hold photos of their parents or of the day they first met. Showcase the bouquet before it gets tossed to the bridesmaids. The choices are endless and can be used to showcase the couple's unique personality. 8. Take Photos with the Pets: Whether furry friends are invited to the wedding or need to be left at home, they can still take part in the photo session. The pets will often dictate how these photos are arranged; try to catch the bride holding her cat, a dog running through the wedding venue, or a couple's smooch being interrupted by excited puppy kisses. 9. Take Close-Up Photos of Wedding Details: A photo of the cake, the bride's shoes, or the wedding ring will add flavor and sentimentality to a photo set. The bride and groom spend a lot of time planning the details of the event; catch a photo so that they never forget the magic. 10. Play with Lights: Some venues feature elegant chandeliers; others take advantage of large windows to provide natural light. Use these areas to set up interesting and atmospheric shots. Play with exposure time, focus, and lens flare. These photos work particularly well if the bride's dress has reflective or sparkling elements. The most unique wedding photo sets are inspired by the bride and groom. Talk to your wedding photographer about your favorite ideas. The professionals at Byron Bay Wedding Photographers will be happy to help you turn your dream photos into reality. Read Also: 5 Industries That Can Benefit From Using Aerial And Drone Photography Popular Styles For Punjabi Salwar Suits At Weddings All ABOUT Bridal Bouquets

READ MOREDetails
mountains

Handy Tools for Outdoor Photography

Whether you’re planning to explore wildlife in a nature preserve or you simply want to capture seasonal changes in your local park, no outdoor photography adventure should be undertaken without proper equipment. Outdoor conditions are unpredictable and your expensive equipment is sensitive, therefore you cannot be too prepared. Here is the list of handy tools you shouldn’t forget when venturing in nature. Here re Handy Tools for Outdoor Photography: 1. Cleaning Making sure that your lens and sensor are clean, especially when taking photos outdoors, should go without saying. Tiny dust spots, smudges, or even hair can make your carefully planned shoot less perfect, and using the software in post-editing can only do so much. To avoid this potential disaster, be sure to always carry a brush with fine bristles and a blower. These won’t take much space and can prove essential in ensuring clear and sharp photography. 2. Tripod Tripod is an indispensable piece of equipment for shooting outdoor sceneries since you never know when you will have to use long exposures. Capturing clouds and bird flocks early in the morning or tree silhouettes in dusk can be quite demanding if you forget your tripod. Be sure to pick a tripod of an appropriate height, and take into consideration that ground most likely won’t be flat. 3. Lens Be prepared to spend some money on a quality long lens. They are considered mandatory by many professional photographers, especially if your ambition is to capture wildlife. Something around 400 mm is a minimum. However, taking into account the crop-factor of certain cameras, you may find that the 300 mm lens will suit your needs equally well. Read the reviews of different lenses before buying one. 4. Backpack Planning an outdoor shooting should most certainly include a good camera backpack. Keep in mind several things when choosing a backpack. First and foremost, it needs to contain enough space for your equipment, especially the long lens we’ve already mentioned. Secondly, it must be sturdy and keep your equipment safe from different kinds of weather conditions. Lastly, you should seriously consider a backpack that is comfortable to wear, bearing in mind you will probably spend a lot of time walking. 5. Lights Lights in the form of a torch or a headlamp are standard tools for any outdoor activity. Nonetheless, many people get too preoccupied with camera equipment that they simply overlook something as simple as a torch. The best way to go is to get a small LED torch since it is ideal for lighting up even far objects. Most of the new torches can be easily recharged using the USB cable, and have various modes for illuminating farther and closer objects. Another solution is to pack a headlamp. For some, it is a more practical solution. It leaves your hands free, which can prove useful, both in taking pictures and walking on rough terrain at night. 6. Binoculars Finally, your outdoor kit wouldn’t be complete without a pair of binoculars. After you have chosen your ideal location, you may proceed to scan for a spot that captures your imagination. Although you can do this with your camera, it may prove impractical. When it comes to choosing specific binoculars, always factor in the waterproofing. You never know how fast the weather can change, and waterproof binoculars are a safe investment, even though this can increase the price a bit. Another important thing is the magnification. The two most common ones are 8X and 10X, the latter being usually a bit larger. This choice rests solely on your preference, but if you tend to travel light, you may instead consider getting a monocular. It is much lighter and does not occupy a lot of space in your camera backpack. To conclude, outdoor photography should be carefully planned. This does not comprise solely camera equipment, but other tools that are part of any outdoor experience, such as a backpack, a torch, or binoculars. Always waterproof your equipment, wear comfortable clothes and shoes, and be careful in your search for a sublime outdoor shot. Read also: 10 Must-Haves for Travel Photography 5 Handy Survival Tools to Invest On 5 Essential Tips For The Traveling Photographer

READ MOREDetails