8 Smart House Upgrades that are Totally Worth the Money

Published on: 29 September 2018 Last Updated on: 12 September 2024
Smart House Upgrades

Looking to add a little resale value to your house? Choose wisely! Some house upgrades are worth it, but not all of them are a great investment. Smart house upgrade is essential for your lovely home.

Upgrade your home the right way. Increase the value of your home with smart upgrades that return your money and then some! Different ways Smart House Upgrades can make things easier for you.

8 Smart House Upgrades that Pay Off

Here are some of the best ways to upgrade your home and increase the resale value. These 8 ideas are totally worth the money!

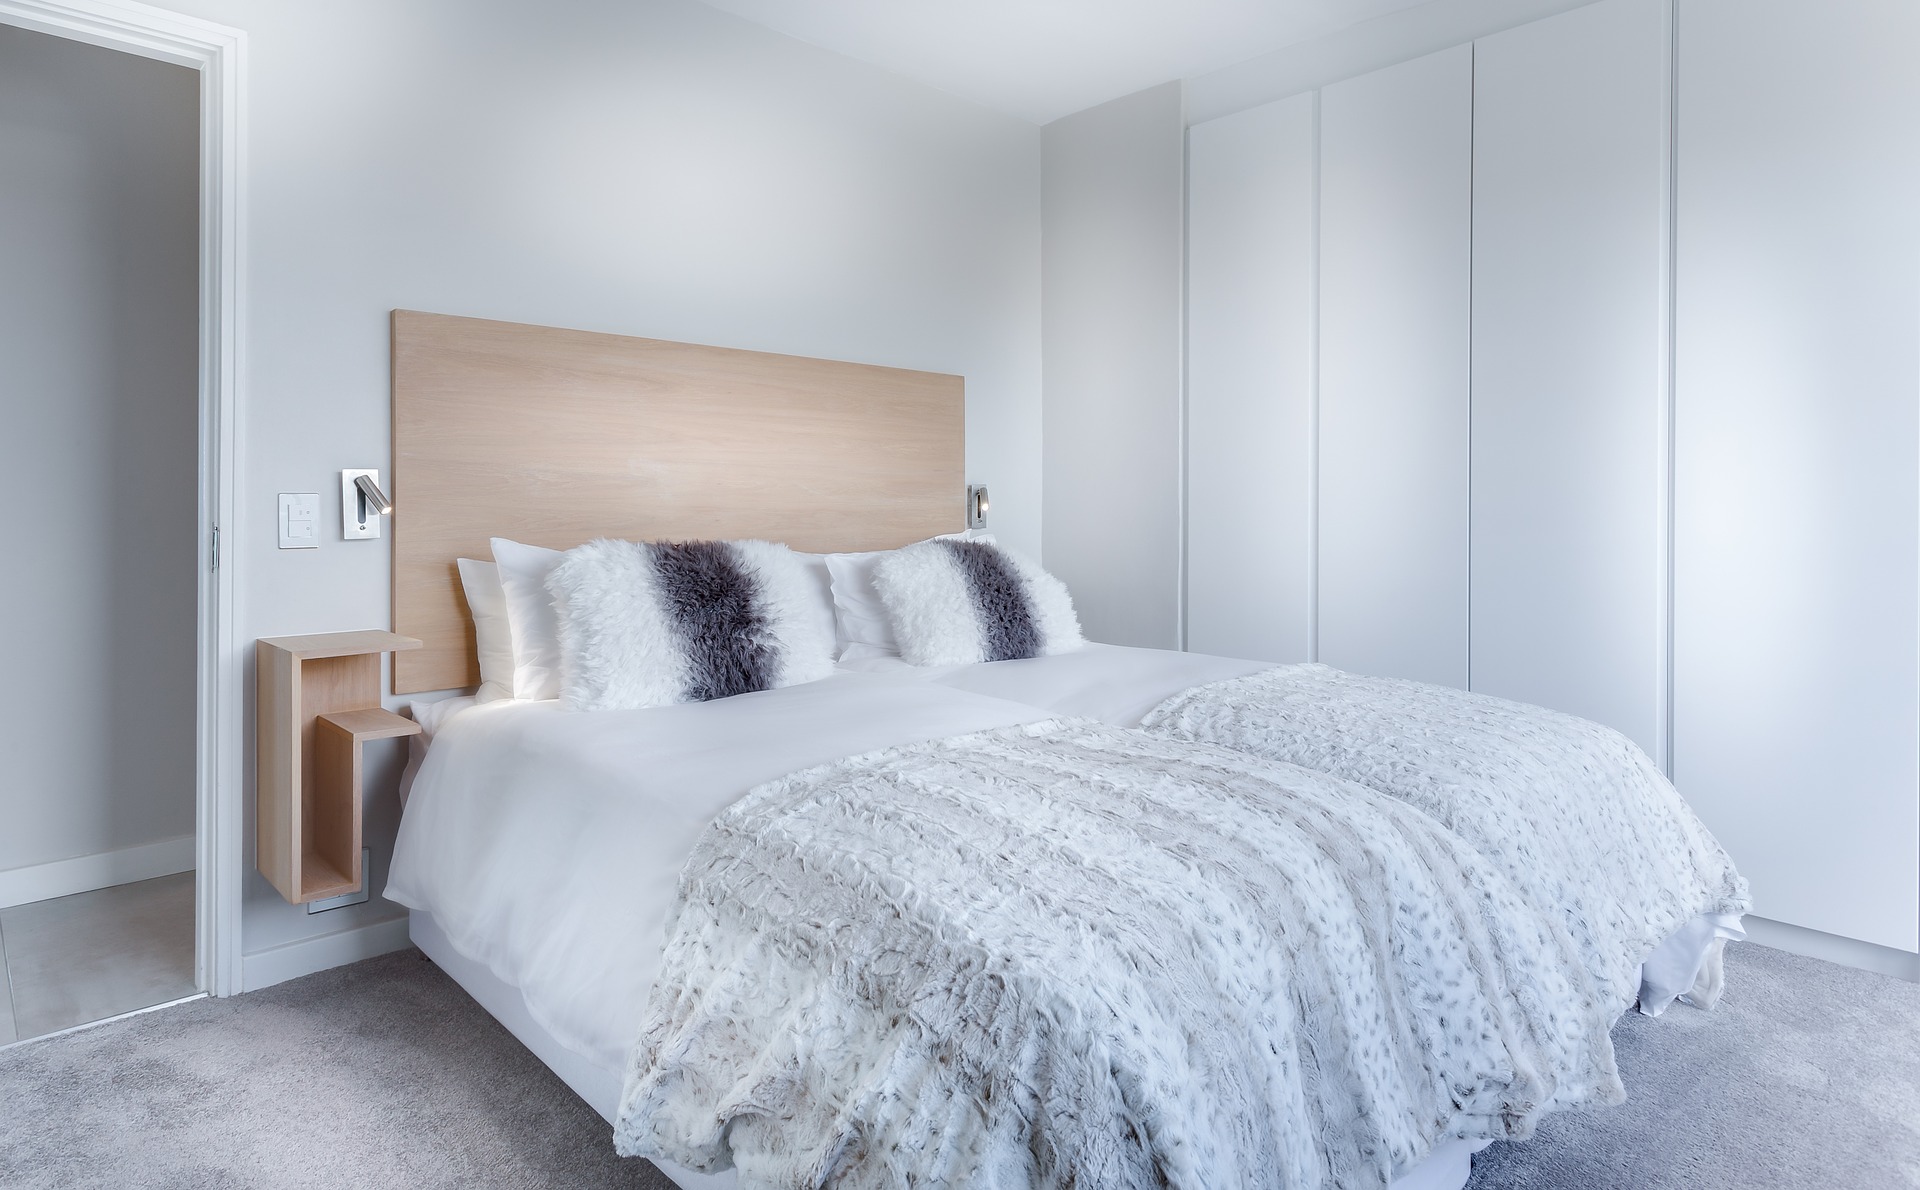
1. Clean, Fresh Paint:

When a buyer walks in, they want to see bright, clean rooms. Your paint has a lot to do with how the sunlight affects a room. A fresh paint job can brighten any room in the house.

You don’t necessarily need to go neutral, but your choice in paint colors can affect your potential buyer’s feelings about your house. If you’re not selling just yet, the right colors can also help lighten your own mood.

Choose a palette that you like. But, don’t stop there. Make sure it compliments your home’s age, style, and architecture. Check out these ideas for a modern look!

2. Modernize the Kitchen:

Look at the age of your appliances and countertops. Are they in poor repair or stained? If so, you should consider replacing them.

Here’s a list of kitchen upgrades that you can benefit from.

  • Newer, energy efficient appliances
  • Countertops that suit the space
  • Refinish cabinets
  • Tile backsplash
  • Sink upgrades
  • Accent paint

Save some cash! Check out dent and scratch or discontinued appliances. Discontinued tile can be used to make an attractive backsplash, too. You can get huge savings from buying these options.

Look for ways to accent and offset countertops and cabinets in your kitchen for a more modern look. Check out paint pallets that give your kitchen a pop of color and make your cabinets stand out.

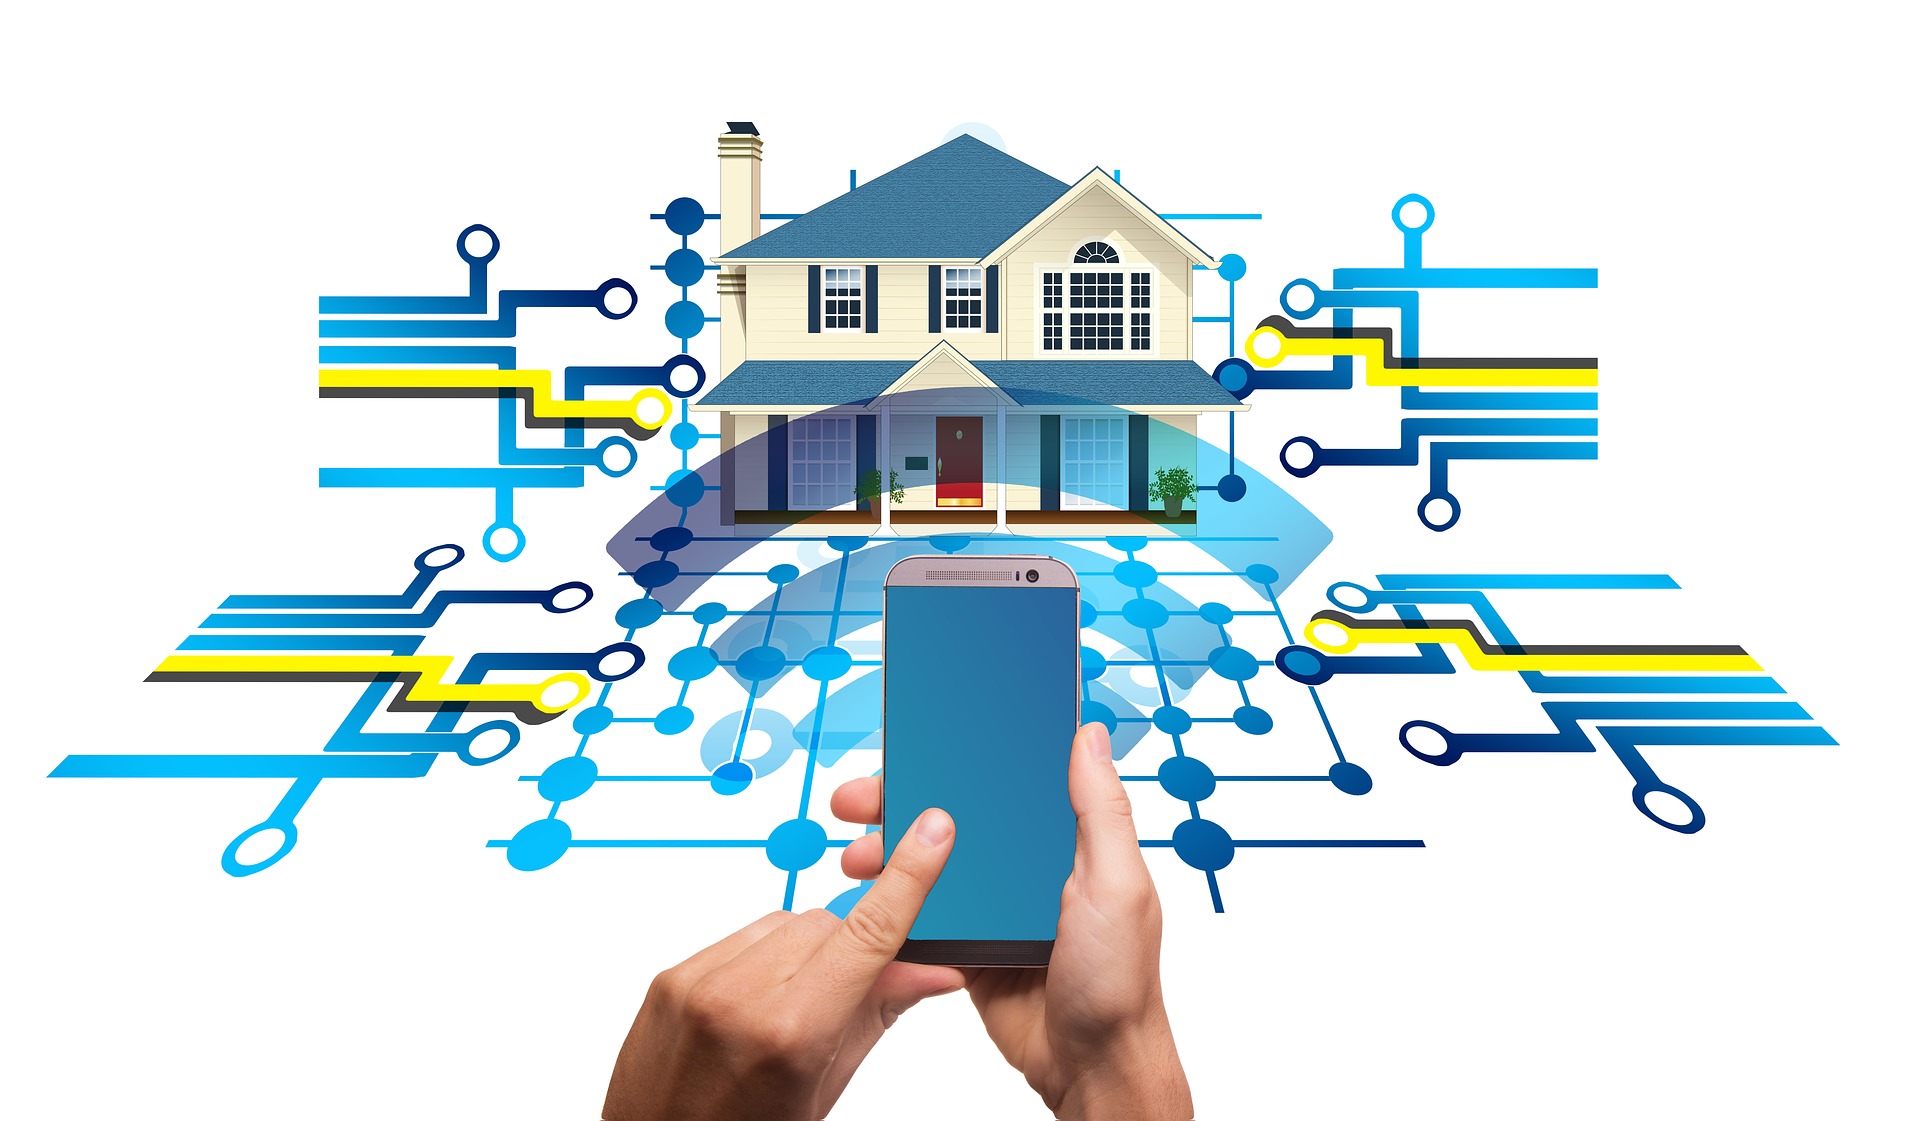
3. Programmable Thermostat:

This is such a simple upgrade, but it gives your house a modern feel. Programmable thermostats are affordable and easy to install. Many are also easy to manage from your phone!

An added bonus for installing a programmable thermostat is instant energy savings on your electric bill!

4. Upgrade Bathrooms:

Ugly bathrooms can send a potential buyer out the door. Check out your bathrooms for any of these problems and fix them!

  • Stained toilet bowls and seats
  • Leaky faucets
  • Outdated fixtures
  • Old tile and paint
  • Evidence of flooding
  • Damaged cabinetry

You can easily and affordably upgrade a bathroom by switching out any old fixtures and lighting. But, making sure the bathroom is clean and in good working order is a priority.

5. Landscaping:

Ever heard of curb appeal? This house upgrade is a must. The first look a buyer has as they walk to your front door can influence their opinion about the whole house!

Walk outside and check your landscaping, in the front and the back of your home. Consider these upgrades for landscaping your home.

In the front:

  • Clean, groomed lawn
  • Flowers and shrubs that are trimmed
  • Trees that cut back and look nice
  • A walkway that invites people to come in

In the back:

  • A patio or deck for entertaining
  • Trees and flowers for privacy and color
  • Fences in good repair
  • Clean, groomed lawn
  • A small gardening area

Your landscaping matters in the value of your property. It should be well maintained and easy to upkeep. Good landscaping invites you to come out and enjoy the outdoors!

6. Install Solar Panels:

Nothing is more attractive to a potential buyer than the idea of their new home saving them money. If you’ve already installed solar panels, then you’ve given them a step up in that direction.

Solar power is a responsible energy choice and it will save you money in the long run. That’s good for you while you live in your home. It’s great for potential buyers, too.

Your new buyer will instantly save on energy costs. You’ve already made the investment for them! This increases the value of your home and makes the buyer more willing to pay the price you are asking.

7. New Flooring:

You’ve got fresh paint and clean rooms, but your flooring is filthy and worn. That won’t work when you sell your home.

Take a look at high traffic areas, carpets, and tiles. Is anything stained, worn or broken? If so, you need to replace it.

Look for neutral carpet colors. You want any type of furniture or paint to work well with your choice. Avoid white or extremely pale colors because they are so hard to maintain.

If you are replacing only one room of carpet, try to make it closely match what is already in the house. Nothing looks worse than mismatched carpet.

Tile can be a really affordable upgrade. It should be easy to maintain, durable and neutral. Make sure stone tile doesn’t have a lot of nooks and crannies for dirt to hide.

You can even get a tile that looks like wood! Take a look at options in your hardware store.

Save yourself some cash! If you are replacing a whole house of carpet or tile, try to find discontinued items at your local hardware store. They may be cheaper but are still good quality and new.

Another way to save is to learn to install flooring yourself. There are plenty of books at your local library and YouTube videos to teach you how.

8. Basement Improvements:

Paying outright to have the basement turned into a high-class lounge might not pay off. However, putting in the time and effort to fix up and finish off your existing basement can have an amazing return on investment.

If your basement is unfinished, check it out for these problems.

  • Cracks in walls or floors
  • Wood damage to the supporting structure
  • Leaks and flooding damage
  • Excessive clutter

For already finished basements, here are some things to think about.

  • Patch damaged walls and repaint
  • Paint the ceiling bright white
  • Replace all light bulbs
  • Install more lighting to brighten the room
  • Remove excess, unused furniture
  • Go with a traditional theme

Fix any problems you find and clear out the clutter.

A man cave or game room may be exciting for you, but tame down your theme if it’s over the top. Your potential buyer wants to see open, clean space. Let them imagine how they might use it.

Upgrade Your Home, Today:

If you really want to increase the resale value of your home, pick one or more house upgrades on this list. The money you invest will be worth it.

Check out these interesting articles about home and garden topics!

Read Also:

Content Rally wrapped around an online publication where you can publish your own intellectuals. It is a publishing platform designed to make great stories by content creators. This is your era, your place to be online. So come forward share your views, thoughts and ideas via Content Rally.

View all posts

Leave a Reply

Your email address will not be published. Required fields are marked *

Related

Flooring Installation Process

Flooring Installation Process Transforming Your Space With Elegance

When it comes to renovating or building a new space, one of the most crucial aspects is the flooring installation process. The type of flooring you choose can significantly impact the overall aesthetics, functionality, and durability of your space. In this comprehensive guide, we will walk you through the intricate process of flooring installation toronto, providing valuable insights and tips to ensure a successful transformation. Selecting The Right Flooring Material The first step in the flooring installation process is choosing the right material. Whether you opt for hardwood, laminate, vinyl, tile, or carpet, each material has its unique features and benefits. Consider factors such as your budget, the room's purpose, and your design preferences when making this decision. Measuring And Preparing The Space Before the installation begins, accurate measurements of the room are crucial. This step ensures that you purchase the right amount of flooring material. Additionally, you'll need to prepare the space by removing any existing flooring, baseboards, and furniture. A clean, level surface is essential for a smooth installation. Acclimating The Flooring Many flooring materials, especially hardwood, need to acclimate to the room's temperature and humidity levels before installation. This process prevents the flooring from warping or expanding after installation. Follow the manufacturer's recommendations for acclimation time. The Installation Process Subfloor Preparation A stable subfloor is the foundation of a successful flooring installation. Ensure that the subfloor is clean, dry, and free of any irregularities. Repair any damaged areas and add an underlayment if necessary. Layout And Design Planning the layout of your flooring is crucial for achieving a polished look. Decide whether you want a diagonal, herringbone, or straight pattern, depending on your design preferences. This step is especially important for tile and hardwood installations. Cutting And Fitting Precise cutting and fitting of the flooring material are essential for a seamless finish. Use the appropriate tools, such as a saw or cutter, to trim the material to fit the room's dimensions accurately. Pay special attention to corners and edges. Installation Method The installation method varies depending on the type of flooring you've chosen. For example, hardwood may be nailed or glued down, while laminate often features a click-and-lock system. Follow the manufacturer's guidelines and use the appropriate adhesives or fasteners. Finishing Touches After the main installation is complete, it's time for the finishing touches. Install baseboards and transitions to create a polished look. Seal gaps and joints to prevent moisture and dirt from seeping underneath the flooring. Maintenance And Care Cleaning And Maintenance Proper maintenance is crucial to ensure the longevity of your new flooring. Regularly sweep or vacuum to remove dirt and debris. Use manufacturer-recommended cleaning products to maintain the flooring's finish. Repairing Damage Accidents happen, and flooring can get damaged over time. Whether it's a scratch on hardwood or a chipped tile, knowing how to repair minor issues can extend the life of your flooring. Consult with professionals for major repairs. The flooring installation process is a transformative journey that adds beauty and functionality to your space. By carefully selecting the right material, preparing the space, and following the installation steps, you can achieve stunning results that will stand the test of time. Read Also: How To Pick The Perfect Flooring For Your New Home How to Protect Your Wood Flooring in a Busy Household List of Most Durable Kitchen Flooring

READ MOREDetails
how to install faucets

How To Install Faucets And Sinks

Installing a new sink is an uncomplicated and quick task. The process is relatively easy, and you can do the installation part by yourself with a bit of experience. Then how to install faucets? Though some complicated kitchen faucets require professional installation, many of the kitchen fixtures can be installed easily.  Here is a guide on how to install faucets and sinks.  Materials Needed   In order to install the kitchen faucet and sink set, you will need the following list of things: a sink, a faucet or tap, a basin wrench, a strainer set, pump pliers, a screwdriver, a crescent wrench, a spatula, plumber's putty, silicone sealant, a bucket, a flashlight, and a set of towels.  How to install faucets, and this reason is nearby if you wish to enlarge the opening within the countertop. It is also necessary to know how to clean bathroom sinks to maintain hygiene.  Step By Step Guide To Install Faucets And Sinks If you are looking for durable, sturdy, and premium quality faucets, it is best to choose Oltsw taps.  Here, we have mentioned the steps to know how to install faucets and sinks.  Step 1: Measure and mark the layout of the kitchen’s sink Place the counter's back edge in the center of the sink within its cabinet. If the sink contains a template, align it along the mark on the counter. This is the first step of how to install faucets. Place the back edge one and a half inches parallel to the counter. Trace around it; proceed to the subsequent degree. If there is no template, use 2-inch tape to stipulate the sink location. Mark the middle of the sink on its back edge. Lay the sink inverted on the counter. Align the mark on the sink and the one on the counter together.  Step 2: Mark the cut lines on the counter The cut line marking is the second phase of how to install faucets. The employing a straightedge to attach the marks, you will find yourself with an oblong outline on the counter of the sink's hole. To approximate the radius of the corner of the sink, round off the corners by hand. Take a slightly wider bit than the jigsaw blade (½-inch bit is typically enough). Then, at each junction of the cut-out lines, make sure to drill a hole inside the radius.  Step 3: Use a jigsaw to cut the sink opening Place a jigsaw blade into a front hole and cut along the marked line to the back hole. Repeat on the opposite side. Lay a scrap of wood some inches longer than the cut-out across the sink area. Screw through the piece and into the cut-out waste to stop it from binding the saw blade or falling. Cut along the cut lines marked at the front and back and remove the cut-out piece. Make sure that the fit of the sink in the countertop is set. If it is necessary, trim the opening with the jigsaw.  Step 4: Install the kitchen faucet Set the sink the wrong way up on a padded sawhorse or counter. Then, feed the tap's supply tubing and tailpiece through the gasket, which helps seal the faucet to the sink. Screw the washers and mount them on the lower side sink deck. This is the pre-final step of how to install faucets. Just make sure that the tap can swing for a whole area across the sink deck before tightening mounting nuts.  Step 5: Attach The Strainer Over Applied Putty Put the sink up, apply a thick roll of the plumber putty under the strainer edge, and push it up through the sink's drain hole. Slip the housing (if your strainer has one), gasket, and washer onto the filter and against the lower side of the sink. Dab the pipe-joint compound and expose the opening threads.  Thread the locknut onto the strainer by hand, then tighten it with pliers while holding the filter in situ. Fit the gasket onto the tailpiece of the sink drain and attach it to the strainer through its slip nut. Tighten the nut using a hand while holding the filter.  Step 6: Set the sink and connect the water supply Remove the tape, and pull it toward the center of the hole. With the sink still, the wrong way up, press a bead of silicone tapping around the lower side of the sink's brim. Turn the sink upright and set it on the hole of the countertop.  Make sure that the front of the sink is parallel with the front fringe of the countertop. Adjust it, if necessary. Next, use the corn-head supply tubes or the braided stainless-steel hoses to connect the tap and shut off the valves. Now, attach the required sprayer hose to the faucet's threaded tailpiece.  Step 7: Connect The Drain Pipes Assemble the trap adapter on top of the sink-drain tailpiece. Cut and dry-fit the length of the PVC pipe and attach the trap adapter to the trap and the drain elbow to the waste line. Then slide the web on the tailpiece to finely tune the length and alignment of the pipe.  Take the drain pieces apart. Clean the cut ends with a utility knife. Use a PVC primer to coat it and its mating pieces. Let it dry and hold for 30 seconds. Now you are finishing the process of how to install faucets. Conclusion The essential features of kitchens and bathrooms are the sink and faucets. The sink and faucets need to be installed properly to avoid any damage and issues later on. Taking this into account, we have mentioned how to install faucets with significant steps to be followed while installing sinks and kitchen faucets. Additional reading: Small Kitchen Storage Ideas Know About The Type Of Kitchens According To Different Size Different Types of Conversions to Make the Most of Spare space  

READ MOREDetails
Plumbers

Best Plumbers in Singapore by SG HomeNeeds

Sometimes the DIYer inside you might come out and try to take the issue into hands, but most of the time, it ends up being temporarily fixed or getting worse. So, it’s always advisable to get a professional hand to get the work done. What do you do when you have to find a good plumber? What’s your reliable and go-to source who can’t go wrong? If you don’t have one and always look at several options and get confused about choosing the perfect one, you’re at the right place. SG HomeNeeds provides the best-reviewed plumbers in Singapore. Read through for the measures SG HomeNeeds follow to curate a list of exceptional plumbing services for your needs. The measures SG HomeNeeds follow: 1. License: First and the most basic measure we follow to find out if the company is eligible to serve you is to check their license. The license gives the official recognition to the companies that they’re certified to do the work, and they follow all the required safety measures. We always cross-check their license and always keep an eye on the license expiry date. Make sure they’ve completed all the updates, certifications, and pieces of training come along with the permission. Not only the companies, but we also check individual employee licenses too. Well, we want to give the best to you. 2. Insurance: Insurance is most crucial when it comes to the plumbing services where the chances of the worse situation are high. The substantial pipe breaks, drainage clogs, toilets, etc. can get expensive and hard to get rid of. In those cases, insurance can be helpful. Most of our shortlisted plumbing services protect costly services and regular plumbing maintenance. 3. Test & Trail: Along with checking the certification, we also test every company we suggest for you. They have to undergo several examinations to test their technical knowledge and practical tests to check their experience. We also review the customer experience personally once they complete alive a job and make sure they perform well and reach to customer’s expectation. 4. Satisfaction Survey: Of course, the active job is different than the practicals that are conducted in-house. Examinations give them knowledge, but every issue is different and can’t be replicated. Then how do we know if they perform well in the active job? We take a satisfaction survey from every customer and improve ourselves and the plumbing partners(plumbers). We don’t encourage any disrespectful behavior or unprofessionalism and take strict action of such cases. New customers can directly view the review from previous customers and choose one on their own. 5. Time & Efficiency: An experienced professional can finish the job earlier than a regular plumber. Whenever you approach us for a service, and we give the tentative time required to complete the job and try to put the efficient plumber at your service. Our motto is to provide nothing but the best to you, and we stick to it. We take care of all the required things to give you a list of the best plumbers in your locality. But it’s in your hand to choose the better one who you think can work for you. Below are some of the parameters you might want to consider before finalizing a plumbing service: As we discussed earlier, the license is one of the most efficient ways to find a good dealer. So, verify their certification. Check for their ratings and reviews and shortlist a few. Ask them for a personal visit to the affected area, enquire about the resolution and an estimated costing. Approach 3-4 different plumbing service companies and compare their pricing. Always monitor while they’re working when you finalize a company so that you can be an alibi if something goes wrong or to give a useful review if they fulfill the work effectively. Now we’ve given you the vital information on how we provide the best plumbers in Singapore and what are measures you need to check to choose the best one out of them. Now, we’ve reduced your effort to run around many plumbing services and get confused about what you need to choose. Get in touch with us today! Read Also: Top Local SEO Tips For Plumbers A Guide to Starting a Plumbing Business

READ MOREDetails