Hairstyles for Wedding Party and Braid for Wedding

Published on: 01 May 2019 Last Updated on: 15 July 2024
Hairstyles

You have found the dress; you now have to decide which hairstyle to adapt to accompany it. With these 5 ideas, you will inevitably find a hairstyle to your foot. We now allow you to use most up to dated fashion wears and clothing + accessories as well, but also at the same time, we help you, people, to know what’s all around the world in terms of styles and beauty.

1. The gold accessory

gold accessory

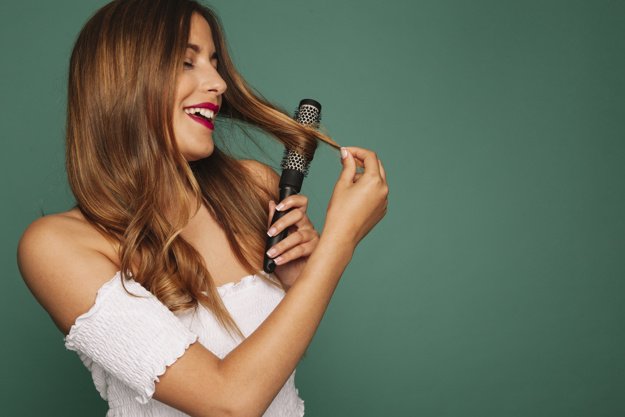
Because your hair is too short or you do not control the braids, bet on a refined accessory, such as a golden comb. No need to make a complicated hairstyle: twist one of the locks near the face to the side and plant the accessory. You can secure with some hidden pins and a haze of lacquer.

2. The stylish ponytail

If you have thick and long hair, this hairstyle will be perfect. Crease your lengths with a texturizing spray and make a shell. Tie the hair in a low tail leaving a wick. Braid it, pull the strands to give it some thickness and wrap it around the elastic before attaching it with a pin.

3. The half-wreath of flowers

Are you invited to a country wedding? Bet on a hairstyle with fresh flowers or a wreath of flowers (which will not be fooled). Separate your hair into two parts, as if you wanted to make a half-tail, but attach the lower part. Position the crown on the head and wrap the wicks of the top one by one. Once they are all in place, detach the rest of the hair and slightly curl the lengths.

4. The double bun

double bun

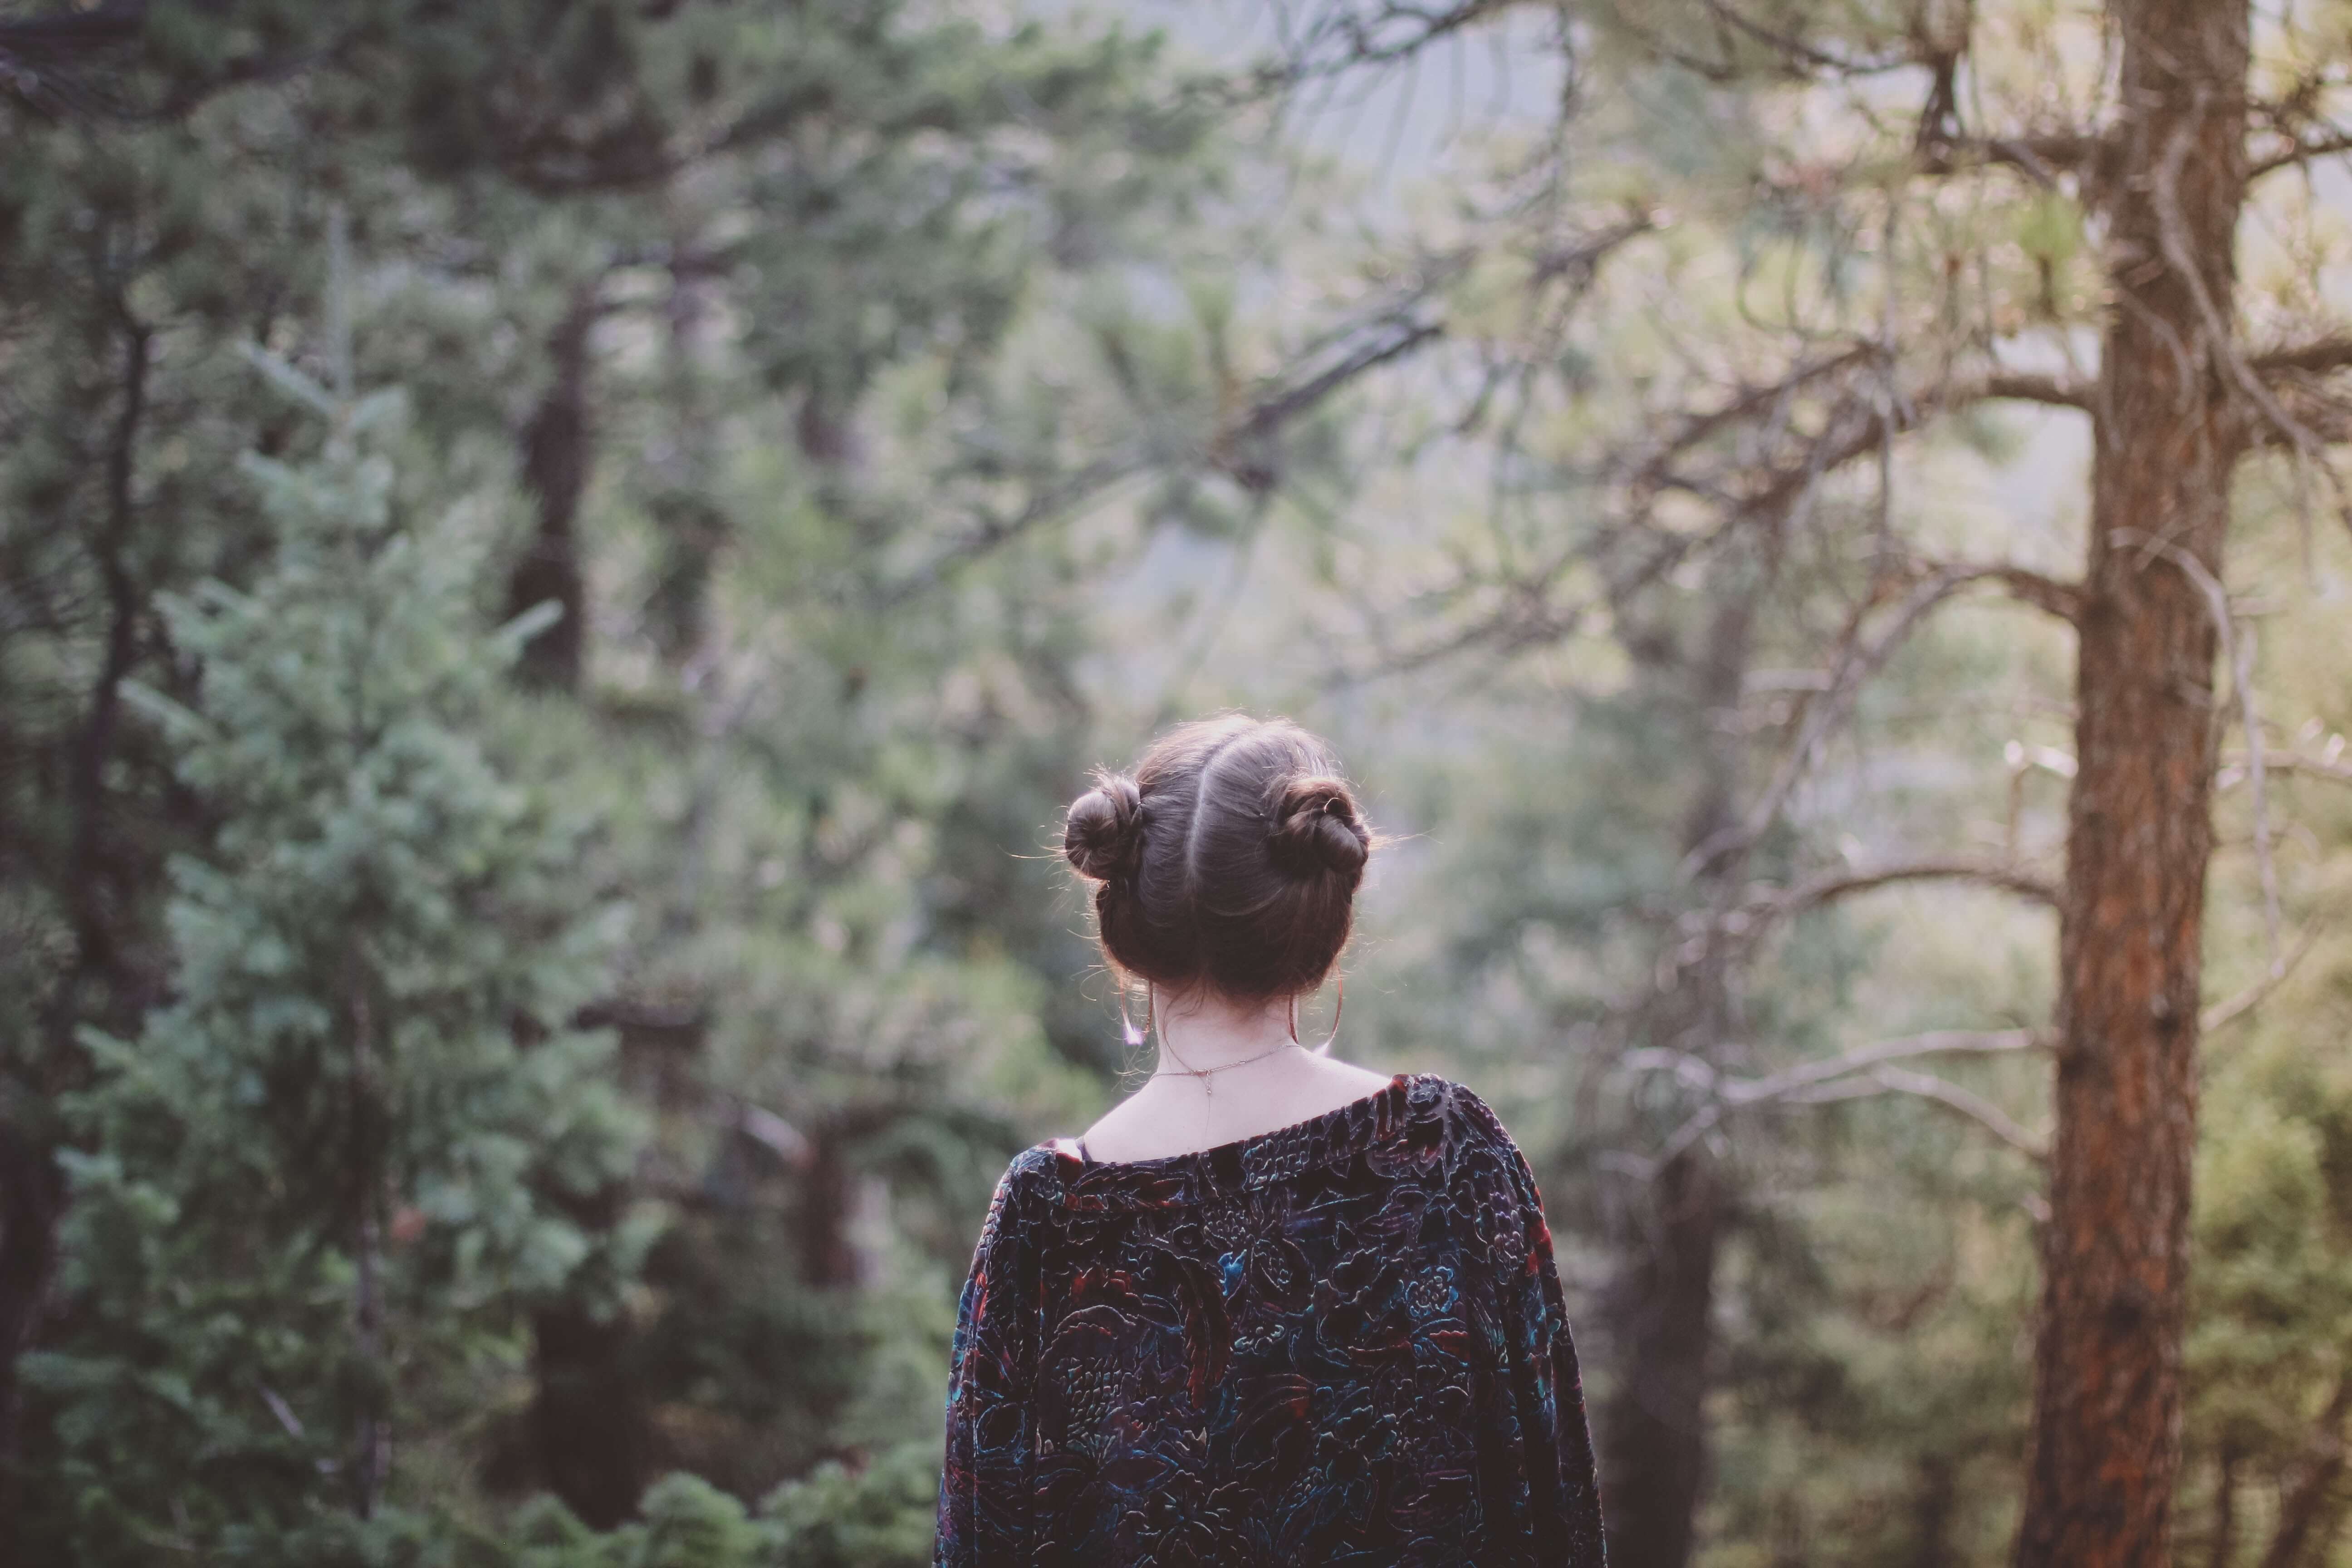
Separate your hair into two parts just like the previous hairstyle. With the upper part, make a braid on each side of the head, and then tie the two wicks in a first bun at half height. With the lower part, make a second bun pulling well on the locks to give it volume and secure with pins. To keep it until the end of the night, do not skimp on the lacquer!

5. The wavy mane

The best way to leave with the wedding is all bet on a sexy hairstyle. Make a messy half-bun and make wide loops on the lengths. Above all, do not forget to throw your mane over your shoulder while staring directly at your target.

Braids for Wedding Hairstyles – You Must to Know

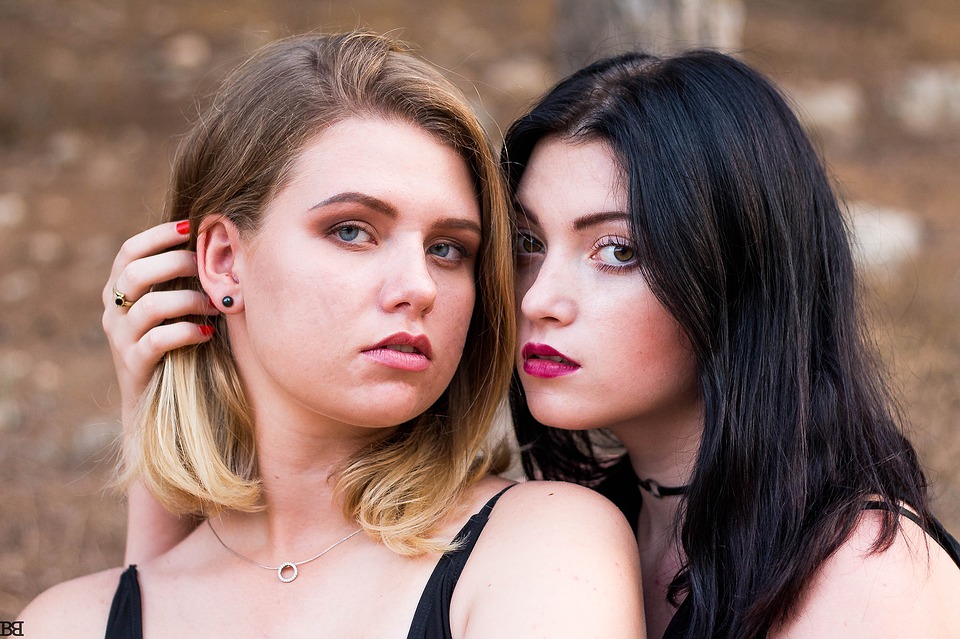
Braids are popular and especially when it comes to wedding hairstyles, so for both brides and guests, we show 5 wedding braid inspirations. This braid really makes your hairstyle more beautiful and attractive. These braids works on every kind of hairs, your hairs are curly black hair, you have golden hair or you have a golden white hair, this braid will make them more beautiful. Here those ladies, who have curly hair, make it sure to use hair straighteners before choosing any braid style. This will make your hairstyle more beautiful and charming. Don’t forget to see the best hair straightener reviews before buying any one of them for your curly hairs.  Anyhow, let’s move forward towards the best braid hairstyle that must be in your mind.

1. The braided half-tail

braided half-tail

Wedding hairstyles based on braids, yes, no need to make tons of them. This is why we can adopt the braided half-tail that will give a romantic touch to the hairstyle. To play the game thoroughly, we do not hesitate to wrap the wicks braided in a wreath.

2. The crown of braids

The crown of braids will also be quite appropriate for a braid wedding hairstyle. We leave a few stranded locks delicately framing the face for a bohemian side. The flower note is optional but clearly makes its effect and will be indispensable in case of a country wedding.

3. The double braid

double braid

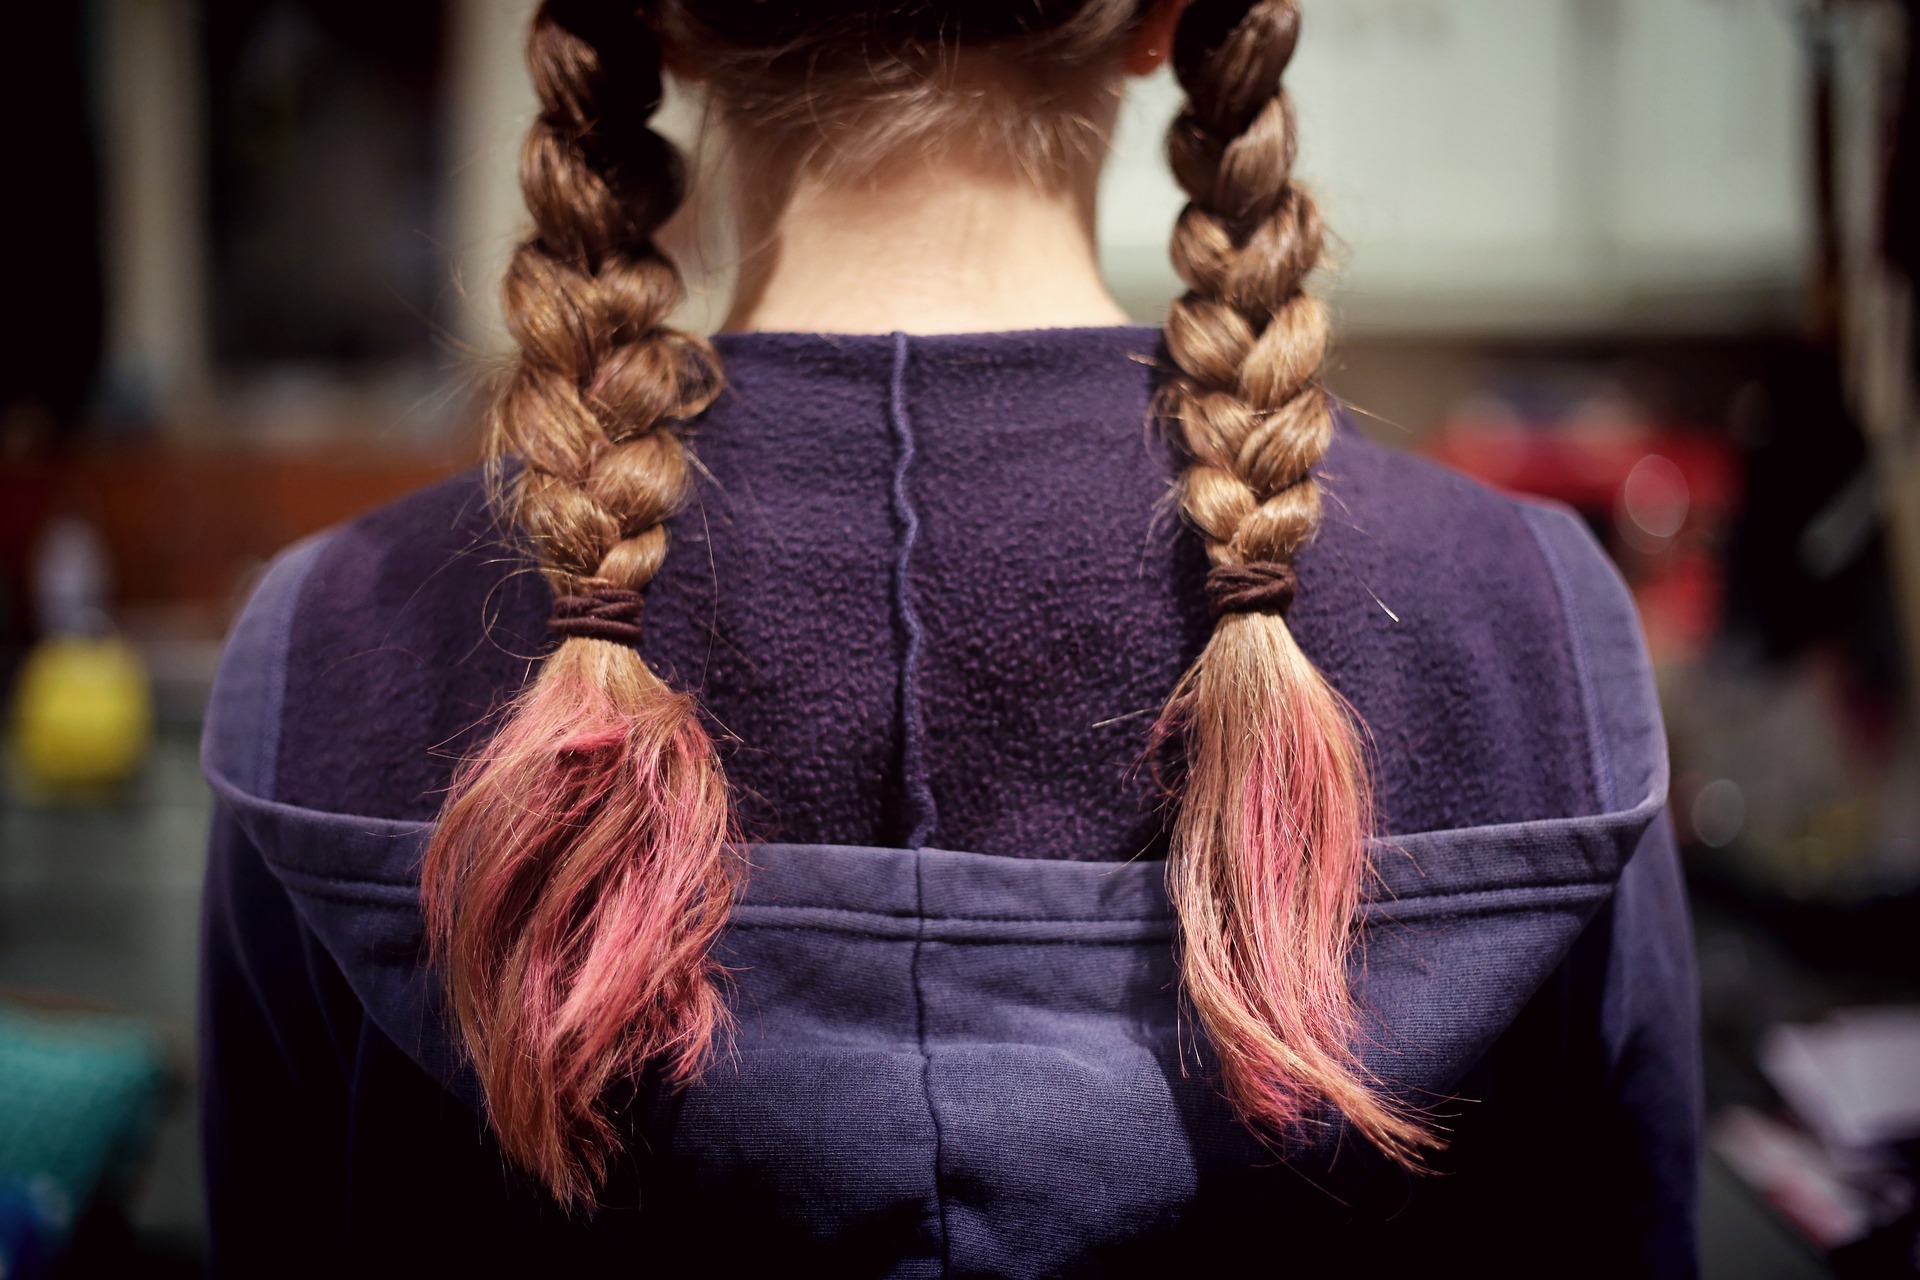
In this case, it is simply a matter of sliding two simple braids into a loose hair and a wedding hairstyle, which is suitable for medium-length hairs. We attach these two braids with a flower bar or other original accessory to complete this hairstyle in beauty.

4. Braids and bun blurred

Proof that flowers are not always appropriate, we opt for a wedding hairstyle that mixes two braids glued to the front of the hair and ends with a bun blur. A braided wedding hairstyle terribly chic and sober to accompany his white dress

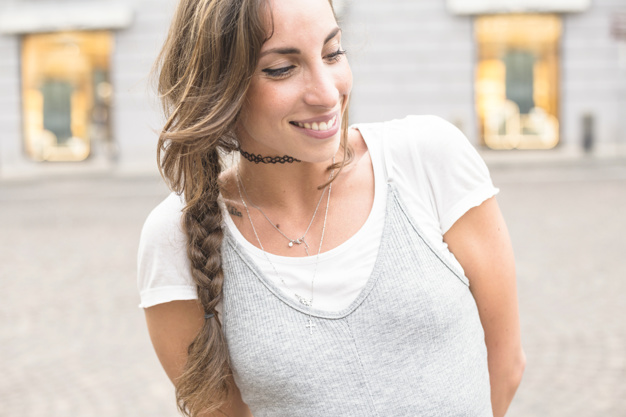
5. Braid on the side

If the braid on the side may seem very simple for a wedding, it is done from the front of the hair until it casually falls on the shoulder. A braid spike will be the best effect for an elegant and original hairstyle. For the detail, we put on a rhinestone bar associated with his earrings.

Read Also:

Content Rally wrapped around an online publication where you can publish your own intellectuals. It is a publishing platform designed to make great stories by content creators. This is your era, your place to be online. So come forward share your views, thoughts and ideas via Content Rally.

View all posts

Leave a Reply

Your email address will not be published. Required fields are marked *

Related

lip fillers

Looking to get lip fillers in Las Vegas? Here are 4 questions to ask your doctor before the procedure

If you're concerned about getting lip fillers to enhance your look, you should ask your doctor a few questions before beginning. Make sure that you put your mind at ease before getting anything injected in your face, going under the knife, or taking any kind of dug - not only is this a good practice to make you feel more confident about the procedure, but you can ensure that you are avoiding taking any unnecessary risk that can put you in harms' way later on in life. Before you get lip fillers in Las Vegas, make sure you speak with your doctor before the procedure so you can be 100% confident in the procedure and understand all steps of the process. Even though it might seem like an easy procedure, sometimes things can go wrong, your doctor may be unable to answer questions, and you might have a unique situation that can put you in a higher risk category. Speak with your doctor and ask these common questions before getting lip fillers in Las Vegas to enhance your look and boost your facial symmetry! If you need more information about “lip filler Las Vegas”, you can find it here. Am I the right candidate to get lip fillers? Is this the right choice? If you are asking yourself if this is the right choice, you should take some more time before booking your first appointment in Las Vegas. If you are still questioning whether this is the right move for you, you should take some more time and consult some other doctors and healthcare professionals before getting this procedure done. Although you might think that it is time, you need to be 100% sure before you book this appointment. However, if you are just wondering if you are the right candidate, speaking with your doctor about your past medical history and any potential complications can help you put your mind at ease. What types of lip fillers should I get? If you are scheduling your lip filler in Las Vegas, then you need to ask about the type of dermal fillers that would be best for your lips. There are various types that you can use, such as hyaluronic acid, collagen, and other less common options. How much does getting lip fillers in Las Vegas cost? The average price of getting lip fillers in Las Vegas typically costs between $400 and $800 depending on the location that you chose, the doctor of your choosing, and any special conditions that can increase the price. What is the recovery after getting lip fillers in Las Vegas? If you are worried about bouncing back after getting lip fillers in Las Vegas, then you can rest assured the recovery process is quicker than you think! Take care of your lips for the first day after the procedure, avoiding intensely cold drinks, hot drinks, exercise, and putting on makeup. After that, you are good to go! Conclusion Debating getting lip fillers in Las Vegas to enhance your look and make you less self-conscious? Ask your doctor these four questions before getting lip fillers so you can see if you are the perfect fit for this aesthetic procedure. Read Also: How to Achieve Kissable and Healthy Lips

READ MOREDetails
Achieve Firmer Skin With Skin Tightening

Achieve Firmer Skin With Skin Tightening

In the quest for youthful and vibrant skin, many individuals seek effective ways to combat sagging or loose skin. Whether it's due to the natural aging process, weight loss, or other factors, skin tightening has become a popular choice to rejuvenate one's appearance. In this article, we will explore the world of skin tightening, discussing various methods and considerations to help you make an informed decision. The desire for firm and radiant skin is universal. The good news is that there are numerous methods available to help you achieve just that. Skin tightening is a procedure designed to restore and enhance the tightness of the skin, resulting in a more youthful and rejuvenated appearance. What Is Skin Tightening? Skin tightening toronto is a cosmetic procedure that aims to enhance the elasticity and firmness of the skin. It can be performed on different areas of the body, including the face, neck, abdomen, arms, and thighs. This process helps reduce sagging, fine lines, and wrinkles, providing a more youthful and refreshed look. Causes Of Skin Laxity Before we delve into the methods of skin tightening, it's essential to understand what causes skin laxity in the first place. Several factors contribute to this condition, including: Aging: As we age, the production of collagen and elastin, two vital proteins responsible for skin tightness, decreases. Weight Loss: Rapid weight loss can lead to loose skin, as it doesn't have enough time to adapt to the new body shape. Sun Exposure: Prolonged exposure to UV rays can break down collagen and elastin fibers in the skin. Natural Methods For Skin Tightening If you're looking for non-invasive ways to tighten your skin, you're in luck. There are several natural methods you can try: Proper Nutrition A well-balanced diet rich in vitamins, minerals, and antioxidants can help improve skin elasticity. Foods like fruits, vegetables, and lean proteins can make a significant difference. Hydration Drinking an adequate amount of water keeps your skin hydrated, promoting better elasticity and a healthier complexion. Facial Exercises Certain facial exercises can help tone and tighten the muscles beneath the skin, reducing sagging and fine lines. Non-Surgical Skin Tightening Procedures For those looking for quicker and more dramatic results, non-surgical skin tightening procedures are available. These include: Radiofrequency Therapy This procedure uses radiofrequency waves to stimulate collagen production, leading to tighter skin. Ultrasound Therapy Ultrasound waves penetrate deep into the skin, promoting collagen growth and skin tightening. Laser Skin Tightening Laser treatments target specific areas, improving skin texture and tightness. Surgical Skin Tightening Options When non-surgical options don't provide the desired results, surgical procedures can be considered. These include: Facelift A facelift is a surgical procedure that lifts and tightens the skin on the face and neck, reducing wrinkles and sagging. Tummy Tuck A tummy tuck, or abdominoplasty, is a surgical procedure that tightens the abdominal skin and muscles. Arm Lift An arm lift, or brachioplasty, is a surgical procedure that removes excess skin and fat from the upper arms, resulting in firmer arms. Considerations Before Opting For Skin Tightening Before undergoing any skin tightening procedure, it's crucial to consider the following: Consult with a qualified dermatologist or plastic surgeon to discuss your goals and expectations. Understand the potential risks and side effects associated with each procedure. Evaluate the cost and recovery time involved in the chosen method. Pros And Cons Of Skin Tightening While skin tightening procedures offer many benefits, there are also drawbacks to consider. It's essential to weigh the pros and cons before making a decision. Pros: Improved skin tightness and youthful appearance. Boosted self-confidence. Minimized wrinkles and fine lines. Cons: Potential side effects, such as redness and swelling. Cost can be prohibitive for some individuals. Results may not be permanent. Recovery And Aftercare After undergoing a skin tightening procedure, proper aftercare is crucial. This may include keeping the treated area clean, avoiding excessive sun exposure, and following the doctor's instructions for the best recovery possible. Long-Term Results The longevity of skin tightening results varies depending on the chosen method and individual factors. It's essential to maintain a healthy lifestyle to prolong the effects. Conclusion Skin tightening procedures offer a remarkable solution for individuals looking to rejuvenate their appearance and regain the confidence of their youth. Whether you opt for non-surgical or surgical methods, the key is to make an informed decision in consultation with a qualified professional. With proper care and consideration, you can achieve firmer, more youthful skin and embrace a more confident you. Read Also: 11 Foods You Must Incorporate Into Your Diet For Great Skin 8 Home Remedies To Banish Acne Scars And Discoloration For Good (Info-Graphic )

READ MOREDetails
Classy Makeup

Simple But Classy Look Make-up

If you're looking for a simple but classy makeup look, there are a few steps to follow that will help you achieve just that. Whether you want to adopt a basic and elegant look for a special occasion, such as an engagement, wedding, reunion, or another occasion, there are certain guidelines that will help you achieve a sophisticated look for almost any event. Here are some basics to get you started. In the following section, we speak to leading experts at the Paris Lash Academy and ask them about the best simple and classy make-up looks that you can opt for. Paris Lash Academy offers various eyelash extensions that can complement your looks. Simple But Classy Makeup Look: Makeup Brushes: Before you get started on your simple but classy makeup routine, be sure and gather a set of quality makeup brushes to speed up the process. You'll likely need foundation, blush, eyelid, powder, and contouring brushes. You might also want to think about including a few beauty blenders, particularly for foundation, blush, and contour application. You want a smooth application and the right brushes and blenders can provide that. Prepping Skin: In order for makeup to blend as it should, cleanse your skin to create a slight exfoliating effect before any makeup is applied. Once cleansed, moisturize the face and apply a face and eyelid primer. Primer applications should smooth and preserve any makeup that is applied to those areas. Evening out Skin Tone: If the skin is blotchy or uneven, the application of a sheer tinted moisturizer will help to smooth and even out skin tone. Tinted moisturizers can also add warmth to the complexion. You don't have to go for an exact skin match with a sheer tint as you can still bring an added intensity or glow to the skin. If your skin is extremely oily, you'll probably want to skip the tinted moisturizer step to avoid oil buildup. Concealing Under-Eye Circles and Blemishes: Evening out skin tone also means including and using a good concealer that is rich in pigment and staying power. You want to cover dark under-eye circles and other blemishes. Using too much will accentuate problems, so simply use a short swiping motion under the eye. When dispensing the concealer, place it in a triangular shape under the eye. Blend the area with your finger or a beauty blender. For blemishes, dab the actual spot and blend. Continue to do the same action if added coverage is necessary. You want the concealer to be at least one to two shades lighter than your skin tone. Other spots to highlight include going up the bridge of the nose and on up to the forehead. Foundation: The right foundation is the piece de resistance of any makeup routine. You want to find a shade that is closest to your actual skin tone and decide whether a liquid or cream is suitable for your skin type. For a more flawless look, use a beauty blender to apply the foundation. It will definitely deliver a smoother and more complete coverage. Blend the foundation on the face and continue down onto the neck area. If necessary, use your concealer again to cover any blemishes or dark areas, or to add further accents. Contouring/Highlighting: Once the foundation phase is complete, use a contour brush to apply contour powder or cream under the apple areas of the cheeks. Also, apply that same contour to the forehead area and both sides of the jaw. In order to add more warmth, apply a bronzer to those same areas. Blush Color and Highlighter: For added color, choose a blush color for a simple but classy makeup look. You want to think about using cream blushes in warm peaches and pinks so that skin is given a natural and subtle look. Forego cool pinks as they add too much drama. Natural cheek colors can convey a blushing bride kind of appearance that can enhance just about any luvbridal wedding ensemble as well as any other special occasion or event. Use a blender or brush to apply blush to the apples of the cheeks. For more cheek and face enhancement, add a non-sparkly highlighter to the tip of the nose and cheek areas and anywhere else where the sun would normally hit. Again, use a beauty blender to smooth out both the blush and highlighter to create a more subtle and simple effect. Eye Shadow, Liner, Mascara, and Eye Pencils: Soft browns are the best eyeshadow colors to use to enhance the eye area and its shape. Select a shade that is a bit darker than your skin. Brush and blend the shadow into the creases of the eye as well as on the lower lashes. Keep it soft with no hard lines. Add a neutral creamy color shadow at the inner corners of the eyes as well as at the center of the lids, and on the brow bones. At the outer corners of the eyes, use a darker shade to bring a further dimension to the eyes. Liner - Apply a dark brown or black liner to the eyelids. Liquid and gel liners give a longer, starker and lasting effect while pencils usually bring a softer and smoother look. Mascara - provides a finishing touch to the eye area. Apply several coats to the top lashes. For lighter lashes uses brown mascara and if you have darker lashes, use brown or black. Avoid mascara products that produce spidery lengths to lashes, as they can detract from a more natural look. Mascara can also be used on your bottom lashes by applying a bit of mascara from the wand and placing it right at the roots of the bottom lashes using a small eye brush to dot in the mascara. Eyebrow pencil/gel - color choices should be one or two shades on the darker side for blonde or light brown hair, while one or two shades lighter for dark or black hair. You want your brows to be natural but you also want them to be defined. Use an eyebrow template if you are not sure of how to color in your brows or simply need a guideline for correct color placement. Think soft and subtle, yet defined. Lips: You want to enhance your lips with a pretty lasting tint rather than an outlandish and garish color. Choose a shade that actually matches your true lip color and pat or press the color into the lips. Go to the center of the lips first and blend the color in an outward motion. Darker berry colors and reds are flattering in a matte tint as they do bring emphasis to the lips without exaggerating them. Powder: Maybe you don't require powder to finish your look but if your skin has a tendency to get oily and produces shiny spots, you might want to think about an oil-absorbing powder. Powders that are pressed, silk, airbrushed, translucent, and hydrating are great for completing any look, whether your skin is oily or otherwise. These powders are easy to use as you can just sweep a powder brush across them and buff the skin to create a perfect look, which includes powdering the under-eye area as well. Pores and blemishes are also reduced with the use of this kind of powder, and touch-ups are easy as the buildup is almost nonexistent. Setting or Fixing Spray: Once your makeup is completely done, use a setting or fixing spray to hold your work of art in place. Whether you choose it in spray, powder, or mist form, it is designed to maintain your makeup for a number of hours to all day. It helps you avoid those frequent powder room touch-ups that are annoying and a hassle. There are specific types to use for both oily and dry skin. Creating a simple but classy makeup look can be fun and enhancing and if you have a few steps to follow, the process isn't then difficult. Take a look at the steps here and give yourself a simple but classy makeup makeover. Just remember not to overdo it. A Simple Professional Makeup Routine for Everyday   Sometimes all we need is simple classy makeup to put yourself together before your office.  Creating a polished look for the office doesn’t have to be time-consuming. With a few straightforward steps, you can achieve a clean and classy makeup look that’s ideal for work.  Start with a Clean Slate  Your face is the canvas, and a clean slate is the beginning step of a well-set makeup.  Therefore, begin by thoroughly cleansing your face to remove any impurities.   Apply a lightweight moisturizer to hydrate your skin, followed by a primer to ensure your makeup lasts throughout the day.  Achieve an Even Complexion  The second step is getting an even complexion. This will be the base of your minimal makeup. Half of the time, getting an even tone can already make you feel put together.  Select a light foundation or BB cream (if you do not want something heavy like foundation) that closely matches your skin tone.   Blend it evenly across your face using a beauty blender or brush, focusing on areas that need extra coverage. For blemishes or dark circles, gently apply concealer and blend it in seamlessly.  Enhance Your Natural Glow  Too much bold makeup can make you stand out in all the wrong ways when you are in the office.  So, if you are in love with the heavy sun-kissed look, it is time to keep that overwhelming rouge down.  Rather, choose a soft pink or peach blush to add a subtle pop of color to your cheeks.   Lightly contour under your cheekbones and along your hairline with a matte bronzer. Finish by applying a touch of highlighter to the high points of your face, such as the tops of your cheeks and the bridge of your nose.  Subtly Define Your Eyes  Again, do not go for a bold eye look. Reserve them for the evenings. But here is how you can define them with the help of counting.  Go for neutral eyeshadow shades like soft browns or taupe. Apply a lighter shade across your lids and blend a slightly darker shade into the crease for depth. Use brown or black eyeliner to line your upper lash line and finish with a coat of mascara.  Perfect Your Brows  Sometimes, all you need is a well-set brow, and your makeup and your face have an automatic symmetry.  Fill in any sparse areas of your brows with a brow pencil or powder, maintaining a natural look. Follow the natural shape of your brows without making them too bold.  Finish with a Soft Lip Shade  Finally, it is time to seal the makeup with lips.  For a natural and professional look, you can opt for a simple lip gloss or balm. Try not to go overboard with the clear gloss, as it can cheapen your look at times.  Select a lip color that enhances your natural lip tone, such as a nude, pink, or soft berry shade.   Apply it evenly, and if you like, add a layer of gloss for a polished finish.  Read Also: 7 Tips For People With Hypersensitive Skin Expert Doctor’s Treatments For Cystic Acne 7 Anti-Aging Tricks And Tips To Get Youthful Skin Like A Teen Get Part Ready In No Time With These Hair And Makeup Hacks!

READ MOREDetails