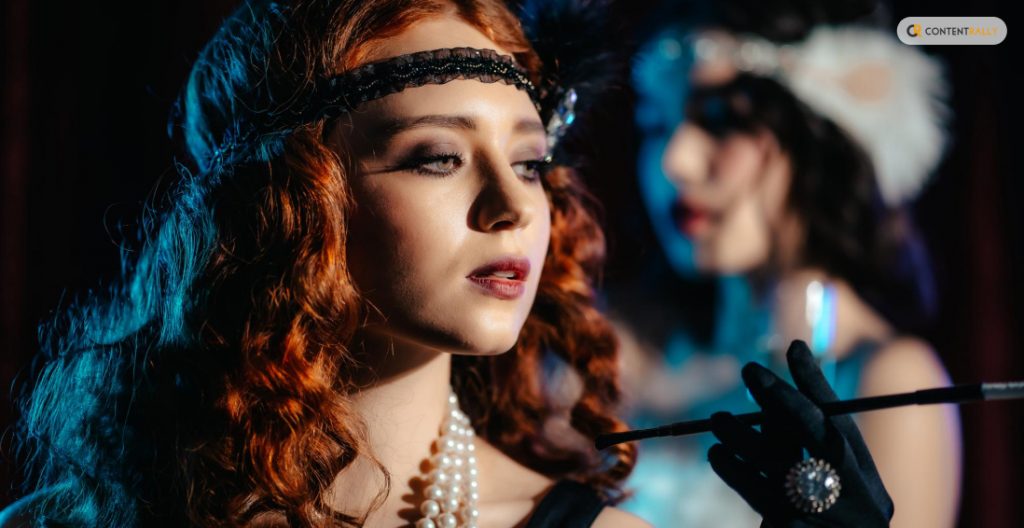
Stage makeup might be the new norm. However, the 1920s flapper makeup is nothing short of a sensation.
Artists see it as a timeless token of expressive beauty, style, and sensational glamour. Let’s check out the main touch points of the artisanal and aesthetic flapper makeup.
No doubt the 1920s looks were iconic. So, it’s worthwhile to understand the styles that inspired flapper makeup. We can also try to explore the twenties’ spirit that was depicted through the bold makeup looks. After all, expressing the inner self is the prime function of beauty.
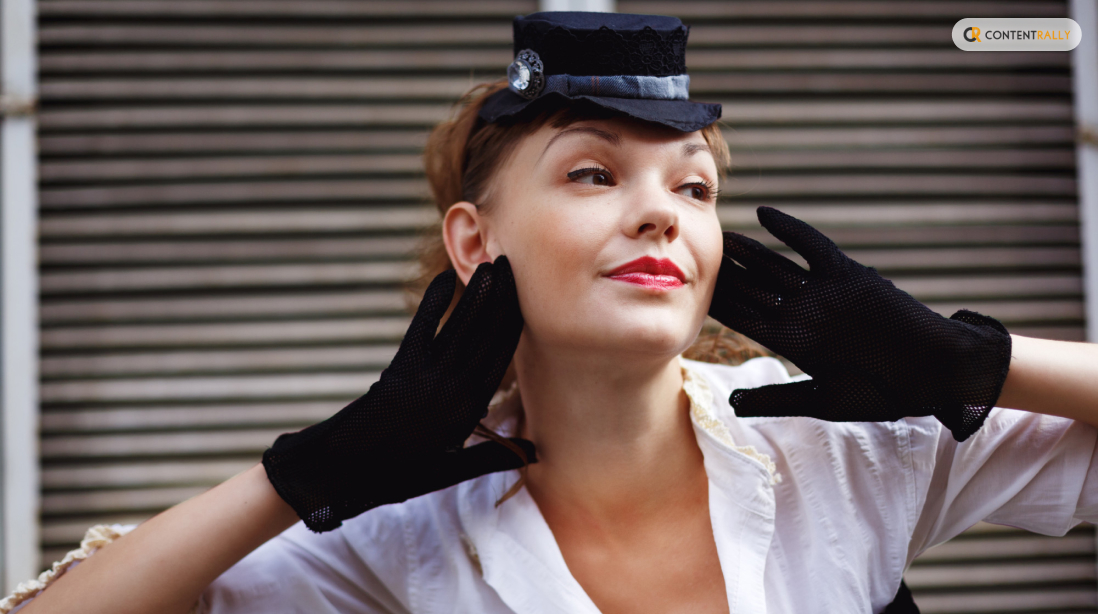
Before we know in detail, can you tell what flapper makeup was precisely? Well, long eyelashes, neatly defined brows, and scarlet lips are the tokens defining flapper makeup. That’s not all. The advent of rosy cheeks for that doll-like look can also be credited to the 1920s.
What Defined Flapper 1920s Makeup?
Eager to get into the crux of flapper makeup? Modern makeup enthusiasts are obsessed with the right nude look or depicting a sensational minimalist look. But the 1920s saw makeup and beauty differently.
Remember the characters from The Great Gatsby? The youthful quest of character and dollish overtones dominated the thoughts of the 1920s artists.
Today, you won’t celebrate such layered makeup. Instead, models proposed in angled foundations with neatly chiseled jawlines are today’s front runners. Moreover, the heavy blushed, and brighter skin toning of flapper makeup has found a replacement in the contoured makeup of today.
So, the basics of the flapper makeup look is getting dolled up with makeup. Since the makeup was ceremonial, events like dancing and night parties were so. Many of you may think- What about nails? Trust me, your favorite ombre nail designs 2024 versions would not have made any mark in that look.
The face was still the epitome of beauty.
Types Of Flapper Girl 1920s Makeup
There were many flapper styles during the 1920s. In our imagination, the bold 1920 makeup girl would have liked some of these flapper styles:
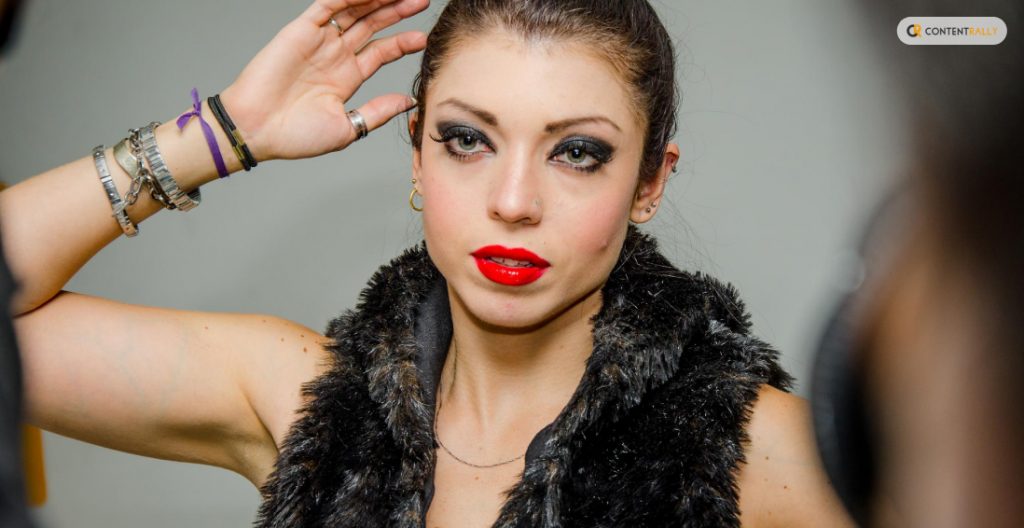
1. The Classic Decor
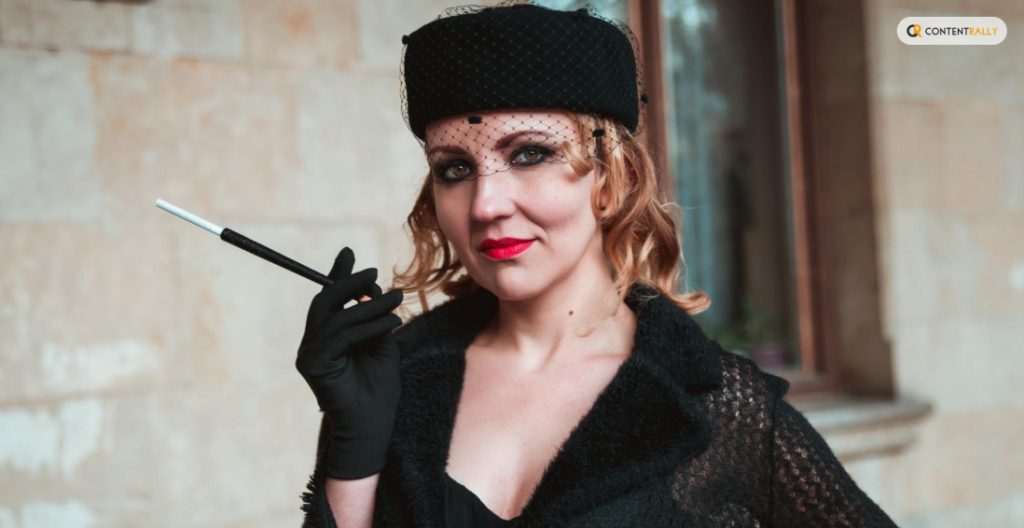
Dark and smoky eyes dominated this look. Remember the goth scenes with grim female characters? Yes, you’re thinking right. Sharp eyebrows, blood-red lips, and pale white complexions complemented the classic flapper makeup look.
2. The Bob
Rain or shine, girls would go gaga over a playful twist. The definition of the bold flapper makeup completed with the faux bob.
Short hair was the norm of the day. No commitment. Just do a contemporary transition and have fun!
3. The Cost-Effective Version
Flapper makeup had a cost-effective version, too. If you don’t want your flapper makeup experiment to cause a hole in your pocket, here’s your solution. Firstly, grab any light foundation.
Go for the wet n wild photo focus matte/gloss liquid foundation. It costs $5.47 and is available in classic, beige, and other shades. You can also go with the e.l.f. Flawless Finish Foundation. The latter would be better for the glossy, bold look.
It covers uneven skin tones like MAC, The Whoo, or any in that category. Remember, the foundation is the basis of the cost-effective flapper makeup.
Secondly, your primary role is to create smoky eyes using your regular eyeshadow palette.
Lastly, go for a cheap radiant red lipstick for those popping red lips. BAAM! Your pocket friendly flapper makeup looks completed in 30 minutes or so.
4. The Zombie Flapper Makeup Look
Today, I suggest a mattifying primer with a matte foundation, contour for cheeks, and dark shades for eye sockets. Of course, a makeup setter spray to top it up. But do you want to know how a 1920s makeup flapper would look like?
Complement your flapper style with an authentic macabre look. Create a makeup base to begin with. After that, create defining under-eye circles, draw cracks, and apply fake blood in patches and splashes on your skin.
Could you spot the difference? The 1920s flapper is so much more high definition than today’s looks. That’s the beauty of the bold makeup sensation we’ve left behind.
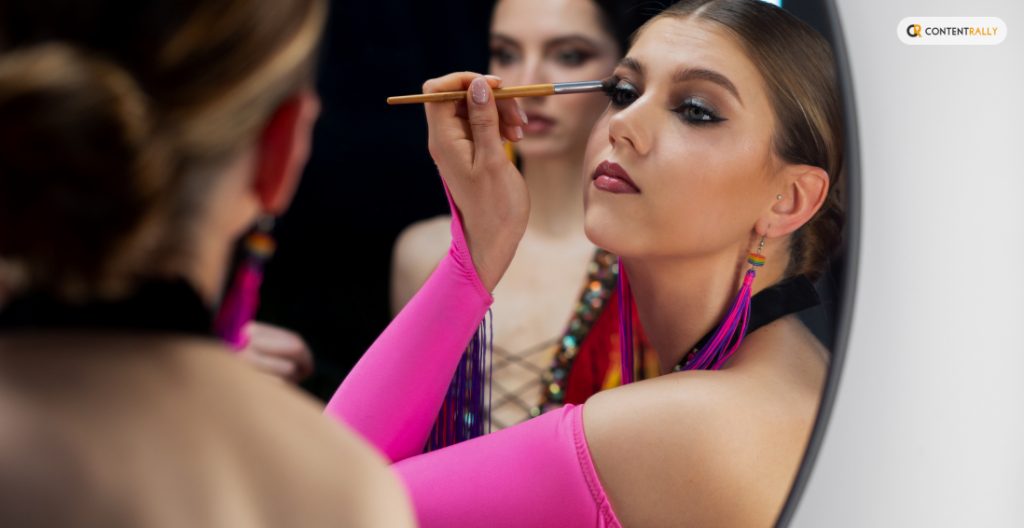
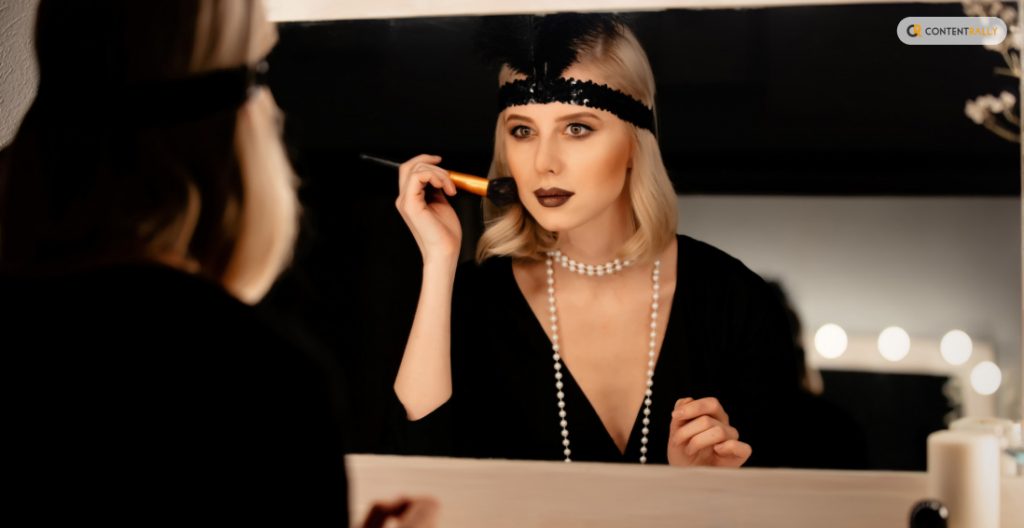
How To Use 1920s Flapper Makeup: Tutorial
The prime element in your 1920s flapper look would be how you groom your eyes. The eyes are an actual package here. Similarly, I’m talking about eyebrows, lashes, lids, and under-eye.
Secondly, you must draw bold lips. No extraordinary treatment. But well-defined bright lipstick.
Lipstick
However, I find that MAC’s Locked Kiss Transfer Resistant Creamy Matte would be an iconic lipstick I’d choose for realistic flapper makeup. After all, you must make your lips feel soft, thick, and plushy yet neatly chiseled.
Mascara, eyeliners, eye shadows, etc
After that, we will focus on the eye section. First, apply your eye shadow. You will find film stars staging dark eye shadows at that time. I also feel that the darker eye shadows preserved the real essence of the flapper makeup.
It’s not the twenty’s spirit if it’s not bold and defining! For parties, most women flaunted their dark, smoky eyes. I was so hooked on that look.
Indeed, my suggestion for eye shadows would be the same.
Secondly, we will focus on the eyeliner. Start by drawing a thin line with your eyeliner. Let the top lash line be smudged; use a thin eye shadow brush. However, something still seems incomplete.
Complete your eyeliner effect with an added eye shadow shade on the eyeliner.
| Caution: The to-eye shadow layer should only go down the point once the smudged eyeliner liner is marked. Otherwise, you won’t be able to conceal the extra eye shadow. |
I prefer the NYX eye pencils for the above. However, you can go with the brand of your choice.
Thirdly, I would suggest a lash mascara brush. Brush your mascara more towards the center of your traditional long eyelashes. Don’t focus much on the sides.
Brow Pencils
Finally comes the eyebrows. The typical choice would be long and thin eyebrows. Meanwhile, don’t forget to use brow pencils to perfect your brows. Certainly, thin, chappy, or sparse eyebrows won’t make sense if we’re speaking flapper makeup here.
However, there’s something more important here. Don’t draw a clean eyebrow arch. Rather, slop downwards. Most experts would not go any further. However, I am skeptical about the look and more about the finish. So, I would like yur blush to be perfect as well.
Don’t taper the blush. Instead, try to give it a rounded appearance. After all, the blush is the crux behind the more youthful look.
Other than the face, hands and feet also mattered in the 1920s. Back then people knew what is pedicure. The introduction of hemlines popularized nail care and pedicure trends. But nail makeup was not highly defined. So, they did not know what is builder gel.
Related: Get Part Ready In No Time with These Hair And Makeup Hacks!
The Flapper Era: A Cultural Revolution
The flapper makeup is no less than a revolutionary look. It was the prime movement that resulted in the rise of a subculture. When a group of young people wished to defy social norms and sexual definition, they chose the flapper over minimalist makeup.
Moreover, flapper makeup was a strong connotation of the fact that 1920s women were trying to break free. They needed to make accurate, bold statements that came in the first look.
Flapper makeup looks aligned with style, approach, and cultural tastes. For example, flappers liked jazz. They also had bold lifestyles.
Key Elements Of Flapper Makeup
That’s easy. Flapper makeup uses all high-definition components. So, there was minimal layering in the makeup.
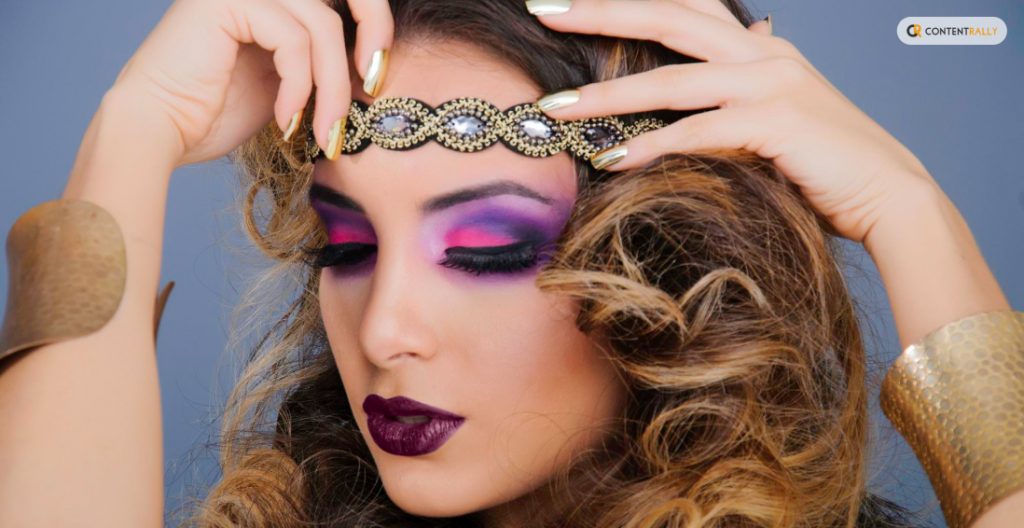
Firstly, the flapper’s makeup is incomplete without dark and smoky eyes.
Secondly, a pale white skin tone is a definition look for a flapper.
Don’t go by the racial connotation of the makeup essentials. After all, these elementary things defined a revolutionary generation.
After dark eyes, flappers could not feel complete without firm lips and blush.
Iconic Flapper Makeup Products
Here are the main kits you would find in the makeup box of any flapper:
1. A heavy-duty mascara
2. Sets of long eyelashes
3. White toners, foundations, contours, etc. for base makeup
4. Eyelash curler
5. Eye pencil
6. Lipstick
7. Powders for touch up
Flapper Makeup Techniques
I have defined the flapper makeup essentially briskly already. So, I will talk about five master flapper makeup techniques only-
1. Have thin and long eyebrows and use a kohl liner for the best effect
2. Don’t forget false lashes.
3. Create a smoky eye effect as it would suit you
4. Plumm red, burgundy or any rich shade of red would do good
5. Carry Face powder
Flapper Makeup In Modern Culture
Days have changed. People don’t prefer the bold look that may seem prosthetic to the modern generation. However, bold makeup was an expression of revelation from shackles for women back then.
So, it’s natural that the essence of flapper makeup still exists today. If you’re curious too, here are two unmistakable things that have become timeless.
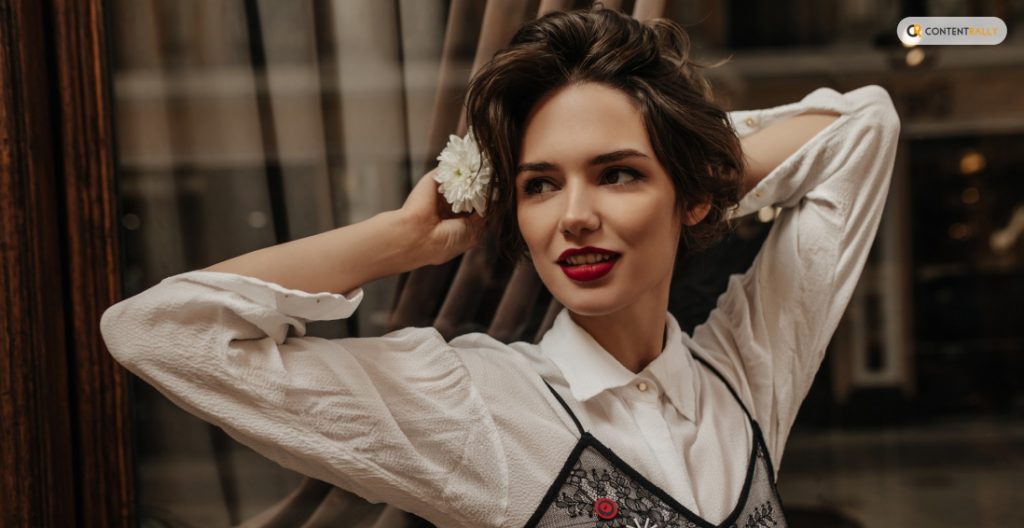
Firstly, the smoky eyes look. Women still use the smudgy and messy eye-shadowed look for that bold statement.
Secondly, we see the cupid’s bow lips quite often. That is another gift of the flapper makeup era.
If you want to know more about flapper makeup or want to offer tips, comment your doubts or queries in the following section. I will check the comments in no time!
Additional Resources: