Get Part Ready In No Time with These Hair And Makeup Hacks!

Published on: 17 April 2019 Last Updated on: 28 September 2023
Hair Makeup

The whirlwind of parties feels like a mad dash, especially when you need to get ready in just a few minutes. The makeup, hair, and prep seem never-ending. By the time you have managed to use your holy-grail foundation and stocked the endless amount of bobby pins and u-pins, the next event calls you.

The solution: Get party ready with these simple hacks and cut down your schedule! Here are 5 hacks you can’t miss:

Contouring In Few Minutes:

If contouring is something that you can’t miss, this simple trick will help. Just dip your angled brush into the matte bronze and draw ‘3’ at the outer end of the face.

Trace the template and go to the outer end of the cheeks with the final touch giving to the jawline. Now keep on blending and blending, and you are done with the contouring part.

Hair:

Hair

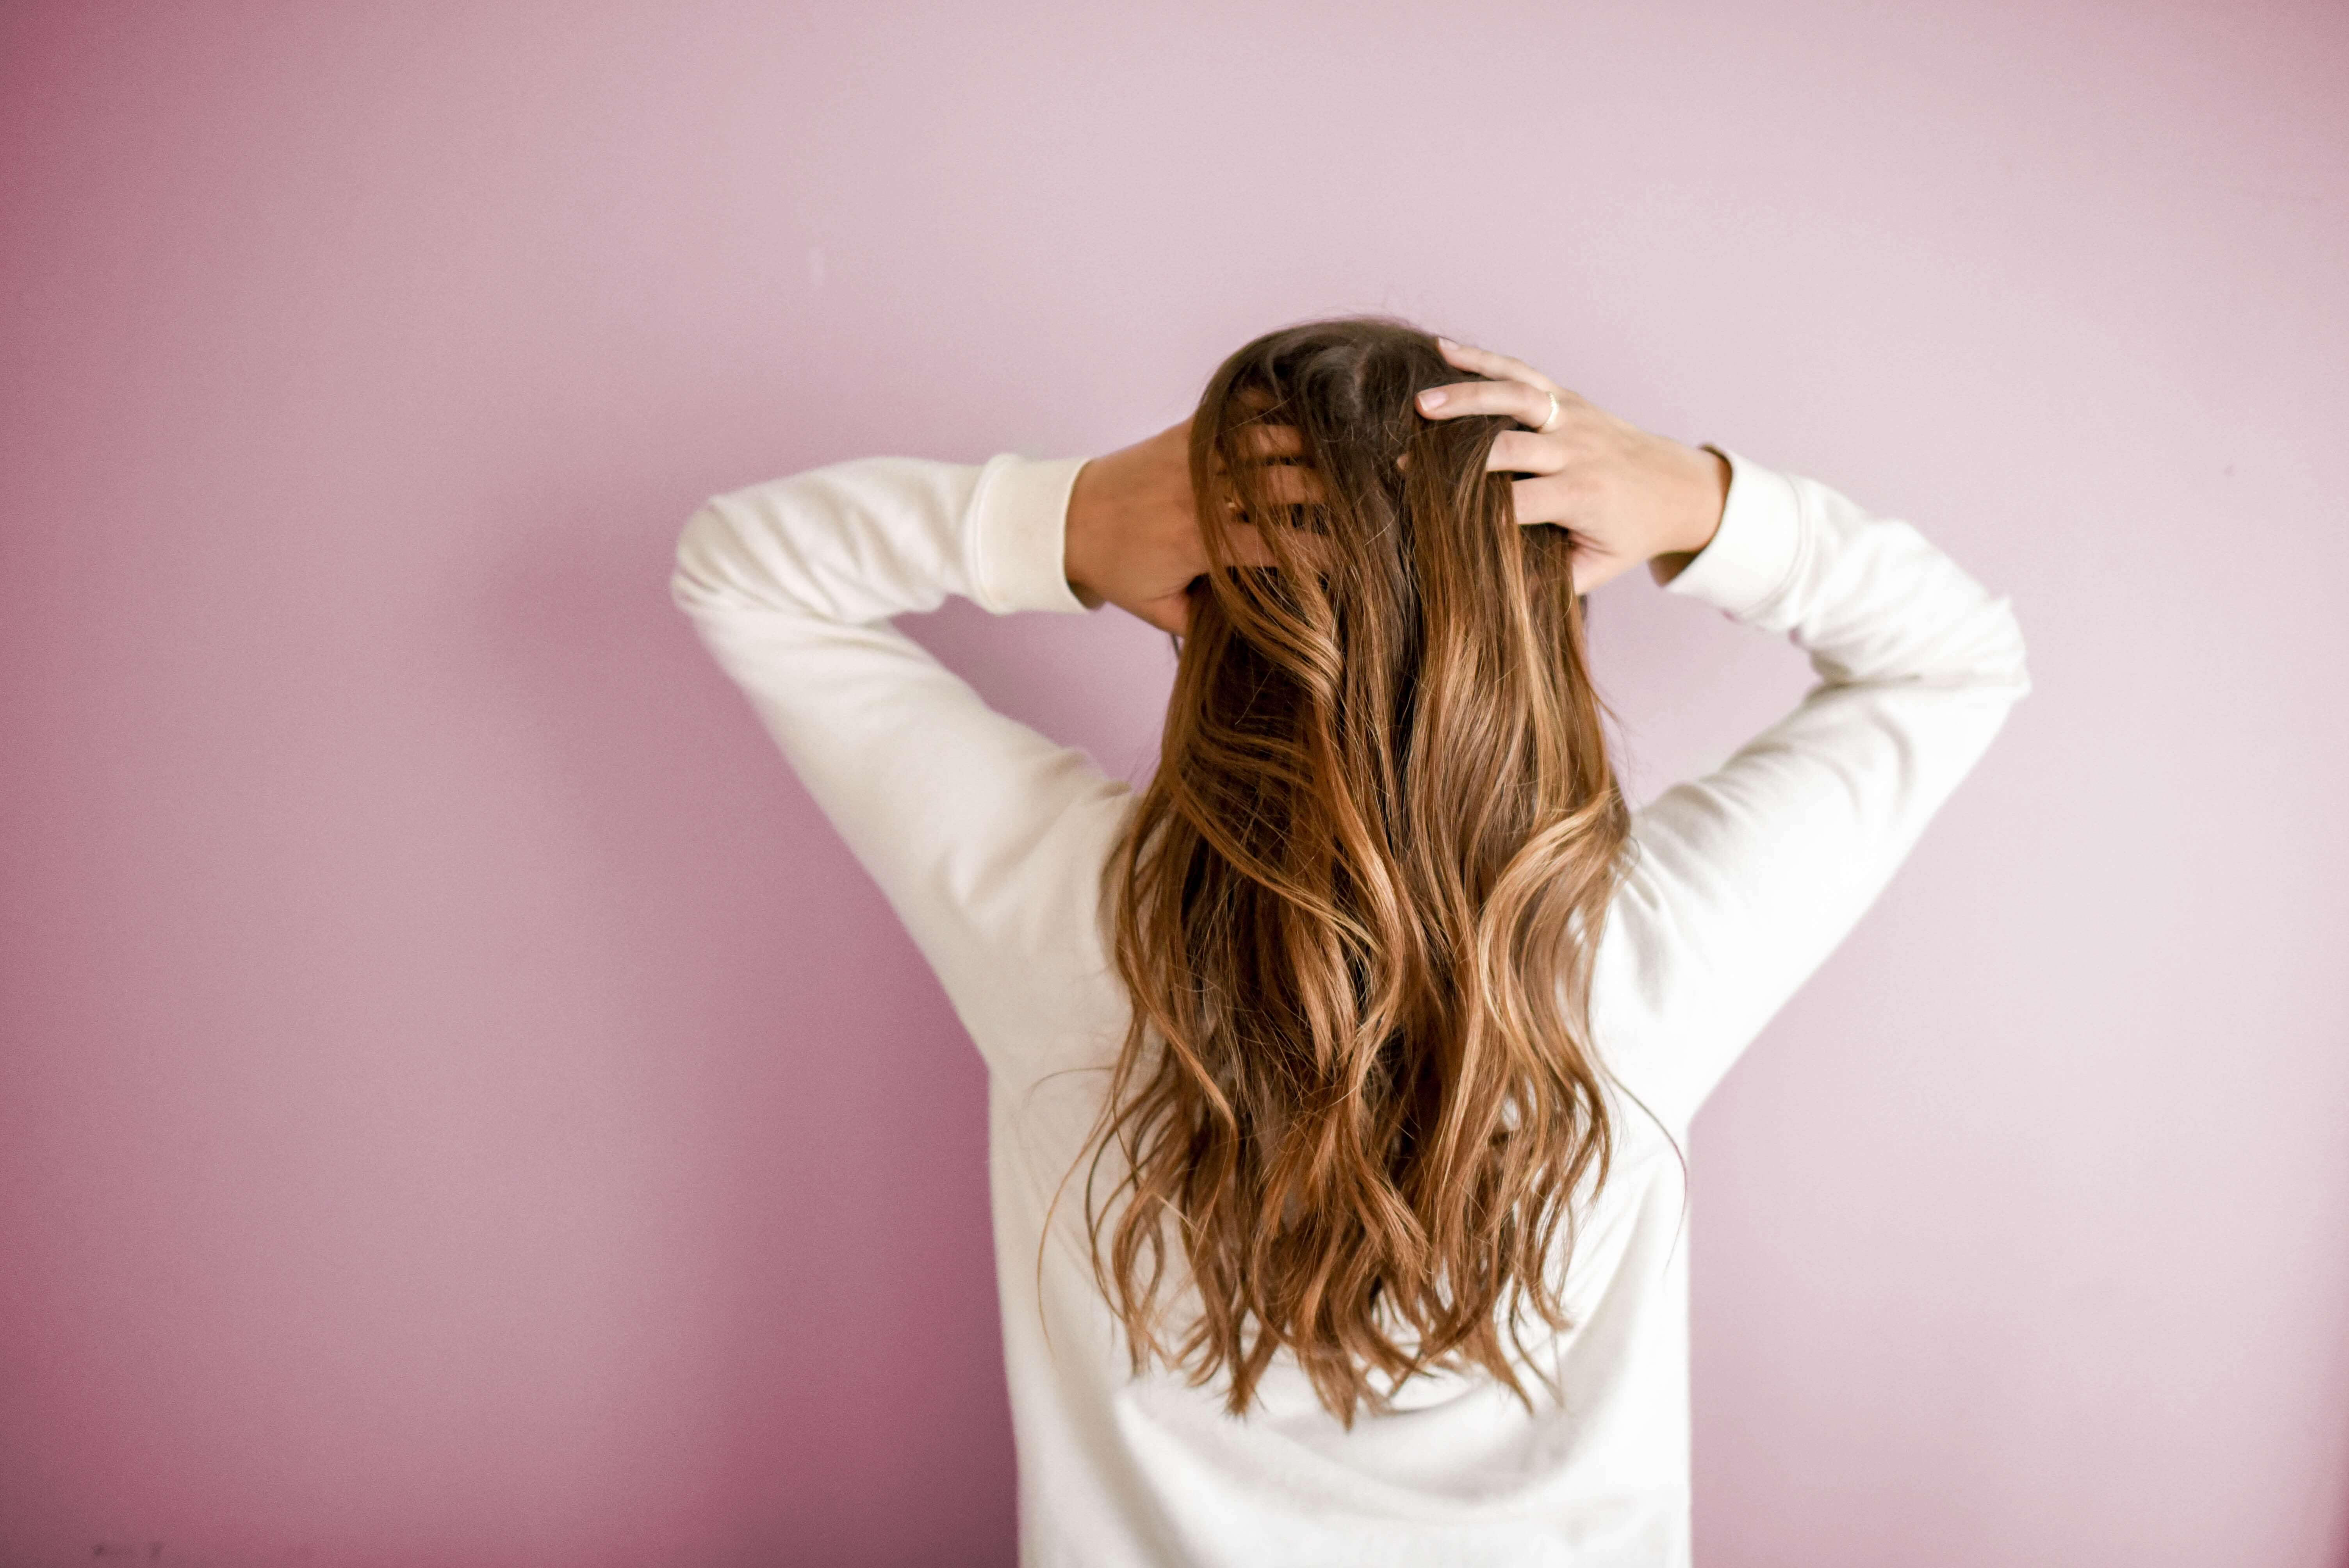
Let’s accept it; we’ve all hit the snooze only to get up fully freaked; those few minutes of beauty sleep eats our time reserved got getting ready! On such days, you don’t have time to create a masterpiece. These hairstyles are just for the late babes:

  • Twist And Turn Hairs: To get this look, pull your hairs to one side of your face and tie them in a hair tie. Create a gap above the hair tie by pulling the piece in the opposite direction. Now, pull the rest of the hair from the ponytail, and you are ready with the sleek finished hairs.


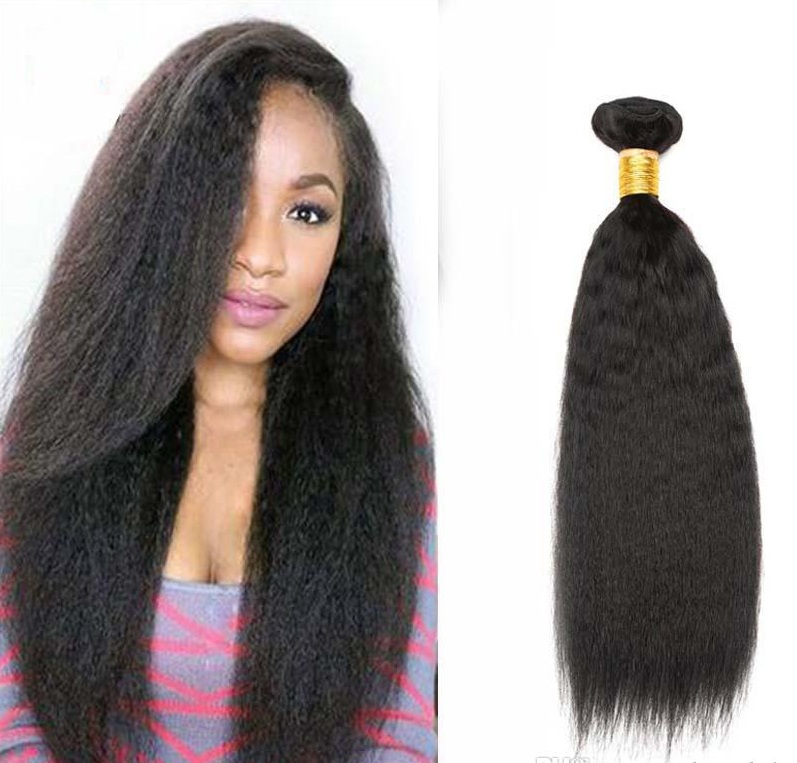
  • Half up knot: Scoop some hair from the front and tie them in a half bun on the head. To add more volume in the hairs, add Brazilian Loose Wave Hair extensions and give your hairs a fuller look.


  • Low bun: Low bun is the easiest way to pull the look together. For a more polished look, pull your hairs tight at the back and make it little messier.

Work On The Eyes:

Eyes makeup

Eye makeup is the most time-consuming thing with mascara taking most of the time. So, skip the curling process and apply for eyelash extensions. Enhancing eyelashes will give you look more put together. You can actually apply long-lasting eyelash extensions at home within minutes and have a stunning look for weeks. Long-lasting eyelash extensions are a convenient and cost-effective way to enhance your natural beauty without the need for frequent salon appointments. With the right adhesive and application technique, you can achieve a professional-quality result in the comfort of your own space. Just some tinted moisture, lip balm and you are done with the perfect party look.

Further, shaping the brows, filling them with the eye gel and powder need effort and extra time. The key to perfect brows that look like they’ve been drawn with the crayon is by using your mascara.  Once using on the lashes, dip brush into the tube, ward off the excess and apply it with the light hand on your eyebrows.
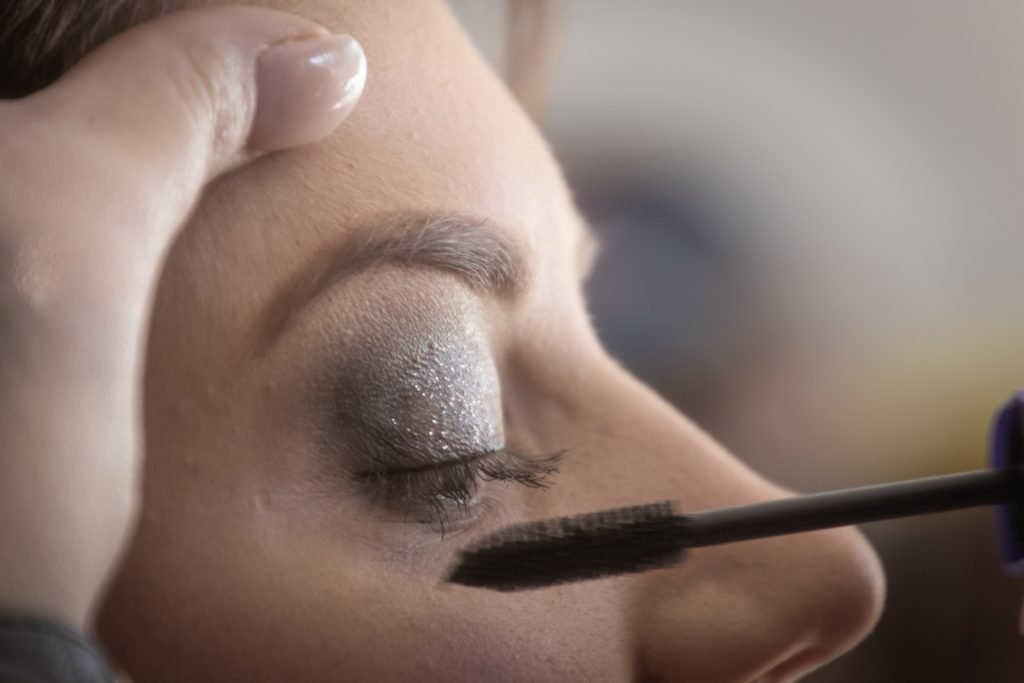
Dab The Eyeshadow:

Eyeshadow

Let your bright eyeshadow pop without investing much time. Just grab your kohol, apply it all over the lid with thick strokes and blend it with fingers.

Now apply your bright eye shadow on the top of it and dust off the extra. Make sure that the art of applying perfect eyeshadow lies in blending, so let the color merge and eyed do the talking.

Do The Cheeks With One Product:

Who needs to juggle between brushes, blushes, tubes of foundation when only one product is all you need to be the tint. Just grab any lipstick and add a hint of color on the eyes and cheeks. Use your hands to apply color and pat gently into the skin until it blends nicely.

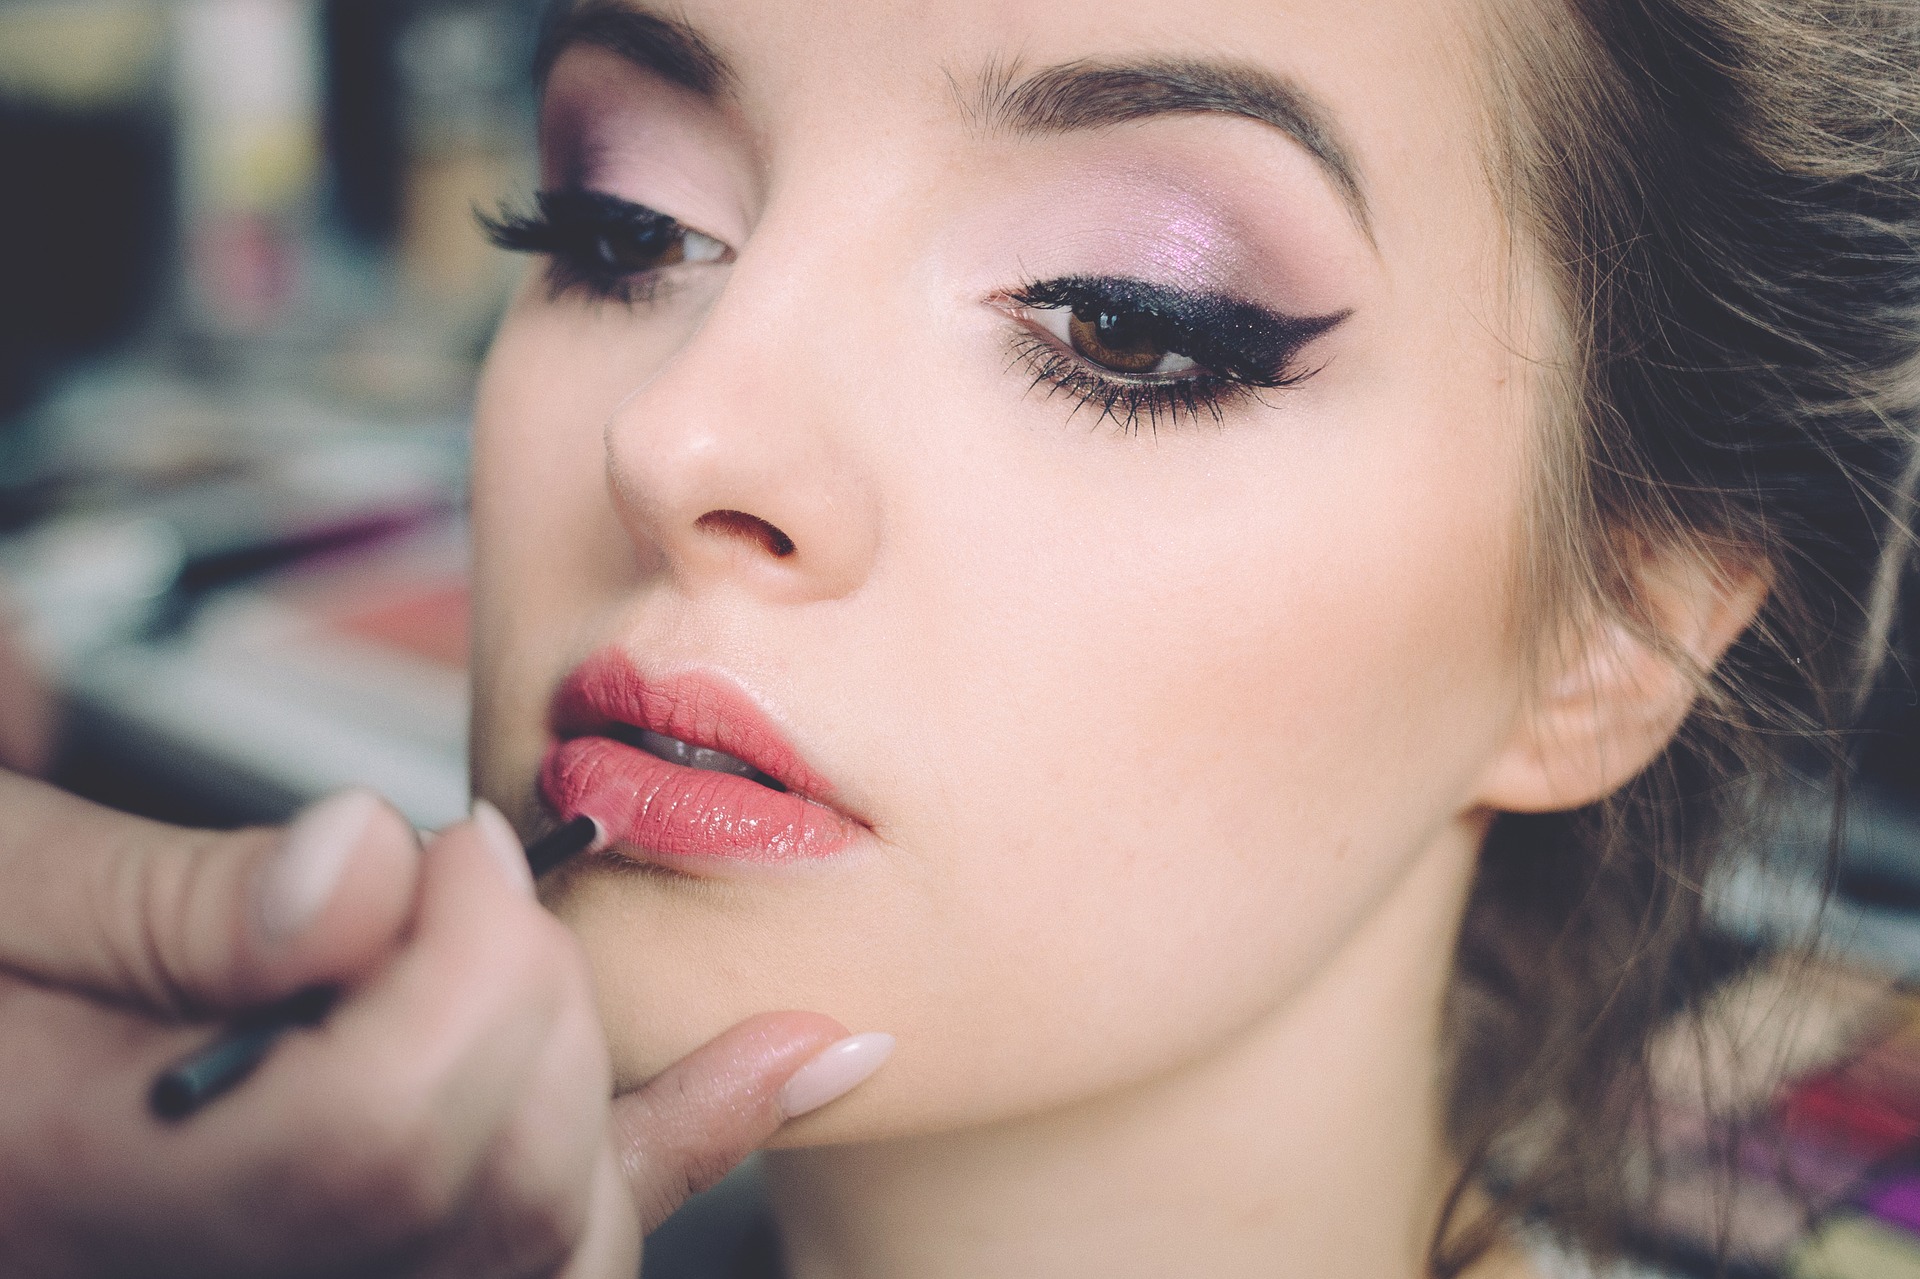
Don’t Forget The Lips:

Lips

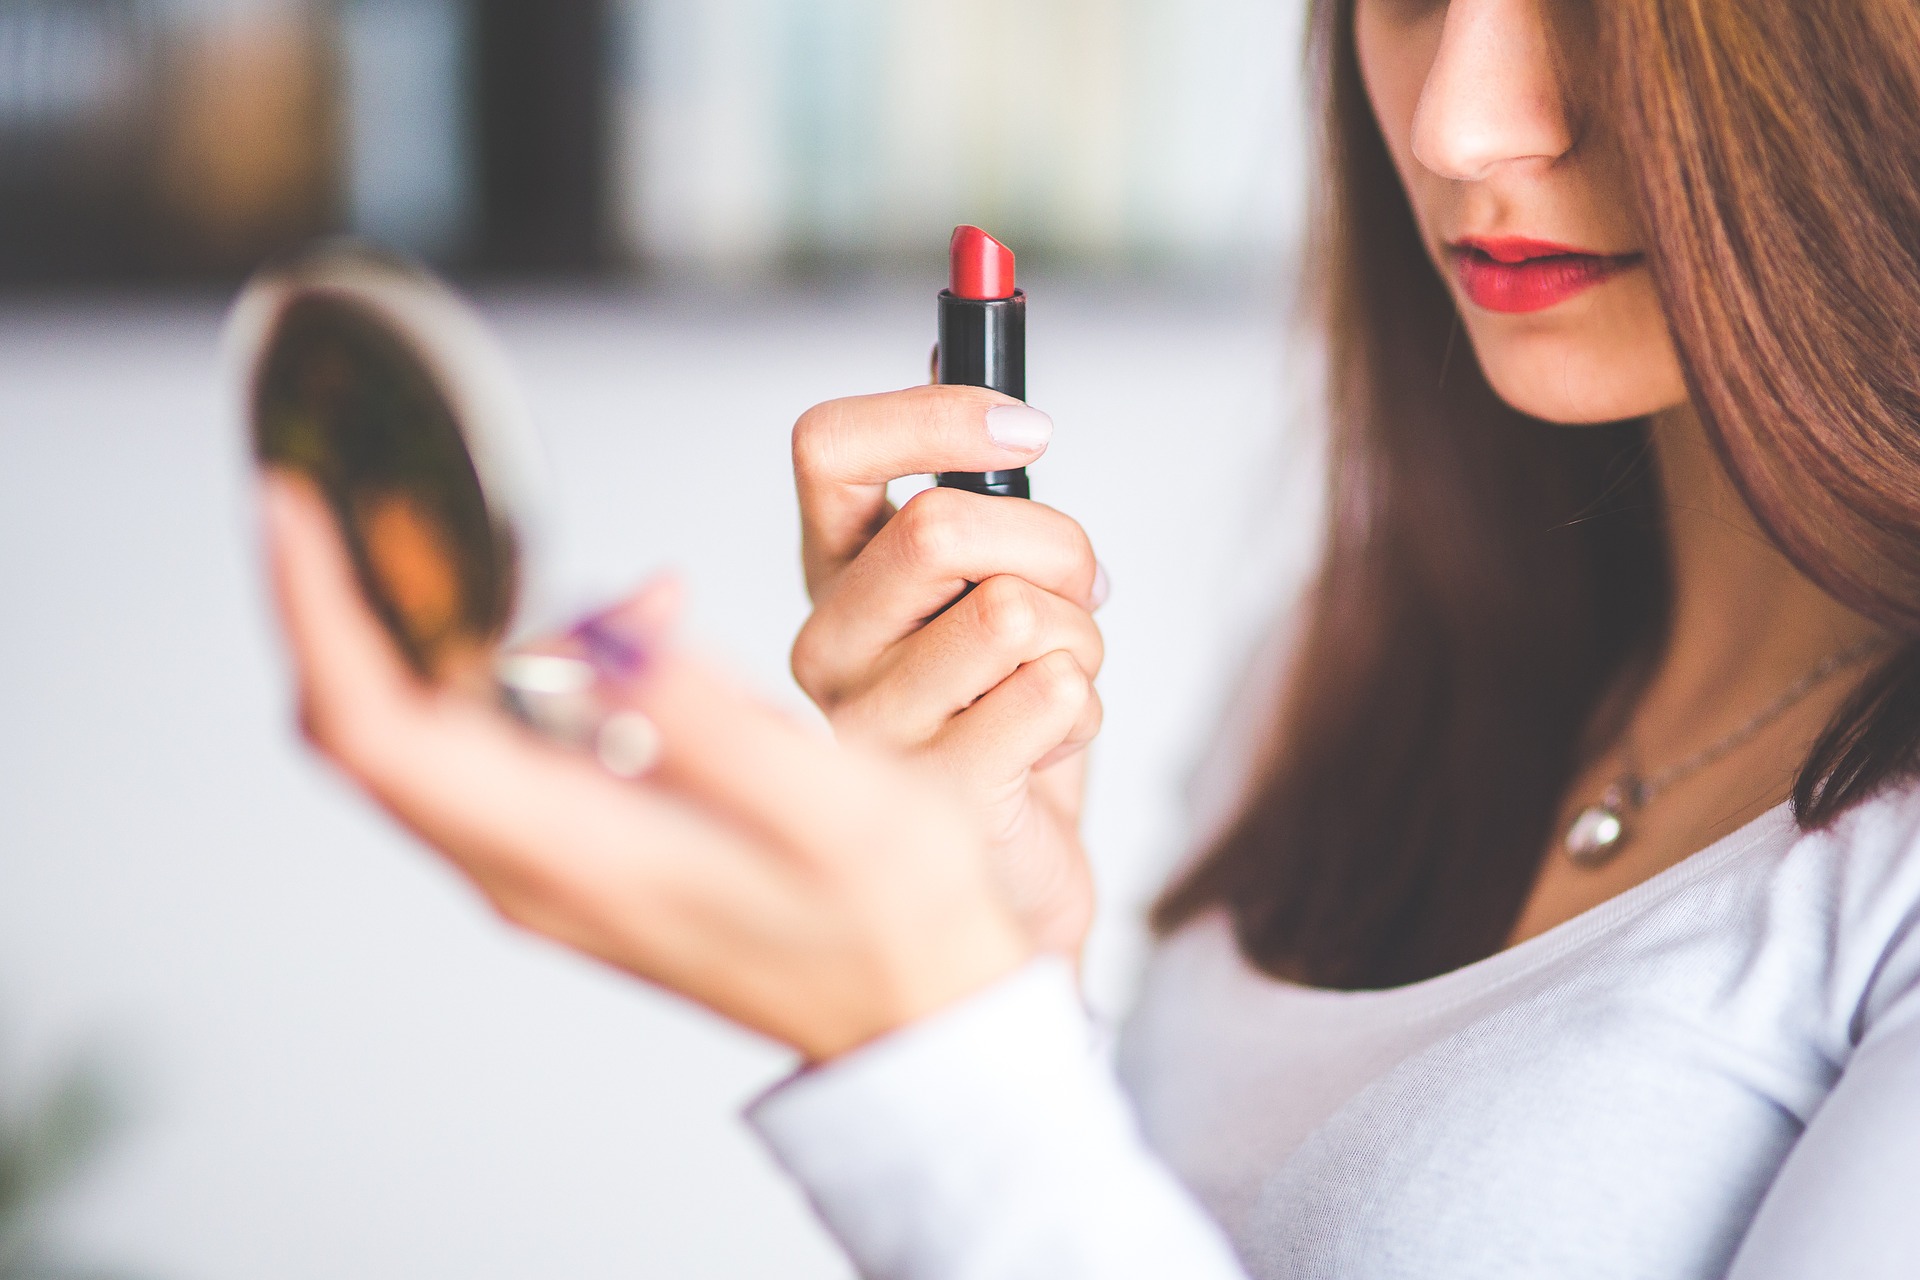
Lipstick has always been a magical product that can instantly transform your look. While the right selection of color is important; choosing the right method of application has more effect. Apply lip liner and use liquid lip crayon all over the lips to give the complete coverage.

So, now that you know quick hacks; no need to get into the fuss to get the party-ready look. Try them, and you are ready in a snap!

Read Also:

Content Rally wrapped around an online publication where you can publish your own intellectuals. It is a publishing platform designed to make great stories by content creators. This is your era, your place to be online. So come forward share your views, thoughts and ideas via Content Rally.

View all posts

Leave a Reply

Your email address will not be published. Required fields are marked *

Related

Organic Haircare Products

Understanding Certifications In Organic Haircare Products: Ensuring Transparency And Quality

Nowadays, with awareness and proper knowledge, people are getting more and more conscious about the products they use; hence it has led to a rise in demand for organic haircare products. With a focus on organic ingredients, organic haircare offers a greener and healthier alternative to conventional haircare products. However, as the market grows, it becomes essential for consumers to differentiate genuine organic shampoo and conditioner from those that merely claim to be so. In this blog, we will dive into the world of certifications in organic haircare products, understanding their significance, and how they ensure transparency and quality. What Are Certifications In Organic Haircare? Certifications are endorsements from reputable organizations or governing bodies that validate the authenticity of organic claims made by haircare brands. They act as a reliable assurance for consumers, indicating that the products have undergone stringent evaluations and meet specific standards. Why Do Certifications Matter? Transparency and Trust: Certifications offer transparency about the sourcing, production, and ingredient quality of organic haircare products. Consumers can easily trust that the products they are using align with their ethical and environmental values. Quality Assurance: Certifications ensure that organic haircare products meet certain standards in terms of ingredients, manufacturing processes, and sustainability practices. This assurance promotes higher-quality products for consumers. Avoiding Greenwashing: Greenwashing is a marketing practice where companies falsely claim to be organic or eco-friendly to attract environmentally conscious consumers. Certifications help distinguish genuine organic products from deceptive marketing tactics. Common Certifications In Organic Shampoo And Conditioner: USDA Organic: One of the most well-known organic certifications, the United States Department of Agriculture (USDA) Organic label verifies that the product contains at least 95% organic ingredients. The remaining 5% must be from an approved list and must not contain any synthetic chemicals. ECOCERT: ECOCERT is a globally recognized certification that ensures the organic and natural integrity of products. They assess the product's ingredients, manufacturing processes, and environmental impact. Leaping Bunny: While not specifically for organic products, the Leaping Bunny certification is crucial for cruelty-free hair care. This certification confirms that the product and its ingredients were not tested on animals. Tips For Choosing Organic Haircare Products: Look for Recognizable Certifications: Prioritize products with well-known organic certifications like USDA Organic, ECOCERT, or COSMOS. Read the Ingredient List: Check the ingredient list for natural and organic components, avoiding products with harmful chemicals like sulfates, parabens, and phthalates. Research the Brand's Values: Investigate the brand's sustainability practices, ethical sourcing, and commitment to the environment. Read Reviews: Look for consumer reviews and feedback on the product's performance and authenticity. Conclusion: Certifications play a vital role in verifying the authenticity of organic haircare products, providing consumers with confidence in their purchases. When armed with knowledge about these certifications and label claims, consumers can make informed decisions, selecting high-quality, organic haircare products that align with their values and contribute to a greener, more sustainable future. Read Also: Use Organic Products To Prevent Gray Hair Why Hairdressers Love Rose Gold Colour Who Are The Best Software Vendors Out There?

READ MOREDetails
Classy Makeup

Simple But Classy Look Make-up

If you're looking for a simple but classy makeup look, there are a few steps to follow that will help you achieve just that. Whether you want to adopt a basic and elegant look for a special occasion, such as an engagement, wedding, reunion, or another occasion, there are certain guidelines that will help you achieve a sophisticated look for almost any event. Here are some basics to get you started. In the following section, we speak to leading experts at the Paris Lash Academy and ask them about the best simple and classy make-up looks that you can opt for. Paris Lash Academy offers various eyelash extensions that can complement your looks. Simple But Classy Makeup Look: Makeup Brushes: Before you get started on your simple but classy makeup routine, be sure and gather a set of quality makeup brushes to speed up the process. You'll likely need foundation, blush, eyelid, powder, and contouring brushes. You might also want to think about including a few beauty blenders, particularly for foundation, blush, and contour application. You want a smooth application and the right brushes and blenders can provide that. Prepping Skin: In order for makeup to blend as it should, cleanse your skin to create a slight exfoliating effect before any makeup is applied. Once cleansed, moisturize the face and apply a face and eyelid primer. Primer applications should smooth and preserve any makeup that is applied to those areas. Evening out Skin Tone: If the skin is blotchy or uneven, the application of a sheer tinted moisturizer will help to smooth and even out skin tone. Tinted moisturizers can also add warmth to the complexion. You don't have to go for an exact skin match with a sheer tint as you can still bring an added intensity or glow to the skin. If your skin is extremely oily, you'll probably want to skip the tinted moisturizer step to avoid oil buildup. Concealing Under-Eye Circles and Blemishes: Evening out skin tone also means including and using a good concealer that is rich in pigment and staying power. You want to cover dark under-eye circles and other blemishes. Using too much will accentuate problems, so simply use a short swiping motion under the eye. When dispensing the concealer, place it in a triangular shape under the eye. Blend the area with your finger or a beauty blender. For blemishes, dab the actual spot and blend. Continue to do the same action if added coverage is necessary. You want the concealer to be at least one to two shades lighter than your skin tone. Other spots to highlight include going up the bridge of the nose and on up to the forehead. Foundation: The right foundation is the piece de resistance of any makeup routine. You want to find a shade that is closest to your actual skin tone and decide whether a liquid or cream is suitable for your skin type. For a more flawless look, use a beauty blender to apply the foundation. It will definitely deliver a smoother and more complete coverage. Blend the foundation on the face and continue down onto the neck area. If necessary, use your concealer again to cover any blemishes or dark areas, or to add further accents. Contouring/Highlighting: Once the foundation phase is complete, use a contour brush to apply contour powder or cream under the apple areas of the cheeks. Also, apply that same contour to the forehead area and both sides of the jaw. In order to add more warmth, apply a bronzer to those same areas. Blush Color and Highlighter: For added color, choose a blush color for a simple but classy makeup look. You want to think about using cream blushes in warm peaches and pinks so that skin is given a natural and subtle look. Forego cool pinks as they add too much drama. Natural cheek colors can convey a blushing bride kind of appearance that can enhance just about any luvbridal wedding ensemble as well as any other special occasion or event. Use a blender or brush to apply blush to the apples of the cheeks. For more cheek and face enhancement, add a non-sparkly highlighter to the tip of the nose and cheek areas and anywhere else where the sun would normally hit. Again, use a beauty blender to smooth out both the blush and highlighter to create a more subtle and simple effect. Eye Shadow, Liner, Mascara, and Eye Pencils: Soft browns are the best eyeshadow colors to use to enhance the eye area and its shape. Select a shade that is a bit darker than your skin. Brush and blend the shadow into the creases of the eye as well as on the lower lashes. Keep it soft with no hard lines. Add a neutral creamy color shadow at the inner corners of the eyes as well as at the center of the lids, and on the brow bones. At the outer corners of the eyes, use a darker shade to bring a further dimension to the eyes. Liner - Apply a dark brown or black liner to the eyelids. Liquid and gel liners give a longer, starker and lasting effect while pencils usually bring a softer and smoother look. Mascara - provides a finishing touch to the eye area. Apply several coats to the top lashes. For lighter lashes uses brown mascara and if you have darker lashes, use brown or black. Avoid mascara products that produce spidery lengths to lashes, as they can detract from a more natural look. Mascara can also be used on your bottom lashes by applying a bit of mascara from the wand and placing it right at the roots of the bottom lashes using a small eye brush to dot in the mascara. Eyebrow pencil/gel - color choices should be one or two shades on the darker side for blonde or light brown hair, while one or two shades lighter for dark or black hair. You want your brows to be natural but you also want them to be defined. Use an eyebrow template if you are not sure of how to color in your brows or simply need a guideline for correct color placement. Think soft and subtle, yet defined. Lips: You want to enhance your lips with a pretty lasting tint rather than an outlandish and garish color. Choose a shade that actually matches your true lip color and pat or press the color into the lips. Go to the center of the lips first and blend the color in an outward motion. Darker berry colors and reds are flattering in a matte tint as they do bring emphasis to the lips without exaggerating them. Powder: Maybe you don't require powder to finish your look but if your skin has a tendency to get oily and produces shiny spots, you might want to think about an oil-absorbing powder. Powders that are pressed, silk, airbrushed, translucent, and hydrating are great for completing any look, whether your skin is oily or otherwise. These powders are easy to use as you can just sweep a powder brush across them and buff the skin to create a perfect look, which includes powdering the under-eye area as well. Pores and blemishes are also reduced with the use of this kind of powder, and touch-ups are easy as the buildup is almost nonexistent. Setting or Fixing Spray: Once your makeup is completely done, use a setting or fixing spray to hold your work of art in place. Whether you choose it in spray, powder, or mist form, it is designed to maintain your makeup for a number of hours to all day. It helps you avoid those frequent powder room touch-ups that are annoying and a hassle. There are specific types to use for both oily and dry skin. Creating a simple but classy makeup look can be fun and enhancing and if you have a few steps to follow, the process isn't then difficult. Take a look at the steps here and give yourself a simple but classy makeup makeover. Just remember not to overdo it. A Simple Professional Makeup Routine for Everyday   Sometimes all we need is simple classy makeup to put yourself together before your office.  Creating a polished look for the office doesn’t have to be time-consuming. With a few straightforward steps, you can achieve a clean and classy makeup look that’s ideal for work.  Start with a Clean Slate  Your face is the canvas, and a clean slate is the beginning step of a well-set makeup.  Therefore, begin by thoroughly cleansing your face to remove any impurities.   Apply a lightweight moisturizer to hydrate your skin, followed by a primer to ensure your makeup lasts throughout the day.  Achieve an Even Complexion  The second step is getting an even complexion. This will be the base of your minimal makeup. Half of the time, getting an even tone can already make you feel put together.  Select a light foundation or BB cream (if you do not want something heavy like foundation) that closely matches your skin tone.   Blend it evenly across your face using a beauty blender or brush, focusing on areas that need extra coverage. For blemishes or dark circles, gently apply concealer and blend it in seamlessly.  Enhance Your Natural Glow  Too much bold makeup can make you stand out in all the wrong ways when you are in the office.  So, if you are in love with the heavy sun-kissed look, it is time to keep that overwhelming rouge down.  Rather, choose a soft pink or peach blush to add a subtle pop of color to your cheeks.   Lightly contour under your cheekbones and along your hairline with a matte bronzer. Finish by applying a touch of highlighter to the high points of your face, such as the tops of your cheeks and the bridge of your nose.  Subtly Define Your Eyes  Again, do not go for a bold eye look. Reserve them for the evenings. But here is how you can define them with the help of counting.  Go for neutral eyeshadow shades like soft browns or taupe. Apply a lighter shade across your lids and blend a slightly darker shade into the crease for depth. Use brown or black eyeliner to line your upper lash line and finish with a coat of mascara.  Perfect Your Brows  Sometimes, all you need is a well-set brow, and your makeup and your face have an automatic symmetry.  Fill in any sparse areas of your brows with a brow pencil or powder, maintaining a natural look. Follow the natural shape of your brows without making them too bold.  Finish with a Soft Lip Shade  Finally, it is time to seal the makeup with lips.  For a natural and professional look, you can opt for a simple lip gloss or balm. Try not to go overboard with the clear gloss, as it can cheapen your look at times.  Select a lip color that enhances your natural lip tone, such as a nude, pink, or soft berry shade.   Apply it evenly, and if you like, add a layer of gloss for a polished finish.  Read Also: 7 Tips For People With Hypersensitive Skin Expert Doctor’s Treatments For Cystic Acne 7 Anti-Aging Tricks And Tips To Get Youthful Skin Like A Teen Get Part Ready In No Time With These Hair And Makeup Hacks!

READ MOREDetails
beautiful eyes

Tips to get beautiful eyes at your home

You must be familiar with the saying that “Your eyes say a lot about you”. Eyes are one of the most important facial features that people notice when they meet you for the first time. Who doesn’t want to nail their first impression in people’ mind and the best way to do so is by having magnificent eyes? But fret not, you can easily get beautiful looking eyes in no time by simply following these beauty tips. These tips are a collection of simple home remedies which you can easily perform; Fresh looking eyes: Your eyes say a lot about you more than you can think, if you have tired eyes it will make you appear exhausted and down. In order to get fresh eyes to use this simple yet effective hack. Place two spoons overnight in the freezer. In the morning place these frozen spoons over your eyes in such a way that the spoons’ curved surface covers your eyes. As the spoons will be very cold you can try placing them in intervals and by doing so the blood circulation to your eyes is enhanced and your eyes appear fresh. Another tip to get fresh looking eyes is by using icy cold water. Soak cotton pads in icy water and place them on your eyes for at least ten mins every day this will not only make your eyes to look fresh but it will make them feel fresh too as by placing cold cotton pads on your eyes their tiredness is gone. Icy pads improve the blood circulation of your eyes making them feel lighter and fresh. Getting rid of Dark circles: Dark circles are the most annoying things under your eyes that can destroy your complete appearance in seconds. Dark circles make your face look old and tired and we all know that no one wants to look old. Here are some amazing and easy tips through which you can get rid of those awful looking dark circles in no time; Green tea bags: Green tea bags contain caffeine which helps in tightening the skin of your eyes. Simply soak two teabags of green tea in cold water and place them on your eyes. Leave it for 15 to 20 minutes. The tannins and flavonoids present in the green-tea have an anti-inflammatory effect and it will help in reducing the redness and puffiness of the eyes. The caffeine in the teabags will reduce the appearance of your dark circles immediately. Potato: Potatoes are rich in enzymes, vitamin C and starch.  These constituents make potatoes an ideal ingredient for curing dark circles. You can use potato juice and apply it on your eyes by soaking cotton swabs in it or you can simply cut slices of potato and put it on your eyes. The cooling effect of potato helps in reducing swelling and inflammation of vessels underneath the eyes which cure and reduce that dark and tired appearance of dark circles. For sunken eyes: To reduce the effect of sunken eyes you can these easy remedies; The best way is to sleep. Try maintain a fixed sleeping schedule this will definitely help in reducing your sunken eyes. Applying a teaspoonful of honey mixed in half teaspoon of almond oil gently on your eyes before sleeping will help in recovering your normal eye shape. We hope that these remedies will help in improving your looks by making your eyes more attractive and appealing. But, always remember to use some type of privacy app while using social media to protect your data and for best apps, you should try Covenant Eyes app review. Source: Alovegarden.com Read Alos: Contacts Vs Glasses: Which Of These Two Eyesight Improving Methods Are Best For You? Understanding New Age Spirituality

READ MOREDetails