Top 7 Home Security Mistakes That Homeowners Need To Avoid Making

Published on: 16 December 2021 Last Updated on: 01 February 2025
Home Security Mistakes

We all are excited about buying our first home!

But, in that excitement of owning a new space that is entirely our own, we make some rookie mistakes when it comes to security. Initially, you do put a lot of effort into the ironclad safety of your house, like putting in alarms, sensory cameras, etc.

But, you are also prone to make some mistakes down the line. We have surveyed and found out most of the common mistakes that are done by homeowners in terms of security.

As the 7 top home security mistakes that homeowners need to avoid making are presented underneath, take them as a fair warning and make sure you avoid them at any cost.

Rookie Home Security Mistakes That Homeowners Need To Avoid

Rookie Home Security Mistakes That Homeowners Need To Avoid

These mistakes will sound harmless at first, but they can lead to serious problems when you least expect them. The reason why you should be aware of them is that intruders and burglars keep looking for these loopholes to enter your house.

These actions are taken in haste and should be avoided, especially when you live alone or have kids in the house.

1. Leaving The Windows Unlocked

To ensure full safety when you leave, you should carefully check all the house doors and windows, especially the bolts of the window and the backdoors. This is a mandatory measure for all the valuable items that are locked in your house.

Especially if you have left your kids alone with a babysitter who isn’t quite well accustomed to the map of the house, checking the windows is a must before you exit, but sometimes windows do break in because the material is mostly glass.

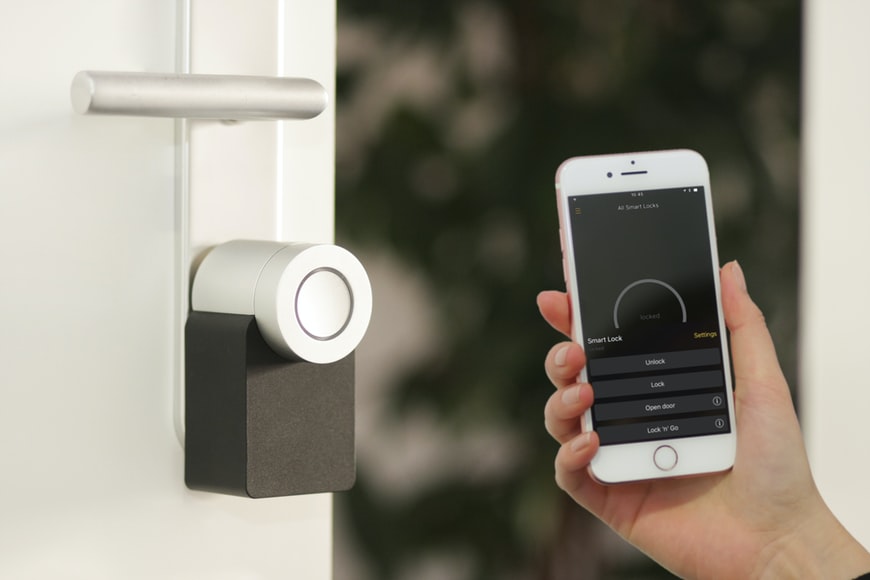
This is why you need a strong alarm system that will prevent breaking and entering. Click https://smiththompson.com/security-systems-san-antonio/ to get the best home security services for installing an alarm system today.

2. Not Locking Garage Door

This is one of the biggest mistakes, which is so common that it is scary. We have all heard horror stories about stalkers and intruders easily entering the house with just an open door.

There is a door in your garage that leads to your house, at any circumstance that should be locked with a proper locking system unless someone opens it from inside. Unfortunately, this door is the biggest attraction for people for breaking and entering.

A garage should also have installed a security system, proper lighting, and most importantly, an ironclad door that cannot be opened from outside.

3. Keeping The Garage Gate Open When Not Needed

This is again another mistake that happens very often. The garage is mostly opened from the inside, even when it is not used. Even if there is a need to use the garage, one could enter from the gate inside the house.

Avoid keeping the garage gate open at night; this is probably the easiest and the biggest entrance for the intruders and stalkers out there. Instead, an excellent suggestion is to put an intrusion alarm inside the alarm or motion sensors to detect anyone’s presence, even if you are in the other corner of the house.

4. No Perimeter Security

When we talk about security, if you are going to have a strong security system inside your house, then the same should be given to the outside part. This is something that should be considered if you are getting a professional to install your security equipment.

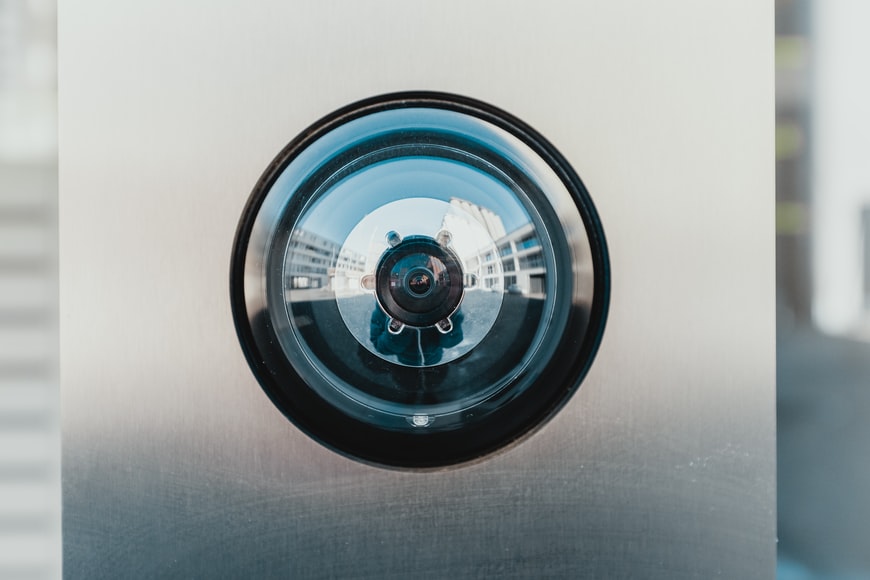
General people forget to get proper lights for the porch or the long drive—even a camera for the space outside or a motion sensor for the backyard. The interior of your house is not the only place that you need to protect, but the entire exterior until your property lasts.

The lack of outside security can also fail to intimidate the burglars or intruders waiting to commit a crime.

5. Leaving A Ladder On The Side Of The House

Leaving a ladder outside your house is literally inviting suspicious break-ins. You have to be careful about these tools and equipment, which can easily give anyone access to enter some of the most private areas of your house.

Every time you work with them, do not keep them in places that can allow people to use them. Instead, this equipment should be kept inside the house, locked in the basement or attic.

6. Leaving Places For The Intruder To Hide

When was the last time that you cut those ‘human height’ hedges from your backyard, or since when have you kept that equipment room outside the main house unlocked? These are very easy hiding places for the people waiting to intrude, open your valuable belongings, or even you.

You cannot be careless because it is only through your strong preparation for security, the intruders will get intimidated. Just like a garage (which is also another excellent hiding place for burglars), you should always keep your utility room, garden room, greenhouses locked.

Plus, get some help and cut those hedges today.

7. Hiding A Key Outside The House

This might be the last one on our list, but that doesn’t make it any less important. In fact, it is the most important one since it is so common. Forgetting your keys is like an everyday habit for some people, and in order to fight them, we always find new and innovative ways to hide a spare outside our house.

This is not only dangerous because the literal weapon of entering your private property is left unattended, but every intruder can anticipate all the hiding places. So, take your keys!

But, if you are prone to forgetting, then you can keep a spare with your neighbors. But, seriously, stop keeping your keys underneath the mat.

Final Note

Home security should be our first priority when we own property. Besides these few common and big mistakes, we should also stop sharing our whereabouts on social media. This just lets people know that you aren’t at home.

Installing a proper security system is essential. Although some might be a little on the costlier side, it is an excellent investment for the long term.

Read Also:

Content Rally wrapped around an online publication where you can publish your own intellectuals. It is a publishing platform designed to make great stories by content creators. This is your era, your place to be online. So come forward share your views, thoughts and ideas via Content Rally.

View all posts

Leave a Reply

Your email address will not be published. Required fields are marked *

Related

sunroom

How Quickly Can I Install a Sunroom?

With fall already here, and winter fast approaching, there’s a certain urgency in the air to get any sunroom installation project booked, planned, paid for, and complete as soon as possible. Fortunately, a fall installation in Calgary is a relatively quick process, with your beautiful install sunroom being completed somewhere between 4 and 10 days once the plans have been finalized and approved. The actual speed of the project will depend on the results of the multiple decisions you have to make, which include the following: Different Ways You Can Quickly Install  Sunroom 3 or 4 season sunroom - this is the big factor in how long your project will take to install, and how much it will cost you in the long run. A 3 season room will be cheaper and quicker as there are less insulation, thinner windows, and the frame is usually made from aluminum. A 4 season room requires the room to be able to handle the Calgary winter conditions, so the walls have to be thicker, the windows double-paned and a heating option has to be built in and vented. You can install sunroom in your home. Wall thickness – the thickness of your walls is coupled with the number of seasons, but also how you plan on heating the room. Thinner walls with no insulation will rely on the sun on and thicker windows to keep your room warm, while thicker walls will take longer to install sunroom but provide room for internal insulation options. A number of windows – it’s possible to build a sunroom that has almost solid glass walls and the visual effect of these rooms are incredible. However, they take a much longer time to install as each piece has to be put into place manually and there’s no scope for external pre-fabrication. In this decision, you’ll also need to think about the number and shape of your skylights, and a general rule of thumb is that the more you have, the longer the installation process. Roof shape – there are two choices here; a studio roof, which is flat and literally sits across the top of your sunroom, or a gabled A-frame roof. The latter requires more time to install as the roofers will need to construct the A-frame, attach it to the walls and then add your chosen shingles or cladding to the roof structure. A studio roof often comes as one or two pieces that can be installed in under a day. You have to install sunroom in a better way. Kick plates – the final decision that has a bearing on the length of time for your sunroom installation project is whether to have kick plates at the bottom. The general industry recommendation is that if the room is more than 24 inches above the ground, then kick plates will provide the cover you need. Otherwise, a solid bottom will do the job and is much less costly. Install sunroom in your home for a better experience. Final Take Away  When you make these decisions, you will want to consider the impact they will have on the amount of time it will take for the construction, but also how they will impact the look and feel of your new sunroom. Read Also: How To Set Up Your Baby’s Room 5 Innovative Ideas To Lend Your Bedroom With More Space

READ MOREDetails
Cream Color

How You Can Update Your Home with Cream Color

While doing the interior décor, you desire for everything to be perfect. Therefore, you pay proper attention even to the tiniest details. Colors have a significant role in making the home look vibrant and pleasing. So, selecting appropriate colors is a bit of a daunting task. However, you often choose a cream color as a safer option. When you can not decide on anything, the cream is the best color that goes well with almost all designs and colors. Moreover, it helps create a classy look and never makes you down. It goes well with almost all themes, including countryside, rustic, vintage, etc. So, use this color to upgrade the interiors of your home. You will get desired results. What Feelings Cream Color Evoke? The cream color evokes a serene and clean feel that is inviting and warm. Cream color always looks good on a matte finish. So, expect it to have a soft feel. Nothing creates timeless appeal like the cream color for spaces like the dining area and living room. Tips to Update the Home using Cream Color Here are some clever tips for updating interiors with cream color: Cream Color Works Well in Even the Smallest Spaces The cream color looks great on the walls as it invokes an airy and light feeling full of warmth and depth. So, paint all walls, ceilings, and corners cream. Go for different variations of cream hue for a cozy layered feel with subtle lighting. Get Artsy If you feel the cream-colored walls are boring and make the interiors dull, liven up the space with something interesting. You can add wall décor items like posters, cream canvas prints, photos, etc. So, go for an oversized artwork or group of small art pieces showcasing your interests or precious memories. To add interest, add these pieces in stylish or vintage frames and keep color schemes well-coordinated to achieve desired results. Play with Pattern You might want to mix and match the colorful patterns but are afraid of clashing cacophony. If you have cream walls in the background, there are fewer chances of design dissonance. So, you can freely experiment with different patterns. For best results, unify all patterns to a single share element, such as shape, color, or theme. Try an Eye-Catching Mural If you do not want to cover all the walls with cream color, create a focal point by hanging a mural. It is easy to remove décor items, and you can apply them simply like wallpaper. Some murals feature outdoor photos of forests, beaches, tropics, or mountains. It will instantly bring magic to the home. So, look for one that best suits your personality and complements well with the interiors. Dress Up the Walls to Add Visual Interest Cream color walls offer a perfect backdrop to install open shelves. You can display accessories, artworks, or books on them. You can also use them as a storage solution. Cream walls prevent the interiors from feeling overwhelmed by décor elements. Instead, it highlights the items and creates a beautiful visual display. Introduce Natural Pops of Colour Add some wow factor to the cream color scheme by introducing floral patterns. From delicate fabrics to live foliage, a cream space can offer a perfect backdrop to boost pops of color coming with stunning flowers. In bright lighting, colors of nature reflect on cream walls and add depth to the shade. Incorporate Warm Shades with Furniture Pieces Select a cream wall color with warm undertones to enhance the bold accent color using furniture items and accessories. For instance, the rustic orange color of an armchair can lift the cream living room. The armchair stands out more with a cream color in the background. Place Colorful Throw Pillows If you have a cream-colored sofa in the room, highlight it using colorful throw pillows. It will instantly add color to the space and highlight the couch. You can also add throw pillows with floral patterns for more impact. How to Add Color to the Cream Interiors? Furniture items and accessories are the simplest way to incorporate color into cream interiors. The serene environment created by cream walls provides freedom to introduce a pattern and design without overwhelming the original plan. So, stop being shy and start experimenting using the safest color. Read Also: Ideas for Modern Flooring Designs for Home Improvement Plans Fix Your Home up This Summer With These Core Hacks Transform Your Garage into a Home Office 4 Baptism Decoration Ideas That Even the Holy Spirit Will Love

READ MOREDetails
Kitchen Island

3 Trendy Lighting Ideas for Your Kitchen Island

The kitchen island is where the joys of cooking preparation happen. It also involves the engagement of small talks which is why many consider the kitchen the heart of a home. Such a pleasing place only deserves the best of things! One of these things is lighting. With proper lighting, not only will it light up the entire room, but will add more appeal to your kitchen as well. 3 Trendy Lighting Ideas for Your Kitchen Island: Listed below are the top 3 trendy kitchen lighting ideas that will surely achieve the desired design you have in mind! 1.  Pendant Lighting: When it comes to choosing the right kitchen island lighting, pendant lighting is one of the latest trends. You can hang it from the ceiling which makes it the best choice for kitchen islands. It is small and affordable. Additionally, it comes in different styles and sizes making it more convenient for your kitchen island needs. These are the  top 7 pendant lightings that will work best for your kitchen islands: ● Mini Pendant Lighting: Upon reading its name, you can already understand that this is the smaller version of a normal pendant. Just like its size, the mini pendant is incapable of intense lighting. It only works well as an overhead focused source of light that you can hang above eye level of your kitchen island. ● Bowl Pendant Lighting: The bowl pendant is one of the most popular pendant lightings of all time. You can often see it in movies scenes where they interrogate prisoners in a dark room. The only thing that lights up the whole room is the bowl pendant. It has a standard size which can cast enough light for your kitchen island. ● Drum Pendant Lighting: Drum pendant earned its name because of its shape. It gently illuminates the whole kitchen island, due to its ambient feature. It is available in different colors and sizes. However, you must take note of the lighting rule, “the darker the color, the more watt you’ll need for the light to illuminate the area.” By this being said, we recommend that you only use light colors for your drum pendant. ● Multiple Pendants Lighting: If you’re familiar with a chandelier with multiple lights, then the style of multiple pendants is not new to you. People usually hang and align them in a row above kitchen islands. Additionally, the use of multiple lights is designed to evenly distribute the lights to your kitchen island. ● Abstract Pendant Lighting: The abstract pendant is considered to be one of the most beautiful and artistic pendant lightings. The layers are styled to house the lightbulb inside. It’s the best design if you’re looking for lighting both to illuminate and decorate the area. ● Exposed Bulb Pendant Lighting: Exposed bulb pendant is basically a bulb pendant hanging above the kitchen island. It is one of the most affordable pendants on the market. You can even do a DIY for this lighting. Even if they are low-cost, they are still beautiful and functional because they can illuminate your kitchen islands. ● Globe Pendant Lighting: Globe pendants are based on its shape because they are round. They became popular around the 1950s and ‘60s. Apparently, globe pendant can still give you the vintage vibe that can outscore another pendant lighting for your kitchen island needs. 2. Chandelier Lighting: Chandelier lighting is no longer new to everyone. You can see it almost anywhere, not just in the kitchen, but also throughout the whole house. With the modernized technology uprising today, chandeliers have lost some popularity due to its vintage look. However, chandelier lighting will never go out of style when it comes to your kitchen island needs. They are in fact the most used lighting for kitchen islands due to their illuminating lights that are branched together. 3. Linear Suspensions: Linear suspensions are also affordable kitchen island lighting you can use. They still have the same lighting capacity with the other lighting ideas mentioned above. However, they are too plain and not stylish enough to be used as a decoration. The good news is, there are a lot of LED lights available on the market today. They can add more style if you opt for this kind of lighting. You just need to choose the high quality LED strip for longevity and better lighting. Conclusion: With all these awesome lighting ideas, you can surely find the one that best fits your kitchen island. Always remember to focus on the function and of course, the design! We all want a fully-functional kitchen that is pleasing to the eyes! Read Also: List Of Most Durable Kitchen Flooring Kitchen Renovations Must Be Done At Regular Intervals Installing A Kitchen Tile Splashback – The Basics 4 Tips For Choosing A Good Kitchen Tap The Best Countertops To Help Revamp Your Kitchen Top 4 Must-Have Appliances In Every Kitchen How To Choose LED Lights For Every Room In Your Home 10 Unique Kitchen Hacks To Save Your Time In Kitchen And Cooking Installation Of Kitchen Cabinets: Best Way To Give Your Home A Perfect Facelift

READ MOREDetails