How to Harvest Potatoes: A Complete Guide from Planting to Storage 

by

15 March 2024

Food

How to harvest potato

If there is something that I have learned in life, it is about gardening. Well, almost everything if not all. And if there is one thing that took me some time to master, it was knowing how to harvest potatoes at home! 

Potatoes are one of the most versatile and popular vegetables in the world. They can be cooked in many different ways, such as boiled, baked, fried, mashed, or roasted. Moreover, they are also rich in carbohydrates, fiber, vitamin C, potassium, and antioxidants.

But how do you grow and harvest your own potatoes at home? You see, potatoes are not like cilantro or other plants. These are tubers. 

In this article, I will show you everything you need to know about how to harvest potatoes, from planting to storage.

So, if that is something that you are interested in knowing, then I have you covered! Keep on reading this blog till the end to learn more… 

How to Plant Potato Seeds or Tubers? 
How to Plant Potato Seeds or Tubers_

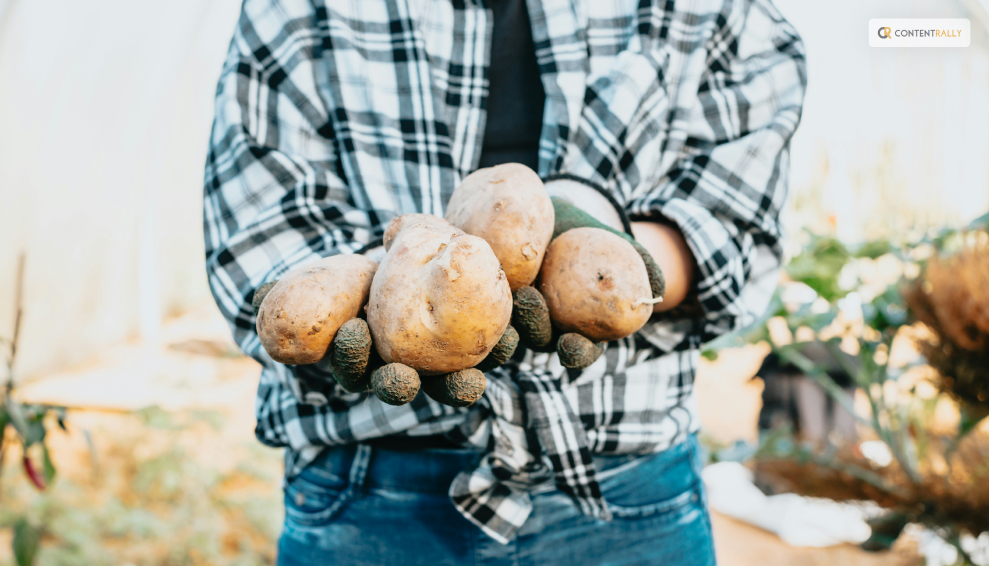
The first step in how to harvest potatoes is to plant them. You can start with either potato seeds or tubers. Potato seeds are small, round, and black, and they are usually sold in packets.

Potato tubers are the actual potatoes that you eat, and they have eyes or buds that can sprout new plants.

You can buy certified seed potatoes from a nursery or garden center, or use organic potatoes from the grocery store. 

Here are some if the steps that you must take to plant them: 

Planting Potato Seeds 

  • To plant potato seeds, you need to sow them indoors in pots or trays filled with moist potting soil.
  • Place them in a sunny spot and keep the soil moist but not soggy.
  • The seeds will germinate in about two weeks and produce small green shoots.
  • When the shoots are about 3 inches tall, you can transplant them outdoors in your garden or in containers. 

Planting Potato Tubers 

  • To plant potato tubers, you need to cut them into pieces, each with at least one eye.
  • You can do this a few days before planting to let the cut surfaces heal and prevent rotting. Alternatively, you can plant whole small potatoes with several eyes.
  • To prepare the soil, you need to loosen it and add some organic matter, such as compost or manure. 
  •  You also need to make sure the soil is well-drained and slightly acidic, with a pH of 5.0 to 6.0.
  • You can use a soil test kit to check the pH level and adjust it with lime or sulfur if needed. 

Planting Potato Pieces 

  • To plant the potato pieces, you need to dig a trench about 4 inches deep and 12 inches wide.
  • Place the pieces about 12 inches apart, with the eyes facing up.
  • Cover them with 3 inches of soil and water well.
  • As the plants grow, you need to hill up the soil around them to cover the lower stems and prevent the tubers from being exposed to sunlight, which can turn them green and bitter.
  • You can also mulch the soil with straw, leaves, or grass clippings to retain moisture and suppress weeds. 

How to Care for Your Potato Plants? 
How to Care for Your Potato Plants_

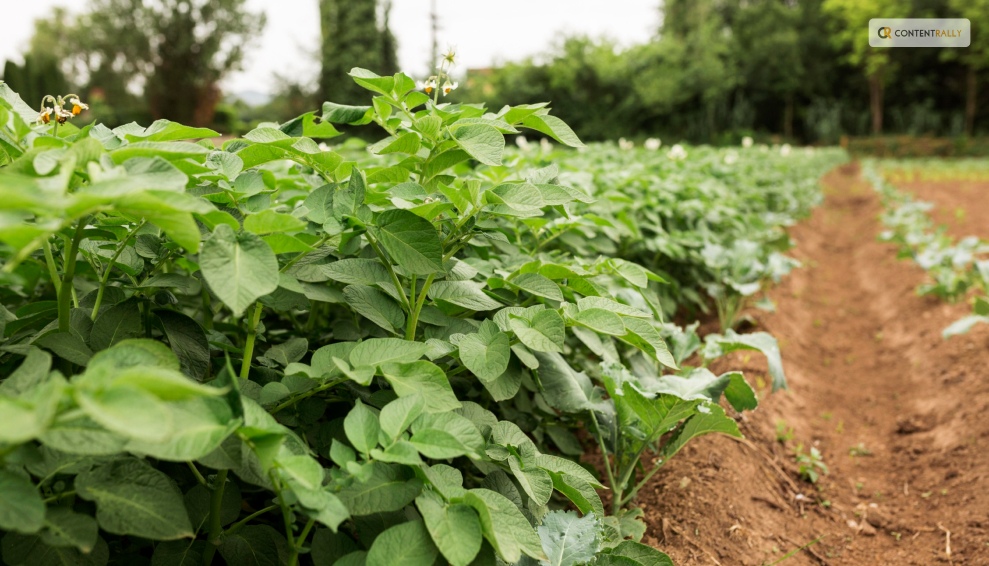
The second step in how to harvest potatoes is to care for your potato plants. You need to water them regularly, especially during dry spells, to keep the soil moist but not waterlogged. You also need to fertilize them every two weeks with a balanced organic fertilizer, such as fish emulsion or seaweed extract. Also, you can add some wood ash or bone meal to provide extra potassium and phosphorus, which are essential for tuber formation. 

You also need to protect your potato plants from pests and diseases, which can reduce your yield and quality. Some of the common potato pests are: 

  • Colorado potato beetles, which are yellow and black striped insects that feed on the leaves and can defoliate the plants. You can handpick them and drop them in a bucket of soapy water, or use an organic insecticide, such as neem oil or pyrethrin. 
  • Potato leafhoppers, which are small, green, winged insects that suck the sap from the leaves and cause them to curl and yellow. You can spray them with a strong jet of water, or use an organic insecticide, such as garlic or hot pepper spray. 
  • Wireworms, which are thin, brown, worm-like larvae that bore into the tubers and cause holes and tunnels. You can trap them with pieces of carrot or potato buried in the soil, or use beneficial nematodes, which are microscopic worms that parasitize and kill the wireworms. 

Common Potato Diseases 

One of the most common reasons why a potato cannot grow or survive is the diseases. If you were wondering what some of these can be and how to deal with them, I have you covered! 

Some of the common potato diseases are: 

  • Late Blight: It is a fungal disease that causes brown spots on the leaves and stems, and black or brown lesions on the tubers. It can spread rapidly and destroy the entire crop. You can prevent it by planting resistant varieties, avoiding overhead watering, and removing any infected plants and tubers. You can also use a fungicide, such as copper or sulfur, as a preventive measure. 
  • Scab: This is a bacterial disease that causes rough, corky patches on the tubers. It does not affect the taste or edibility of the potatoes, but it reduces their appearance and storage quality. You can prevent it by planting resistant varieties, maintaining a slightly acidic soil pH, and avoiding excessive nitrogen fertilization
  • Potato Virus Y: Lastly, this is a viral disease that causes mosaic patterns, mottling, or yellowing on the leaves, and misshapen or knobby tubers. It can reduce the yield and quality of the potatoes, and it can be transmitted by aphids or infected seed potatoes. You can prevent it by planting certified virus-free seed potatoes, controlling aphids, and removing any infected plants and tubers. 

How to Determine When Your Potatoes Are Ready to Harvest? 
How to Determine When Your Potatoes Are Ready to Harvest_

The third step in how to harvest potatoes is to determine when they are ready to harvest. This depends on the type and variety of potatoes you planted, and the size and maturity you want.

There are two main types of potatoes: early and late.

Early potatoes are ready to harvest in about 10 to 12 weeks (about 3 months) after planting, and they produce small to medium-sized tubers that are tender and thin-skinned. They are best for boiling, steaming, or roasting. 

Late potatoes are ready to harvest in about 15 to 20 weeks (about 4 and a half months) after planting, and they produce large, starchy tubers that are firm and thick-skinned. They are best for baking, mashing, or frying. 

Early Harvesting 

  • To harvest early potatoes, you can start digging them up when the plants begin to flower, or when the lower leaves start to yellow.
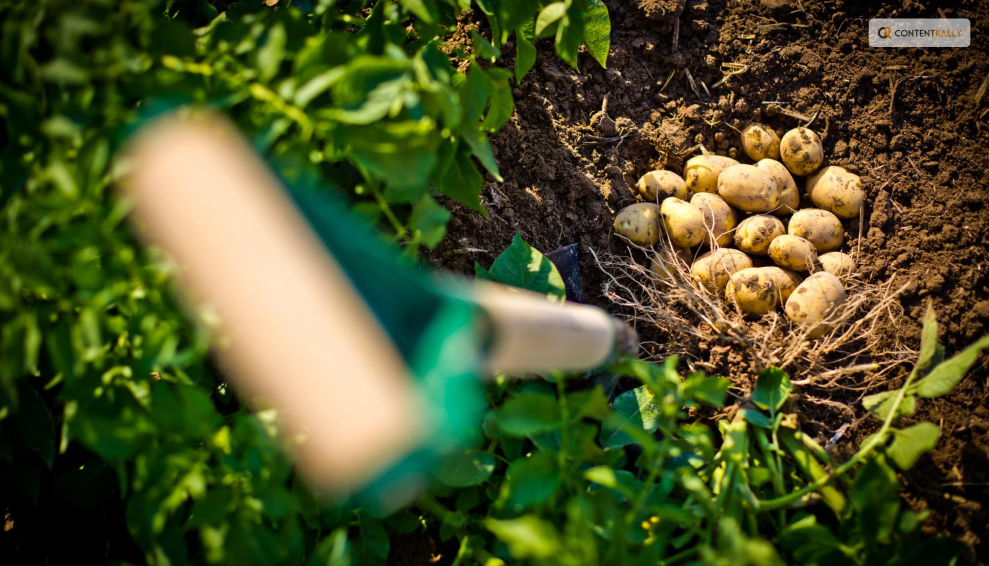
  • You can use a garden fork or a spade to gently lift the plants and tubers from the soil, or you can use your hands to feel for the tubers under the soil.
  • You can harvest as many or as few potatoes as you need, and leave the rest in the ground until you are ready to use them.
  • You can also harvest some of the young, tender leaves and stems, which are edible and nutritious. 

Late Harvesting 

  • To harvest late potatoes, you need to wait until the plants have died back completely, or until the first frost.
  • This allows the tubers to develop a thicker skin, which helps them store better.
  • You can use a garden fork or a spade to dig up the entire row of plants and tubers, or you can use a potato digger, which is a special tool that lifts and separates the tubers from the soil.
  • You need to be careful not to damage or bruise the tubers, as this can cause rotting or spoilage. 

How to Dig Up, Cure, and Store Your Potatoes? 
How to Dig Up, Cure, and Store Your Potatoes_

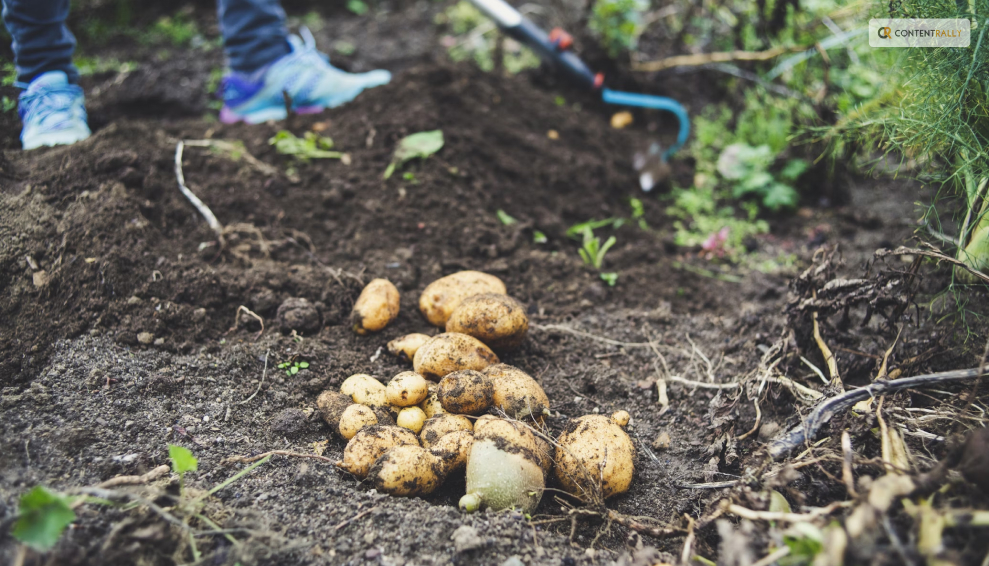
The final step in how to harvest potatoes is to dig up, cure, and store your potatoes. This is important to preserve the quality and shelf life of your potatoes, and to prevent them from sprouting, rotting, or shrinking. Here are the steps to follow: 

Digging Up 

After digging up your potatoes, you need to brush off any excess soil and remove any damaged, diseased, or green tubers.

Do not wash your potatoes, as this can remove the protective skin and invite bacteria and fungi. You can wash them just before cooking or eating them. 

Curing 

You need to cure your potatoes for about two weeks in a cool, dark, and well-ventilated place, such as a basement, garage, or shed.

This allows the skin to harden and heal any minor cuts or bruises and enhances the flavor and texture of the potatoes.

The ideal temperature for curing is between 50°F and 60°F, and the ideal humidity is between 80% and 90%.

You can spread your potatoes in a single layer on a newspaper, cardboard, or wooden crate, and avoid exposing them to light, which can turn them green and bitter. 

Storing 

You need to store your potatoes in a cool, dark, and dry place, such as a cellar, pantry, or closet. The ideal temperature for storage is between 40°F and 50°F, and the ideal humidity is between 65% and 70%.

You can store your potatoes in paper bags, cardboard boxes, mesh bags, or wooden crates, and check them regularly for any signs of sprouting, rotting, or shriveling.

You can also store your potatoes in a root cellar, which is an underground or partially underground structure that maintains a constant temperature and humidity.

Additionally, you can also store your potatoes in a clamp, which is a mound of straw, hay, or leaves covered with soil, that insulates and protects the potatoes from frost and rodents. 

Wrapping It Up! 

If you want to know about how to harvest potatoes, I hope that this blog has been of help to you. However, if there are any other queries related to the same, please feel free to let me know.

All that you need to do is scroll down till you reach the bottom of the page. Then leave your comments and suggestions in the box below. And I will be there to answer them all for you!

Read Also:

Ankita Tripathy loves to write about food and the Hallyu Wave in particular. During her free time, she enjoys looking at the sky or reading books while sipping a cup of hot coffee. Her favourite niches are food, music, lifestyle, travel, and Korean Pop music and drama.

View all posts

Leave a Reply

Your email address will not be published. Required fields are marked *

Related

Electric Brew System

How to Brew the Best Beer with an Electric Brew System

So you’ve decided on joining the ranks of America’s finest craft brewers and create your very own handcrafted, completely original product from the ground up. Good for you! It’s a big first step to take for any small business or venture, especially when it comes to the intricate and detail-intensive process of brewing alcohol for consumption. Obviously a lot goes into making beer, but even more goes into making a good one. Think about the last six or seven glasses or cans you’ve drank and really decide if any of them actually hit the spot, quenched your thirst, or tickled your pallet. Probably not. That’s because most commercial alcohol is absolutely garbage compared to even the smallest craft brewery’s offering, these days. Alcohol has been fermented and drunk for recreational, medicinal, and religious purposes since the literal beginning of recorded time. The early cavemen gathered grain, fruit, vegetables, and other food in large clay jars and let them ferment under the hot sun for days or weeks until delectable nectar was produced from the slurry. Click here if you want to know more about the history of beer: https://en.wikipedia.org/wiki/History_of_beer However, in modern times, the process has gotten a bit more complicated; and for good reason. Health and safety standards take precedence in food and alcohol-making facilities as these areas are prime for bacteria outbreaks like e-coli, swine flu, etc. Because of our advances in science, we’ve never before had facilities as safe and compliant in history as the ones that exist in most large-scale and craft brew houses alike. But enough about the grandiose stage stuff. We’re here to focus on the approachable, beginner’s stages, and “I’m interested but kind of nervous and scared” level of commitment in the process. Don’t worry, though. This is where absolutely everyone starts, so there’s no shame in being nervous. You want to impress your friends and clients, not gross them out! Brewing in 5 Steps The DreamThe EquipmentThe IngredientsThe StaffThe Process 1. The Dream If you’re not starting here then you’re not doing it right. You should be passionate about brewing and you should have the dream always in your heart and at the front of your mind. It’s an intense, life-consuming process and should be respected. Outside of that, creating alcohol is in essence creating drugs. Not only is alcohol a drug, it’s one of the most dangerous drugs in the world. Follow this link for strategies on how to avoid impaired driving. You can both enjoy your business and also ensure the safety of your clientele, especially if you have a tasting room or area. Most people give up after this stage once they get to the next step. If that’s true for you then maybe creating your own alcohol was never truly in the cards for you. Everyone has their own destiny and you’ll find yours eventually. 2. The Equipment Now here’s where things get tricky. Here is where you’ll need to decide on the style and scale of your establishment. Is this a small, homey-style craft brewery with a few barrels at a time? Or is this the kind of place you see expanding into a factory setting with metal tanks, electrical monitoring equipment, and automated machinery? Depending on what state you live in there are different permitting requirements for creating your own food and alcohol from your home or small business for the purposes of human consumption. Call your local county clerk’s office for more information and make sure to check the federal regulations on the sale of alcohol. For larger, more industrial projects, you’re going to need a lot more than permits. You’re going to need large scale infrastructure or machinery like what ABS Commercial deals with. Brew masters all over the country have their preferred methods, but everyone needs to be using certified, food-grade surfaces, machinery, and materials for their production. 3. The Ingredients Here’s where the game gets fun and interesting. This stage should be the whole reason you’re doing this to begin with. Perhaps you’ve had one-too-many glasses of beer that tastes like old dishwater rung out of a used rag into a cold glass, or maybe you’re just craving a profile that doesn’t exist to your knowledge in the general market. For some easy, small batch stuff, check out these home brew recipes and see if there’s something you’d like to try out. They’re perfect for beginners. Otherwise, all you need to do to start is simply Google a base-profile beer you want to create. Is it a lager, an ale, an IPA, etc.? Once you’ve got the base figured out, you can start playing with things like your own ingredients. Ideas and recommendations: try cinnamon and apple in a batch for a nice, Christmas-style beer that’s sure to appease the masses. You could also try pumpkin and nutmeg for another holiday-inspired alcoholic beverage that’s sure to delight. 4. The Staff Once you’ve gotten to this stage, it’s time to decide the scale of the help you’ll need. Is this the sort of process you think you’ll be able to take care of yourself or is it something you’ll need to outsource some help from. Most breweries and alcohol businesses have teams of people working round the clock as most of the machinery is sensitive and dangerous, and thus shouldn't be left unattended. If you’re planning on hiring and training a small staff, legally you will be required to pay them and establish your business as a corporation. This opens up a whole different can of worms that can only be figured out depending on what the state’s laws that you are in are. Unfortunately the United States differs greatly from state-to-state on these issues, further confusing the matter. 5. The Process The process can be long and difficult, even for professionals in the industry. Every new type of beverage will be a different and new process for the team, or you, to learn. Remember, yeast is a living thing and can be temperamental. You and your team need to respect it for the life that it creates. The Brewers Association of America has an up-to-date list of safety tips and guidelines to follow in your taproom or brewpub. These things need to be followed in order to ensure the safety of not only you and your team, but your clients and the public as well. Craft breweries are springing up everywhere and the market is opening up for new entrepreneurs every day, so don’t miss out on the achievable opportunity of making a name for yourself in the beer world and start today! Additionals: Beginners Guide: Capping Explained7 Modern Day Beer Drinking Etiquettes You Should Know

READ MOREDetails
Alkaline Foods

7 Surprising Benefits Of Alkaline Foods

When it comes to the workings of these wondrous human bodies of ours, we truly reap what we sow. What we choose to put into our bodies has a profound effect on how it chooses to support us and perform for us. Our modern convenience food diets are riddled with acidic and overly processed foods that are harmful to our health. Things that we may have grown up with---meats, dairy, and coffee---are robbing us of our strength and vitality at every meal. Dangers of acidic foods: Our bodies strive to maintain a delicate PH balance throughout the day; this eliminates the acidic ash that can take its toll on bones, tissues, and organs that might otherwise function to support us. A body that is placed in a chronic, highly acidic state is more prone to disease, weight gain, and even a shorter life span. An alkaline diet rich in fresh, whole, organic foods becomes the very lifeforce of the body as it rebalances the PH and gives the body a chance to heal and regenerate itself. While it may seem at first that making the switch from acidic foods to alkaline foods is going to saddle you with culinary limitations and all sorts of unpleasantness, the feeling you will experience when you give your body a chance to "sigh" will be worth any comfort foods that you will be giving up for this new lifestyle. Whether you have been recently diagnosed with a chronic illness, or you simply want to improve your quality of life you owe it to yourself to give alkaline foods a chance. Here are some ways they can benefit you and your marvelous body: 1. Alkaline foods eliminate fatigue issues: An excess buildup of acid in the body depletes its natural store of oxygen; as a result, the body feels fatigue and so do you. Cells don't function as they should, and every system is working harder than ever to dump toxins and breathe once more. Switching to snacks that are alkaline in nature will reduce acidic buildup and release life-giving oxygen back into your system once more. 2. Alkaline foods strengthen the immune system: An imbalance in your PH levels weakens your body's ability to fight off disease and infection. Bacteria and viruses thrive in an anaerobic, or low-oxygen environment. Increasing your intake of alkaline foods brings more oxygen back into the body, battling disease and viruses and strengthening all systems. 3. Alkaline foods reduce inflammation: An acidic body is an inflamed body; when you have a buildup of acid in your body, you are prone to the development of chronically acidic and diseased states such as heart disease, arthritis, and even cancer. Bringing alkaline rich foods into your diet will reduce your risk for the development of these diseases and bring inflammation under control. 4. Alkaline foods strengthen bones and tissues: As we age, our bodies naturally pull calcium and other minerals from bone material to balance our body's PH. As a result, we grow gradually weaker and more prone to illness and injury. Consuming alkaline foods puts much-needed calcium back into our bodies and restores our strength and vitality in natural and healthy ways. 5. Alkaline foods can prevent the occurrence of cancer: Cancer cells thrive in an anaerobic environment, and by bringing alkaline foods into your diet, you increase the healing properties of vitamins, minerals, and vital oxygen that makes it difficult for cancer cells to multiply and grow. When you give your body the natural tools that it needs, the wonderful self-healing mechanisms present in your makeup go to work on their own, bringing your body into a state of balance once more. 6. Alkaline foods can help you lose weight...and keep it off: Giving your body the vital nutrients it needs through nutritious, whole foods is always preferable to the Standard American Diet, or S.A.D., for short. When you replace high-calorie acidic items like pizza, chips, cookies, and soda with high-quality fruits, vegetables, whole grains, and legumes, the equation is so simple. You'll experience permanent and lasting weight loss and you'll feel great! 7. Alkaline foods improve your quality of life: There are the whole brain, whole body benefits to eating alkaline foods--they heal and repair body tissues at a cellular level, they help to flush out harmful toxins that might slow you down, and they provide the energy necessary to lead a healthy and active life well into your later years. Alkaline foods can improve how you look, how you feel, and what you experience as your body gives back to you based on the wonderful, life-giving foods that you feed it with. Is An Alkaline Diet Right For Me? No matter what diet you choose to follow, it has to be manageable and sustainable in order for it to work. If you are going to derail yourself two weeks after starting an alkaline diet with a cheeseburger and fries, then perhaps going all in isn't for you right now. Making small, deliberate changes to your diet and assessing how you feel will help you create healthy habits for long term success. Many people become overwhelmed at the thought of having to replace everything in their diets; finding some tried and true alkaline diet snacks that you can use for a quick and healthy pick me up in between meals is one way to begin establishing new habits that will move you toward better health. Examples of healthy alkaline snacks include: fresh veggie sticks and hummus celery sticks with almond butter avocados with fresh salsa green juices smoothies nuts, seeds, and berries lara bars chia pudding with fresh berries Once you see how tasty and filling these new foods can be, it will become easier and easier to incorporate healthy, life-giving foods into your diet. Are you ready? Get ready! You are about to embark on an exciting journey to delicious food and better health. You'll experience vibrant energy, improved mood, and you'll feel better than you have in years. Don't look at all the things that you "can't" have on your new journey, focus instead on how much better you'll look and feel with a few simple changes and a whole new positive outlook on your health. Best of luck to you on your alkaline journey! Read Also: You Can’t Out-Diet Your Training 9 Magical Benefits Of A Vegetarian Diet Easy Diet Tips To Summer Six Pack Abs Eating Good Quality Foods For Diet Foods To Eat On A Low-Carb Ketogenic Diet Best Super Nutritious Foods To Include In Your Diet Choosing A Diet Based On Your Personality Type Why Have A Diet Chart For Weight Loss? 11 Foods You Must Incorporate Into Your Diet For Great Skin Featured Image: istockphoto.com

READ MOREDetails

The Top 7 Dishes to Try out in New York City

One of the best parts about travelling is trying out the local cuisine. Not only are you introduced to the city’s culture, but you’re also given a taste of what it feels like to be at home. Hunting for delicacies in Manhattan’s Upper West Side restaurants in NYC is not just about looking for the best, but also finding the right price to match it with. You might take a while looking here and there for the right amount, but it’s well worth the adventure as the items on this list range from your local street snack to a full and hearty meal. Doubles: A cheap find for anyone looking for a light snack. Doubles are made up of puffed-out flatbread surrounding chickpea curry. The combination of sweet and spicy sauces makes it a simple morning wake-up meal or an afternoon delight. Hotdogs: The beef sausage was historically brought by German immigrants who turned the dogs into a favorite beach food near Coney Island. Topped off with a simple mix of mustard, mayonnaise, and ketchup hotdogs quickly turned into staple snacks for events and small breaks. The delicacy would range from being hot on the bun, on a stick, to becoming more intricate dishes from sliced to grilled. Hotdogs can be found in food carts, train terminals, and even featured as a special in some restaurants. Bagels: A great way to welcome your mornings, bagels can be confused as a pure bread creation, but its stuffing can include strawberry jam with a topping of butter. A great companion to early morning coffee, the mix of sugar and caffeine is a winning combination to start your day. Subs: Sandwiches and wraps are common finds at stalls and subway stations. A quick bite to eat, subs are often a mix of the familiar and the unfamiliar. The Kasbah Grill’s Cajun Chicken Sub is a creative take which turns the entrée into a pocket meal. Fried Chicken: With numerous franchise establishments selling their brand of chicken, you’d be curious to find out where they began. New York fried chicken was initially brought from the South, with a simple coating of seasoned flour deep fried in a skillet. Pizza: The Italians’ gift to New York in the 1950s which started an international debate of which is better, Italian or New York style pizza? The developed method in Manhattan changed the formula bit by bit through the generations and earned its place to make its own identity as the greasy cheese-laden pie that we all know and love. Clam Chowder: Not all items on this list are heavy meals. White clam chowder has its roots in Native American culture that explains its seasoning of onions and bacon together with potatoes. Red clam chowder has a different history far beyond White Clam chowder’s roots. Brought by the Italian-Americans, the Clam Chowder is an iconic soup dish that’s seasoned with a tomato base and with a stinging taste of clam as its base. Read Also: The Mouthwatering Foodie Tour To Mumbai 4 Lafayette, CO Destinations That Foodies Will Love

READ MOREDetails