Everything You Need To Know About Harvesting Basil!

how to harvest basil

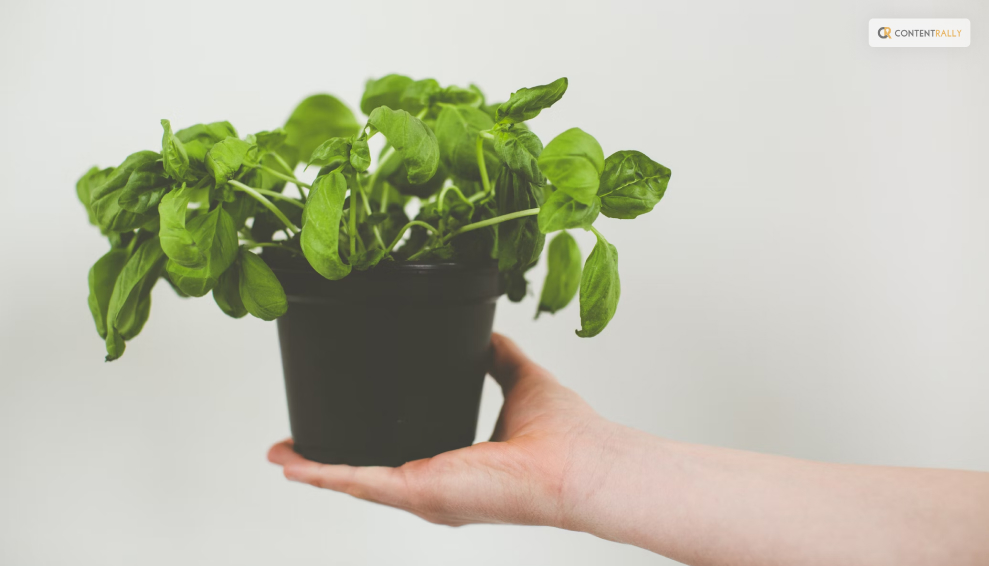
Basil is one of the most popular and versatile herbs you can grow in your garden or indoors. It has a fresh and aromatic flavor that can enhance any dish, from salads and soups to pizzas and pastas. Basil is also rich in vitamins, minerals, and antioxidants just like cilantro. It can benefit your health and well-being. But how do you harvest basil properly so that it keeps growing and producing more leaves?  

If these are some of the things you want to know, I have you covered! In this article, I will answer all these questions and more and give you everything you need to know about harvesting basil! So, keep on reading this blog till the end to learn more… 

How to Harvest Basil Leaves?

How to Harvest Basil Leaves

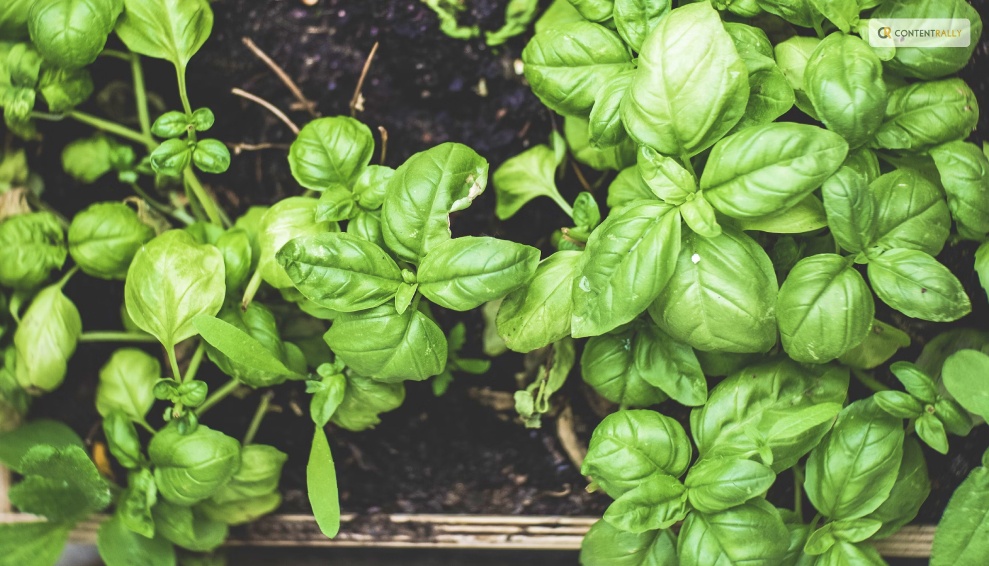
The first thing you need to know about harvesting basil is when to do it. The best time to harvest basil leaves is in the morning when the plant is still fresh and moist. Avoid harvesting basil in the afternoon or evening when the plant is dry and wilted. Also, avoid harvesting basil when it is raining or wet, as this can cause the leaves to rot or mold.

Steps to Harvest Basil Leaves

Steps to Harvest Basil Leaves

To harvest basil leaves, you will need a pair of scissors or a sharp knife and a basket or a bowl to collect the leaves. You can also use your fingers to pinch off the leaves, but be careful not to damage the stem or the plant. Here are the steps to follow:

  • Start from the top of the plant, and look for the stems with leaf clusters. These are called the terminal buds, and they are where the basil flowers will grow. You want to remove these buds, as they will make the plant stop producing new leaves and focus on flowering and seeding. This will reduce the flavor and quality of the basil leaves.
  • Cut or pinch off the stem just below the terminal bud, leaving about a quarter of an inch of stem above the next pair of leaves. This will encourage the plant to grow two new stems from the leaf nodes and produce more leaves. You can also cut or pinch off any other stems that are too long or leggy and leave about four to six pairs of leaves on each stem.
  • Repeat this process for all the stems that have terminal buds, and collect the leaves in your basket or bowl. You can also harvest some of the lower leaves but leave enough leaves on the plant to allow it to photosynthesize and grow. You should not harvest more than a third of the plant at a time, as this can stress the plant and reduce its growth and health.
  • After harvesting, rinse the leaves with water and pat them dry with a paper towel. You can use them fresh or store them for later use.

How to Harvest Basil So It Keeps Growing

How to Harvest Basil So It Keeps Growing

One of the benefits of harvesting basil is that it stimulates the plant to grow more leaves and branches and prevents it from flowering and seeding.

However, you need to harvest basil regularly and correctly, so that it keeps growing and producing more leaves.

Here are some tips to follow. For instance, you must harvest basil:

  • At least once every two weeks, or more often if you see the terminal buds forming. This will keep the plant bushy and compact and prevent it from becoming woody and bitter.
  • From different parts of the plant, and not always from the same spot. This will ensure that the plant grows evenly and does not become lopsided or uneven.
  • Before it flowers. This is because the flowers will reduce the flavor and quality of the leaves. If you see any flowers forming, remove them as soon as possible. You can also pinch off the flowers and use them as edible garnishes or decorations, as they have a mild and sweet flavor.
  • Before the frost, as the cold weather will kill the plant. You can either harvest the whole plant and store it for later use, or bring it indoors and keep it in a sunny and warm spot. You can also propagate the plant by taking cuttings and rooting them in water or soil and grow new plants for the next season.

How to Harvest Basil Without Killing The Plant?

How to Harvest Basil Without Killing the Plant

Harvesting basil is different from harvesting lettuce or other plants. The process is good for the plant and you, as you can enjoy the fresh and aromatic leaves in your dishes.

However, you need to be careful not to harvest too much or too often, as this can harm and kill the plant.

Here are some dos and don’ts of harvesting basil without killing it:

  • Do harvest basil from the top of the plant, not the bottom or the middle. This will allow the plant to grow stems and leaves from the lower nodes and maintain its shape and structure.
  • Don’t harvest basil from the main stem or cut it too close to the ground. This will damage the plant and prevent it from growing new stems and leaves. Leave at least four to six pairs of leaves on each stem and about an inch of stem above the ground.
  • Do harvest basil gently and carefully, and not roughly or forcefully. This will avoid injuring the plant and exposing it to diseases or pests. Use a sharp and clean tool, such as scissors or a knife, and make clean and smooth cuts. You can also use your fingers to pinch off the leaves but be gentle and precise.
  • Don’t harvest basil when it is stressed or unhealthy, such as when it is wilting, yellowing, or diseased. This will weaken the plant and make it more susceptible to further damage. Wait until the plant recovers and looks healthy and green before harvesting. You can also water and fertilize the plant to help it grow and thrive.
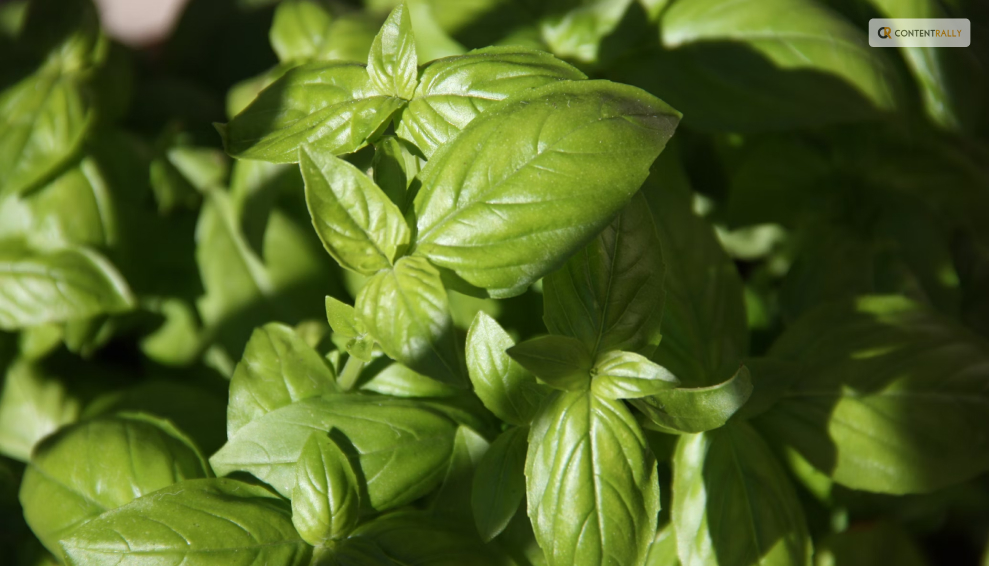
  • Do harvest basil when it is young and tender, not old and tough. This will ensure the leaves are fresh, flavorful, and not bitter or woody. Harvest basil when the leaves are about two to three inches long before they curl or turn brown.

How to Pick Basil Leaves?

How to Pick Basil Leaves

Picking basil leaves is another way to harvest and use the leaves in your dishes. You can pick basil leaves with your fingers or with a pair of tweezers, depending on your preference and convenience. Here are some tips on how to pick basil leaves. For instance, you can pick it:

  • From the top of the plant, not the bottom or the middle. This will allow the plant to grow stems and leaves from the lower nodes and maintain its shape and structure.
  • From the stems that have terminal buds, not from those that have none. This will prevent the plant from flowering and seeding and producing more leaves. You can also pick some of the lower leaves but leave enough leaves on the plant to allow it to photosynthesize and grow.
  • Gently and carefully, and not roughly or forcefully. This will avoid injuring the plant and exposing it to diseases or pests. Use your fingers to pinch off the leaves or a pair of tweezers to pluck them off. Be gentle and precise, and do not pull or tug on the leaves or the stems.
  • When they are young and tender and not when they are old and tough, this will ensure the leaves are fresh, flavorful, and not bitter or woody. Pick basil when the leaves are about two to three inches long before they curl or turn brown.

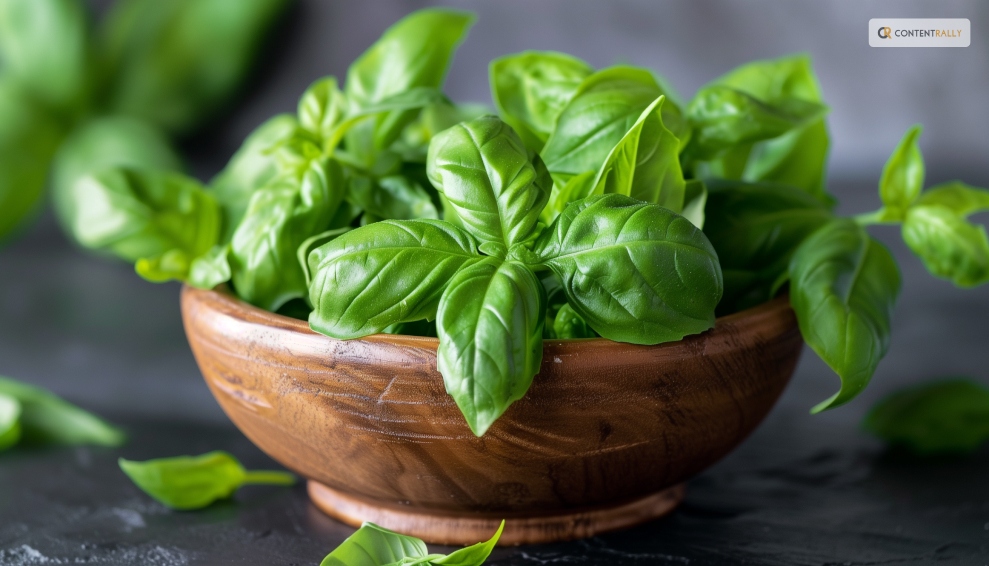
How to Store Basil Leaves?

How to Store Basil Leaves

Storing basil leaves is a great way to preserve and enjoy them for later use. You can store basil leaves in different ways, depending on how long you want to keep them and how you want to use them. Here are some of the best ways to store basil leaves:

Refrigerate Them

You can refrigerate basil leaves for up to a week, by wrapping them in a damp paper towel and placing them in a resealable plastic bag or an airtight container. This will keep them moist and fresh, and prevent them from wilting or drying out. However, you should not wash them.

Freeze Them

You can freeze basil leaves for up to six months, by blanching them in boiling water for a few seconds, and then plunging them in ice water to stop the cooking process. This will preserve their color and flavor, and prevent them from browning or oxidizing. Then, pat them dry with a paper towel, and place them in a resealable plastic bag or an airtight container. You can also chop them and mix them with some olive oil, and freeze them in ice cube trays. This will make it easier to use them in soups, sauces, or dressings.

Dry Them

You can dry basil leaves for up to a year, by hanging them upside down in a warm and dry place, such as a closet or a pantry. This will dehydrate them and concentrate their flavor, and make them last longer. However, you should avoid drying them in direct sunlight, as this can bleach them and reduce their quality. You can also dry them in an oven or a microwave, but be careful not to burn them or overcook them. Once they are dry, you can store them in a glass jar or a spice container, and crush them or grind them before using them.

Make Pesto

You can make pesto with basil leaves, by blending them with some garlic, pine nuts, parmesan cheese, and olive oil. This will create a delicious and versatile sauce that you can use for pasta, sandwiches, salads, or dips. You can store pesto in the refrigerator for up to a week, or in the freezer for up to six months. You can also customize pesto by adding other herbs, nuts, cheeses, or spices, according to your taste and preference.

How to Cut Basil?

How to Cut Basil

Cutting basil is a simple and easy way to harvest and use the leaves in your dishes. You can cut basil with scissors, a knife, or your fingers, depending on your preference and convenience.

Here are some tips on how to cut basil:

  • Wash and dry the basil leaves before cutting them to remove any dirt or insects. You can rinse them under running water or soak them in a water bowl with a few drops of vinegar. Then, pat them dry with a paper towel or spin them in a salad spinner.
  • Cut the basil leaves just before using them, to preserve their flavor and aroma. If you cut them too early, they will lose their freshness and wilt. You can also bruise or damage the leaves if you cut them too roughly or with a dull tool.
  • Cut the basil leaves according to the size and shape that you need for your recipe. You can either leave them whole or chop them finely or coarsely. You can also cut them into ribbons or strips, by stacking several leaves together, rolling them up, and slicing them thinly. This is called the chiffonade technique, and it creates a beautiful and elegant garnish.
  • Cut the basil leaves with a sharp and clean tool, such as scissors or a knife, and not with a blender or a food processor. This will avoid bruising or crushing the leaves and releasing their oils and juices. You can also use your fingers to tear or pinch off the leaves but be gentle and careful.

How to Use Basil Leaves?

How to Use Basil Leaves

Using basil leaves is a fun and easy way to add flavor and aroma to your dishes. You can use basil leaves in different ways, depending on your mood and occasion. Here are some of the best ways to use basil leaves:

Fresh

You can use fresh basil leaves to garnish and enhance your dishes, such as salads, soups, pizzas, and pastas. Also you can use fresh basil leaves to make salads, such as caprese salad with tomatoes, mozzarella cheese, and basil, or Greek salad with cucumbers, feta cheese, and basil. You can also use fresh basil leaves to make drinks, such as lemonade, tea, or cocktails, with basil, lemon, sugar, and water.

Cooked

You can use cooked basil leaves to flavor and season your dishes, such as sauces, stews, curries, and casseroles. Also you can use cooked basil leaves to make dishes, such as tomato sauce with basil, garlic, and onion, or chicken with basil, cream, and mushrooms. You can also use cooked basil leaves to make breads, such as focaccia with basil, olive oil, and salt, or muffins with basil, cheese, and eggs.

Preserved

You can use preserved basil leaves to store and enjoy them for later use, such as freezing, drying, or making pesto. Also you can use preserved basil leaves to make dishes, such as pesto pasta with basil, garlic, pine nuts, and parmesan cheese, or roasted vegetables with basil, olive oil, and salt. You can also use preserved basil leaves to make snacks, such as crackers with basil, cheese, and honey, or popcorn with basil, butter, and salt.

Wrapping It Up!

Basil is a wonderful herb that you can grow and harvest in your garden or indoors. It has a fresh and aromatic flavor that can enhance any dish, and a rich and nutritious profile that can benefit your health and well-being. By following the tips and tricks in this article, you can learn how to harvest basil properly, so that it keeps growing and producing more leaves, how to cut basil, pick basil leaves, and store them for later use, and how to use basil leaves in different and delicious ways.

Read Also:

Ankita Tripathy loves to write about food and the Hallyu Wave in particular. During her free time, she enjoys looking at the sky or reading books while sipping a cup of hot coffee. Her favourite niches are food, music, lifestyle, travel, and Korean Pop music and drama.

View all posts

Leave a Reply

Your email address will not be published. Required fields are marked *

All Comments

I love your take on this topic. Your post is both original and insightful.

Related

Small Kitchen

Small Kitchen Storage Ideas

If you have a small kitchen, you could find it challenging to organize it and keep your space clutter-free. When you continue to struggle with small kitchen storage, then it’s time to assess how you organize everything. This will help you maximize every inch of kitchen space and ensure that no valuable space is wasted. Top-rated house cleaning in Tucson goes over step by step how to accomplish this task. How To Organize Small Kitchen If you are struggling with storage space, here are a few affordable small kitchen storage ideas to make life a little easier. 1. Tension rod No doubt, a small kitchen could mean having a tough time arranging essentials. But a tension rod can come in handy, especially to keep cleaning supplies safely. Hang your kitchen cleaning supplies from a short tension rod where they are easy to access. What’s more, you can hang rubber cleaning gloves on the tension rod. Your dish-drying towels too can be hidden from plain sight on a tension rod installed in the cabinet. 2. Use up the wall space Another small kitchen storage idea is to leverage the wall space to store kitchen accessories. Free up the drawer space and use the walls instead of clutter-free storage. You may stash knives on a magnetic rack to make access easy when food preparation is underway. 3. Stack on the rack One interesting small kitchen storage solution is to locate a bookshelf near the kitchen to store mist essential cooking supplies. You may leverage the space to stack spices, dishware, and even cookbooks. 4. Hang baskets When it comes to organizing a small kitchen, baskets can come in handy to stack kitchen utensils and cleaning supplies. Better still, you may hang a couple of baskets above a sink to leverage the vacant space. It’s one of the best ideas to stack wet dishes and sponges for quick drying. Another stylish kitchen storage solution is to hang a wire basket from the ceiling. It could be single or multi-tiered, depending on your storage needs. You can store potatoes, onions, garlic, and any other stuff that also adds visual interest to your kitchen. 5. Floating shelves Another kitchen storage idea is to add a pair of floating shelves for that extra storage space. This comes in handy if your kitchen lacks room for cabinetry. Easy to install, floating shelves can be hung just about anywhere – even under the bottom shelf. You can hang hand towels, utensils, or coffee mugs. 6. Corner drawer A small kitchen has little space. But with some creative ideas, you can create smart kitchen storage solutions. The corner drawer is one such space-saving storage idea in a small kitchen, especially for awkward corners. These drawers connect the corners diagonally. As a result, they can pack a lot of stuff that horizontal cabinets cannot. 7. Utensil drawer When your small kitchen lacks space for crockery and silverware, opt for a built-in utensil drawer. One similar DIY solution, which is affordable as well, is to place stainless steel pots in a deep drawer that has little space. Use these pots for holding small kitchen accessories. 8. Adopt a pantry Another way to make a small kitchen look bigger is to de-clutter the space by adding a pantry. It is a good storage solution that provides easy access while freeing up the burden on over-stuffed cabinets. 9. On-the-go space A portable kitchen trolley is a handy addition to a small kitchen. Take it anywhere while it safely stores bulky items. It works like an excellent solution to wheel food to the dining table. 10. Wall-mounted cabinets Get a little creative with the kitchen décor when you are looking for tips to organize a small kitchen. You may choose a mix of open shelves to show off your favorite cutlery and wall-mounted cabinets to keep stuff out of sight. Leave some gap between the two to create the impression of extra storage. Picture ledges and hooks can free up the work surface and spruce up the décor. 11. Velcro strips Velcro strips can come to your rescue in a small kitchen, where you are short on storage space. Attach these strips in two spots to hang towels and other similar stuff to save space. 12. File folders as racks While a file folder sits empty in your garage, why not put it to the right use in the kitchen? You may be surprised to see that it can be used smartly to organize your kitchen. They come in especially handy to store your kitchen cleaning supplies. Just place all the supplies into the file folders and you do not have to worry about a shortage of space. Read Also: The New Trend: Drawer Boxes 7 Expert Hacks for Downsizing to a Smaller Apartment Design your Kitchen According to Your Budget and Work in Organized Manner Top Secrets That Slash Your Kitchen Remodeling Bill in Half 10 Unique Kitchen Hacks to Save your Time in Kitchen and Cooking 7 Unique Kitchen Design Ideas That Your Family Will Enjoy

READ MOREDetails

5 Myths about Roofing Services to Avoid

Whether you are looking for a comprehensive roof repair service for an old building or a new roof installation, employing a professional commercial & roofing company can help you achieve your investment goals in a cost-effective manner. That being said, due to prevalent misconceptions about roofing services, may commercial property owners overlook the importance of hiring a professional roofer that not only enhance the life of the roof but also adds value to overall property investment. This blog post covers five common myths about commercial roofing companies and their services that commercial property owners must avoid to realize the real benefits of commercial roofing companies. Myth 1: “Roofing is a one-time investment” Regular roof maintenance program helps in keeping your roof in shape. It also preserves the roof warranty, as many manufacturers nullify the warranty if they find out that the particular roof lacked proper attention. Additionally, having a proper roof maintenance plan in place helps investors in filing a roof insurance claim. Image source: azhandymanroofing.biz Myth 2: “All commercial roofing companies are the same” As a commercial property owner, you should not make a mistake of trusting every local roofing contractor. It is likely that the contractor you hire turns out to be a “storm chaser” who set-up a temporary office in a particular region and then moves to another storm hit location. This, in turn, can affect you in the long run, when you require their assistance for warranty or other services, as they won’t be there for the help. Search for reputable commercial roofing companies that will always be there to assist you at every step. Myth 3: “Cheap roofing materials can get the job done” The type of roofing material that goes in your roofing system has a great impact on its long term sustenance. It is, therefore, important to choose the right material suiting your needs, prevalent climatic condition, and the budget. That is when a professional roofer can help you select the right roofing material without having to run from pillar to post. Myth 4: “Roof repair is a DIY Job” It is usually less expensive to fix things using a DIY approach, but for a job as complex as a roof repair or installation, DIY is not the right thing to do. The complexity of the project requires expertise, the right set of tools, and safety measures to ensure quality repair or installation. A licensed roofer has required expertise and skills to examine and carry out roof repair in a cost-effective manner. Myth 5: “Gutters play no role in the roofing system” You are committing a huge mistake if you overlook the maintenance of roof gutter as part of your roof repair services. While roof shields the home from rainwater, gutters keep the rainwater away from the exterior walls and foundation. Over time, unkempt gutters accumulate debris resulting in clogged gutters that can lead to backward flow of water and ultimately roof leaks.  Therefore, regular gutter inspection, cleaning, and maintenance is a must to prevent roof leaks. Wrapping Up Regular roof maintenance is important for all type of commercial units. Don’t let the myths mentioned in this post prevent yours from hiring professional commercial roofing companies that not only enhance the life of your roofing system but also add value to your investment. For more details about roofing services and its benefits, get in touch with a reputable commercial roofing company that can help you keep the best foot forward. Read also: Use Floor Polishing for Keeping Your Flooring Looking New Close Look at Top 5 Roofing Materials – Pros and Cons

READ MOREDetails
low maintenance plants

Best Low Maintenance Plants To Buy In 2024

I have always enjoyed gardening, spending time in nature, and a general affliction towards plants. However, once professional commitments started taking up too much time, I was left with 'no time to stand and stare'. Whatever time I had left, most of it went behind work, and my plants started shriveling up. Do you relate? If this sounds relatable, then keep reading to find out what I did to change things and give my plants the time they need. Well, for starters, I started investing more in low-maintenance plants. These plants can easily thrive well under low lights and can quickly bounce back in case of one or more missed watering. So soon, I was able to spot the change! 10 Best Low Maintenance Plants To Buy In 2024: It was a discovery that I thankfully stumbled upon. It made things so much easier for the anthophilous inside me that I was motivated to write about it. If you are also planning to purchase a few low-maintenance plants, then scroll down to find out more on the same! 1. Cacti If you have long and irregular work schedules, then Cacti is probably the best low-maintenance indoor plant. Cacti plants can thrive well in light that’s natural and requires water only once every week during summer and spring. During winter and fall, you just need to water your cacti once in three weeks. Price: 18 dollars (for four) Why Do We Love It? Can be grown easily Can be cared for easily Great option as a gift 2. Air Plants Air plants are great alternatives for low maintenance plants - they do not even need soil for survival. All that you have to do in this case is dunk these plants in the water for 2 to 3 hours, once every ten days. Now is that not perfect? This is entirely doable every 10 days while you spend your afternoon sunk knee-deep in work. Price: 14 dollars (for five) Why Do We Love It? Easy to maintain Very affordable Saves time 3. Pothos Pothos is also referred to as Devil’s Ivy and is one of the best types of low-maintenance house plants. The best part? These plants can thrive well in both light and darkness. So if you keep it in your low-light cubicle, the plant will survive, and the same goes for brightly lit areas. Also, it can survive when you forget to water the plant. Price: 18 dollars (for five) Why Do We Love It? Air-purifying properties Value for money It comes in a grower’s pot 4. ZZ Plant The ZZ Plants thrive the best in brightly lit rooms, but that does not mean they cannot survive in moderate or low lights. Just like cacti, you don’t need to water them every day. Moreover, it’s a pretty sturdy plant. When you notice that the leaves are falling off, simply water it properly, and you will soon notice the plant from bouncing right back. Price: 26 dollars Why Do We Love It? Can thrive in both natural and artificial light Sturdy and durable Great option as a gift 5. Spider Plants Spider plants are pretty great options if you are looking for low-maintenance plants. These spidery plants tend to dry out in between two watering sessions. In addition, spider plants thrive pretty well under indirect light, and as a result, these plants can flourish well even inside windowless, dark offices. Price: 12 dollars Why Do We Love It? Can thrive well in both natural and artificial light. Air-purifying properties. Great option as a gift for apartments, office cubicles, dorm rooms, and the like. 6. Snake Plants There are low-maintenance plants, and then there are Snake plants. These are not just great as low-maintenance outdoor potted plants but also as plants for low-lit indoor cubicles. Simply put, snake plants are great alternatives for those offices where you get just thirty minutes for grabbing your lunch - let alone watering your plants. Price: 38 dollars Why Do We Love It? Has higher carbon dioxide absorbing efficiency and releases oxygen at night. Has premium air-purifying properties.  Versatile - can be planted in a pot or directly into the ground. 7. Succulents Succulents are amazing not because they can be easily maintained but mostly because it has thick leaves that store water. As a result, these plants needed to be watered once a week. Also, these thrive well in dry air and sunlight. No wonder succulents are the best low-maintenance outdoor potted plants. Price: 19 dollars (for five) Why Do We Love It?  Easy to grow and maintain Very affordable Perfect for DIY or doing your home decor 8. Bamboo Considered to be a lucky plant, Bamboo needs some light for thriving. This technically means Bamboo plants are great for those cube desks at work. If anyone is starting a new job, it’s best to gift them a bamboo plant wishing them good luck. Also, these plants give any workspace a Feng Shui boost. Price: 28 dollars Why Do We Love It? Easy to grow and maintain Value for money Ideal gift for everyone You May Also Like This: 9. Peace Lily Peace lilies look beautiful, and they also happen to be very easy to grow and maintain. All you need to do is keep misting the leaves and moisturize the soil regularly. However, make sure you are not overwatering the plant, and you should keep the plant away from direct sunlight. Price: 24 dollars Why Do We Love It? Thrives in indoor light Has health benefits Easy to maintain and care for 10. Red Aglaonema Did you know that the Red Aglaonema is new and happening presently? The leaves are all reddish-pink, while the stems are pink. This low-maintenance plant simply amps your cubicle’s personality a few notches higher. Naturally, these will appear brighter in well-lit rooms, buts they can also thrive well under low light. Price: 21 dollars Why Do We Love It? Sturdy and durable Adds texture and color to different spaces Ideal for dorm or room decor 11. Dusty Miller Often called silver ragwort, this icy-looking plant can withstand shade but prefers bright light. The distinctive, silvery leaves become more green-gray in shaded areas, which is also a visually pleasing effect. Its foliage is the main attraction, though it produces small, bright yellow blooms in midsummer. 12. Ribbon Grass Because they spread easily, these variegated blades make an excellent ground cover option. They do not mind shade or sun, but they do love moisture. When planted as a border in your garden, they create a charming link between the grass and the garden. Just make sure to use your shovel to create a sharp trench to keep it from getting into your flowers. 13. Cosmos The name "cosmos" comes from the Greek word for "harmony" or "ordered universe," and Mexican priests gave these happy little flowers this name due to their perfectly arranged, uniform petals. You'll have blooms from spring into autumn because these annual flowers reseed and grow well in full sun. 14. Butterfly Bush Some of the longest-blooming shrubs are these sun-loving plants. They are drought- and insect-resistant and have a vibrant range of colors that are perfect for summer. The plants will naturally draw a large number of hummingbirds and butterflies throughout the fall season. Frequently Asked Questions (FAQs):- Q1. What Is The Most Low Maintenance Plant? Ans: The most low maintenance plants are,⦿ Aloe vera⦿ ZZ plant⦿ Snake plant⦿ Spider plant, and⦿ Cast-iron plant  Q2. What Are The Easiest Plants To Take Care Of? Ans: The easiest plants to take care of are,⦿ Cast-iron plant⦿ Snake plant⦿ ZZ plant⦿ Spider plant⦿ Aloe Vera. Q3. What Is The Most Durable House Plant? Ans: The most durable house plants are,⦿ ZZ plant⦿ Snake plant ⦿ Chinese money plant⦿ Bromeliads⦿ Chinese Evergreen Plant. Wrapping Up:  Remember that it is always a good idea to check the resources available through your local extension service, even if the plants you choose are designated for your USDA Plant Hardiness Zone and the light and soil conditions of your site. By taking into account factors like wind, humidity, rainfall, and more, you can determine what grows best in your area. It's worth noting that not all plants labeled as "deer-resistant" will withstand deer damage. Are you looking for additional strategies to work in the garden more efficiently rather than more laboriously? Invest in a base of well-established evergreen shrubs; you'll be grateful for it come winter. Fast-growing vines can make a big difference for an ugly fence or garden wall without requiring a lot of work. Additionally, check out container plants and outdoor hanging plants if your garden is limited to a patio or balcony Low-maintenance plants are pretty popular presently. Mostly because they are easy to grow and maintain. So what are you waiting for? Invest in some low-maintenance plants today, and let us know which one are you buying first. Read Also: Planting & Harvesting Mint List of White Flowers in the world All You Need To Know About Resurrection Plant and its Facts

READ MOREDetails