Know This: Tips On How To Clean Up Blood Stains on Workplace Accidents

Published on: 20 April 2018 Last Updated on: 24 July 2024
How To Clean Up Blood Stains

Comply with OSHA Standards :

Employers are required to comply with OSHA guidelines and specifically to the Bloodborne Pathogen Standard. Employers must also create Exposure Control Plans. This is the case for any workplaces where employees are in contact directly with blood or other infectious body fluids while on the job.

Employees and workers that work in financial institutions and banks do not perform jobs where they have reason to believe they will come in contact with blood. In the event of an accident, these workers must know how to handle cleaning up blood properly.

Workers must learn how to use precautions and treat any blood or bodily fluids as if they are contaminated. They must treat them as though they have pathogens or are infected with HBV or HIV. Hepatitis B vaccines should be made available within 10 days of exposure on the job to pathogens.

As an employer, you have an obligation to follow the guidelines set forth by OSHA regarding biohazard waste. To be a good citizen, you must comply with all government regulations and make the health and safety of others your priority.

What You Need to Clean Minor Spills :

Before starting the process of cleaning up blood, be sure you have:

  • Protective equipment for all personnel
  • A registered disinfectant with the ability to clean broad-spectrum pathogens
  • Biohazard bags and labels
  • Brush and dustpan
  • Forceps and tongs
  • Leak-proof sharps containers
  • Disinfectant wipes
  • To clean a blood spill from a surface:

Equip Yourself Properly :

Use gloves, masks, gowns, and eyewear to protect yourself from splashes. Make sure that your protective gear fits comfortably and has no holes in it. You do not want pathogens to come into contact with your body.

Remove :

With your brush and dustpan or your forceps and tongs, remove any shards of broken glass from the area. You want to avoid ripping your protective clothing. Put each piece in the leak-proof sharps container. Do not remove them by hand once they are inside.
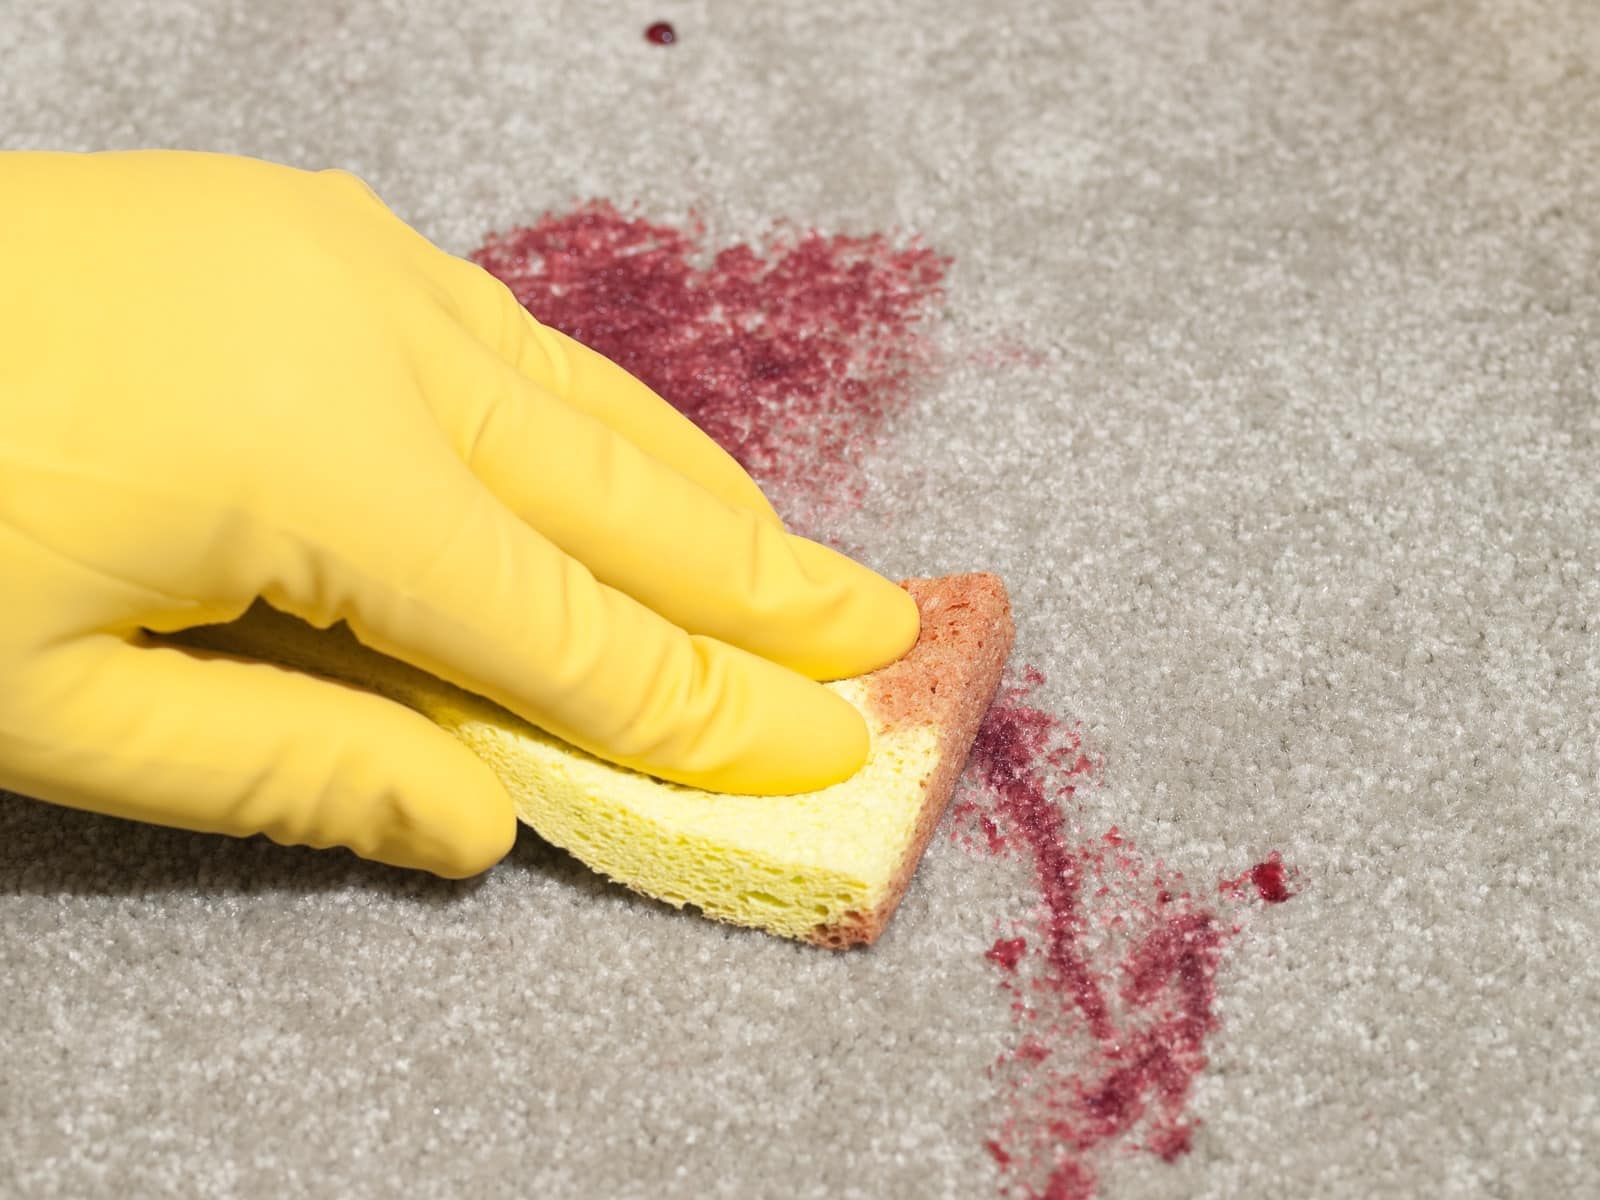
First Cleaning :

Use cloth towels to cover the blood spill and let them absorb as much as possible. The disinfectant will not work if blood is on the surface. Once covered and cleaned toss the towels in a bag designed for biohazards.

Second Cleaning :

Go on to the second cleaning only after the room has been properly ventilated. Pour the disinfectant on the surface and let it stay there for 10 minutes. Then, scrub from the outside to the center using cloth towels. Toss these towels in the biohazard bag after doing the second cleaning.

Third Cleaning :

Use more towels and disinfectant on the surface. Put these in a biohazard bag when you are through. Leave the surface to dry.

Disposal :

Dispose of any protective gear and equipment the same way you did the towels. Put them in a biohazard bag. Seal it and place into a second container. Be sure to label the container clearly and call the local health department for instructions on how to dispose of things correctly.

 Decontaminate :

After doing this, use the registered disinfectant to decontaminate any brooms, buckets, dustpans or other items you can use again. Scrub the tools thoroughly and then rinse with water.

Check :

Do a final check to make sure no area of your body has been contaminated. Make sure no blood has splashed on your feet or on your shirt.

Wash Your Hands :

Wash hands thoroughly with water and disinfectant soap.  Disinfectant wipes can also be used if you are not near a sink.

Report Incident :

This is crucial. Fill out the incident report clearly as soon as the cleanup is complete. File it as instructed, and be sure

It is important that you and your employees know how to clean up the blood in your workplace. Get help if you need it from a blood cleanup company. Keep your workers healthy and safe with the instructions in this guide.

Content Rally wrapped around an online publication where you can publish your own intellectuals. It is a publishing platform designed to make great stories by content creators. This is your era, your place to be online. So come forward share your views, thoughts and ideas via Content Rally.

View all posts

Leave a Reply

Your email address will not be published. Required fields are marked *

Related

getting rid of clutter

7 Tips for Getting Rid of Clutter in Your Home

Are you guilty of hanging on to items you don't need anymore? Is your home starting to look more like the dwellings of a pig than a person? It can be easy to let clutter creep up on you. One minute all of your rooms seem spacious and empty, but the next you realize your entire floor is covered with items. Getting rid of clutter is an important step in having peace of mind. This article will give you seven tips on eliminating clutter so you can start to think more clearly. 1. Begin With the Bedroom: Your bedroom should be a sanctuary for you. It should be the place you can go to relax and get away from the world. If your bedroom is full of junk, it's not likely to be relaxing. Start by putting all of your items in a pile. This will enable you to take inventory of what you have. Get two giant trash bags, one for trash and one for donations. Put all the items you want to throw away in one bag and put the items you want to donate in the other. Once you get rid of all the useless junk you don't use anymore, you'll be able to find places to store the items you really value. Getting your bedroom tidied first will motivate you to fix the entire house. 2. Kill the Clutter in Your Kitchen: Your kitchen is where you prepare your food, so you want to make sure it's a clean environment. Begin by throwing away any food that is expired. Look through your pantry and toss and spices or soups that may have been sitting there for decades. Make room in your cabinets by throwing out extra Tupperware. Only keep the Tupperware that has a lid. Make sure every base has a matching lid. Discard any old pots and pans that go unused. Cleaning out your kitchen will ensure you don't develop a pest problem. Rodents, roaches, and other insects won't want to make a home in a clean kitchen. 3. Get the Family Involved: Decluttering doesn't have to be a one-man job. Send in some recruits, aka your children and spouse, to help you. Turn banishing clutter into a game for your kids. Set up trashcans like basketball hoops and see who can get the most useless items inside. Give them incentives for donating old clothes and toys they don't use anymore. Tell them they can't have any new toys until they donate some. Your children need to learn the art of letting go as much as you do. You can't keep accumulating items into your home unless you take some out of it. Otherwise, you might end up a hoarder and need serious hoarding help. 4. Put on Some Music: Any task can be made easier with the right music. Put on music that motivates you and watches as your body kicks into overdrive. Before you know it, your entire house will be clean. Dance around as you clean to burn some extra calories and have a blast doing it. 5. Use the KonMarie Method: Marie Kondo has become famous for her method of getting rid of clutter. She says you must think carefully about each and every item in your home. Hold it up to your chest and ask yourself if it "sparks joy." If it does spark joy, you keep it. If it doesn't make you feel happy, you should thank it for its time in your life and then discard it. This method causes you to be more mindful of your belongings. It makes you think about what items you care about. 6. Don't Get Overwhelmed: The easiest way to give up on your de-cluttering journey is to try to do too much at once. You can't possibly tackle your entire house in one day and do a good job. Instead, focus on one room at a time. Schedule in time to clean in your day so it doesn't take away from other responsibilities. If you schedule in 20 minutes a day for a week, you'll notice big progress at the end of the week. You're less likely to give up that way then if you tried to do several hours in one day. Slow and steady wins the race and the clean house. 7. Keep it Clean: If you don't want to have to go through the stress of cleaning everything all over again, take steps to keep your home under control. As soon as you're done using an item, put it away in it's designated storage place. When you're done eating, do the dishes. When your laundry is done, fold it. When the trash is full, take it out. When you do these small chores every day, they won't pile up on you. You must commit to the habit of tidying up after yourself. It will make you feel better and make your home look better for guests. Start Getting Rid of Clutter Today: The key to getting rid of clutter is commitment. You have to want to eliminate clutter and set realistic goals to get there. Picture how great your house will look once you've cleaned out all the excess. Close your eyes and envision how easy it will be to find something when everything has its own place. You'll be able to save so much extra time in your day because you won't be sifting through things for hours trying to find what you need. Enjoy this article? Want to tell us some of your best tips for eliminating clutter? Please contact us here. Read Also: 5 Tips To Add More Zen To Your Home 5 Ways That Ensure That Your Home Is Safe For Living

READ MOREDetails
Evacuation Plan

Why You Need A Cold Weather Evacuation Plan

Whether you already have an evacuation plan or are just starting to think about making one, it’s necessary to have different plans for different scenarios. Think about it: does your evacuation plan assume that there will be blue skies and warm temperatures during an evacuation for a fire? A thorough evacuation plan takes many different situations into account. You should be aware of the different types of evacuations that occur, from natural disasters such as forest fires, landslides, tornados, and house fires. And yet, often, people forget to plan for adverse weather conditions, like having to wait in a safety zone in frigid temperatures, pouring rain, or a snowstorm or having to leave through emergency exits with heaps of snow or ice obstructing the way. Checkout Three Prime Reasons You Need A Cold Weather Evacuation Plan: If you already have an evacuation plan and are prepared with emergency tools like the Evacuscape evacuation chair, you’re already ahead of the game, and winterizing your plan won’t require too many tweaks. If you don’t yet have any evacuation plan in place, you can make your cold weather plan at the same time as your warm weather plan. Here are some of the key reasons why it’s essential that you plan for cold weather evacuations. 1. Higher Risk of Fires Between fireplaces, candles, and increased use of heating systems, there’s much more opportunity for fires in the home to occur. The National Fire Protection Association (NFPA) says that house fires occur more often in winter than in any other season. The increased risk must be taken into account during emergency planning for everyone’s safety. Plus, you can take the opportunity to ensure your practice has good fire safety tips. 2. Increased Chance for Severe Weather Natural weather-related disasters come at all times of the year. Winter brings freezing cold temperatures and all sorts of precipitation – from snowstorms to ice storms. Storms can last for days, and power outages often occur, leading to further safety issues. It’s essential to know the different scenarios that can occur. For some, it may be safer to stay put indoors, whereas, for others, you may need to leave your home. You May Also Check: All The Colors You Should Wear This Winter 3. Provides More Opportunities for Safety Planning Considering different conditions allows you to prepare accordingly. From simple and easy things like keeping a warm coat or jacket available to quickly grab on your way out to keep you warm while waiting outside to advance planning, like making sure exits are clear of snow and ice and making sure windows that might be used are easily opened when the cold and ice start happening. The whole point of emergency evacuation planning is to ensure people know how to evacuate safely and are familiar with the plan enough that they can remember it in the event of an emergency when feelings of panic are likely to occur. One thing you will probably never hear someone say is that they regretted taking safety precautions like planning an evacuation plan for their family and going over it every once in a while, to ensure everyone is familiar with it. Making another evacuation plan for cold weather allows you the opportunity to go over your plan, talk to your family about it, and keep it fresh in everyone’s minds to keep your family safe and protected this winter. Read Also: How to Maintain a Bright and Beautiful Garden During WinterPrepping Your Vehicle For Winter Weather Driving7 Daring Party Drinks to Try This Winter

READ MOREDetails
planttomato

How To Grow Tomatoes From Seed

If you are an avid tomato grower you're probably envious of all the different varieties that other growers talk about, but that you can't find transplants for in your area. In many cases, those growers are growing tomatoes from seed. Growing tomatoes from seed really isn't that difficult, as long as you understand a few basic things. Well, I will walk you through this process below. Read on. Why is it necessary to start tomato seeds early? Tomato seeds planted in the garden won't germinate until the ground is warm enough. What's the ideal ground temperature? They germinate best at temperatures in the 70-80 degree range. If you plant seeds directly into the ground, odds are the summer will be too short for tomatoes to become productive before the end of the growing season unless you live in one of the warmest climates in the US. The days to harvest number that is on a packageof tomato seeds assumes that you are using transplants. To decide if your area is warm enough to plant directly in the ground, add 30-50 days to that number. So if it says 90 days you would need 120-140 days of temperatures above 70 degrees to get your first ripe tomato if you plant the seeds in the ground! When should I start my seeds? Most people who are growing tomatoes from seed start 4 6 weeks before the last expected spring frost date in their area. You need to wait to plant the seedlings outdoors about 2 weeks after that date when the soil has warmed up to at least 50 degrees. The date you start growing tomatoes from seed can vary depending on the space you have available and the length of your growing season. First, you need to gather some important items: Containers: Start with clean, sterile containers to grow your tomato transplants in.Your local garden center or big box store should have seed starting kits that consist of a black plastic tray with peat pots or plastic inserts and a clear plastic dome cover that fits over the top. If you're only starting a few seeds, you may want to just plant them in paper or foam cups with holes punched in the bottoms. Many of us like to save money and reuse flats or recycle containers like plastic milk jugs for starting seeds. This is fine as long as you wash them thoroughly and then sanitize in a 10% bleach solution (1 cup bleach in 10 cups of water). Note: Be sure whatever container you use has drainage holes in the bottom so that excess water can drain out. Lights: You cannot grow a healthy transplant without proper light. Even a sunny, south-facing window is not really adequate. Using a led grow light or fluorescent light on a timer that it is on for 12 hours and then off for 12 hours, will ensure that when you are growing tomatoes from seed your plants get all the light they need to grow properly. You will need to plan a way to raise the lights so that the top leaves of the plants are 2- 3î below the lights. One method is to use a wire shelving unit. The chain that comes with a fluorescent shop light works perfectly to hang it from the shelf above your plants. Growing Media: Use fresh, sterile germination mix labeled for seed starting. These mixes are usually peat-based and do not contain garden soil. Tip: More than 50% of people who are growing tomatoes from seed for the first time lose their seedlings to damping-off disease. This fatal disease can literally wipe out your seedlings overnight. Starting with sterile containers and soil mix will greatly decrease the chance of your seedlings becoming infected. Read also: How To Choose The Right Containers For Your Container Garden Growing tomatoes from seed are the only way to have the very best tasting and old fashioned heirloom varieties which are not usually available as nursery started plants. Read also: Does Organic Gardening Improve Soil Quality?

READ MOREDetails