Stone Masonry Has a Long and Proud Tradition

Published on: 14 April 2016 Last Updated on: 13 September 2024
Content Rally

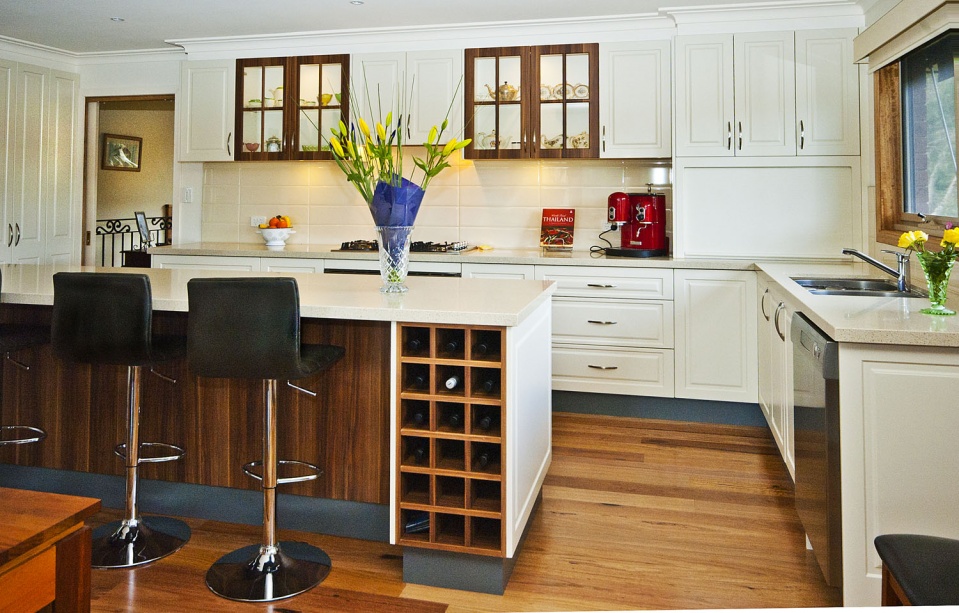
For a long time the people have been fascinated about getting magnificent stonework done in their residential premises. As people in ancient times have been using natural stones in the construction and designing of their palaces, mansions and other significant structures, stone artistry is something that is not new to the world. Natural stones are eco friendly. The reason for this is that they carry a naturally inbuilt strength, resistance, and shine. These stones will in no way lose their natural shine and grace for a long time. They will be able to easily stand out in extreme weather conditions thereby preserving the natural form of the structure. It is for this reason that there is much stone artistry in the market. It is the stonemason firms that will offer you with professional and expert services in building innovative and unique stone based structures. 

Content Rally

Who is a stone mason?

A stonemason is a professional artistic who has ability to carve stone with art and knowledge in using different categories of stones for different purposes and structures as not every stone can be used for any structure. For example, a stone material that is not fireproof can get damaged when it comes into contact with heat. This is the reason why it should not be used in kitchen or around fireplaces.

Where all can you use stonework?

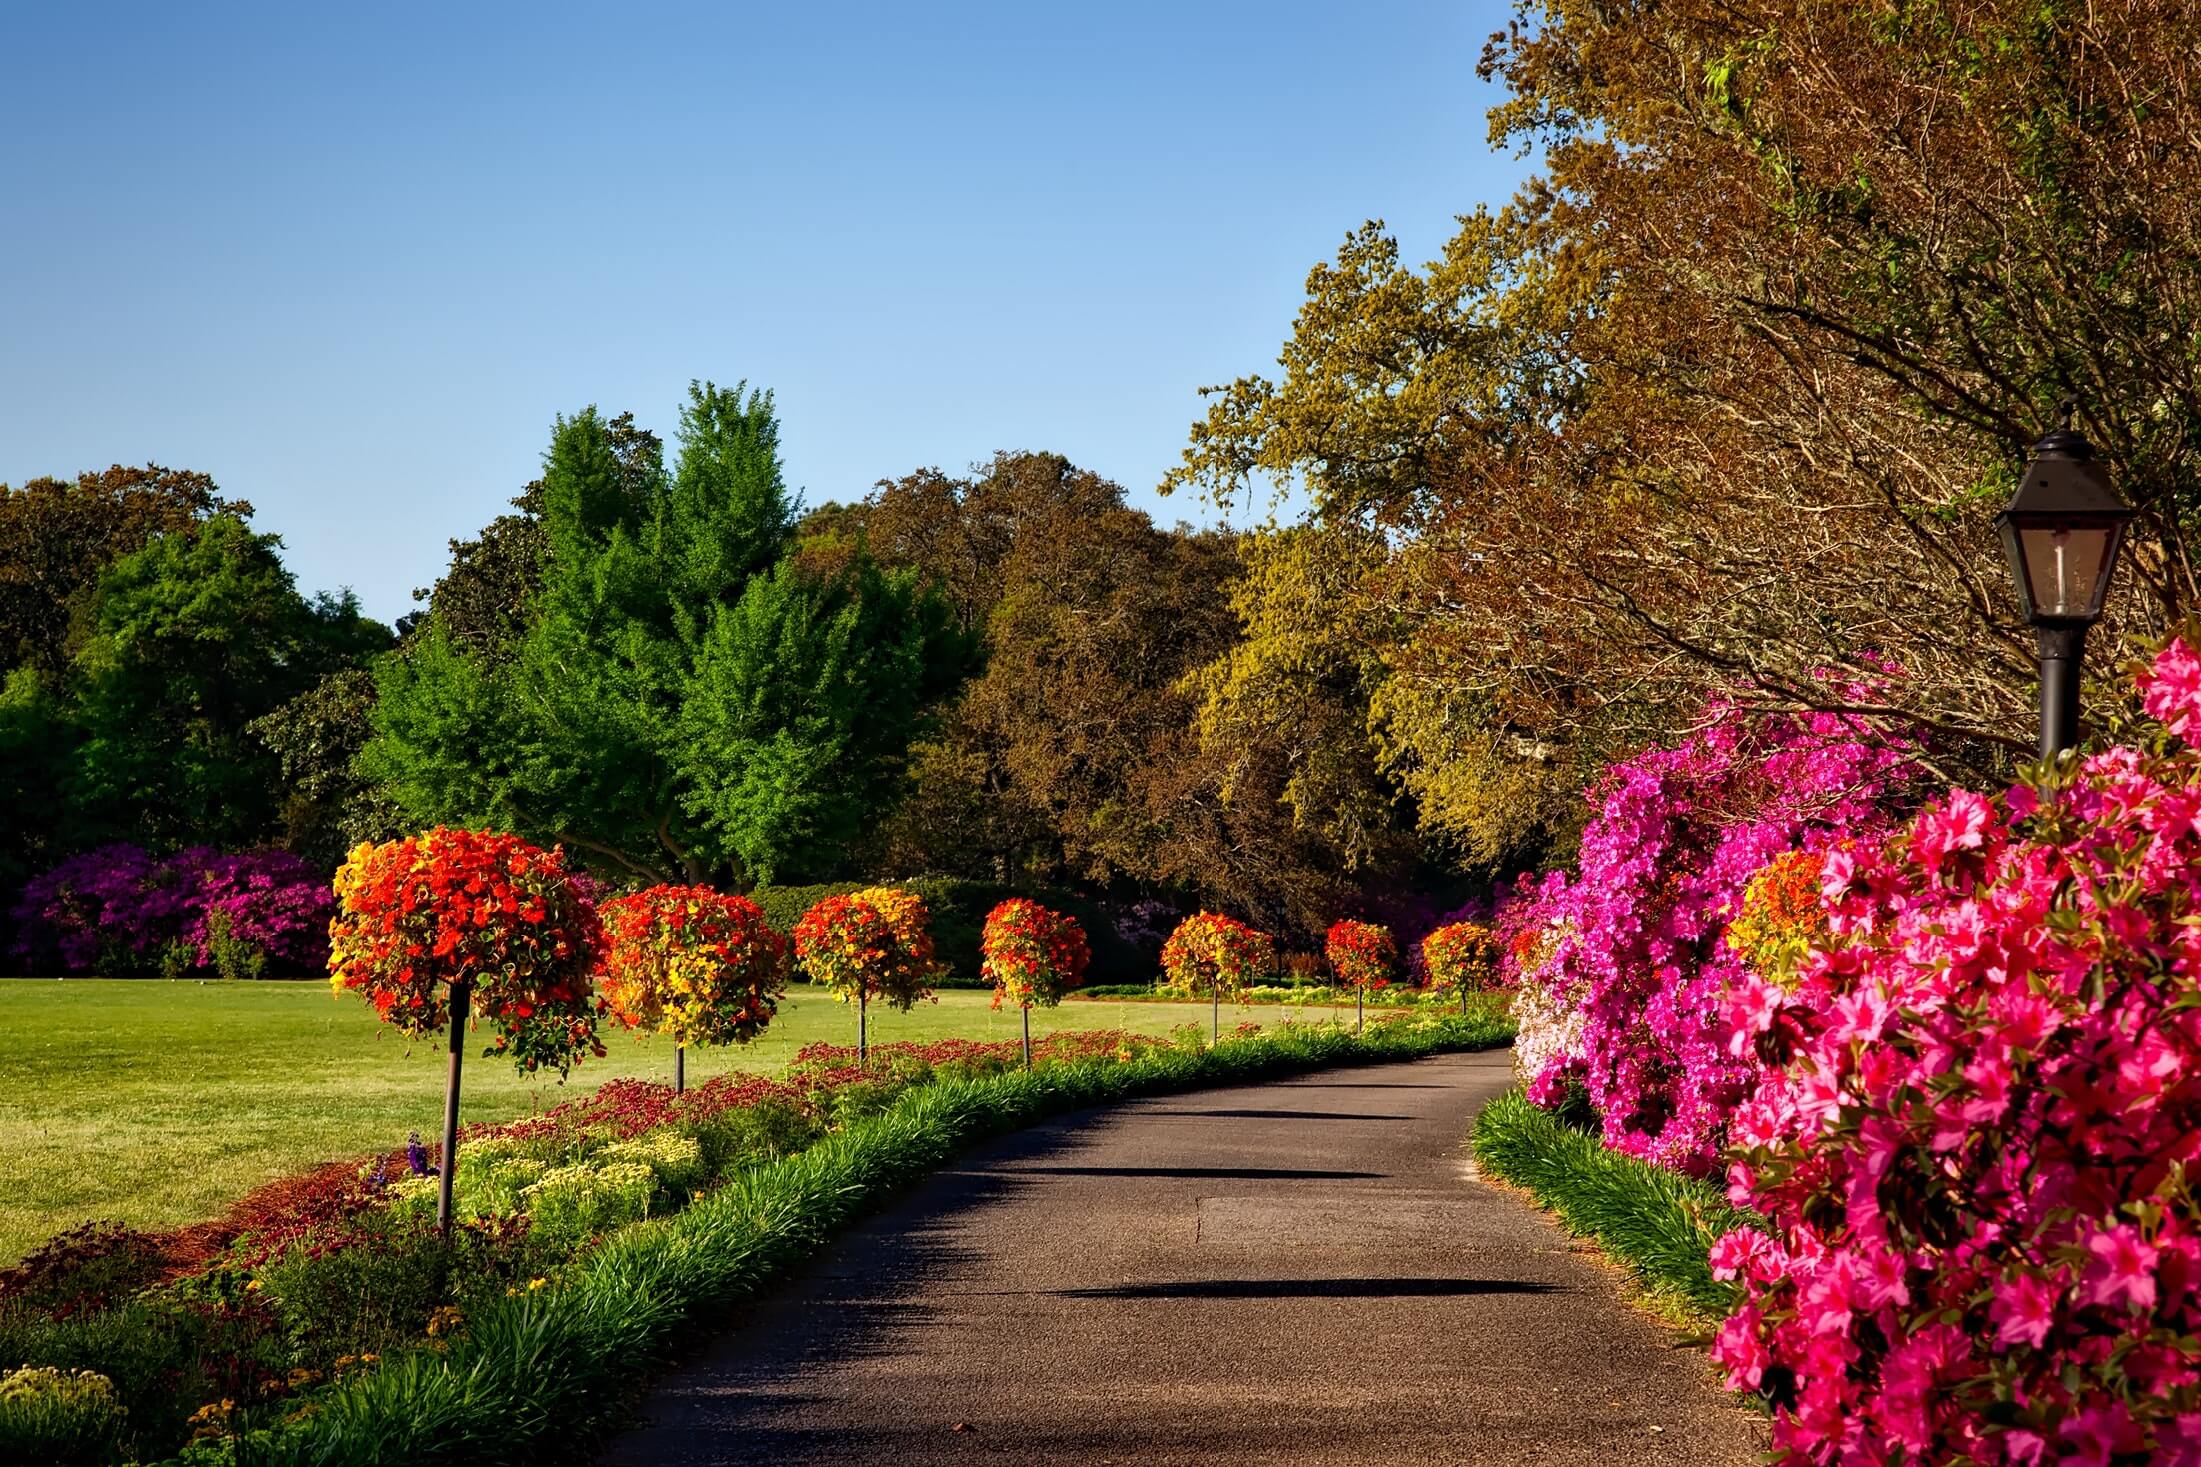
  • Amongst the most popular areas of a house where stonework is frequently used is the garden. Stone and garden are best of friends. This is because the stones provide the absolute natural look that complements the natural beauty and atmosphere of a garden. You can use stonework in the garden used for creating stone fences, flowerbeds, fountains, landscapes and much more. On being created together with stones, they will be able to provide your garden the look of an authentic stone garden. It will also be possible to differentiate the different segments of a garden by the careful use of dry and wet stones. In order to make a suitable choice, a professional stonemason can definitely be consulted.
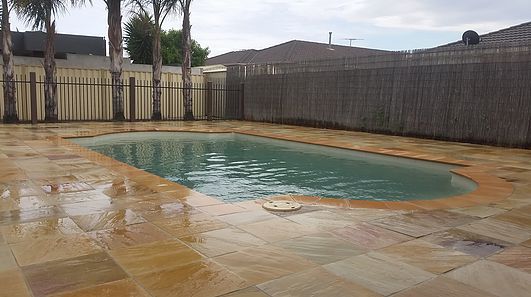
  • It is on a number of structures and areas in exteriors and interiors of your residential premises that the stone artistry can be implemented. In this way you can blend it with the surroundings to bring down a natural and environmental effect to the place. One such extremely popular option in stonework is the Stonewalls. This is an excellent g option for fencing down your garden or for making boundaries around your home. It is by the kind of rocks used in building it that the look of any stonewall is determined. If you are looking for old and weathered look then you should use rocks that look ancient and stale otherwise you can obtain new and polished stones, for not a weathered but only a raw stone look. When you employ a stall in your yard or garden eliminates the need of using concrete, cement or other fabricated material for the purpose.
  • One more area where stone artistry is employed on a large basis is the fireplaces. The area near the stone fireplace can provide unique and magnificent look to the area. The stone fireplace can generally be found in the living rooms; fireplace may be just a corner but forms a major part in the ultimate look of the room. Since the fireplace is a heated place, it should be constructed with a material that can resist extreme heat and yet maintain its actual temperature. In the market, you can come across a wide range and types and textures of stones hat can be used at various places like floors, fountains, walls, terrace, roofs as well as in many more in exiting patterns and color combinations of your choice.

We also have collections of information on Stonemason work. Let us know if you ever have any questions or concerns about Stone Masonry.

Abdul Aziz Mondol is a professional blogger who is having a colossal interest in writing blogs and other jones of calligraphies. In terms of his professional commitments, he loves to share content related to business, finance, technology, and the gaming niche.

View all posts

Leave a Reply

Your email address will not be published. Required fields are marked *

Related

Repairing Your Roof

Repairing Your Roof – How Should You Get Started?

Your house's roof is its ultimate defense against harsh weather, pesky creatures, and infestations.  If your roof is not in top condition, your entire house is at risk. It's crucial to schedule roof repair as soon as you notice a leak, even if it's small, as it can cause significant damage.  Repairing your roof is more cost-effective than replacing it entirely and is vital to maintain its integrity.  Left unaddressed, roof leaks can cost you tens of thousands of dollars.  This article will discuss the basics of roof repair, what you need, and how to do it. Ensuring your roof is in top condition is essential to protect your home from the elements and ensure its longevity. Steps For Repairing Your Roof Given below are the steps that will guide you in the process of roof repairing at your home— 1. Examine The Damage Following a systematic approach is vital when searching for a leak in your roof. Begin by surveying the visible damage to your roof, including shingles, gutters, and roof edges.  It's essential to start with the most obvious issues and progress to less apparent ones. Once you've assessed the exterior, examine the interior for signs of water damage.  Look for indications of water stains, dripping water, sagging, pooled water, and dampness. Inspect during rainy weather, as some leaks are intermittent and only occur when there is enough rain.  Access the attic using a flashlight to locate the water source through the roof deck. Check around all rafters for indications of water.  Water can travel through the roof decking and rafters due to the force of gravity, which may result in dripping in different areas. If you observe water dripping, trace it back to its origin. 2. Find A Reliable Contractor After a thorough inspection of your roofing system by a professional roofing consultant, you will receive an accurate and detailed bid or estimate.  The estimate will be based on the materials you choose for your roofing projects. Moreover, you must consider the unique measurements of your roof.  The roofing consultant will also consider any special conditions that may affect the cost. This can include the complexity of the roof design or any existing damage that needs repairing. Once you receive the bid or estimate, your roofing contractor should provide a written contract outlining the details.  This contract should include a comprehensive breakdown of the costs, the expected timeline for completion, and any warranties or guarantees included.  Therefore, you must carefully review and understand the contract before agreeing to any work to ensure everything is clear and fair for both parties. 3. Select The Suitable Material  It's crucial to have a complete set of roofing tools when undertaking any repair project. These hand tools have various uses throughout the house. They include the following: Roofing hammer. Pry bar. Nail puller. Utility knife. Shears. Tin snips. Handbrake. Tape measure. Chalk box. Roofing nails (also known as roofers). Speed squares. A pencil for notes or markings. A 10 oz clay gun. Choosing the right roofing sealant depends on the roofer's needs, but any kind will suffice.  While shingles are optional, matching them is optional. For flashing work, it's recommended to use aluminum coil stock, which is available in various colors at most box stores. A tape measure is recommended for all measurements and layout work, and a chalk box is ideal for snapping reference lines and general layout work.  Roofing nails, or "roofers," are recommended for their durability. The materials used for the roofing sealant, shingles, and aluminum coil stock are also essential. 4. Ensure That All Cracks Are Sealed Using an uncomplicated roofing sealant is important to seal any cracks on your roof.  To apply a sealant, you must pierce a thin aluminum membrane with the tube, allowing the sealant to flow.  Next, load the sealant into a caulk gun and aim it at the crack or hole to seal it.  The sealant will dry in a few hours and be set entirely in 24 hours without intervention.  Finally, you can cover the hole with shingles or flashing and move on to other projects. Ensuring that the roof sealant is compatible with your caulk gun is crucial. This is because some construction materials come in 28-ounce tubes that won't fit a standard 10-ounce gun. 5. Ensure The roof Is Insulated When planning to replace your roof, it's also a good opportunity to consider upgrading your insulation.  However, if you opt for new blown-in insulation, your roofing contractor will install it while they remove the decking.  This insulation process requires running a hose through the exposed roof and into your attic. It allows the insulation to be installed quickly and easily without causing any damage to your walls or ceilings.  Therefore, with the new insulation, you can enjoy improved energy efficiency and a more comfortable indoor environment. 6. Leave It Clean After the roofing crew installs your new roof, they should clean up any debris around your home. This includes loose shingles and nails and leaves them in their original condition.  They should also haul away old roofing materials for proper disposal. Additionally, you must ensure not to dispose of in landfills, which can contribute to pollution. The roofing expert must inspect the final product to ensure it meets all industry standards and building codes.  They should also check for potential leaks or damage and address any concerns. It is important to address any concerns and take steps to correct any issues. Therefore, ensure you’re completely satisfied with the new roof and its reliable protection for years. Can You Repair Your Roof Yourself? Understandably, as a homeowner, you may want to save money. Therefore, taking care of some home maintenance tasks can help you save a lot.  However, it is important to know your limits when it comes to your roof.  You may be capable of handling minor tasks such as replacing caulking or cleaning gutters. On the other hand, leaving any roofing projects to the professionals is highly recommended.  Moreover, roofing maintenance requires specific skills, knowledge, and equipment that only experienced and trained professionals possess.  Even a seeming DIY project can quickly spiral into a much bigger roof repair if something goes wrong.  Therefore, it's always wise to prioritize the safety of your home and family. Look for an efficient roofing service provider and explain the damage. You can get your roof cost-effectively repaired under expert supervision! Read Also: How Often Do You Need A Roof Inspection? Elevate Your Roof’s Health With Aerial Roof Inspections Choosing A Siding And Roofing Companies In Delaware

READ MOREDetails
Amazing Flower Street Garden

3 Amazing Flower Street Garden – How to Design?

When it comes to planting your garden, perhaps you love nothing but the joy of rooting, tilling, and otherwise nourishing your plants and flowers to grow to be amazing and beautiful. Really, you are passionate about gardening, and would not trade the experience for anything. That said, perhaps you have experimented with tons of different types of gardening, from hydroponics to indoor planting. This time around, you are probably curious to take on planting flowers…on the street. While you might find it to be a piece of cake, there is a certain art to it, and we are here to help you out! Read on to learn more in this article on how to design an amazing flower street garden. Pretty soon, you will be well on your way to an excellent garden that you can show off to your family and neighbors. Without further ado, let’s get started! How to Design an Amazing Flower Street Garden First things first, it is necessary to take some time to research just how you are going to start your flower street garden. It is not just a matter of rushing into doing so, but rather taking the time to yield great results. Trust us: in the end, it will all be worth it. Here are three, simple steps to follow: 1. Select your plants and flowers Aside from choosing plants and flowers that look aesthetically-pleasing and color-coded with each other, it is also a matter of choosing some which can co-habit together peacefully. In other words, you need to select plants and flowers that can grow well without having to fight for the same nutrients in the soil, let alone fertilizer. Really, competition can be fierce for some of them, which can end up leading not only to inadequate nutrients being distributed unevenly but also inadequate growth on both parts of the plants and flowers. For instance, zinnias and geraniums go well together, both in terms of being planted together and color-scheming. Another good one to refer to is that of Melampodium and shrub rose, which add that extra pop to your home curb appeal. 2. Keep them orderly Paradoxically speaking, this point is both about keeping your street garden limited just to a few plants and flowers, but also diversifying them for an aesthetically pleasing sight. What do we mean by this? In other words, it is advisable not to go crazy with too many different species of plants and flowers within a given plot of land, considering that, again, they will have to compete for nutrients (which can affect how they grow), as well as create a hodgepodge of all sorts of species which can make it look a bit too disorganized and detract from its attractiveness. That said, a rule of thumb is to plant just a few varieties: we recommend planting no more than ten sorts of perennials, five kinds of shrubs, and two types of trees. Again, strike a balance between color scheme and practicality, and doing so will make all the difference when it comes to the beautiful results of your street garden. 3. Maintain them regularly Finally, it is a matter of just getting around to planting and nourishing your plants and flowers along the side of your street. Besides just the basics of watering and giving them enough sunlight to flourish, you will also have to maintain it regularly with appropriate fertilization and pruning from time to time, especially if you are growing plants and flowers that tend to get quite thick and heavy with foliage and so forth. Hence, for the latter, it is a good idea to have at least a prune tool around to make it easier (and safer) to efficiently keep the plants and flowers under good maintenance. From shears to pole saws to lawnmowers, pruning tools come in all sorts of shapes and sizes, so it is essential to know which ones are the best for the type of pruning you need to do. *bonus* Give them love and care. While this point sounds corny, it is important nevertheless to care for your plants and flowers like they are your own children. Doing the basics such as watering, fertilizing, and pruning is a good start, but to take it above and beyond to keep them safe from harsh weather and investing in safety fences to keep out pests and other sources that might otherwise damage, will make the street garden even more lovely and happier. For an idea of what to expect for street gardens, check out this video here: https://youtu.be/qh0ckoAiCek Read also: 5 Essential Tips To Designing A Beautiful Front Yard Garden Overall, street gardening is an interesting concept that is not a bad idea to consider, should you be passionate about planting flowers, in general. With the right amount of tools and planning, you should be able to create an amazing and attractive street garden to call your own.

READ MOREDetails
Portable Generators

Portable Generators: 5 Ways To Keep Them Clean and Running

Before purchasing your portable generator, there are two essential things you should always consider; it’s versatility and handiness. This will significantly help in cases of breakdown. How? Once you’re sure of your portable generator power and versatility, then it becomes more comfortable for you to identify it’s spare parts availability. If you want your portable generator to last longer, then you’ll have to follow the number one rule of owning a portable generator strictly. Bonus: Maintenance. Proper maintenance will ensure your portable generator works efficiently. Outlined below are five tips for maintaining your portable generator for efficiency. 1. Fresh Oil Helps Changing the oil of your machine regularly replacing it with a fresh one will maintain your engine for efficacy. If your generator is new, then it needs to be synchronised exactly after 30 hours of use. This sounds demanding and tiresome but, you’re never going to regret it. Don’t worry because as time goes by, changing the oil of your small engine will only be done after every 100 hours of use, or even after every season. It is always important to have a stock of oil or gas set aside in case you run out of power. The fact is that you’ll never know when you’re going to have extended power outages. This is to prevent your engine from corrosion. 2. Plugs & Filters Ensure that your generator has a way of igniting gas into the engine cylinders otherwise, your generator will have no use. However, maintaining your generator will have you change your plug and air filter occasionally. You can do this after using it for 200 hours or maybe once at the start of each season. Having done that successfully, your generator will have a proper fuel-air mixture that will help your generator work efficiently thus, an extension of lifespan. 3. Store Your Generator on an Empty Tank This implies that if you ’re planning to store your generator for longer, maybe a month or so. But, before you do that, ensure that you drain the fuel from the tank. However, there are necessary steps you’ll need to follow before emptying your generator’s fuel tank. First, you’ll have to add a quality gas stabilizer to the fuel tank and allow it to run for about 15 minutes.Once you’ve done that, allow your engine to cool down, then start your engine and run it until it runs out of gas and automatically shuts down. On the other hand, you may use a siphon that’s non-conductive to remove excess gas in the tank. Remember, the siphon should be non-conductive to prevent the fuel tank from static electricity. 4. Charge the Battery You can charge your generator only if it has a battery because not all of the generators use a battery. Some of the generators are electric starts feature so; they will need to charge before storing them.You can as well plug your generator’s battery in a trickle charger for freshness and availability. 5. Train in the Off-Season As you continue to store your generator, you are advised to always start it after every month allowing it to run for some few minutes. This will help keep your generator’s features lubricated because oil will be circulating through the engine. Wrap Up Had problems before maintaining your portable generator? Worry not because the above tips have provided solutions to your questions. Read More: 7 Specifications You Should Look for When Buying a Home Generator Generator Secrets that manufacturer won’t tell you Advantages of Using a Portable Solar Generator

READ MOREDetails