Published on: 31 March 2017
Last Updated on: 04 September 2024
But, when you enter your home after such a lavish holiday, don’t you feel irritated to see the unmade bed and cluttered bathroom? Yes right!! So, It’s worth to experience even a small version of this luxury in your daily lifestyle.
With that point of view, I am listing out today some really effective ways through which you can easily attain a deluxe and opulent experience at your home. Have a look!!
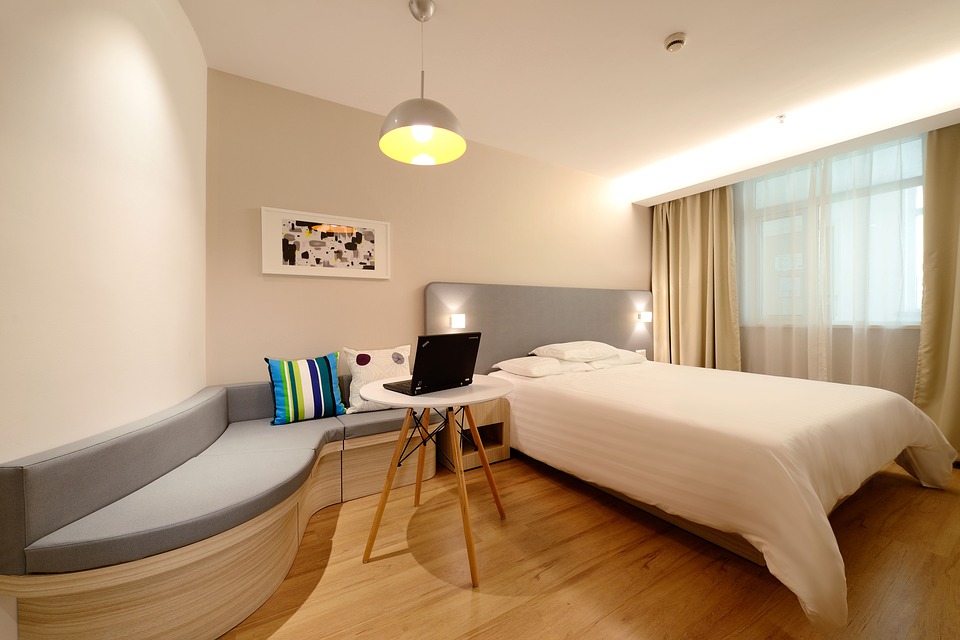
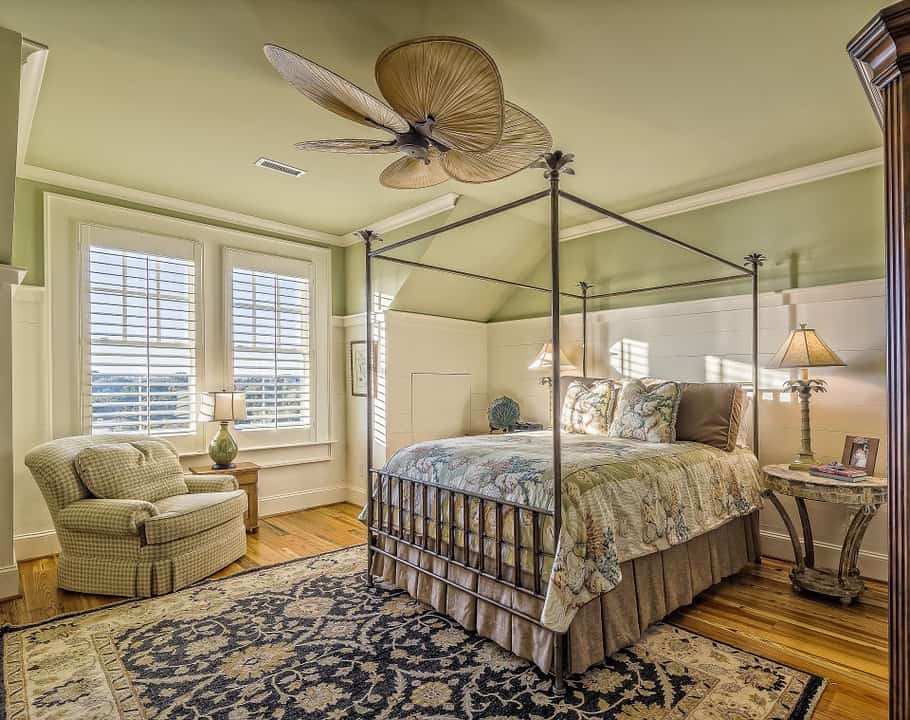
A lavish bedroom is the first priority
You’ve to agree with the fact that when you go to a luxury hotel the first thing which catches your attention is a well-designed bed with matching cushion, bedsheets, and mattress. So, at the very first step, start with a premium quality mattress and then layer it up with the fluffy and big pillows.
Choose a king or queen size bed with a headboard upside, two bedside tables, two beautiful side lamps, etc.
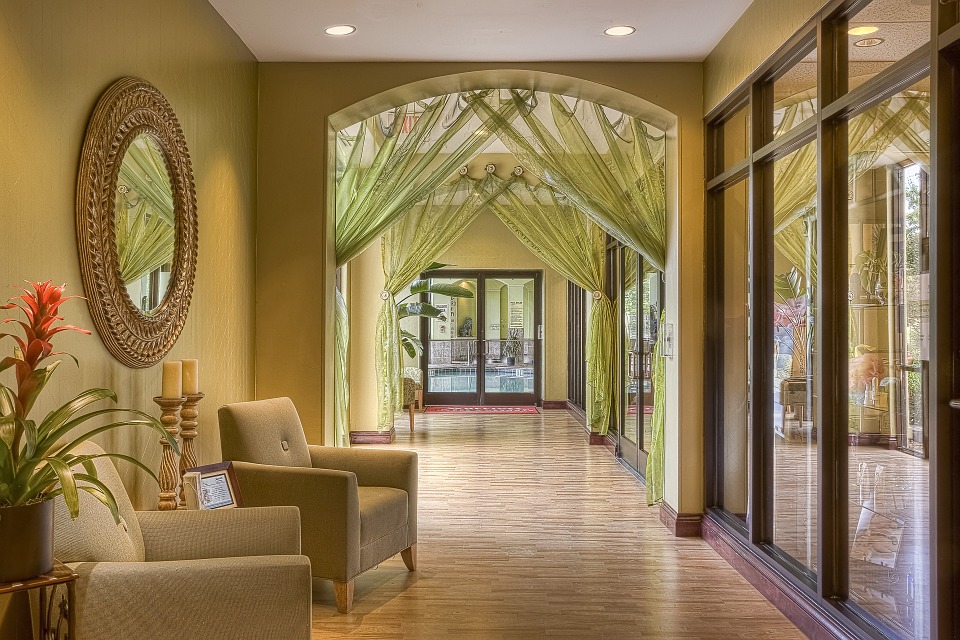
Make a stupendous entry-way
Just think of the last awesome hotel you visited, you would have noticed a well-organized lobby with some pretty orchids, designer mirrors, and dim lighting. Incorporating such a view in your small entry-way of your home is not a tough job. You just have to do a simple thing to attract your visitor’s eye to an attractive centerpiece. It can be a small table made up of marble, wood or glitzy lacquer.
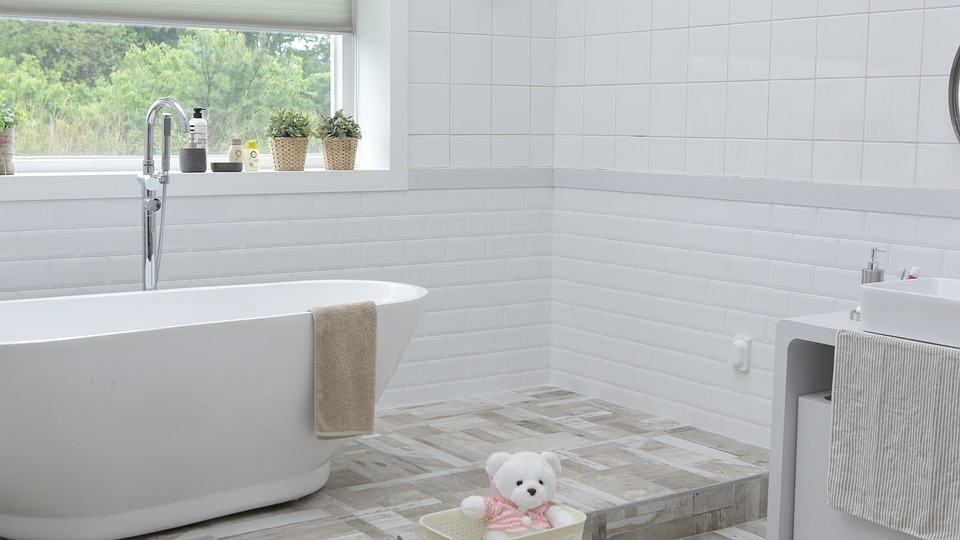
A refreshing spa bathroom
When you’re thinking of imitating a luxury hotel, one thing which is must-have is a posh bathroom décor. You can add a glass confined walk-in shower, a dip sink with large mirrors and extremely appealing and pleasant smelling soaps. And to make it more hi-fi and comfortable things which you can add are soft towels like the puffy clouds and a bathrobe.
Designer curtains are must
When it comes to the window and door curtains, these are very important. It’s because the whole look of your home is dependent on these curtains up to a great extent. If you go for cheap curtains from the local store then you’re spoiling your home decor. The curtains should be of exact measurements and the ones which are in contrast with the color of your walls look more good.
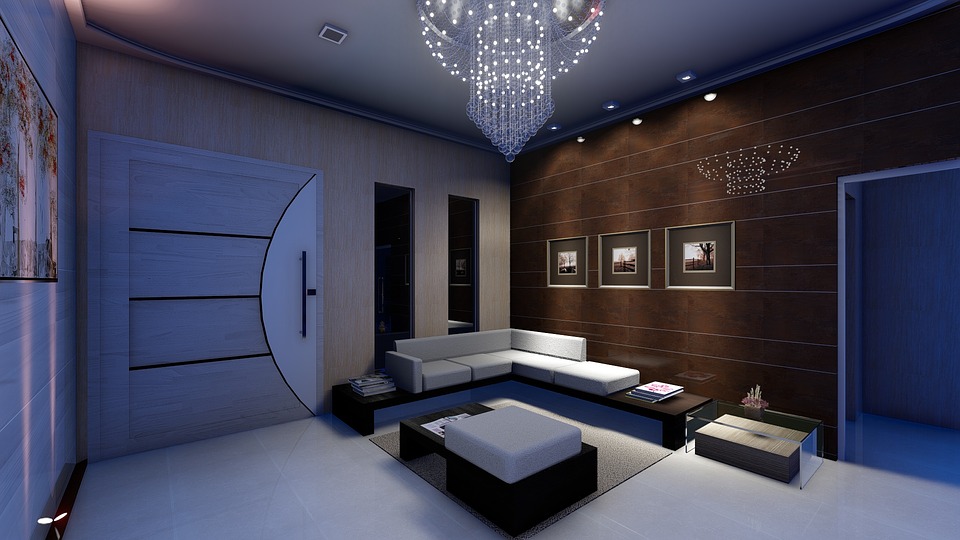
A five-star or seven-star hotel is never dark or dreary. It has enough lights that brighten up the whole interior and give the hotel-room a prominent look. At first, think of the huge overhead lights in your home. You shouldn’t use the out-dated ones and instead go for the modern and lush light-fixtures. Then add some beautiful lamps to your side-tables. An artistic look of the lamps makes a real difference. You can try that. Next, don’t forget to add some light scones over your artwork which will make them effectively visible.
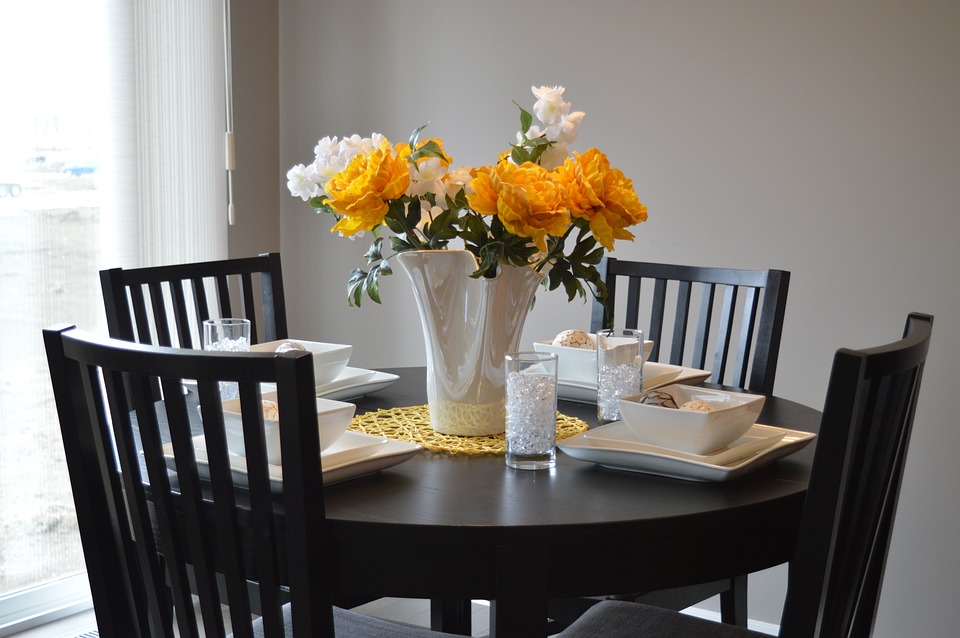
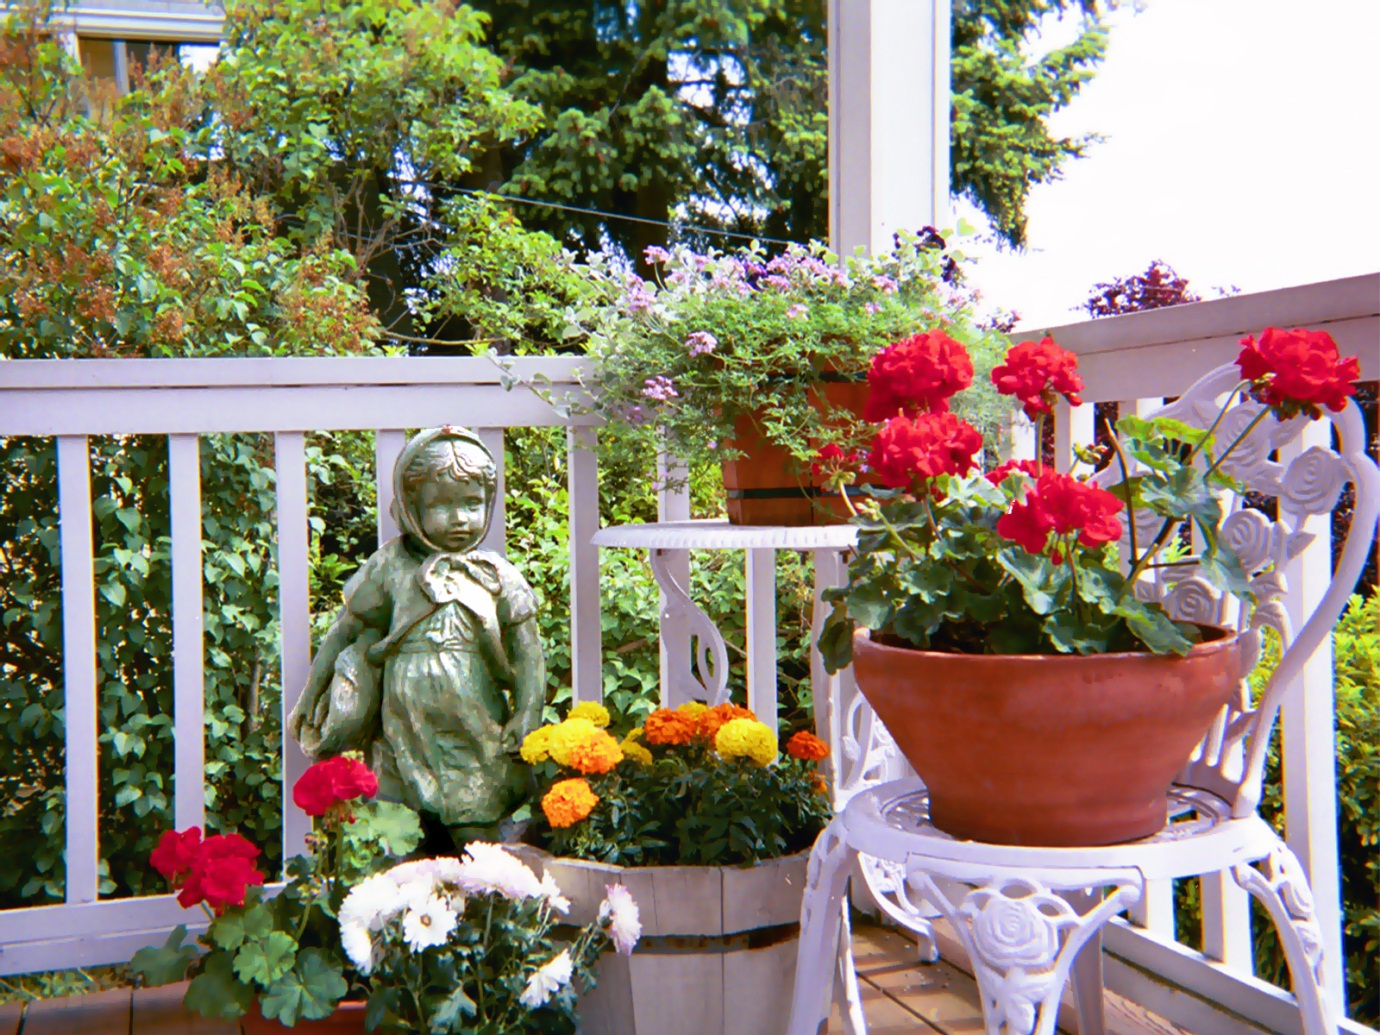
Flowers and greenery give the ultimate touch
You can add some pretty, pleasing, elegant and aromatic floral arrangements in your every room. And even you can add those decorative plants to give an aesthetic look and make the rooms look more like a hotel room. When you enter a hotel room, the first thing which you smell is some sweet-smelling blooms. So, add up them to your home as well.
These changes in your home decor will surely change it for better and will make you feel as if you’re in one of the snuggest hotels of the town. Lastly, have a happy home and great living!!
Content Rally wrapped around an online publication where you can publish your own intellectuals. It is a publishing platform designed to make great stories by content creators. This is your era, your place to be online. So come forward share your views, thoughts and ideas via Content Rally.
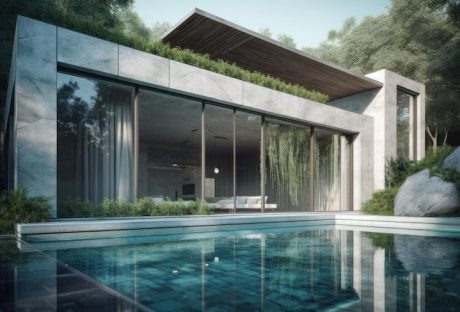
Having a pool in your backyard is a luxury that many homeowners in Knoxville, Tennessee, enjoy. It provides a refreshing oasis during the hot summer months and a place for friends and family to gather for fun and relaxation.
However, maintaining a pool's cleanliness and hygiene can be daunting. That's where professional pool cleaning services in Knoxville come to the rescue. This article will tell you the benefits of hiring expert professional companies specializing in cleaning swimming pools Knoxville TN, and how they can help you keep your pool pristine.
The Importance of Pool Cleaning
Proper pool cleaning is crucial to ensure the health and safety of swimmers. A dirty pool breeds harmful bacteria and algae, leading to waterborne diseases and infections. Debris, leaves, and other particles can accumulate over time, affecting the pool's aesthetics and filtration system. This is where the expertise of professional pool cleaners comes into play.
Professional Knowledge and Experience
Professional pool cleaning companies in Knoxville possess the necessary knowledge and experience to maintain your pool's cleanliness effectively. Their trained technicians understand the complex chemistry of balancing pool water, ensuring it remains crystal clear and safe for swimming. They are well-versed in using pool chemicals, such as chlorine and pH balancers, to maintain optimal water quality.
Comprehensive Pool Cleaning Services
One of the key advantages of hiring expert pool cleaners is their wide range of services. These include:
Skimming and Debris Removal
Professional pool cleaners will meticulously skim the pool's surface, removing leaves, bugs, and other debris. They will also clean out the pool's skimmer basket, preventing clogs and optimizing filtration.
Brushing and Vacuuming
To eliminate algae and stubborn dirt, cleaners brush the walls, steps, and floor. They will then vacuum the pool to remove any loose particles, ensuring a spotless surface.
Tile and Grout Cleaning
Tile and grout are prone to mineral deposits, dirt, and grime buildup. Professional pool cleaners will use specialized techniques to clean and restore the sparkle of your pool's tiles, enhancing its visual appeal.
Filter Cleaning and Maintenance
Filters are the backbone of a pool's filtration system. Expert pool cleaners will inspect and maintain your pool's filter, ensuring optimal water circulation and efficient debris removal.
Water Testing and Chemical Balancing
Accurate water testing is vital to maintain proper chemical balance in your pool. Professional pool companies in Knoxville have advanced testing equipment and the expertise to analyze water samples. They will adjust the pool's chemical levels accordingly, ensuring a safe and sanitized swimming environment.
Related: Top 5 Tips in Designing Your Swimming Pool
The Benefits of Hiring Local Professionals
When it comes to pool cleaning, hiring a local pool company offers several advantages. Firstly, their proximity allows for quick and convenient scheduling of cleaning sessions, ensuring minimal downtime for your pool enjoyment. Moreover, local pool cleaners possess in-depth knowledge of Knoxville's specific climate, water conditions, and common pool-related challenges, enabling them to provide tailored cleaning solutions.
Maintaining a clean and well-functioning pool is essential for enjoying a safe and refreshing swimming experience. By entrusting your pool's cleaning needs to professionals with expertise in cleaning swimming pools in Knoxville, TN, you can rest assured that your pool will remain pristine throughout the year. Their expertise, comprehensive services, and knowledge of the local area make them invaluable partners in preserving the beauty and hygiene of your pool.
Read Also:
The Health Benefits Of Swimming And Using Pools For Exercise
Risks of Imbalanced Swimming Pool Chemistry
8 Reasons to Build Your Pool in the Fall
People with a closed space mentality can rarely be seen in today’s world. They are always after making room for more space whether it be a kitchen, or a living room, bedroom or a bathroom. With the passage of time, you tend to buy furniture and other essentials every now and then but unfortunately, there isn’t enough space in your house. So, how can you achieve the balance? Firstly, by recycling, reusing, upcycling and also purchasing fewer things can help in maintaining the balance. Secondly, you can make room for your stuff by getting rid of unwanted things.
Of all the rooms, you wish to own a bedroom that echoes ultimate relaxation and enough space. Are you desperately searching for some space offering ideas for your bedroom? Do not worry as this post is all about that. Below are some tips that after incorporating can help in converting a basic bedroom into a functional and spacious one.
1. Adding Sliding Doors
For more storage, you need more wardrobes and for that, you need more space. Well, No! Space is not an issue now as fitted wardrobes along with sliding doors have come into the picture. These wardrobes are an only option to give you most out of your space. When your room possesses huge wardrobes, doors other than with sliding feature doesn’t make any sense. They make a lot of sense as sliding doors saves enough living space and on the other hand, looks extremely elegant.
2. Hidden Compact Study Space
Many people are not able to afford big houses where study room is designed separately. In those cases, study room requirements can easily be constructed in the bedroom itself. These super-compact desks are basically a wall-mounted box that transforms into a desk that folds. A light and easy to move chair augment your study setup making it minimal.
3. Multifunctional Conceptual Furniture
One furniture playing a role for another one is the trend going nowadays. Suppose you are in the need for a sitting area in your bedroom but also wish to have a couch where you can lie down and read books. Being smaller in size, you can’t accommodate everything you wish for in this kind of room.
Read also: Experts Recommend: Top Interior Design Trends For 2017
Look for multifunctional furniture when you have a shortage of space in your bedroom. Not only that, even if you have bigger rooms, incorporate furniture that serves more than one purpose.
4. Perceptions are Everything
Did you ever think of adding big mirrors in your bedroom? If you never did, you should as they play an important role in giving more space to your bedroom. Mirrors can create an illusion of spaciousness when there is not much space in reality. Now, you do not have to make your entire room a mirror market. Instead of adding mirrors everywhere, pick one wall and cover it with a big mirror. You will be surprised to see that, instantly, space gets doubled or “it seems” doubled!
Read also: How Activity Mirrors Add Value To Exercise Place!
5. Using Mono Color
Another way to create more space in your bedroom is to go for a mono color theme which is highly effective. You can choose any color for this theme but white has been and still a top choice. To add class to your bedroom, white walls, white curtains, white floors, and white upholstery – all add up to lend space to your room.
A bedroom needs to be a place where you can lie down and get ultimate relaxation. Getting more space in a room is every house owner’s dream. Pick a few ideas, rearrange your furniture and make minute changes to get a spacious bedroom. For more innovative bedroom design ideas, consult the experts who study interiors deeply.
The global housing market is reportedly shifting. Now, some of the most luxurious homes around the world are being sold at a fraction of what they cost a few years ago.
While it may be the dawning of a worldwide seller's market, there are plenty of expensive homes exceeding the average buyer's price range.
Even if you can't fork over mega-millions for a mansion of your own, it's fun to imagine what it might be like to live in the world's most luxurious residences.
Amazing Abodes: 10 Stunning Homes Around the World
Read on for an inside peek at ten of the world's most stunning abodes!
1. Beverly House, Beverly Hills, California:
The Beverly House is within walking distance of the iconic Sunset Boulevard and has been in many major motion pictures. It appeared on-screen in major box-office hits, such as "The Godfather" and "The Bodyguard".
Designed by the famous architect, Gordon Kaufman, the Beverly House is on the market for a cool $135 million dollars. But, if you don't want to commit to a mortgage, you can rent the star-studded digs for a mere $600,000 dollars a month.
If you're looking to move out west, you could always sell your home to Otranto Real Estate. It won't get you $135 million, but it's a start, right?
2. Luxury Italian Villa, Otranto, Italy:
This luxury Italian villa has stood the test of time since its construction, which dates back to 1840. Perched on the coast, overlooking the sandy shores, and full of charming courtyards and gardens, this one-of-a-kind 16-room property is breathtaking, even in pictures.
It's currently for sale, but the price isn't open to the public. The price tag on this stunning display of Italian architecture is available by application only.
3. Buckingham Palace, London - One Of The Most Famous Homes Around The World:
It's easy to see why this royal beauty is fit for a queen.
As the home of Queen Elizabeth, there's no chance of buying this castle for yourself. But, you can visit and tour the castle's grounds. Buckingham Palace is open to the public during specific times throughout the year.
It's unlikely that you will get around to viewing all 775 rooms. But, many of the staterooms are available for viewing and they are every bit as glorious as you might imagine. In fact, every inch of Her Majesty's royal homestead is worth the price you will pay for admission to the royal grounds.
While you're there, make sure that you swing by Windsor Castle, which marks 900 years of royal architecture. If you want to see the actual home of the Queen, you will want to head to Edinburgh where you can visit the Palace of Holyroodhouse. Both are open to visitors all year.
4. Antilla, Mumbai, India:
The Antilla is a 27-story skyscraper that's owned by the fifth richest man in the world.
Mukesh Ambani, the world-famous billionaire, had the luxurious tower built for his own private use. His wife visited New York and fell in love with Asian interior design, causing him to design the tower for her.
Antilla is the world's largest and most extravagant residential property. The home cost the businessman around $2 billion dollars.
5. The Playboy Mansion, Beverly Hills, California:
It's not the original Playboy Mansion, which was in Chicago, but Hugh Hefner's final party house is bigger and better than the first.
Hefner, known for his partying lifestyle and hosting exclusive soirees, placed his mansion on the market for $200 million. However, the deal included a caveat that he would be able to use the address to party until he passed.
Eventually, the Playboy Mansion sold for half of the original asking price. The Greek millionaire who owns Hostess, the brand that makes Twinkies dessert cakes, bought the home.
6. Fleur de Lys Mansion, Los Angeles, California:
The former home of Mariah Carey recently sold for $102 million dollars, paid in cash by an anonymous buyer. Its spread includes 12 bedrooms and 15 bathrooms. There's also a 3,000 square foot wine cellar, tasting room, two-story library, expansive ballroom, swimming pool, tennis courts, and a spa.
The Fleur de Lys Mansion, built in 2002, modeled the French castle known as the Palace of Versaille, which had been the most decadent home of its time. The Palace of Versaille was the home of Marie Antoinette, who became famous for her narrow-minded extravagance.
Supposedly, a crowd of peasants once stood in arms outside of her palace complaining that they hadn't even a crumb of bread to eat. The wealthy Mademoiselle supposedly responded "Let them eat cake", even though we now know that isn't accurate.
The socialite's supposed response, absurd to those hearing it, has defined Antoinette as one of the most out of touch characters to ever grace the pages of history books.
The quote is still cited when referring to the overwhelming differences in thought between social classes.
7. Xanadu 2.0, Medina, Washington:
Owners Bill and Melinda Gates built their sprawling Washington home with many cutting-edge features. As the mastermind behind one of the century's most notable companies, Gates created the tucked away abode to match his tech-savvy image.
A few of the unique amenities of Xanadu 2.0 include an underwater music system, a separately-housed swimming pool, and a trampoline park with 20-foot ceilings.
The 66,000 square foot home has 24 bathrooms in all, 10 of which are full baths.
In addition, it also has 6 kitchens, male and female locker rooms, a sauna, and a 2,300 square foot reception hall. The reception hall has a wall-to-wall limestone fireplace and a massive video screen for entertaining. It can seat up to 150 people or accommodate up to 200 guests if standing.
Also interesting is the home's heating and light system. They are controllable using a pin-passcode that guests can set according to their personal preferences. The house's sheltered design aids in reducing energy usage and regulating temperatures.
Gates also houses his ancient Da Vinci manuscripts here, which he acquired in 1994 for over $30 million dollars at an auction. He can display additional artwork, stored on $150,000 worth of storage devices, via the $80,000 computer screens adorning the walls.
8. Acqua Liana, Florida:
This property's claim to fame is that it holds the title for the world's most luxurious eco-mansion.
The 15,000 square foot home boasts 7 bedrooms, 11 bathrooms, a waterfall spa that's lit with fire, floating sun terraces, and an arched aquarium wet bar. It's almost hard to believe that such extravagant details could also be eco-friendly.
Still, for any doubters, there are plenty of "green" qualities throughout the luxurious homestead. Acqua Linea has superior air quality, $120,000 worth of solar panels, ultra-efficient appliances, and extra LEED features. This helps the eco-mansion to maintain an energy-neutral setting most days.
Its' designer created the home, not only to be sustainable living quarters but also as a work of art. His visits to exotic tropical locations such as Bali and the South American rainforests inspired him.
9. Palazzo Di Amore, Beverly Hills, California:
Jeff Greene, an LA real-estate mogul, owns the Palazzo Di Amore, which is Italian for "Castle of Love". He listed the home for $195 million dollars but has since lowered the asking price by at least $66 million.
The sprawling compound is an entertainment mecca. It features a rotating dance floor, laser light system, and a high-tech DJ booth. There's also a bowling alley, game room, theater, and parking space that can accommodate up to 150 cars at a time. The hard part is getting your friends to come over, it's getting them to leave!
10. Kensington Palace, London:
Valued at $222 million dollars, Kensington Palace sits on one of Britain's most exclusive streets, which also known as London's "Billionaire Row".
When the homeowner, Laski Mittal of India, purchased the 55,000 square foot palace for $128 million dollars, it was the most expensive address on the market. In addition to owning the famous mansion, Mittal also owns the world's largest steel manufacturing company.
Kensington Palace was once home to the de Rothschild family. It's located near the current home of Prince William and Duchess Kate Middleton.
Looking Into Buying a Mansion of Your Own?
If you're interested in purchasing one of the mansions above, you'll be happy to know that several of these properties are currently up for sale. But, there are also plenty of other homes around the world priced for much less in the event you aren't prepared to spend millions (or billions) of dollars.
But, before you invest in any type of real estate, there is some crucial information that you need to know.
Ready to start searching for your own dream home?
Check out this post for a list of essential things to know before buying a new house!
Read Also:
Top 5 Most Expensive Beachfront Homes
Different Types Of Conversions To Make The Most Of Spare Space In Your Homes