Home Maintenance Tips To Keep Your Home In Good Condition

by

28 February 2023

Home & Garden

Home Maintenance

Owning a home includes a good deal of responsibility.

Homeowners have dozens of minor tasks they need to keep up with if they want to avoid paying for costly repairs. With adequate preparation, though, the many maintenance tasks required of homeowners can be performed easily without taking up too much time.

Read on to find brief checklists for monthly and seasonal tasks that will make it easier to stay on top of everything.

Spring Maintenance Checklist
Spring Maintenance

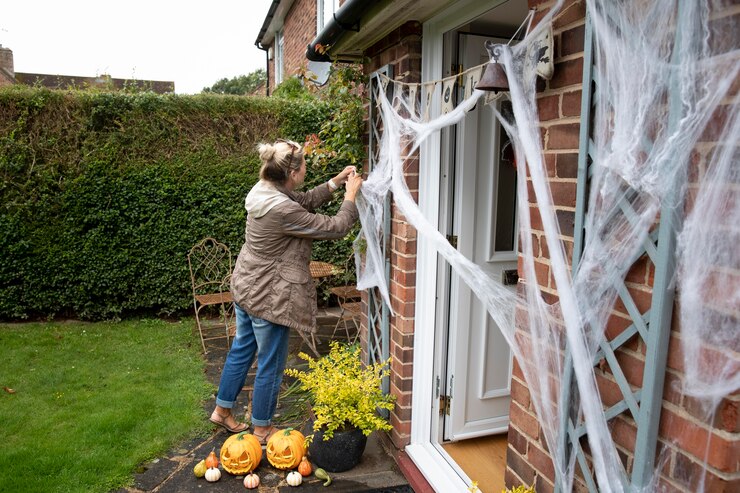
Winter can wreak havoc on a home, and everyone looks forward to using spring as a time to get outside and away from the house, but homeowners should take care of a few things first.

For example, spring is the best time to handle major projects like scheduling roofing services and repairs to address any damage done during the winter. Most homeowners also find that a small amount of work early in the season can help them prevent some extra hassles when summer approaches. Be sure to tackle the following.

Spring cleaning, both inside the home and in the yard.

Tree inspections to find signs of damage from winter storms.

Reseeding and fertilizing the lawn.

Properly servicing and storing seasonal equipment from winter, such as snow blowers.

Conducting a full inspection of the home’s exterior, including its roof, gutters, and paint.

Giving the house a quick scrub.

Cleaning the deck or patio.

Opening the pool for summer.

Summer Maintenance Checklist

Getting the bulk of the major landscaping and exterior maintenance or repairs done in the spring gives homeowners more time to enjoy the summer. That said, they’ll still need to take care of a few things regularly, including the following items. 

Turning on the sprinklers for the season once the rain ends.

Mowing the lawn and weeding the garden every week.

Keeping the pool clean by scrubbing it twice a month and checking chemical levels weekly.

Completing weekend home improvement projects while the weather is nice.

Fall Maintenance Checklist

Just like spring brings a lot of work with it because it represents the changing of the seasons, fall home maintenance requires a lot of advanced planning for the winter months ahead. Important tasks to remember include the following.

Planting perennial flowers, trees, and shrubs.

Harvesting annual plants.

Raking leaves.

Cleaning gutters.

Turning off the sprinkler system.

Stacking firewood for winter.

Cleaning, closing, and covering the pool.

Winter Maintenance Checklist

Winter Maintenance

Most modern families hunker down for the winter and don’t worry too much about home improvement projects. However, there are some maintenance issues that must be handled in the early winter. They include these items.

Preparing the snowblower for the season.

Stocking up on ice melt and other supplies.

Coming up with a plan for dealing with ice dams.

Checking the emergency generator to make sure it’s in good working order.

Monthly Maintenance Checklist

Not all home maintenance tasks are seasonal. Some must be performed every month of the year. They include the following elements.

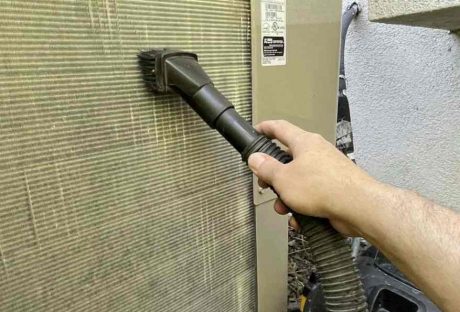
Changing HVAC filters.

Inspecting major home systems.

Checking the plumbing system for damage.

Restocking cleaning supplies.

Checking and cleaning gutters.

Performing a full walk-through of the property.

Know When to Hire a Pro

Basic home maintenance tasks are easy enough to perform for someone with a DIY mindset. However, major repairs and renovations are best left to professionals. This is particularly true of projects like roof maintenance, plumbing repairs, and major landscape changes.

Read Also:

Arnab is a professional blogger, having an enormous interest in writing blogs and other jones of calligraphies. In terms of his professional commitments, He carries out sharing sentient blogs.

View all posts

Leave a Reply

Your email address will not be published. Required fields are marked *

Related

Screened Porch

How to Make Your Screened Porch as Comfortable as Possible?

Outdoor living is in, especially during the sweltering summer months. Turn a staid, screened-in porch into a tranquil oasis with some comfortable furnishings and ambient decor. These are our favorite tips for creating a screened space you'll want to live in all year long. Treat It as Your Home: Don't be tempted to skimp on furniture for your screened-in porch. Many homeowners rely on basic patio furniture rather than adding comfortable cushioned couches and chairs that create an inviting space. Outdoor poufs are a versatile choice that does triple duty as extra seating, a footrest, or a convenient side table. Choose options with weatherproof fabric that provides easy maintenance and care. The cozier you are on the screened-in porch, the more likely that you (and your guests) will want to spend time there. Think of this area as a natural extension of your home. When choosing furniture, picture how you want to use the space. If you plan to entertain, are you envisioning cocktail parties or boisterous family dinners? Pick your pieces accordingly. Add Accessories: Those little details are a major part of making the patio feel like an extension of your indoor space. Think colorful throw pillows, durable rugs, side tables for snacks and beverages, and accent lighting. Choose colors that coordinate with your indoor palette for a seamless transition from inside to out. Pillows and throws in various textures will add visual and tactile interest. Potted plants add more life to space while emphasizing its natural elements. Keep It Cool: For a three-season porch, you can use from spring to fall, consider screened-in, porch-cooling options to see you through the hottest days of August. Ceiling fans are more effective than a window AC unit, and they create a cooling breeze that will provide relief. Evaporative coolers lower the temperature by using humidity. With these units, cold air is blown over water droplets that chill the air as they evaporate. You can also install shades that can be pulled down to keep the cool air in during the summer and to block the cold air out on chillier nights. Look for transparent versions that will preserve the outdoor feel of the porch. Promote Relaxation: Both real and battery-powered candles create a romantic light that enhances the porch's appeal. String lights provide a similar function. If your home is in a suburban or an urban area that tends to get noisy, consider outdoor speakers through which you can play relaxing ambient noise, such as ocean sounds or birds chirping. You can also plant a row of trees or shrubs to dampen the noise, provided it doesn't block your view. Consider adding a fireplace to your screened-in porch, which has the added benefit of allowing you to enjoy the space when the weather cools. By incorporating these design ideas to add life to your screened-in porch, you're expanding the usable square footage of your home and increasing its value. Best of all, you'll have a space your entire family can enjoy together for years to come. Read Also: 7 Ways To Add Character And Style To Your Home 7 Unexpected Ways To Use Glass And Wood For Your Home 5 Things You Should Know About Heating And Cooling Tiny Homes  

READ MOREDetails
Cattle

3 Ways to Care for Cattle at Home

Economic crises, such as the 2008 recession, or the current COVID-19 pandemic, tend to make people think about job security and finance for the future. It’s one of the main reasons why people turn their attention to self-sufficiency, home farming, and even raising livestock. The good news is there is plenty of support, ranging from high-quality livestock loans to expert advice. But, before you can start buying cattle you need to be sure that you know how to care for them. Fortunately, you’re about to discover the three ways to care for cattle at home. 1. Shelters & Paddocks Grazing animals need to have approximately 2 acres per animal for all year round grazing. This may seem excessive but grass growth slows in the winter, you have to allow for this. Anything less than this means you need to calculate the cost of animal feed and include this in your budget. Don’t forget, this is a minimum. Having more space will allow you to deal with bad grass growth, whether a result of drought or something else. You also need to make paddocks, these are simple fenced areas that allow you to rotate your cattle and ease the burden on the grass. You’ll need big enough paddocks to accommodate your cattle, keeping cows and bulls separate. The larger your paddocks the better as small paddocks mean frequent cattle rotations. Of course, no matter how big the paddock you should move your cattle regularly to avoid the grass becoming ruined. You may be surprised to learn that cattle don’t actually need shelter. But, they do need the high ground to wait out storms and other bad weather. That said, you can build a barn that provides the cattle with a roof, but this will cost more. 2. Basic Needs Cattle need grass of animal food in order to stay healthy. This is important whether you want milk or meat from them. But, they also need a plentiful supply of water. Freshwater springs and rivers are good but you’ll need to monitor and clean them often to ensure diseases aren’t spread. Alternatively, you can use an animal operated pasture pump. It’s a tank with a pump that is activated by the cow pressing against the lever, giving them access to the water. Your cattle need approximately 2 gallons of water per 100 pounds of body weight per day. 3. Cattle Training Your cattle need to respond when you want them to. This may be to herd them or for some other purpose. You’ll have to decide the noise you wish to make, such as a bell or car horn, then sound it when you feed the cattle. Repeat it every time you feed them and the cows will quickly learn to come whenever you make the specific sound. Moving cattle around requires little effort. Alongside the recognizable sound, simply use a plastic paddle to put gentle pressure on the sides, it will steer them where you want them to go. With a little patience, you’ll have the cattle doing exactly what you want without any stress. Read also: 5 Different Things You Can Try During Quarantine 7 Secrets to keeping your Lawn Tidy and Green

READ MOREDetails
Shower Pods

How to Properly Maintain Your Shower Pods

Shower pods are the best thing that has entered the London market in recent years. They're perfect for achieving that modern and sleek vibe, making your home look minimalist. Additionally, the pods make sure that your bathrooms stay clean, free from water spills and splashes from your energetic little ones. So, shower pods are very functional and quite handy to have around especially if you are starting a family. They allow you to have more time to spend for yourself since you won't need to clean up water puddles every few seconds. Proper maintenance is key to keeping your shower pods in tip-top shape. Here are two crucial things you should remember to make sure that your shower pods will still be in good condition even after a few years. Different Ways To Maintain The Shower Pods  There are several factors that you have to consider while you want to maintain your shower pods in all possible manners. Work out the plans that can help you to achieve your goals in the best possible ways.  1. Mould prevention  Any shower will eventually grow mould if not cleaned regularly. You should immediately remove mould to avoid health complications. In a mouldy environment, you may be more prone to coughing, sneezing, nasal stuffiness, throat irritation, wheezing, eye irritation, and skin irritation. It would also pose a serious risk to those who have mould allergies or lung illnesses. Mould loves to grow in moist environments, and that’s why even shower pods are vulnerable to it. To effectively clean mould, use a damp cloth to wipe every available surface you see in your shower pod. For stubborn ones, you need to make a DIY solution by mixing 1-part bleach and 1-part water. Spray the DIY solution onto the affected area and wait for at least 15-20 minutes. You can rinse the surface afterward. Repeat the process as necessary. To avoid mould from growing in the future, you should open at least one window in your bathroom. It will ensure that there will be proper ventilation and airflow to prevent humidity inside. 2. Glass cleaning  All pods have shower glass which is what makes them famous in the home fixture market. The shower glass needs to be cleaned at least once a week to maintain its sheen and beautiful finish. The cause of this is the shampoo and soap deposits that stick to the shower door glass while you’re bathing. You need to clean your shower pod often. If you do it regularly, all deposits will be easily removed, and it won’t require too much of your time to clean it. Additionally, you need to drain all the water and dry the shower after use. It will significantly benefit you because there will be no accumulation of soap scum sticking to your glass. Sometimes, stubborn deposits won’t be easily removed. Apply a glass cleaner to ensure that the glass door is sparkly clean. Use a clean paper towel to apply the glass cleaner and spread the solution in a circular motion. Leave it to do its magic for a few minutes. You’ll see the beautiful result after rinsing it off. When you do these things, you can guarantee that your shower pod will last you a lifetime. Not to mention you can better protect your family from unwanted diseases and other health problems. Final Words  Hence, these are some of the factors that you have to take care of while you want to maintain your shower pods in all the possible manners. Do not make your choices in grey while you want to improve the arrangements of the shower pods. Shower pods can make things work in your favor if you select the best one for yourself. Do not make your choices in the wrong direction in all possible manners.   Read Also : Bathroom Remodeling Tips And Ideas Bathroom Upgrades You Should Consider Mirror Decorating Ideas To Style Your Bathroom

READ MOREDetails