How Effective are Bug Zapping Light Bulbs

Published on: 28 January 2019 Last Updated on: 23 November 2021
Zapping Light Bulbs

When the summer approaches, we can enjoy the summer’s sunsetting sitting on our armchair. This is a really enjoyable and exciting experience of our life. But what if there are full of insects both harmful and harmless that can cause great harm to your health. The Zapping Light Bulbs can help you to get the maximum light in a short span of time.  In this case, you may adopt some ways to repel and sometimes kill them. In this article, I will discuss some ways to get rid of irritating insects.

There are a lot of ways to keep harmful insects including bugs, mosquitoes and many other things away from you. Some of them are fast and at the same time pollutes our environment as well while others may be environment-friendly ways too.

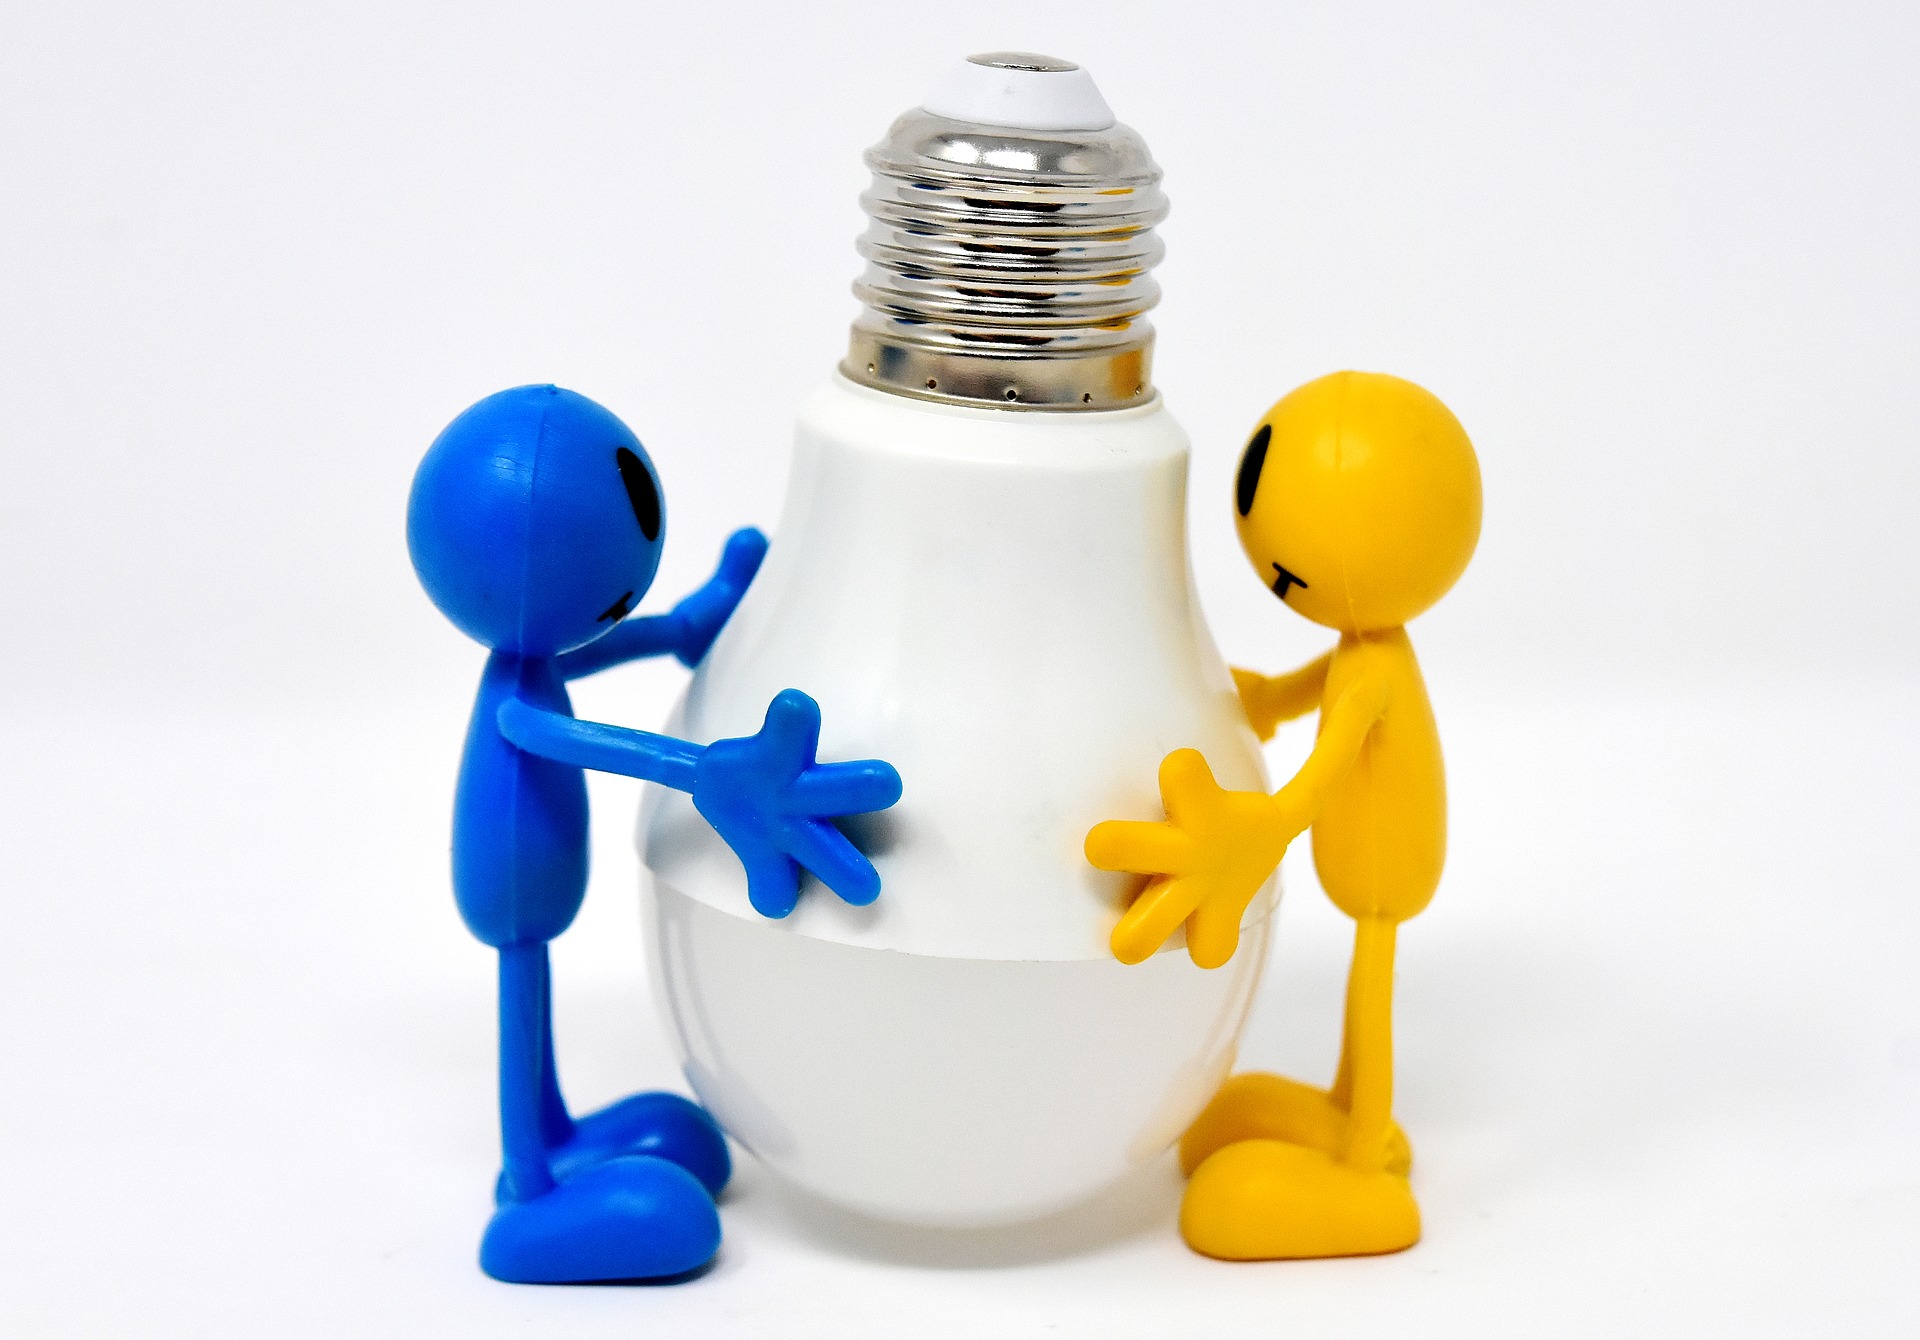
The main concept of removing bugs by bug zapper light bulb is not so difficult. As they emit ultraviolet and infra rays, insects get attracted by the ultraviolet rays and enter into the trap and at last, they are being caught in the trap. This is as simple as water.

Types of zapping light bulb

But there are of two types of zapping light bulbs out there. One of them entices insects inside the zapper to kill them. On the other hand, yellow zapper light does not kill them but repel them. So, if you are searching for a solution to repel bugs from your living area, you can select the second one which does not kill them. As a result, useful insects for your environment go away from your area without killing. And the first one works not only as a device to repel them but kill them and at the same time pollutes our environment as well.

Nowadays, there are other types of bug zappers which produce carbon dioxide as well to attract mosquitoes as well. Bug zapper lights that can emit only ultraviolet and infra rays to lure insects except for mosquitoes. That’s why new devices have been invented that produce both ultraviolet rays and carbon dioxide too. Now it is easier to repel and kill any insect into the zapper.

Which zapping light bulb should be good for?

According to me, a bug zapper light bulb is more effective and environmentally friendly than a bug zapper. A zapper can kill a larger number of harmless and useful insects entirely. Besides, if you do not keep it away from your living or dining space, it will pollute the area and as a result, your health may fall in danger. While killing the insects inside a zapper attracting by the ultraviolet rays, there produces a ‘mist’ which may pollute your living as well as your dining space.

But if you can replace your thought of removing bugs from your living place and do not want to kill them, only the bug zapper light should be your best choice. It does not pollute your environment.

Let’s talk about the effectiveness of the device:

Are the bug zapping light bulbs are effective anyway?

Well. Yes, they are more effective to repel annoying bugs from your surroundings. The main concept of repelling bugs using yellow lights are not new at all. Yellow lights attract bugs form a long distance and they come forward and cannot see further. As a result, they stuck there without being killed which is very effective not only for the environment but also for the useful insects as well.

The intensity of the lights may be lower or higher. And they can attract bugs from a long distance depending on the intensity of the lights. Also, they can cover a larger part of your area.

It may not repel mosquitoes:

Carbon dioxide attracts mosquitoes and they find us following the carbon dioxide trails. When we breathe, we leave carbon dioxide. Besides, they also find us when we sweat.

Anyways, zapper does not attract mosquitoes most. If you place a zapper near you and you sit beside the zapper, you will see that mosquitoes are not going towards the zapper leaving you. But there are zappers now in the market available that can produce both carbon dioxide and ultraviolet rays at the same time to kill the harmful and annoying mosquitoes too. The zapping light bulbs can make things happen in your favor.

Conclusion:

We use a lot of devices in our daily life to make our ways of living comfortable and enjoyable. But at the same time, we have also to think about our planet. We should always go for the green that will make our planet-friendlier. So, before using any device, think at least one time whether we should go for it or not.

Zapper light bulb is without any doubt effective and as they do not kill the helpful and useful insects that can make our environment more efficient for us. Otherwise, we should think about our future of the present world to make it greener making any harm to the lovely planet.

Read Also:

Content Rally wrapped around an online publication where you can publish your own intellectuals. It is a publishing platform designed to make great stories by content creators. This is your era, your place to be online. So come forward share your views, thoughts and ideas via Content Rally.

View all posts

Leave a Reply

Your email address will not be published. Required fields are marked *

Related

home cleaning

Home Hacks: Stuff You Can Clean in One Hour or Less

When push comes to a shove and you have guests arriving in an hour, you better believe that you will turn into a superhuman and manage to clean your apartment in less than sixty minutes. Even if you won’t have the time to do a proper thorough cleanup, you can do a lot in an hour to make your home presentable, but you have to be efficient and light on your feet. Let’s get to it. Spotless Living Room You will need 10-15 minutes to get this area tidy and you should be as meticulous as possible without getting stuck on details. The first thing to do is to de-clutter quickly – clothing, trash, cosmetics, books, get it out of the way and into their rightful place. You don’t have to go back and forth, but organize stuff into different piles and then get them to their designated places as you move through the house. After that, straighten everything as much as possible, fluff the pillows, do a super quick round of dusting and use wet wipes to wipe your coffee table clean. Finally, get your vacuum cleaner out and run through the room, but do it for five minutes tops, you’ve still got other matters to attend to. Next up – The Dining Room If you plan on making dinner for your guest or just serving snacks, don’t neglect the dining room in your cleaning spree. If you’ve got a mountain of stuff on your dining table, the first priority is to remove it stat (this is also the time to throw away all the trash from the living room). Whip out a new tablecloth and make sure that chairs are straightened and free from any bags and clothes hanging from them (nobody is impressed by chairdrobes). Scan for dust and get it out of the way, vacuum the area super quickly and if you’ve got windows, wipe them clean with a coffee filter (just give it a try, it works). Get the glasses and plates, snacks, and drinks on the table and the dining room is prepped and guest-ready. Now to the Kitchen Chances are you’ve moved all the dirty dishes from the dining room and living room into the kitchen and now it’s time to pop them in the dishwasher. You don’t have to get them clean and arranged right away, though it might be a good idea to let the dishwasher do its magic while you’re cleaning around, that way, you’ll have more clean dishes at the ready. Stovetop and countertops should be in your focus – clean them as efficiently as possible without losing too much time. Then move to the sink, wipe it clean and you can also put a few slices of lemon into the garbage disposal, it will make the entire kitchen smell fresh and clean. Sweep the floors and if your trash can is full, take it outside, so that it doesn’t stink up your work. Then We Have the Bathroom This is one step you shouldn’t overlook since your guests will definitely need to use your bathroom eventually. Get to the toilet, spray it with a cleaner and let it sit while you’re busy with other things. Make your mirror spotless and do the same with any shelves you’ve got around it – wet wipes will do the trick here nicely. Tidy the shower curtain, wash the bathtub with hot water and rearrange the toiletries to look neat. If you’ve got a shower, wipe it clean with a rag or microfiber cloth. After that, get back to your toilet, scrub it quickly, flush, and voila, you’re done. Take the trash out too, get out clean hand towels and for a final touch, light an incense stick to make everything smell better. Yes, you can clean your home in under an hour, and now you’ve got a system to work by. Honestly, sometimes it’s easier to hire a part-time cleaning lady than to scramble and clean when you’ve got someone coming over. There’s nothing wrong with getting some help when you’ve got a packed schedule and if you’re thinking about it, you can browse through your options at helpling.com.sg/maids to see if you find a suitable match. If not, we suggest finding time to clean a bit every day, it will be much easier to tackle chores one day at a time. Read More: Installation Of Kitchen Cabinets: Best Way To Give Your Home A Perfect Facelift Pressure Washing- Why It Is Necessarily Important For Your Home? Hardwood Timber Flooring: Gives A Classic Look To Your Home

READ MOREDetails
Dutch Locksmithing Company Reveals How to Get Best Prices

Dutch Locksmithing Company Reveals How to Get Best Prices

A common question that consumers often ask when inquiring about locksmith services is the pricing models as they tend to differ based on company policies and the type of lock needs serviced. A little-known secret is that consumers who negotiate have the best chance of receiving the most affordable rates as a locksmithing company would rather retain a customer’s business rather than lose it to a competitor. Here are tips from Dutch Locksmithing Company that will help you get the best prices. Research for Common Rates : Most people do not realize they overpaid until after learning later that a locksmith charged well above the going rate. A way to ensure you get the best rate is by cold calling locksmithing companies and asking general questions about potential charges. Ask Your Friends for Recommendations : Hiring a locksmith that you know nothing about is risky. Take the time to talk to friends, family or coworkers who have used a locksmith to help keep their home safe for recommendations. Often, locksmiths offer discounts to new clients who have been recommended by former customers. When you make the inquiry, ask about a new customer rate by telling the locksmith who referred you to the business. Asking for a discount is also an effective negotiation tool used industrywide as it allows locksmiths to establish a trustworthy business relationship for future customer needs. Negotiate a Discount for Positive Reviews : The value of word-of-mouth helps locksmiths grow a client base, branding, and revenue which is less expensive than advertising. Negotiate a discount for a positive review since many consumers rely on social media platform feedback and websites that post reviews. According to Forbes, 90 percent of consumers research online before visiting a store, and more than 84 percent of consumers trust online reviews just as much as personal feedback from friends and family. Do not be afraid to ask as locksmiths want to build reputations. Learn More About Cost-of-Service Metrics : While you have researched the costs, how much do you know about how much out-of-pocket expense the locksmith incurs to provide this service? If you understand these metrics, you have valuable information to ask for a cheaper rate. You must consider normal business hour rates versus after-hour emergency services when you determine cost-of-service since factors such as office hours, holiday, or after-hours impact rates. While you hope for normal business hours, emergency services limit your negotiations. When you have set expectations, it gives you the time to think of other factors that will give a fair negotiating advantage. Visit Several Websites to Learn About Services : Many websites post vital information about their companies and services that give you a good idea of the best business practices in the locksmithing industry. The information also gives you the critical knowledge you need to negotiate prices because you know what to expect and what to question. Comparing these sites will lead to insights. These tips allow you to establish industry business practices as well as the going locksmith rates that will allow you to weigh the cost against expertise to get affordable, quality services. Read Also : 6 Techniques To Improve Your Work-From-Home Career Choosing The Right Roof For Your Home – Types To Select From

READ MOREDetails
kitchen-2619008_960_720

Installing A Kitchen Tile Splashback – The Basics

Adding wall tiles to a backsplash can be a really simple and effective way to spruce up your kitchen sink area, as well as protecting the surface as well. Here we look at the basics. Home improvements needn't be expensive, all it takes is a little research and time and you can make a significant difference to the house you live in. Choosing tiles for a kitchen splashback can be a really simple and effective way to spruce up your kitchen sink area, as well as protecting the surface as well. For a project like this, you are likely to need little more than a couple of days to complete it, and a minimal amount of money to achieve a great result, depending on the equipment you already have. Before You Start Prepare The Wall Before you start, clear everything out of the way that may obstruct the job and/ or get broken or damaged while you work. You should also check that the wall is good for tiling as well – chances are you will choose porcelain tiles, which are heavier than more traditional ceramic tiles so the walls need to be up to support their weight. If there is any level of condensation you must wait for the wall to completely naturally dry out before you begin tiling. If the drywall you're working with isn't sound, you must repair it before you do any tiling. Plan The Design You'll need to plan your design before you can purchase your equipment or begin the project. Measure how high you want the backsplash to be from the countertop and consider the type of tiles you would like to use. If you are unsure, take a look at sites like Pinterest for inspiration. Get Your Equipment When buying your equipment, especially your wall tiles, try to start with more than you need. With porcelain floor tiles or wall tiles, it is always good to have extras in case some get damaged during the job or even years after and you need a replacement tile that matches. In order to determine how much tile requires you need to measure the length and width of the area, you are putting a backsplash on. Simply multiply the length by the width to get your desired wall tile amount. If you don't know what type of equipment you need for the job, speak to an advisor at the shop or warehouse and they will be able to advise you on the best tools for the job. Read also: Close Look At Top 5 Roofing Materials – Pros And Cons Install Once you have done all the correct preparation, it's time for you to install your backsplash. Safety First The first thing you need to do is make the area you are working in safe. All electrical appliances nearby should be either turned off if they are permanent fixtures, or moved away if they are temporary. Read also: Making Your Office Safer For Workers Clean The Area Using a clean cloth, gently wipe the area with warm water and let it dry naturally. Apply The Adhesive Using the manufacturer's instructions, apply your tile adhesive using a tile trowel. Make sure the adhesive is spread thinly and only apply enough adhesive for the area you are tiling, or it will dry before you have applied all the tiles. Lay The Tiles Place the first tile at the bottom of the backsplash in the middle. Firmly push the tile on to encourage it to settle into the adhesive and use a level to make sure it isn't wonky. Use a spacer or piece of cardboard on each corner of the tile and push them into the adhesive well. Continue to lay the tile's row by row, taking care to remove any adhesive that pushes up through the tile gaps. Ensure you are leaving enough room for grout and checking constantly that the tiles are level. Cut Tiles Away In A Separate Area Depending on the equipment you are using, you need to ensure you follow all safety procedures to ensure you are working safely. Ensure you only score tiles where the scored section won't be showing, and only score tiles when you need to, as the measurements needed may change as the job progresses. Wipe Once all the tiles have been laid you can wipe away any adhesive that has seeped out using a clean, damp cloth. Leave The Tiles To Dry You must leave the tiles to dry according to the time stated by the adhesive manufacturer. Trying to skip this process will result in an uneven backsplash and tiles that will not remain stable. Grout When mixing grout you should be wearing appropriate safety equipment such as gloves, goggles and a mouth mark. Grout the tiles precisely and carefully, taking care to wipe away any excess once it becomes firm. Once the grout has dried, you can then wipe the tiles off completely. Well Done! You should now have a fancy new backsplash to enjoy in your kitchen! Remember, if you take the time to do the job right, you should end up with a well-done backsplash that will look fantastic and last for years to come.

READ MOREDetails