If you are a gardener like me, you must have thought about harvesting greens that you eat at restaurants at your house. One of these days, I was with my friends from my university, and we were discussing the importance of eating veggies for staying healthy. And they could not figure out the best ways to effectively do so. Reading my previous blog about cilantro, Laila asked me, “how to grow and harvest asparagus?”
Well, surely asparagus is one of the most delicious and nutritious vegetables you can grow in your garden. But what a lot of people do not know is that it’s also one of the easiest once you know how to harvest asparagus properly.
In this article, I will cover everything you need to know about harvesting asparagus, from when to start, how to cut, and how often to do it. Additionally, I will also share some tips on how to store and freeze asparagus, as well as the benefits of eating this green wonder.
So, keep on reading till the end to learn more…
How Does Asparagus Grow?
Before I dive into the seemingly difficult process of how to harvest asparagus, let me help you grow it.
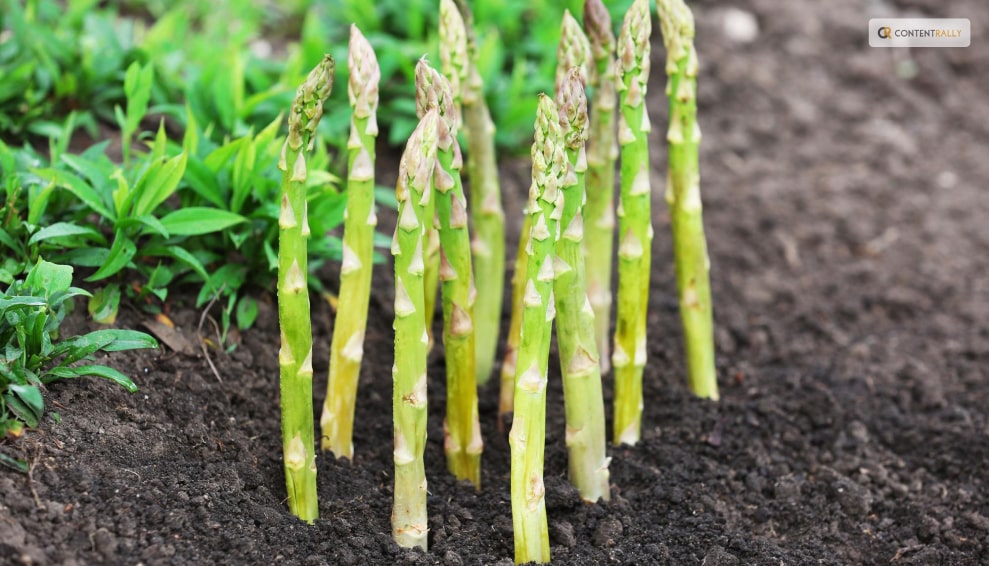
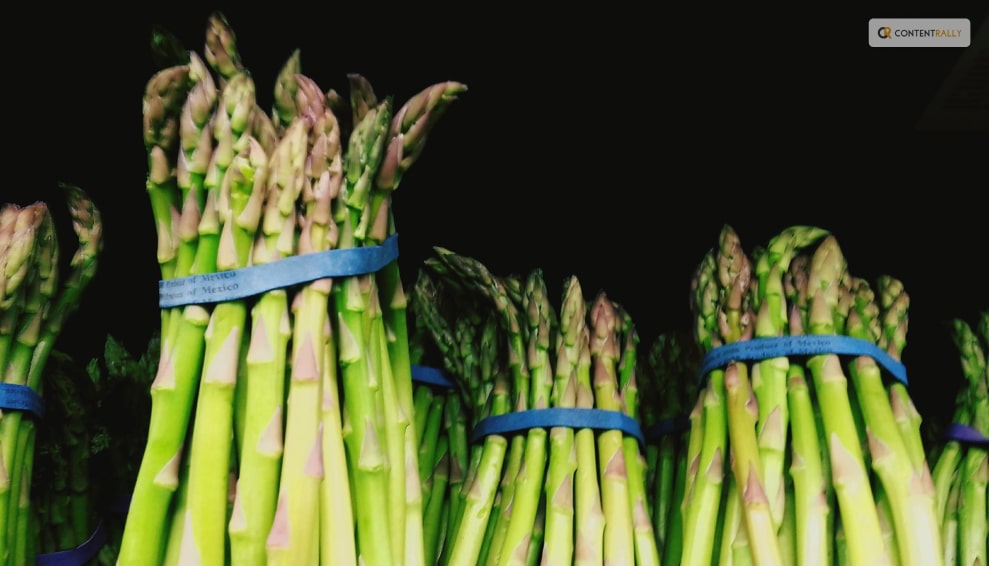
Asparagus is a perennial plant that grows from a crown of roots that can live for up to 20 years. The crown produces spears, which are the edible part of the plant, every spring.
The spears grow rapidly, sometimes up to an inch per day, and can reach a height of 6 to 10 inches. The spears are harvested before they open into fern-like leaves, which are edible and tough.
Asparagus grows best in well-drained, sandy soil with a pH of 6.5 to 7.5. It prefers full sun and moderate temperatures and needs regular watering and fertilizing.
Asparagus can be grown from seeds or crowns, but crowns are easier and faster to establish. Crowns are planted in trenches about 12 to 18 inches apart and covered with 2 to 3 inches of soil. As the spears emerge, more soil is added until the trench is filled
Benefits of Asparagus
Asparagus is not only tasty, but also healthy. It’s low in calories and high in fiber, vitamins, minerals, and antioxidants just like spinach. It can help lower blood pressure, regulate blood sugar, support digestion, and prevent urinary tract infections.
Asparagus also contains a compound called asparagine, which is a natural diuretic that helps flush out excess fluids and salts from the body. Asparagus is also a good source of folate, which is essential for pregnant women and fetal development
When to Harvest Asparagus?
The first year after planting, you should not harvest any asparagus spears, as they need to grow and strengthen the root system.
The second year, you can harvest a few spears for a short period, about two to three weeks.
The third year and beyond, you can harvest asparagus for a longer period, up to eight weeks, depending on the climate and the health of the plants.
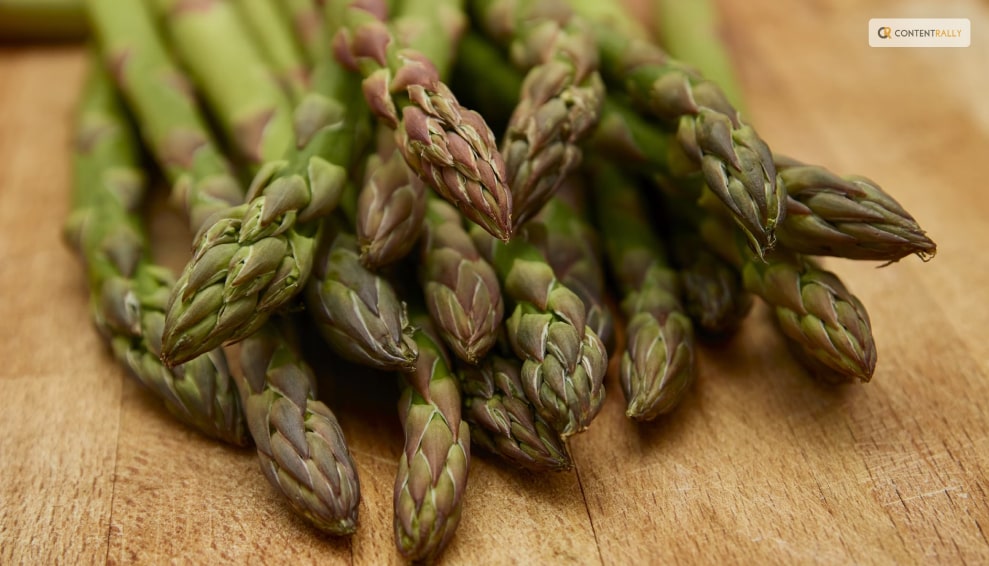
The best time to harvest asparagus is in the early morning when the spears are crisp and tender. You should harvest asparagus when the spears are about 6 to 10 inches tall, and before the tips start to open up. If you wait too long, the spears will become woody and bitter.
How to Plant and Care for Asparagus?
Asparagus is a long-term investment that can reward you with years of delicious harvests. However, it requires some planning and preparation before planting.
Here are some steps to follow to plant and care for asparagus:
Choose the Day
Choose a sunny and well-drained spot in your garden, preferably with sandy or loamy soil. Avoid areas where water tends to pool or where weeds are hard to control. Asparagus also needs plenty of space, so make sure you have at least 4 to 5 feet between rows and 12 to 18 inches between plants.
Prepare the Soil
Prepare the soil by adding organic matter, such as compost or manure, and adjusting the pH to 6.5 to 7.5. You can use a soil test kit to check the pH and nutrient levels of your soil. You may also need to add some fertilizer, such as 10-10-10 or 10-20-10, to boost the phosphorus and potassium content.
Dig it Deep
Dig a trench about 8 to 12 inches deep and 12 to 18 inches wide. You can make the trench longer or shorter depending on how many asparagus crowns you have. Asparagus crowns are the dormant roots of the plant that you can buy from nurseries or online. They usually have one-year-old or two-year-old crowns, which are more reliable and productive than seeds.
Fertilize
Spread some fertilizer along the bottom of the trench, about 2 pounds per 100 square feet. Then, cover the fertilizer with 2 to 3 inches of soil, forming a ridge in the center of the trench.
Placing the Plant
Place the asparagus crowns on top of the ridge, about 12 to 18 inches apart, with the buds facing up. The crowns should be slightly below the soil surface, about 1 to 2 inches deep. Do not bury them too deep, as this will delay the emergence of the spears.
Focus on the Crown
Cover the crowns with another 2 to 3 inches of soil, and water well. As the spears grow, gradually fill in the trench with more soil, until it is level with the ground. This will help protect the crowns from frost and weeds.
Add Mulch
Mulch the bed with straw, leaves, or wood chips, to conserve moisture and prevent weeds. You can also add some organic fertilizer, such as fish emulsion or seaweed extract, every few weeks during the growing season, to encourage healthy growth.
Keep in Mind
Do not harvest any asparagus spears in the first year, as they need to establish a strong root system. In the second year, you can harvest a few spears for a short period, about two to three weeks. In the third year and beyond, you can harvest asparagus for a longer period, up to eight weeks, depending on the climate and the health of the plants.
How to Harvest Asparagus?
Now, coming to the most important part that you wanted to know about. Let us talk about the ways to harvest asparagus!
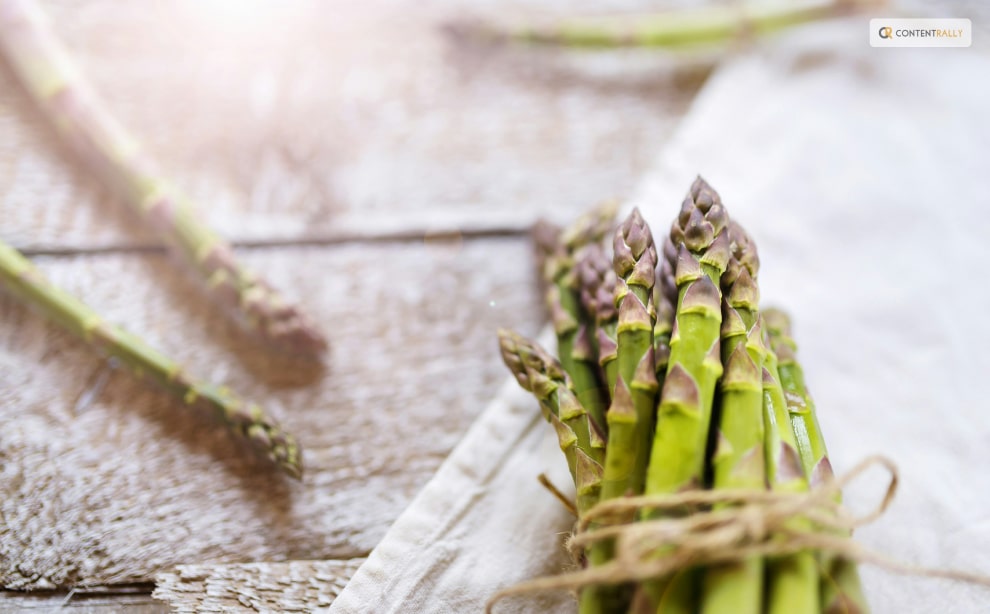
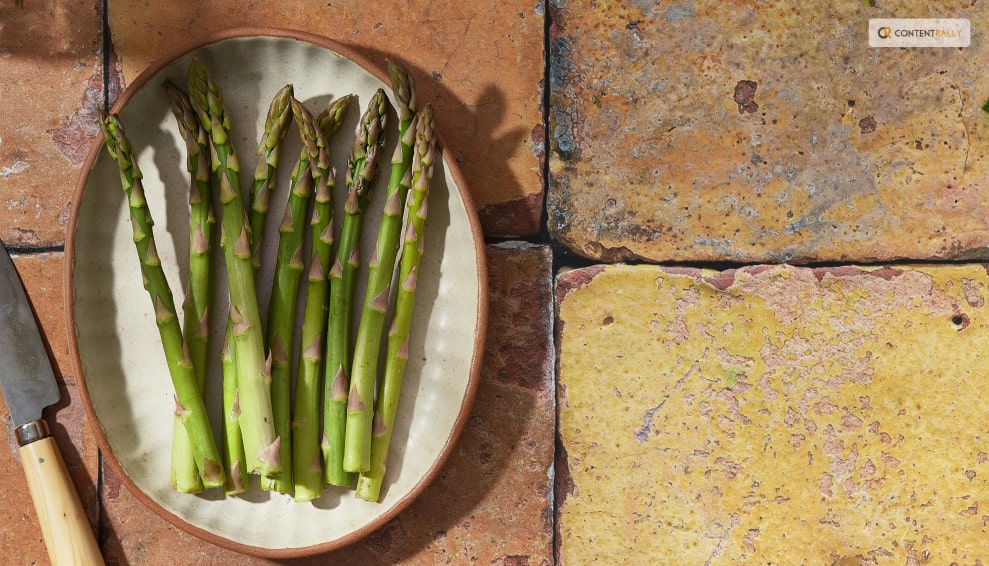
To harvest asparagus, you need a sharp knife or a pair of scissors. You should cut the spears at the base, about an inch below the soil surface.
Be careful not to damage the crown or the emerging spears. You should also avoid cutting too many spears from one plant, as this will weaken the plant and reduce the yield. A good rule of thumb is to leave at least one-third of the spears on each plant.
You should harvest asparagus every day or every other day, depending on how fast the spears grow. You should stop harvesting asparagus when the spears become thinner than a pencil, as this indicates that the plant is running out of energy.
You should then let the spears grow into ferns, which will replenish the crown and prepare it for the next season.
How to Store and Freeze Asparagus?

Unlike lettuce, which you can store for more than a week, asparagus is best eaten fresh, as it loses its flavor and texture quickly. If you can’t eat it right away, you should store it in the refrigerator for up to a week.
To keep it fresh, you should trim the ends of the spears and stand them upright in a glass of water or wrap them in a damp paper towel and put them in a plastic bag.
If you want to preserve asparagus for longer, you can freeze it. To freeze asparagus, you should first wash and trim the spears, and then blanch them in boiling water for two to three minutes, depending on the thickness.
Blanching is a process of briefly cooking and cooling the vegetables to stop the enzyme activity that causes them to spoil.
After blanching, you should drain and cool the spears, and then pack them in freezer bags or containers, leaving some space for expansion. You can freeze asparagus for up to a year, and use it in soups, casseroles, or stir-fries.
How to Prevent and Treat Asparagus Pests and Diseases?
Asparagus is generally a hardy and resilient plant, but it can still suffer from some pests and diseases that can affect its growth and quality.
Here are some of the most common problems that affect asparagus plants, and how to prevent or treat them:
Asparagus beetles
These are small, black or red beetles that feed on the spears and the ferns, causing them to wilt and turn brown. They can also lay eggs on the spears, which hatch into larvae that chew on the stems and leaves.
To prevent asparagus beetles, you should keep the area around the plants clean and weed-free, and remove any old or damaged spears. To treat asparagus beetles, you can hand-pick them and their eggs, or spray them with insecticidal soap or neem oil.
Fusarium wilt
This is a fungal disease that infects the roots and the crowns of the plants, causing them to rot and die. It can also cause the spears to become yellow, twisted, and stunted. Fusarium wilt is more likely to occur in poorly drained, acidic, or infested soil.
To prevent fusarium wilt, you should plant disease-resistant varieties, rotate crops, and avoid overwatering or injuring the plants. To treat fusarium wilt, you should remove and destroy any infected plants, and apply fungicides to the soil.
Rust
This is another fungal disease that affects the ferns, causing them to develop orange or brown spots and pustules. Rust can reduce the vigor and yield of the plants, and make them more susceptible to other diseases. Rust is more likely to occur in humid, wet, or shady conditions.
To prevent rust, you should plant resistant varieties, space the plants well, and prune any excess or infected ferns. To treat rust, you should apply fungicides to the ferns, and avoid watering them from above.
Crown rot
This is a bacterial disease that causes the crowns and the bases of the spears to become soft, mushy, and foul-smelling. Crown rot can spread quickly and kill the plants. Crown rot is more likely to occur in wet, compacted, or poorly drained soil.
To prevent crown rot, you should plant healthy crowns, improve the drainage and aeration of the soil, and avoid overwatering or injuring the plants. To treat crown rot, you should remove and destroy any infected plants, and disinfect the tools and the soil.
Bonus: How to Cook and Enjoy Asparagus?

There are many ways to cook and enjoy asparagus, from steaming, boiling, roasting, grilling, to sautéing. The key is not to overcook it, as it will become mushy and lose its flavor.
You should cook asparagus until it is bright green and crisp-tender, which usually takes about 5 to 10 minutes, depending on the method and the thickness of the spears.
You can season asparagus with salt, pepper, butter, lemon juice, garlic, herbs, cheese, or any other condiments you like. You can also pair asparagus with eggs, bacon, ham, chicken, fish, pasta, rice, or salad. Asparagus is a versatile and delicious vegetable that can complement any meal.
Wrapping It Up!
Asparagus is a wonderful vegetable that you can grow and harvest in your own garden. It’s easy to care for, once you know how to harvest asparagus properly.
You should harvest asparagus when the spears are about 6 to 10 inches tall and before the tips start to open up. You should cut the spears at the base and leave some on the plant to grow into ferns. It would be best to store asparagus in the refrigerator for later use.
And yes, you should also enjoy the many benefits and flavors of asparagus, by cooking it in various ways and pairing it with different dishes. Asparagus is a springtime delight that you don’t want to miss.
Learn More About:
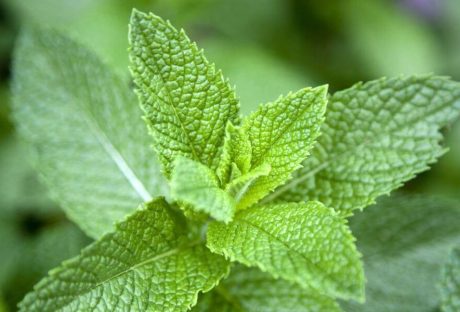
- Planting & Harvesting Mint
- 7 Health Benefits of Black Seed Oil
- Spirulina: The Complete Plant Based Protein Source | Health Benefits