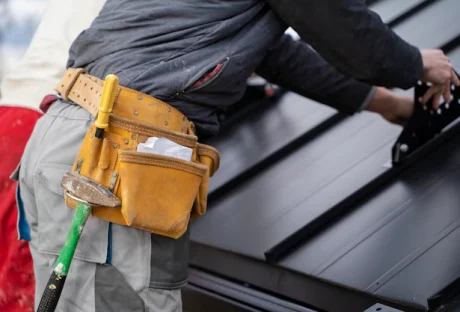
Choosing the right concreting solutions is a cornerstone in the journey of constructing or renovating your home. It not only guarantees durability and structural integrity but also elevates the aesthetic appeal of your living space. Concrete, with its unmatched versatility, stands as a pillar in residential construction, marrying the qualities of strength, longevity, and design flexibility.
As we delve into the realm of concreting solutions suitable for various facets of home construction, from the foundational elements to decorative finishes, it becomes evident how these solutions significantly enhance both the functionality and appearance of our homes.
Understanding Different Types of Concrete
Concrete comes in various forms, each suited to specific applications in home construction. Here’s a look at the primary types:
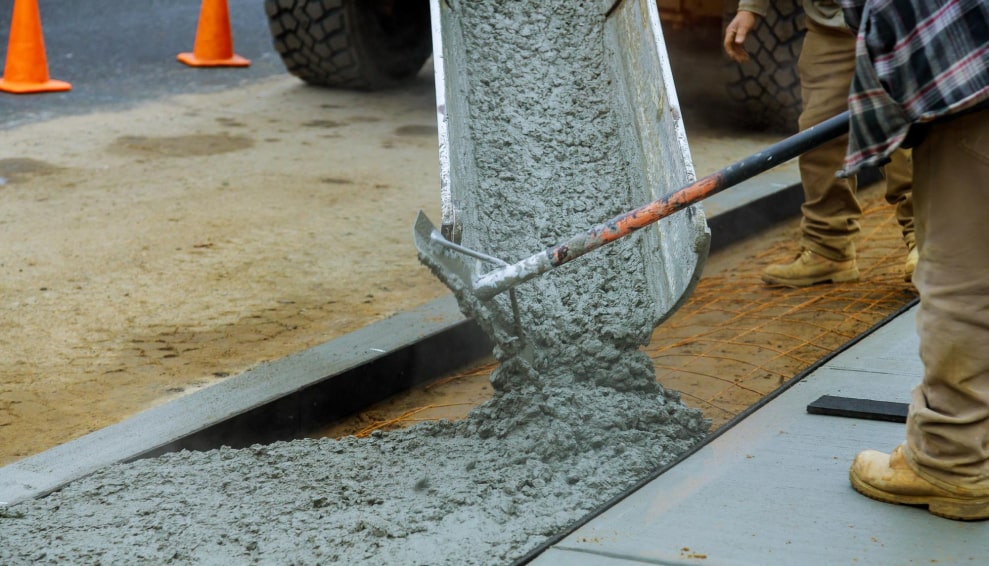
- Standard Concrete: The foundation of most construction projects, known for its strength and durability, suitable for driveways, sidewalks, and structural foundations.
- High-Strength Concrete: Offers enhanced durability and load-bearing capabilities, ideal for areas requiring superior strength.
- Lightweight Concrete: Used where less structural mass or better insulation is needed, it provides thermal efficiency and is easier to work with.
- Decorative Concrete: Enables aesthetic customization for home exteriors and interiors through options like colored, stamped, or polished concrete.
Benefits of Concrete in Home Construction
The benefits of using concrete in home construction are manifold. Its durability stands up to extreme weather, heavy traffic, and the wear and tear of daily life, ensuring structures that last generations. Concrete’s thermal mass contributes to energy efficiency, helping maintain consistent indoor temperatures and potentially lowering energy costs. Moreover, its versatility allows architects and builders to explore creative designs, molding concrete into various shapes and finishes to complement any architectural style.
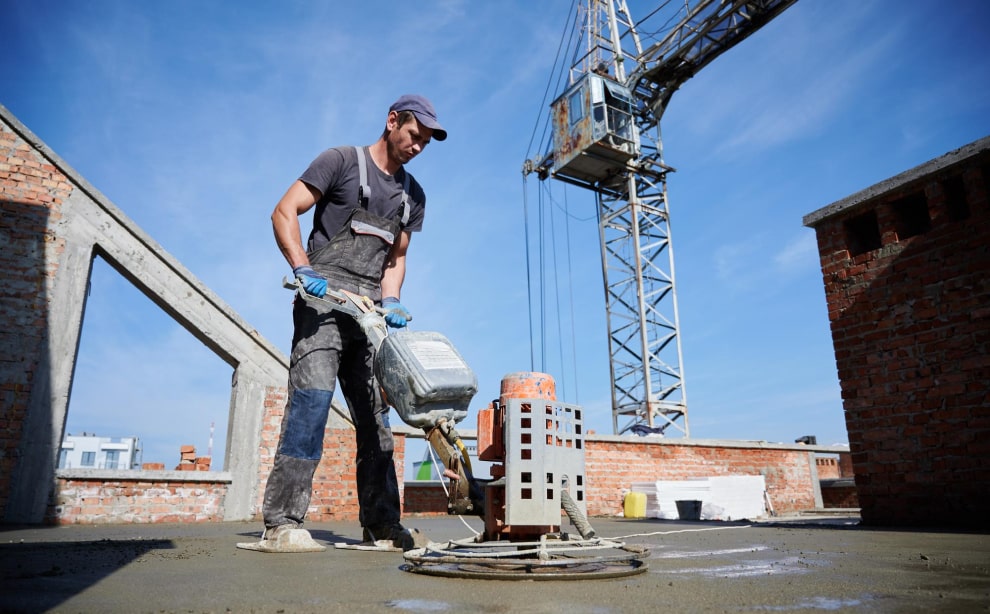
Innovative Concreting Techniques for Homes
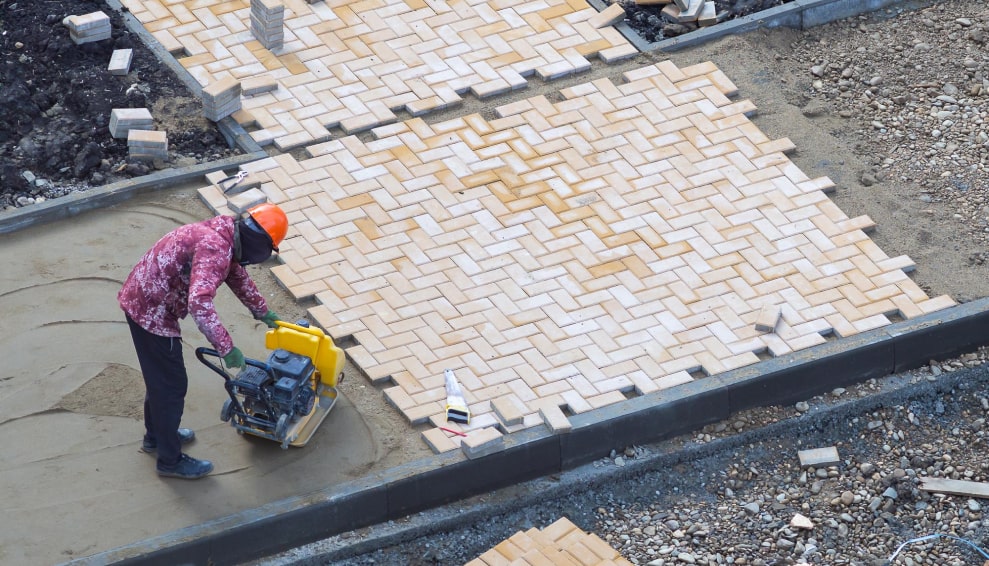
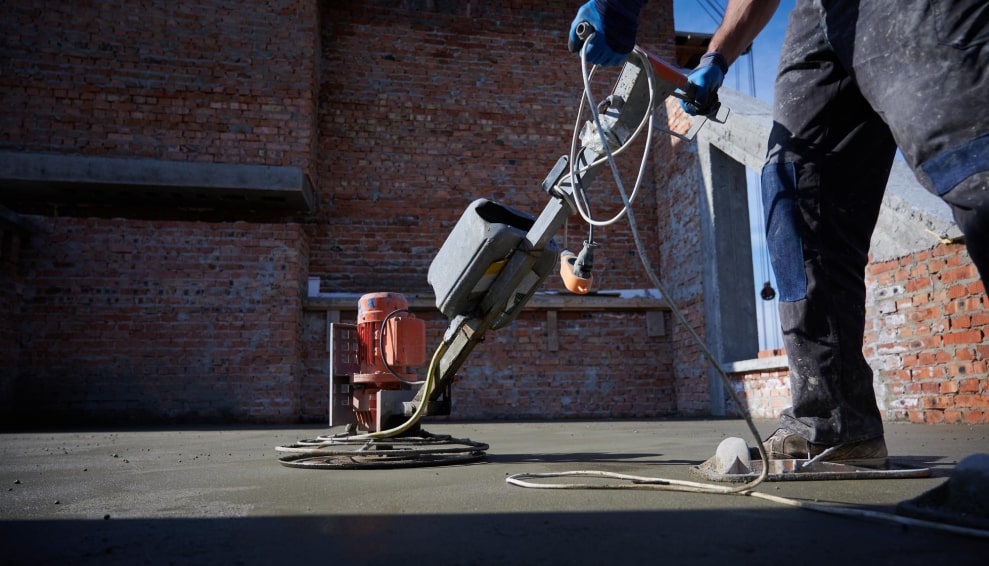
Innovative concreting techniques, such as stamped concrete, polished concrete, and concrete overlays, push the boundaries of traditional concrete applications, offering homeowners unique ways to enhance the aesthetic appeal of their exteriors and interiors.
Stamped concrete introduces textures that mimic natural materials, while polished concrete floors bring a sleek, high-gloss finish to any room. Concrete overlays provide a fresh look for existing concrete surfaces without the need for complete replacement, making them a cost-effective option for renovations.
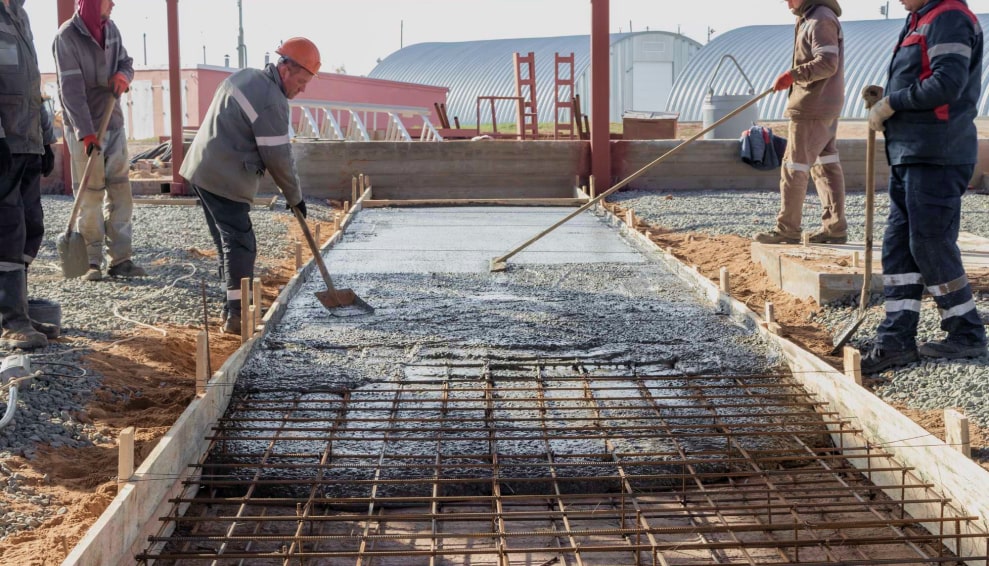
Choosing the Right Concrete for Your Project
Selecting the appropriate concrete for your endeavor requires a thorough assessment of your project’s unique demands, whether it’s for construction or renovation. This entails evaluating the visual goals you aim to achieve, the structural requirements essential for stability and safety, and the adaptability of the materials to the specific climate conditions in your area. Additionally, financial considerations are pivotal in this selection process.
The cost implications of various concrete types and their associated finishing methods can significantly influence your final decision. Engaging a Perth concreter, such as Project Concrete, ensures expert guidance in navigating these considerations, guaranteeing that your choice aligns with both your aesthetic preferences and budgetary constraints.
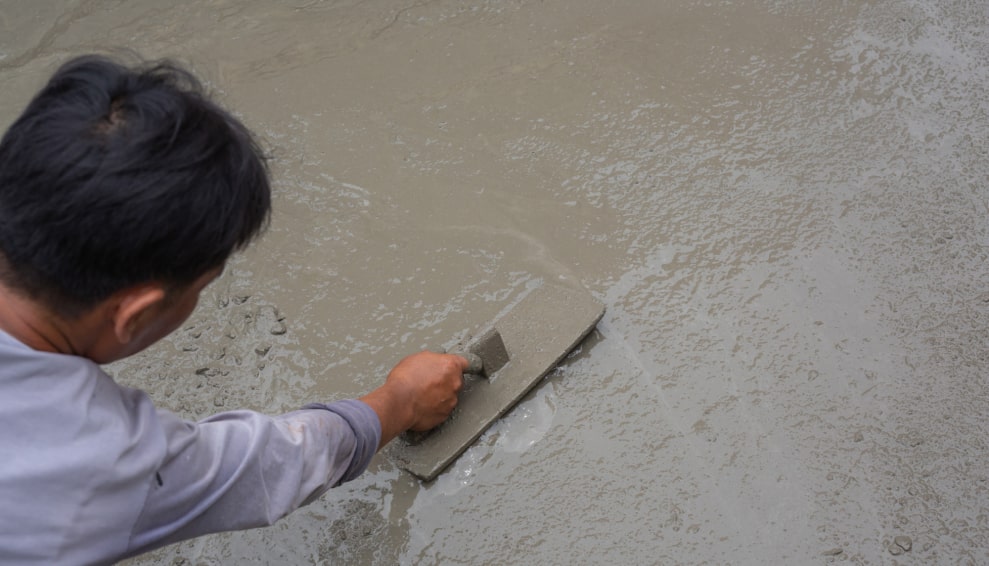
Maintenance and Care for Concrete Surfaces
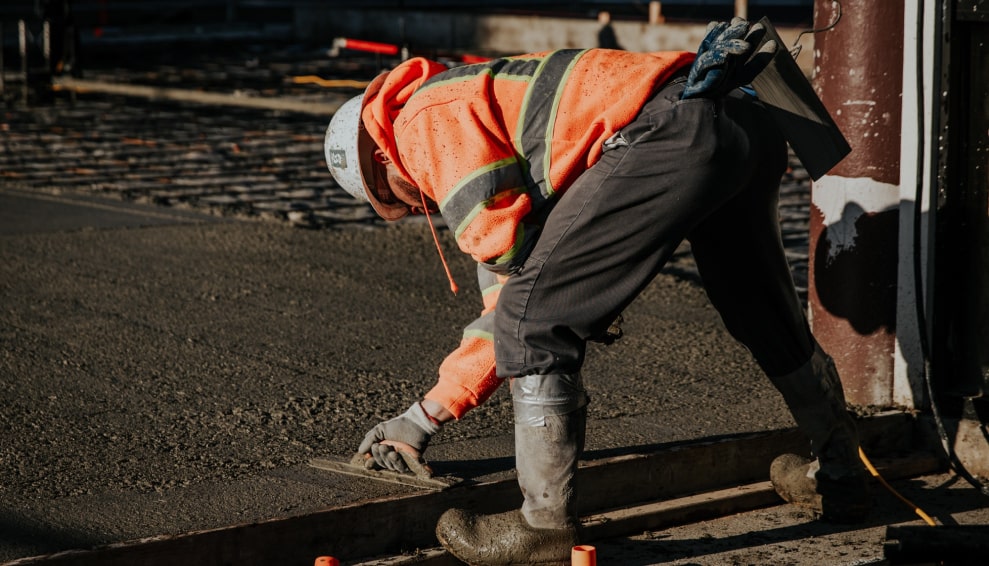
Maintaining concrete surfaces is straightforward, involving routine sealing to protect against moisture and stains, regular cleaning to preserve appearance, and prompt repair of any cracks or wear to prevent further damage. Such care ensures the longevity and beauty of concrete installations, contributing to the overall value of your home.
Disadvantages Of Concrete For Home
When building concrete slab foundations, constructors are aware of the reason why it needs to be freezed. Apart from the worry that the foundation might crack, there is also concern about cost savings. One thing that you might not have to worry about at all is when you use concrete for your home, it is quite safe.
There is no problem when it comes to the base of the house and how it might decrease the risk of damage with regards to the instances of buying or building a home with concrete. There are several benefits which we have already mentioned, however, there are some drawbacks as well.
You need to go through the disadvantages of using concrete so that you can consider all pros and cons. This will help you in understanding the need for concrete or should you choose another option when building a home.
Read about the drawbacks that are described below in detail. You can decide on your own regarding making the choice of whether or not you would like to choose concrete as your choice for the house site!
Labor
- Not everyone knows how to use concrete and accordingly, they know how to implement the concrete and tools that will help in building concrete structures.
- It is quite common to understand that you will need to learn about how concrete works and efficiently work on looking for laborers.
- These laborers must know how to use concrete and the tools or else it might be difficult especially when the process is expensive!
Cost
- Using concrete is one of the most expensive ways of building a house! There is labor, material costs, transportation costs and market competition. When evaluating the conditions based on which you are building a house, there can be serious concerns regarding the expenses of a traditional home.
- Several factors influence the way your house is built! I agree that there are long term benefits to the use of concrete however, it can significantly impact your costing and budgeting when building a house.
Pests
- With concrete becoming the foundation of your house, there can be a chance that there can be pests such as roaches and termites. Considering the house is closer to the ground, the insects and pests can easily enter through the walls accessing the infrastructure of the house.
- It will severely impact the woods across the house along with concerns if you sit on the ground!
Heating And Cooling
- If there is a unit for air-conditioning or there is a furnace installed, there is a high chance that it will affect the concrete. These devices when installed in the ground floor will take up room directly impacting your purpose.
Slab Cracks
- One of the most potential concerns when using concrete is that there can be cracks in the concrete! Now that we have already discussed about it being costly, it can be expensive to repair the house especially when there are cracks.
- It will look bad! Do you wonder how these cracks have developed? Earthquakes, frozen ground or tree roots are common concerns due to which the cracks in the concrete appear.
Conclusion
In conclusion, concrete offers a versatile, durable, and aesthetically pleasing solution for home construction and renovation projects. By understanding the different types of concrete, their benefits, and the innovative techniques available, homeowners can make informed decisions that meet their structural and design needs.
Whether laying a new foundation, upgrading a patio, or seeking durable and stylish flooring options, the right concreting solutions can significantly enhance the livability and appeal of your home, ensuring it stands the test of time.
Learn More About:
- 10 Points To Remember If You Are Building A Residential House
- Home Decoration At Its Best: 7 Key Ideas To Recreate Your Home
- Making Your Home Strong From Within: Tips To Build A Sturdy House