No Beauty Without Colors: 7 Ways to Add Color to Your Outdoor Spaces

Published on: 31 August 2017 Last Updated on: 29 May 2021
home outdoor recoration

outdoor chair

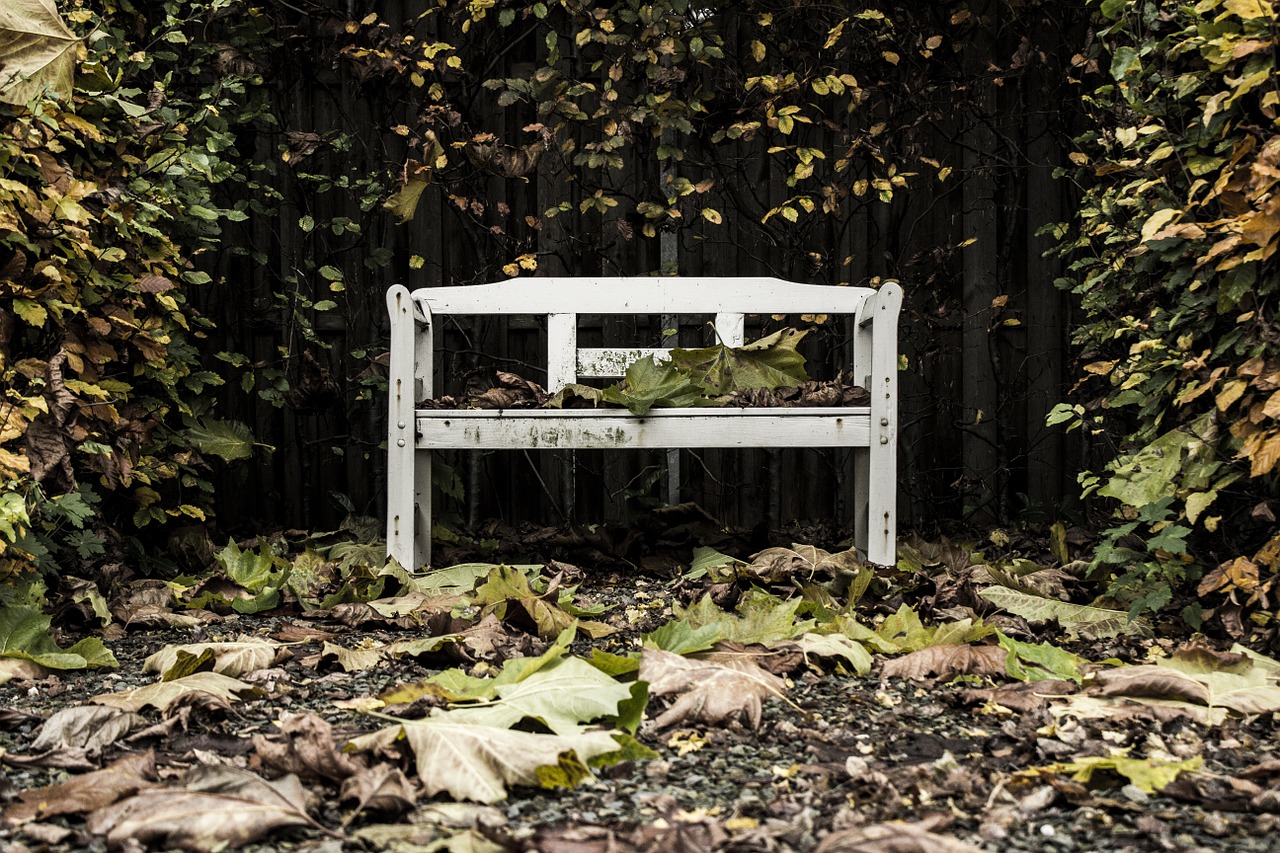
How’s your outdoor space coming along? Outdoor spaces such as our patios are our sanctuary to relax and unwind after a long day from work. It is also a place where we spend quality time with our family and where we have chit-chats about how our day went.

We can’t afford, for sure, to see the place we called sanctuary as lifeless and dull. Therefore, adding some refreshing colors to enliven it is necessary for us to have the best family bonding and a place to relax.

The good thing is, giving some life to your outdoor spaces doesn’t have to be laborious and expensive. The colors may come from your furniture, tiles, plants, pots, and outdoor rugs. Here are some ways to consider if you want to add up some color and life to your outdoor spaces.

Colorful Plantscaping

Bringing some ambiance of nature into your outdoor spaces cannot be understated, and plant-scaping is necessary to put in that ambiance.

When choosing for plants, it’s alright to be simple and to go with a greeny landscape. But it’s much better if we add up an array of colorful flowers. To be more colorful, you can opt for a collection of Mandevilla, gardenia, plumbago, and sunflower. But there are many other colorful plants out there in your nearest garden shop that will surely suit your taste.

Pot Art

Outdoor Flowers B

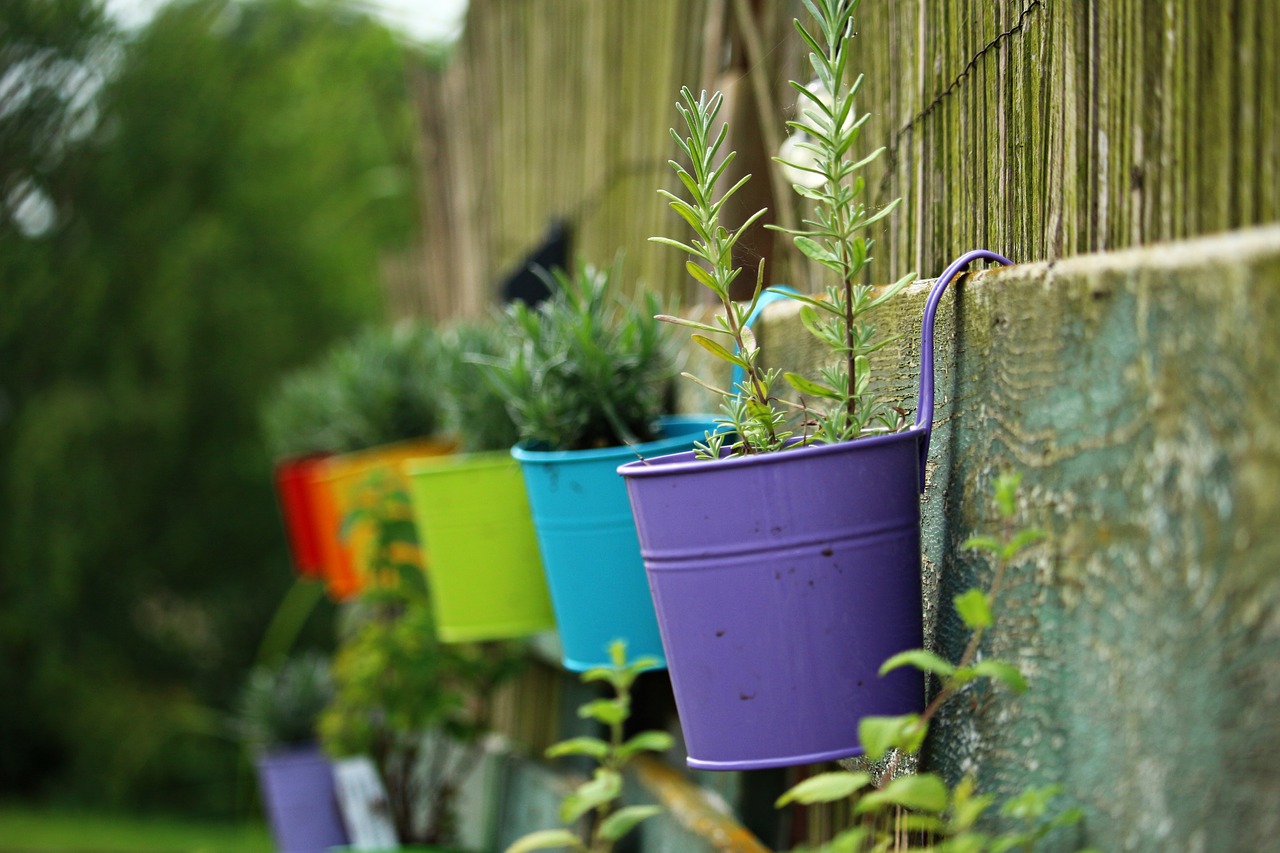
Do your flower pots look dull? Perhaps, it’s time to do them some paint job.

Not only your plants and flowers can spice up your garden, but also your flower pots. You can do some fun art on them with a color scheme that can add an artistic beauty to your landscape. In this way, your garden will not anymore look dull.

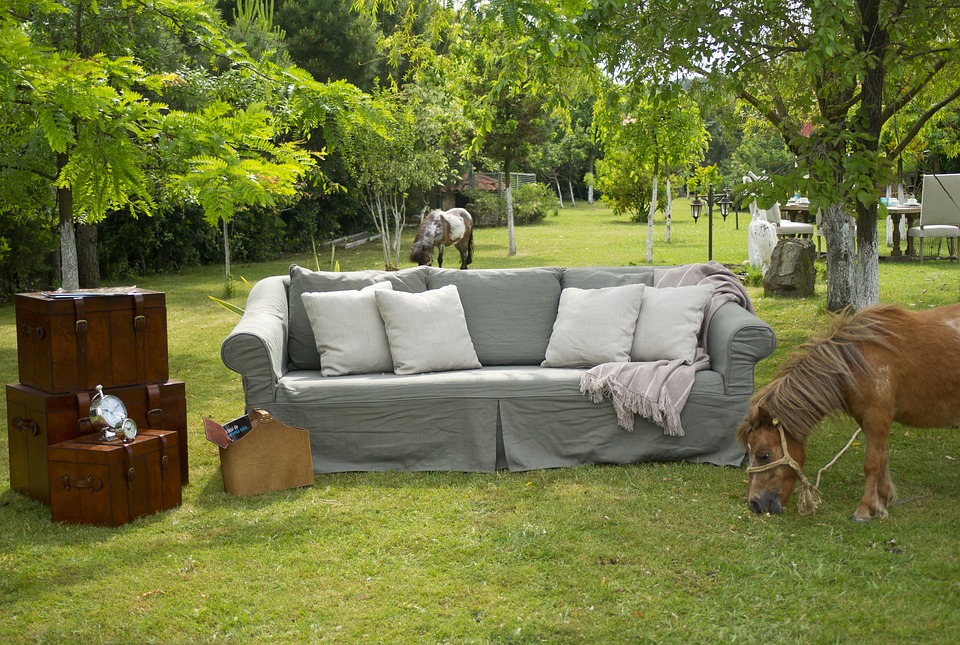
Put Colorful Outdoor Furniture on Display

Outdoor chair

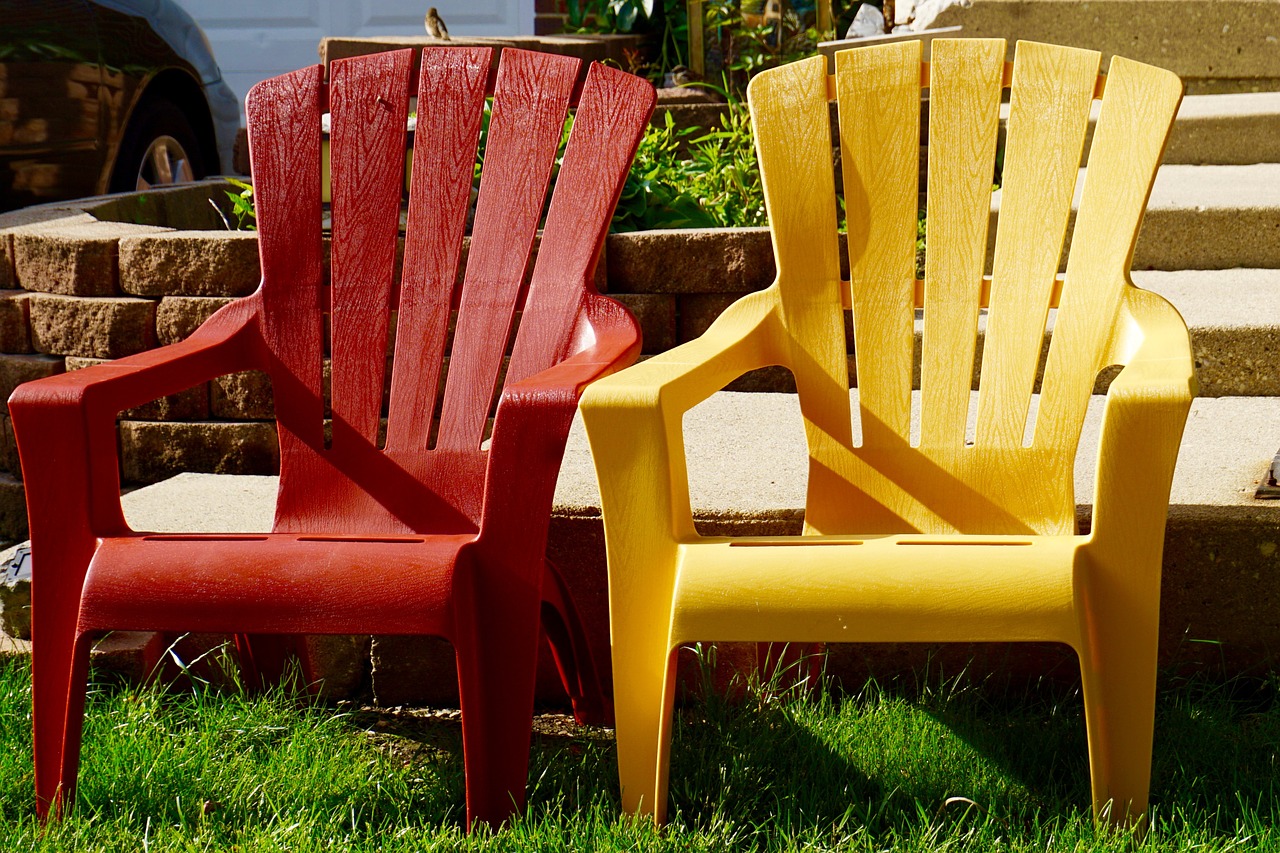
Chairs, tables, and shades are center attractions in our patios. You can turn them into a more attention-grabbing status if you show them off in bright colors. For sure, it can add a more refreshing ambiance while you’re having your afternoon coffee.

Roll Out The Outdoor Rug

If you want to add some interesting detail to your outdoor dining or seating areas, you can place an outdoor rug under it. Rugs with beautiful designs are essential in order not to give your outdoor spaces a basic look.

Blend In Decorative Tiles

There are a lot of decorative tiles to choose from in the market today. Decorative tiles are a good way to go if you want to start styling up your outdoor structures such as your fountains, stairs, and kitchen countertops.

Paint Up Your Bare Walls With Murals

A mural is the best way to brighten up your dull wall. Not only that this will not consume up a lot of space, but a wall with a mural can also bring us peace of mind every time we look at it.

Outdoor Decors

house outdoor

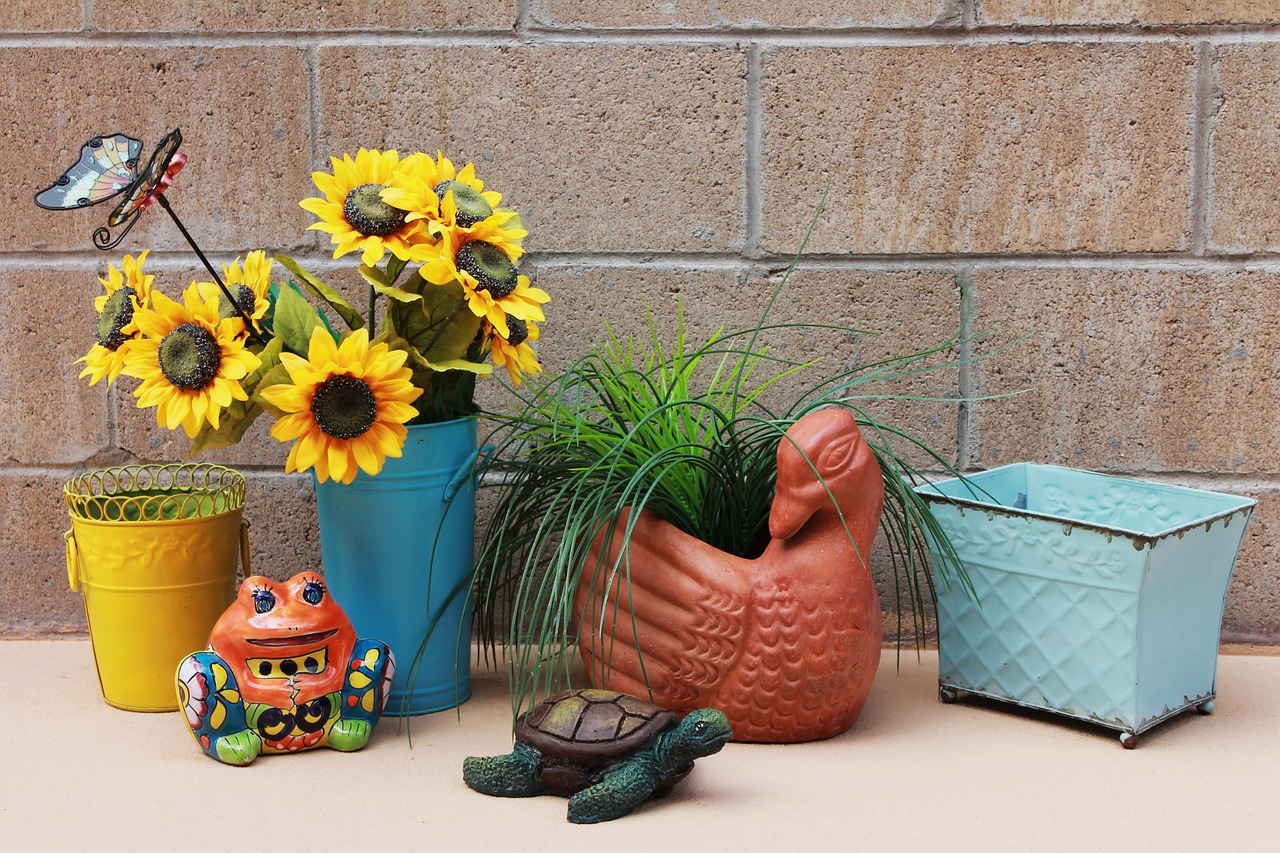
You can enliven your patio or garden with outdoor decorations. For example, you can put bright-colored hanging baskets on display in your garden. Mosaic art, colorful stepping stones, and tabletop lanterns are also things that will give charm to your outdoor spaces.

Takeaway

We must not settle for the simple and basic when it comes to designing our outdoor spaces. There are a lot of ways to put some life to it such as adding up some colors. It also does not have to be challenging and expensive as some ideas mentioned above are do-it-yourself tips. What we only need is a little budget and our creativity.

Read More :

  1. Mirror Decorating Ideas To Style Your Bathroom
  2. How To Make Your Home Look Like A Splendid Hotel?

Abdul Aziz Mondol is a professional blogger who is having a colossal interest in writing blogs and other jones of calligraphies. In terms of his professional commitments, he loves to share content related to business, finance, technology, and the gaming niche.

View all posts

Leave a Reply

Your email address will not be published. Required fields are marked *

Related

Shower Pods

How to Properly Maintain Your Shower Pods

Shower pods are the best thing that has entered the London market in recent years. They're perfect for achieving that modern and sleek vibe, making your home look minimalist. Additionally, the pods make sure that your bathrooms stay clean, free from water spills and splashes from your energetic little ones. So, shower pods are very functional and quite handy to have around especially if you are starting a family. They allow you to have more time to spend for yourself since you won't need to clean up water puddles every few seconds. Proper maintenance is key to keeping your shower pods in tip-top shape. Here are two crucial things you should remember to make sure that your shower pods will still be in good condition even after a few years. Different Ways To Maintain The Shower Pods  There are several factors that you have to consider while you want to maintain your shower pods in all possible manners. Work out the plans that can help you to achieve your goals in the best possible ways.  1. Mould prevention  Any shower will eventually grow mould if not cleaned regularly. You should immediately remove mould to avoid health complications. In a mouldy environment, you may be more prone to coughing, sneezing, nasal stuffiness, throat irritation, wheezing, eye irritation, and skin irritation. It would also pose a serious risk to those who have mould allergies or lung illnesses. Mould loves to grow in moist environments, and that’s why even shower pods are vulnerable to it. To effectively clean mould, use a damp cloth to wipe every available surface you see in your shower pod. For stubborn ones, you need to make a DIY solution by mixing 1-part bleach and 1-part water. Spray the DIY solution onto the affected area and wait for at least 15-20 minutes. You can rinse the surface afterward. Repeat the process as necessary. To avoid mould from growing in the future, you should open at least one window in your bathroom. It will ensure that there will be proper ventilation and airflow to prevent humidity inside. 2. Glass cleaning  All pods have shower glass which is what makes them famous in the home fixture market. The shower glass needs to be cleaned at least once a week to maintain its sheen and beautiful finish. The cause of this is the shampoo and soap deposits that stick to the shower door glass while you’re bathing. You need to clean your shower pod often. If you do it regularly, all deposits will be easily removed, and it won’t require too much of your time to clean it. Additionally, you need to drain all the water and dry the shower after use. It will significantly benefit you because there will be no accumulation of soap scum sticking to your glass. Sometimes, stubborn deposits won’t be easily removed. Apply a glass cleaner to ensure that the glass door is sparkly clean. Use a clean paper towel to apply the glass cleaner and spread the solution in a circular motion. Leave it to do its magic for a few minutes. You’ll see the beautiful result after rinsing it off. When you do these things, you can guarantee that your shower pod will last you a lifetime. Not to mention you can better protect your family from unwanted diseases and other health problems. Final Words  Hence, these are some of the factors that you have to take care of while you want to maintain your shower pods in all the possible manners. Do not make your choices in grey while you want to improve the arrangements of the shower pods. Shower pods can make things work in your favor if you select the best one for yourself. Do not make your choices in the wrong direction in all possible manners.   Read Also : Bathroom Remodeling Tips And Ideas Bathroom Upgrades You Should Consider Mirror Decorating Ideas To Style Your Bathroom

READ MOREDetails
attic room

Turn your attic into a living space

When purchasing a home, people have some projection of the future. However, it is hard to predict everything. This is why we like getting a place with the room for improvement and expansion. The attic is probably one of the first choices for home expansion of growing families. It often seems miraculous the way an empty, or a storage room turns into a comfortable living space. The purpose : The purpose of your loft-conversion is an important element of project planning. Some of the most convenient and usual purposes are a playroom, an office, an entertainment room, or a bedroom. Decide the most convenient purpose depending on what you lack space for. Perhaps this can give your children enough space to play when they are indoors, or finally give you the master bedroom you’ve always wanted. The purpose will determine the layout, the amenities, and the type of access. The access : Perhaps you are used to using the attic ladder, however, when this becomes a room you use every day, the ladder is no longer acceptable. First of all, consider the space you have. Is there anything on the floor below which will make fitting a staircase difficult? Perhaps in certain scenarios, it could block one of the doors into one of the rooms. Hire a professional to make a plan for the stairs, unless you are a professional, or truly experienced. Safety should be your priority. Also if your loft is meant to be a playroom, you should definitely get a banister and safety get at the top and the bottom. The style : Does your attic currently have enough space for your purpose? Is the ceiling high enough? Do you have enough windows? Check your local regulations, get the required licenses and choose the style of the conversion. There are three common styles of the loft conversion, mansard, dormer, and roof light. The roof light is probably the most convenient one as it does not require major alterations to your roof. This is the reason why there is usually no need for planning permits.  The other two styles, however, involve creating more space and offer a better choice of windows. You can get more daylight and a possibility of installing shutters and other window treatments greater energy-efficiency. Electricity/Plumbing/HVAC : Hire a licensed electrician to establish whether your current system can handle the increase in the electrical load required for the new room. Let them do the wiring. Look for the main stack and plan your bathroom in that area. A professional plumber should have no trouble setting it up. Finally, the last contractor you will need for this type of project is an HVAC specialist. They will tell you if the current system can support another room and set it up. Insulation : Insulation is another essential part of the conversion. Perhaps even the most important one. Without it, the room would be impossible to live in due to extreme temperatures. It protects a room from the weather elements and increasing energy efficiency. Hang drywall once you are done insulating. Flooring : The floor insulation is not so much for the sake of warmth, but for the sake of noise. Installing floorboards requires an excellent subfloor to reduce the squeakiness. Also, a carpet may be a good choice as it absorbs a lot of noise. While you are at it, carpet tiles are excellent for a playroom. They are not slippery, they absorb sound and they are easily removed and replaced. The room now fulfills all standards to be lived in. All you are now left with are the finishing touches. You need to select the colors, the furniture, and decor.  Do so according to the purpose of the room and your taste. Bio: David Koller is a freelance blogger passionately interested in minor house fixes and home décor. Read More : Natural Ways To Get Rid Of Flea In Your Lawn Leather Furniture Is An Essential Improvement For Any Home Or Office Ten Tips To Make Most Out Of Your Outdoor Space

READ MOREDetails
Best Multi-Tools for Woodworkers

The Best Multi-Tools For Woodworkers -Top Awesome Inventions

Being a woodworker can be rewarding work for a man or woman who enjoys this kind of hobby. It doesn’t have to be just a hobby either as it can be turned into something that can bring another income into your life. Although woodworkers like working with their hands, they have multi-tools and awesome inventions to help ensure the person doing the woodworking can get the job done right, the first time, every time. How can Multi-Tools Help Woodworkers?  Multi-tools are useful for woodworkers who want to have a variety of tools at their disposal without compromising on quality, convenience, or performance. They can help woodworkers complete their projects faster, easier, and better. Multi-tools are versatile devices that can perform multiple functions in a single unit. They can help woodworkers in various ways, such as: Saving space and weight: Multi tools can reduce the need for carrying or storing multiple tools for different tasks. They can fit in a pocket, a belt holster, or a small pouch, making them easy to access and transport. Saving time and effort: Multi tools can simplify the workflow of woodworkers by allowing them to switch between different tools quickly and easily. They can also handle tasks that would otherwise require specialized tools or equipment, such as cutting, drilling, sanding, or scraping. Enhancing creativity and flexibility: Multi tools can enable woodworkers to tackle a wide range of projects, from simple repairs to complex designs. They can also adapt to different materials, shapes, and sizes of wood, as well as other materials such as metal, plastic, or leather.  Some Common Examples   Some examples of multi-tools for woodworkers are: Pocket hole jigs: These devices help woodworkers create pocket hole joinery, which is a fast and easy way of joining pieces of wood together using pocket screws. 1-2-3 setup blocks: These metallic blocks help woodworkers take quick and accurate measurements for setting up and aligning blades, fences, bits, and other cutters¹. Multi-mark tool: This tool can be used for squaring, leveling, and transferring measurements from one workpiece to another. Folding plier multi-tools: These tools feature a pair of pliers as the main tool, along with other tools such as knives, screwdrivers, scissors, saws, files, and wire cutters. Scissor-style multi-tools: These are tools that feature a pair of scissors as the main tool, along with other tools such as knives, screwdrivers, tweezers, bottle openers, and nail files. Here are the best multi-tools for woodworkers, and the top awesome inventions for woodworking: 1. Cordless Drills Cordless drills are hand drills that are powered by a battery. Because of the battery power, this multi-tool can be used anywhere a person needs it. This even includes a small, upside-down space that other tools may not be able to reach. Not only this, but cordless drills also come with a variety of different drill bits that can be used on anything. This is why this is a great multi-tool for woodworkers. 2. Wood Router The possibilities of getting the job done with a wood router are endless for woodworkers. Check out Here for some of the best wood routers. Almost every woodworker knows they can get just about anything done with this awesome invention. This invention is light enough to be used in small and tight spaces. It also has an electrical version for ease of use. Not only this, but you can mount it on a table to get more accurate work done. The variety of bits for this tool comes in three different sizes. They include the helical style which can be used for drilling, trimming, and shaping. The second style is the profile style which can be used for many different things including shaping the rounded edges to carving and you can also use it to round edges on corners or angles. Finally, the third style is called fluted bits and they can be used for cutting or shaping the edges or even trimming them. To select the best wood router to have to really decide whether you want to go corded or cordless. See how much work you can get done with this awesome invention? 3. Wood Lathe The wood lathe is actually two centuries old and keeps improving over the years. The woodworker can use this multi-tool to spin the wood and shape and trim it any way they want to. Although this tool is over two hundred years old, it now comes in a variety of sizes. This tool is great because it can hold the largest piece of wood to the smallest piece of wood. 4. Chisels Chisels are great woodworking tools that are used by the woodworker's hand to shape and trim the wood to any size the person wants it. They come in tempered steel with a variety of shaped ends. They mainly have wooden handles on them and can be used to hold the wood by one area while hitting it with a hammer or a wooden mallet to shape or trim the wood. However, there is one common use for this tool and that is to finish joint holes. Although the woodworker uses the router for making the shape, they come back with a chisel to make the exact cut they need. Chisels are also used for hand carving wood. When you want to carve wood into a different shape, chisels are the best tool to use. 5. Oscillating Tool If you are a beginner woodworker, you won’t want to start out using this tool until you get used to all of the other tools. This is because it is more powerful than any of the other woodworking tools used today. If you are a woodworker, you will need to learn to use the oscillating tool before you try it. Asking someone who is more experienced with it is a good idea. However, the woodworker will not regret taking the time to use this tool because it has so many uses. With the oscillating tool, it is so different that the blades move back and forth instead of around or up and down. With this tool, there are five different types of blades for the different uses it. One type of blade for the oscillating tool is that it can remove the wood molding that was put into place. Another type of blade can be cut through nails or wood without a problem. There are also a few different types of blades that cut through a variety of different wood and can also make a specific corner cut for the wood. There are also blades for this tool that can make square cuts through the wood as well as blades to grind areas of wood down. Final Thoughts There are many different types of tools a woodworker can explore, try, and use when they are woodworking. Trying the different tools and exploring different things that can be done with these tools can be enjoyable and make the imagination run wild. Remember, this doesn’t just have to be a hobby. If you enjoy woodworking, why not make some money with it too? There are many different ways to make money with a woodworking job. One great way is to make different wooden furniture that can be sold to the public. The person enjoying this type of job can even open their own store to sell these items. Although there are many different ways to use these tools for woodworking, it is always up to the woodworker to try the different tools and make the best use out of them. Letting their imagination run wild when playing and working with different wood can bring joy to the woodworker and money as well. Read More: Home Hacks: Stuff You Can Clean In One Hour Or Less Hardwood Timber Flooring: Gives A Classic Look To Your Home What Species Of Wood Is Right For Your Wine Cellar Furniture?

READ MOREDetails