Mirror Decorating Ideas To Style Your Bathroom

Published on: 25 May 2017 Last Updated on: 04 September 2024
Featured-image

Obviously, mirrors are a necessity in every modern bathroom, but that doesn’t mean you have to settle for the plain, unfashionable medicine cabinet mirror that probably came with your house. So get rid of that rinky-dink mirror collecting hard water stains, it’s time to design.

Why You Should Use Mirrors To Decorate

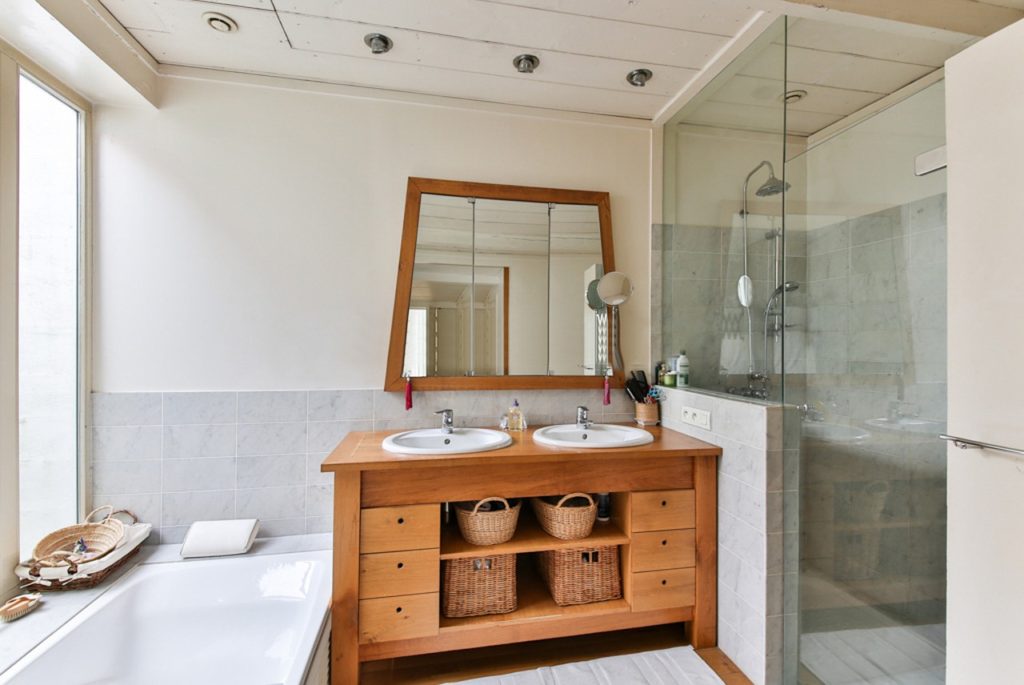
Mirrors are actually a great opportunity to add some personality and stylistic flair to any bathroom, and they’re not limited to just by your sink. Because mirrors are affordable and come in such a wide variety of designs, its easy to make your bathroom look like it was decorated by a professional interior designer at an incredibly low cost.

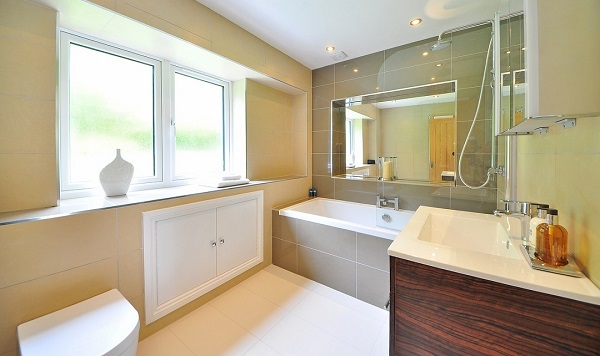
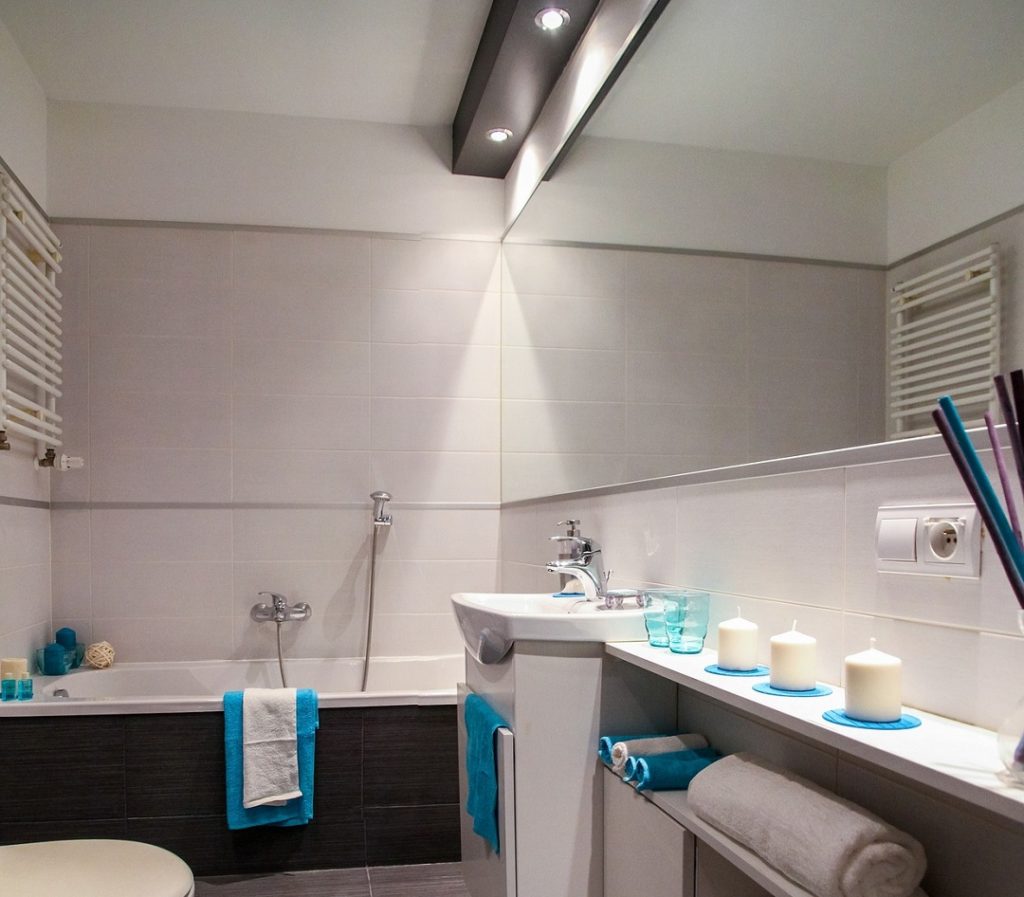
The best thing about mirrors is that they make a room look twice as big. A large, bold mirror above a pedestal sink will make the entire bathroom look cleaner and brighter, and a mirror above the bathtub or inside the shower will give you convenient places to make sure you’re thoroughly clean. Then, placing a wide full-length mirror where most of the light comes from can make your bathroom look bigger.

Home Mirror Bathroom

Read also:

Some decorators have even taken the biggest plunge of all and made their entire bathroom ceiling one big mirror. Now, there’s no need to go that crazy, in fact, when it comes to mirrors less is more. A few simple guidelines is all you need to give your bathroom the personality you want.

Design Elements of Bathroom Mirror

design-elements-of-bathroom-mirror

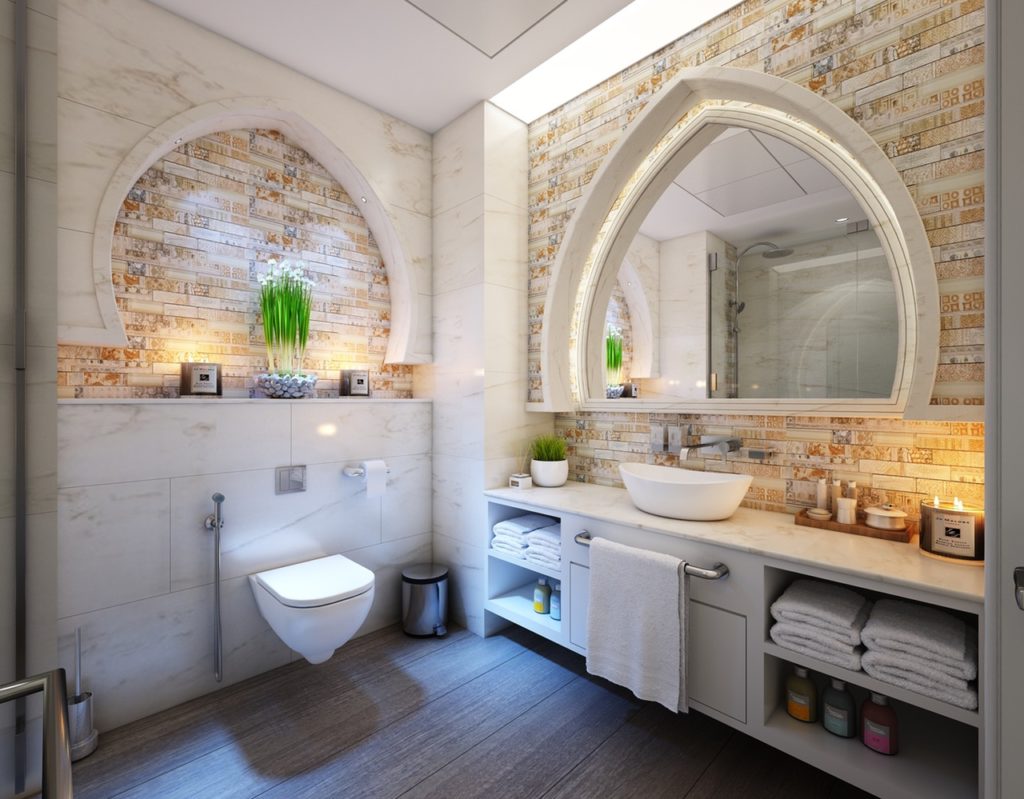
Most of the design elements of a mirror aren’t directly on the mirror itself (it couldn’t be, otherwise it wouldn’t be a useful mirror). Rather, some or even all of the design will be on the shape of the mirror itself and the border that surrounds it. These two design elements are what you’ll be looking at when decorating your bathroom.

First, think about what you want to express with your decoration. Do you want your bathroom to be elegant and sophisticate or breezy and carefree? What you want will depend entirely on your own tastes and personality so there’s no such thing as a wrong answer. Don’t be afraid to be bold, and remember that you’re the one that will be using this bathroom day in and day out, so above all else you are the one that has to like it the most.

design-elements-of-bathroom-mirror2

Read also: Using Feng Shui In Your Bathroom Design

Next, consider existing design elements in your bathroom. What paint color is your bathroom walls? What tile patterns are there? What color are your cabinets and other fixtures? You’ll want to pick a mirror that complements these already existing elements, otherwise your mirror will look out of place. With that said, make sure you don’t do the opposite either. Don’t get a mirror that exactly matches a paint, tile, or cabinet color, or else your mirror will disappear into the background, becoming part of a boring and homogenous design.

Bathroom Mirror For Your Own Style

bathroom-mirror-for-your-own-style

Keep the shapes visible in your bathroom in mind as well. If you have square tiles throughout your bathroom, an oval shaped mirror will clash, and your eyes won’t know where to focus on. For square and rectangular tiles, mirrors that are themselves square or rectangular are best. If you simply must have a circular mirror, then get a mirror that’s laid into a square or rectangular frame or border.

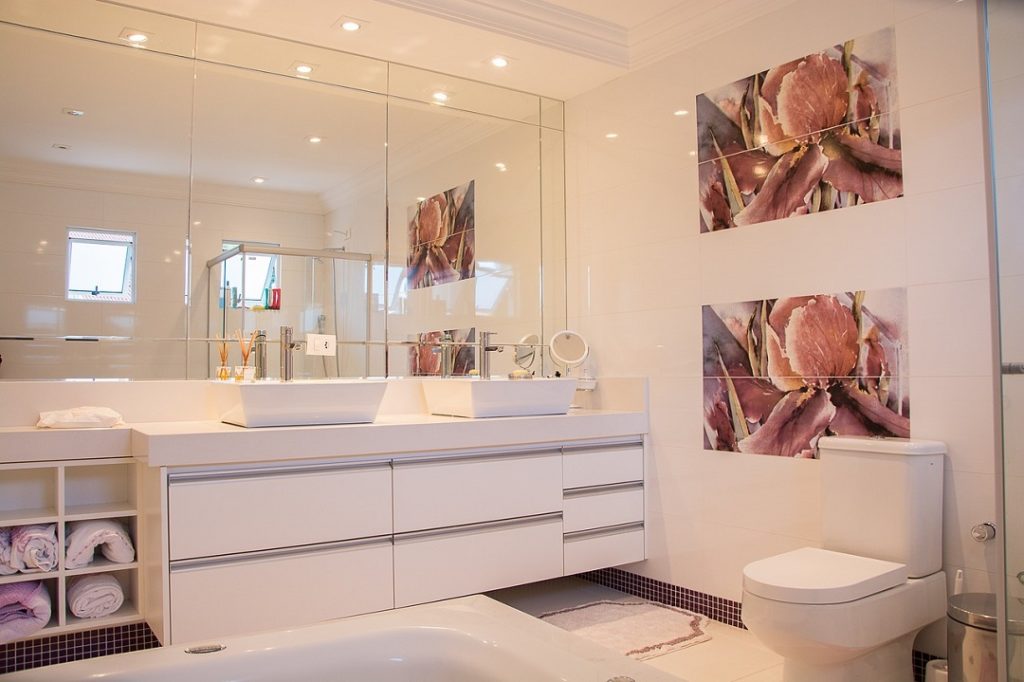
If you’re looking for a more elegant, bold, and sophisticated book, then large, rectangular mirrors with sleek and simple borders made of metal would be best. The wider the border around the mirror the greater the impact. In fact, sometimes mirror borders are too big, and they accidentally become the center point of the entire bathroom. There nothing inherently wrong with that, so long as you intended for that to happen. Remember, accidental design is not design. It’s just happy coincidence. Of course if you happen to stumble upon the perfect design, then there’s no harm in taking all the credit. I won’t tell.

bathroom-mirror-for-your-own-style2

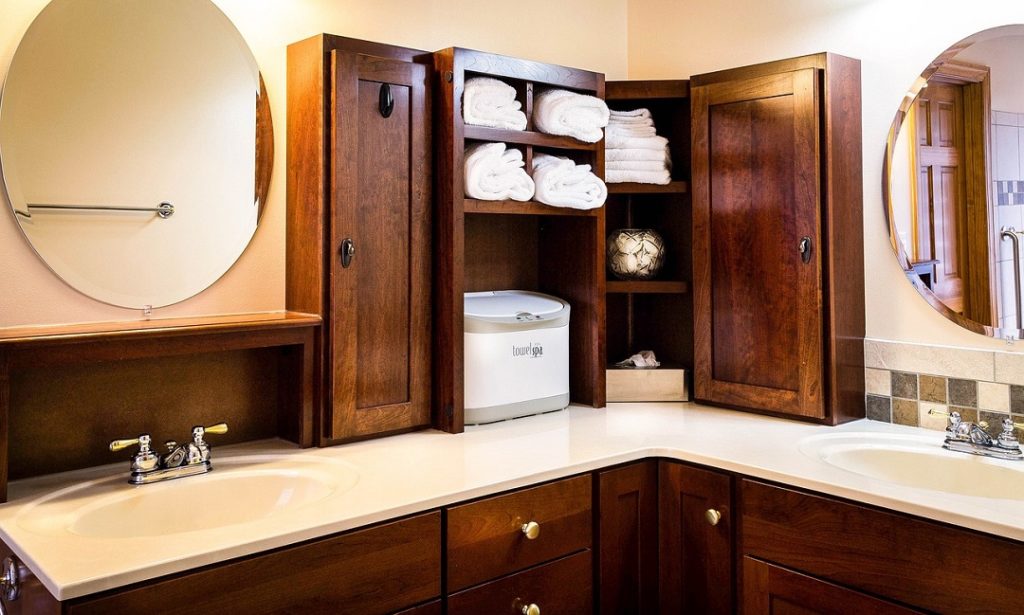
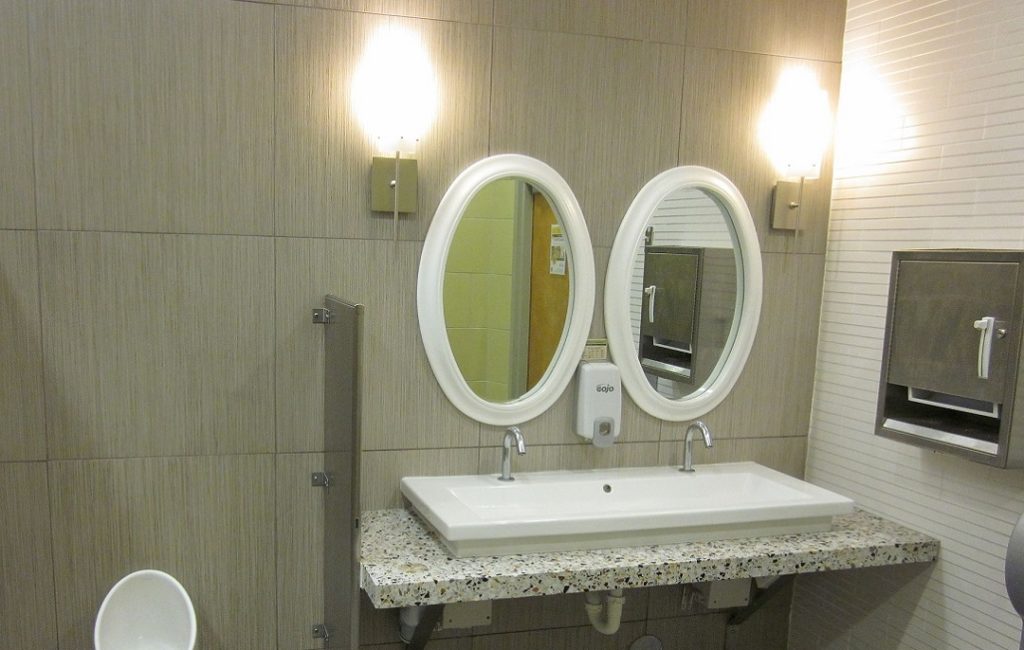
If you’re looking for a more casual and breezy look, then instead of one large mirror, you would be better suited to two or three smaller mirrors . These mirrors can be rectangular, but don’t be afraid to experiment with circular and even triangular mirrors. As for borders, any material will do so long as it’s brightly colored. Light teals and blues are wonderful colors for creating an airy space.

bathroom-mirror-for-your-own-style3

No matter what your design aesthetic is, fully embrace it. Don’t be afraid to come off a bit weird in your design. Designing and decorating are very personal and unique acts. No two people will design the same space identically.

Content Rally wrapped around an online publication where you can publish your own intellectuals. It is a publishing platform designed to make great stories by content creators. This is your era, your place to be online. So come forward share your views, thoughts and ideas via Content Rally.

View all posts

Leave a Reply

Your email address will not be published. Required fields are marked *

Related

Painting Interior Doors

Tips for Painting Interior Doors

Freshly painted doors can enhance the makeover of any house. You can paint your doors on your own or hire a professional painter to do it for you. Many people prefer painting their doors themselves as they want to enjoy painting them on their own. However, if you don’t have any experience or want high-quality paintwork, you should always hire professionals for complete painting service. If you choose to paint or spray paint your interior doors, you need to know some tips and skills to do the job right. Let us explore some tips by professional painters that you can use to paint your doors. Remove or cover the door handles: Paint can stain the door handles and locks. So, it is better to remove them or cover them with painter’s tape to prevent them from getting stained. You will need a screwdriver with multiple heads to remove the handles and locks. Call a locksmith to remove the inbuilt lock systems as they are difficult to remove. Removing these things will make it easy to clean, sand and then paint the doors. Fill the cracks and holes: If there are any holes or cracks in your doors, you can fill them with a wood filler, gypsum plaster, or a filling compound. Put a small amount of wood filler or filling compound on a putty knife and put it into the hole or crack uniformly. Place it as uniformly as possible and leave it to dry for at least two hours. Check the filling the next day, and it requires more filling, add the required amount of filling compound to fill the space completely. Sand the surfaces: The old paint gets worn and imperfections develop with time on the door surfaces. That is the reason why homeowners want to repaint their doors. Sanding removes the worn paint and imperfections easily and prepares the surfaces for a clean and uniform finish. Start painting with a Roller: If you have already chosen the paint color, mix several cans in a bucket so that you can have the same shade on every door. Sometimes, the shade in different cars can vary a little, although not noticeable in the interiors in low light. Use a 4-inch roller to apply a thin layer of paint on the door starting from an edge. If you want to paint the trim first, you can use a 2-inch brush. To remove any lines, move the lightly loaded brush or roller from bottom to top. Using this technique will help you paint quickly and uniformly while leaving a wet edge. Painting a paneled door: Many homes have paneled doors and the technique to paint them is different from painting a flat door. Paint every panel beginning from the upper left side downwards in a sequence. Always use a brush of appropriate width to paint a paneled door. Don’t worry if you paint a bit outside the edges of a panel. Once the edges are painted, use a small roller to paint the space between the panels. If the rollers of appropriate size are not available, use a 2-to-4-inch brush to paint the center of the panels. Minimize the drying time: Paint in light and uniform coats to minimize the drying time. Thick coats of paint take a bit longer to dry and may look nonuniform after drying. If you are using a brush, you should dip its bristles halfway in the paint and tap the brush against the container edge slightly to remove the excess paint. If you plan to use a roller, place it in a pan and use the back-and-forth strokes to paint uniformly without soaking it. Let the paint dry before installing knobs and locks: Let the paint dry completely before installing the doorknobs and locks. Also, tell your kids and family members not to touch the doors until they dry completely. Once they dry up completely, you can install the accessories and start using the doors as you use them normally. Final Words: Painting the doors is not difficult, even if you are painting them for the first time. All you need to do is to follow the correct sequence of steps, use the right size of tools and prepare the surfaces before grabbing a brush or roller. Following these tips can help you to paint your interior doors easily and conveniently. Read Also: 10 Pro Tips To Minimize Commercial Door Repair & Maintenance Cost All About Commercial Fire Doors Why Should you Consider Security Doors for Your House?  

READ MOREDetails
Outdoor Kitchen

Five Essential Components For Your Outdoor Kitchen

Outdoor dining continues to gain popularity, with more people seeking kitchen convenience beyond the walls of their homes. Planning a patio kitchen requires mindful consideration of how the space will be used and its desired features tailored to individual needs. From grills to countertops and shelves, plenty of options are available so that your outdoor cooking experience is just as comprehensive as indoors. Checkout Five Essential Components For Your Outdoor Kitchen Here are a few essential outdoor kitchen components that your home must have. 1. Grill The centerpiece of any outdoor kitchen is the grill. Without a grill, an outdoor kitchen isn't an outdoor kitchen. It's just a space with some appliances in it. When deciding on a grill for your outdoor kitchen, think about the size, power output, and fuel type that best suit your needs. Do you want something small enough to fit on a countertop or large enough to cook meals for large groups? Would you prefer gas or charcoal? You can visit orchardovens.co.uk to help narrow your choices, so you find the perfect grill for your home. 2. Cabinets Cabinets are an absolute must when planning an outdoor kitchen. Not only do they provide extra space to store essential cooking items, but they also add a chic touch to your outdoor cooking area. When shopping for cabinets, make sure you opt for ones that can withstand extreme temperatures and other weather conditions. Also, installing additional drawers in the cabinets will give you more organized storage options and enable easy access to any needed items. 3. Sink When designing your perfect outdoor kitchen setup, it's important not to overlook the sink. A corrosion-resistant material like stainless steel is a great choice to ensure the unit retains its durability despite being exposed to the elements. Be sure to consider how much counter space you have so you can choose a sink size that is both functional and fits well within your layout. 4. Kitchen island A kitchen island is another great addition to any outdoor kitchen setup. Not only does it provide extra counter space, but it adds visual interest to the area as well. Look for island designs that feature built-in cabinets or drawers to store utensils and other cooking essentials within easy reach while cooking outdoors. If seating is important, look for islands with barstools attached so family members and guests can sit down during meal preparation or serving time. 5. Task lighting Task lighting is an essential part of any outdoor kitchen set up for entertaining amidst dimmer natural light or preparing food during nighttime. When selecting lighting options to suit your needs, select ones that project both adequate brightness and a soft hue. Lights that are too bright might prove irritating or uncomfortable when using the area at night, while lights that are too faint might compromise vision when moving around the kitchen area. Pick fixtures fit to fulfill both illuminating and decorative purposes. Conclusion These five components are essential when designing an outdoor kitchen space, but don't forget smaller details like seating areas or tables. With careful consideration of each design element, you can create a functional yet stylish backyard getaway that provides hours of entertainment with family and friends. Read Also: Know About The Type Of Kitchens According To Different Size How To Choose the Right Brass Range Hood for Your Kitchen 5 Types Of Kitchen Cabinets

READ MOREDetails
shag rug

Five Bedroom Rug Ideas – Area Rugs and Decorating Ideas

Do you need an easy and quick solution to overhaul the look and feel of your bedroom? Well, you don’t need to have a lot of money to decorate your bedroom and enhance its overall appeal. A round shag rug can make a whole lot of difference when it comes to adding a little pizzazz and brightening up your bedroom area. A shag rug not only offers a warm surface to walk on but also adds exciting texture, color and personality to your bedroom. To save you time, you might want to explore a few ideas for decorating your bedroom floor. Elevate your bedroom with these five bedroom rug ideas – area rugs and decorating ideas. 1. Use a Room-sized Rug: It is imperative to lay down a large, room-sized rug that covers the most part of the bedroom floor. This works pretty well in bedrooms with vaulted or high ceilings, giving the room a wide open feeling. To achieve this, measure your bedroom’s entire length and width. Then, deduct about 12-24 inches from the measurements or dimensions you got. Buy an area rug that closely matches the size you got from your calculation. 2. Anchor Your Bedroom With a Shag Rug: Using a round shag rug, anchor your bedroom to give a sense of balance and order to space. The adjacent flooring serves as a frame to showcase you're the fine rug. To properly anchor your bedroom, simply center your bed along with area rug in the space. Ensure that each side has equal amounts of exposed flooring. 3. Minimalism is the Key: Minimalism is a popular choice as far as decorating the bedroom is concerned. There is no need to pack a bedroom with plenty of objects and loud colors. You simply need plain-colored walls with a basic, plain rug to pull off this awkward look. Also, complement your area rug with a natural and organic pillow top mattress for ultimate comfort and better sleep. Visit here to learn how do pillow top mattress work. 4. Two Area Rugs Are Better Than One: You can break up the dullness of a large bedroom space by laying down two area rugs that are distinctly different from each other. Two area rugs give your bedroom added interest and color. Pick up two area rugs whose colors and designs are distinctly different. Placement depends upon your furniture and décor, so you are free to try different placements to find the one that best suits your preference. 5. Create the Mood: We all have different moods, and not everyone would wish to have the same mood for their room. Thus, you might want to pick a rug that complements the mood you intend to create in your bedroom. Classic pattern rugs with solid colors are ideal for a traditional-style bedroom. Such rugs make you feel at ease. Alternatively, you can add dots and stripes to make your room look more upbeat. Final Thought Your bedroom might be already cozy, but you can make it cozier by adding an area rug. Rugs add style and warmth to a room. Now, go ahead and decorate your bedroom with these ingenious bedroom rug ideas. Read Also: 5 Ways To Maintain And Decorate The Study Room For Kids 7 Ways To Add Character And Style To Your Home Cheap And Simple Tips To Give Your Bedroom A Makeover A Guide To Finding The Perfect Sofa For Your Living Room

READ MOREDetails