All You Need To Know About Marketing For Roofers

Published on: 10 December 2018 Last Updated on: 21 December 2018
Roofers

One prominent goal for every roofer is to have a large customer base; hence, they invest heavily in marketing to make it a reality. I am pretty sure you, as a roofer reading this, want that for your business too.  But in order not to make mistakes or veer off in the course of marketing, there are noteworthy tips you should have at the back of your mind as you go ahead with your quest for generating leads for your business.

Patience And Consistency Is Key:

There is one disclaimer of sorts  I always tell anyone looking to market their business and that is,  the results may not come out as quickly as envisaged. That is the bitter truth, but not many businesses out there are willing to hear such. Generating leads is a gradual process, it isn’t something you can force, you just to keep at whatever you are doing to ensure you achieve your goal in the long run.

Know Your Target Audience:

Marketing to the wrong audience is probably the worst mistake you can ever make. It is an effort in futility that will lead to absolutely nothing. Specifically, you need to target commercial property owners and homeowners as they are your market. You can start by offering free roof checks or offering discounts for your services; this will help you build familiarity with them, so in case they are in need of your services, you will be the first to call.

Internet Marketing Is Key:

With the fast-rising number of users of the internet, you can guess right that you can reach your target audience by exploiting the internet. With the internet, you can push targeted ad campaigns to be presented right in the faces of your prospective customers. With internet marketing, you can keep your customers abreast promos organized by you to boost your clientele. With internet marketing, you can use digital tools to identify the problems most of the homeowners have with the roofs; which will help you connect better with them. With internet marketing, you can keep track of your progress and know what exactly you aren’t doing right. With internet marketing, you save yourself the stress of having to go door to door to market your services. With internet marketing, you can work to generate roofing leads every day. There is only so much internet marketing have to offer that I can totally exhaust.

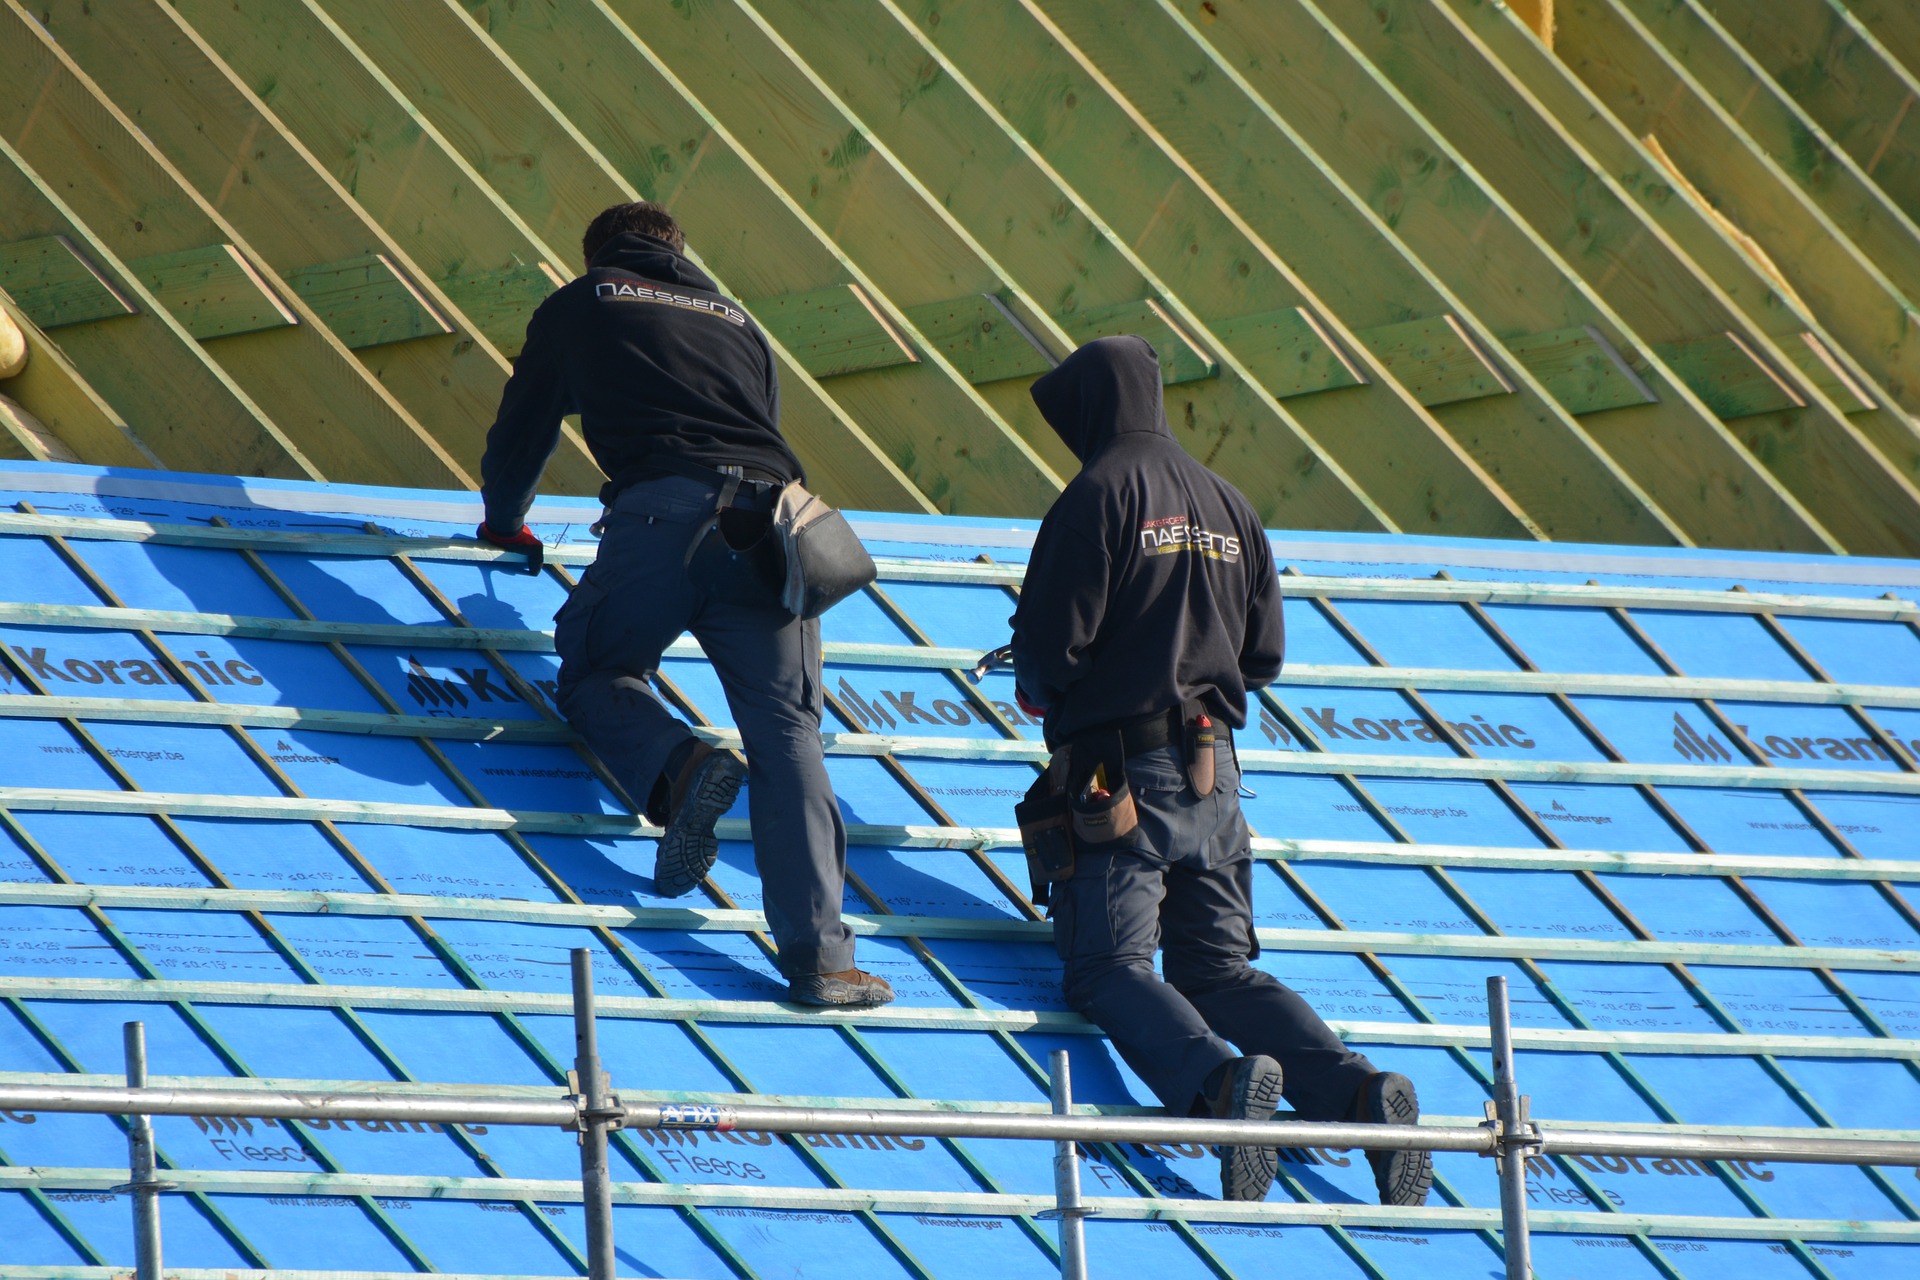
Quality Assurance Is Key:

To what gain is it when you spend money in trying to get customers to patronize you and after they do, they have nothing pleasing to say about your brand. As much as marketing is important, it also very crucial to take the services you render seriously and make sure you give out the best roofing services one could ask for. Do you want to keep the business going?  Do you want to keep sustaining an influx of customers? Then, be consistent. Keep offering quality roofing services.

Homeowners everywhere want quality but just having quality is not enough your prospects need to know you have what they want. That’s where good marketing comes in.

Read Also:

I enjoy writing and I write quality guest posts on topics of my interest and passion. I have been doing this since my college days. My special interests are in health, fitness, food and following the latest trends in these areas. I am an editor at Content Rally.

View all posts

Leave a Reply

Your email address will not be published. Required fields are marked *

Related

Kiln Dried Wood

Why Kiln Dried Wood is Better for Furniture

The process of kiln drying or drying logs in a heated chamber produces high-quality wood for furniture. It is because it results in less moisture in the wood, thus making it better and stronger. Problems such as cracking and warping are also less likely to happen. Proper dryness of wood is important to do furniture making a right. Types of wood used for furniture: There are three main types of wood used for furniture, namely hardwood, softwood, and engineered wood. Hardwood. This wood comes from maple, oak, cherry walnut, and other deciduous trees. It is strong, so it is suitable for making furniture. Softwoods. They come from pines and other evergreen trees. They can dent or bend easily, so they are not recommendable for use in furniture. Engineered wood. As the name suggests, this type of wood is engineered to achieve a particular form. Plywood and particleboard are two forms of engineered wood. Plywood is stronger than particleboard and suits weight-bearing furniture. What is kiln dried wood? This type of wood undergoes the process of kiln drying, an artificial way to dry wood. A kiln is like a huge oven that controls air circulation, humidity, and temperature and heats the wood directly or indirectly. Direct heating uses natural gas or electricity while indirect heating makes use of heat exchangers and solar energy. This process makes it highly effective for use in furniture. It can remove about 93% of the moisture. What makes kiln dried wood different? Kiln drying makes the process of drying faster. Wood is hygroscopic, meaning it continually interacts with moisture for balance until it is completely sealed. It is natural for wood to be that way for a living tree has pathways inside to absorb moisture and nutrients from the roots up. The chopped logs lose moisture content as they dry and kiln drying makes that easier. The significant reduction in the moisture content of wood is essential to avoid warping or shrinkage with changes in temperature and humidity. When used in furniture, it can destabilize or lose shape. Air-drying is also good when done right, but by using kiln dried logs, you can be sure, because the process is highly controlled. Benefits of using kiln dried wood Air-dried logs are also good for furniture, but you cannot really be sure if they are dry enough even if a supplier tells you so. With kiln dried logs, variable conditions are controlled, and drying takes place in a shorter time. Additionally, it kills harmful insects, mould, and fungi, making it safer to use.  Kiln dried wood makes the best quality furniture. Less moisture makes the furniture stronger and better looking. Problems such as cracking and warping are less likely to happen. Drying can be difficult when done the natural way, especially in a wet climate. When buying furniture, it is best to know what type of wood they used to have a picture of how long it will last. The use of a moisture meter is important for manufacturers to address moisture-related problems. Modern times have made it possible for mankind to understand nature better, which is why the relationship of wood to moisture can now be understood and measured. Read Also: What You Must Know About Wood Flooring? Furniture In Utica: Benefits Of Buying Locally-Made Products Hardwood Timber Flooring: Gives A Classic Look To Your Home

READ MOREDetails
how to install faucets

How To Install Faucets And Sinks

Installing a new sink is an uncomplicated and quick task. The process is relatively easy, and you can do the installation part by yourself with a bit of experience. Then how to install faucets? Though some complicated kitchen faucets require professional installation, many of the kitchen fixtures can be installed easily.  Here is a guide on how to install faucets and sinks.  Materials Needed   In order to install the kitchen faucet and sink set, you will need the following list of things: a sink, a faucet or tap, a basin wrench, a strainer set, pump pliers, a screwdriver, a crescent wrench, a spatula, plumber's putty, silicone sealant, a bucket, a flashlight, and a set of towels.  How to install faucets, and this reason is nearby if you wish to enlarge the opening within the countertop. It is also necessary to know how to clean bathroom sinks to maintain hygiene.  Step By Step Guide To Install Faucets And Sinks If you are looking for durable, sturdy, and premium quality faucets, it is best to choose Oltsw taps.  Here, we have mentioned the steps to know how to install faucets and sinks.  Step 1: Measure and mark the layout of the kitchen’s sink Place the counter's back edge in the center of the sink within its cabinet. If the sink contains a template, align it along the mark on the counter. This is the first step of how to install faucets. Place the back edge one and a half inches parallel to the counter. Trace around it; proceed to the subsequent degree. If there is no template, use 2-inch tape to stipulate the sink location. Mark the middle of the sink on its back edge. Lay the sink inverted on the counter. Align the mark on the sink and the one on the counter together.  Step 2: Mark the cut lines on the counter The cut line marking is the second phase of how to install faucets. The employing a straightedge to attach the marks, you will find yourself with an oblong outline on the counter of the sink's hole. To approximate the radius of the corner of the sink, round off the corners by hand. Take a slightly wider bit than the jigsaw blade (½-inch bit is typically enough). Then, at each junction of the cut-out lines, make sure to drill a hole inside the radius.  Step 3: Use a jigsaw to cut the sink opening Place a jigsaw blade into a front hole and cut along the marked line to the back hole. Repeat on the opposite side. Lay a scrap of wood some inches longer than the cut-out across the sink area. Screw through the piece and into the cut-out waste to stop it from binding the saw blade or falling. Cut along the cut lines marked at the front and back and remove the cut-out piece. Make sure that the fit of the sink in the countertop is set. If it is necessary, trim the opening with the jigsaw.  Step 4: Install the kitchen faucet Set the sink the wrong way up on a padded sawhorse or counter. Then, feed the tap's supply tubing and tailpiece through the gasket, which helps seal the faucet to the sink. Screw the washers and mount them on the lower side sink deck. This is the pre-final step of how to install faucets. Just make sure that the tap can swing for a whole area across the sink deck before tightening mounting nuts.  Step 5: Attach The Strainer Over Applied Putty Put the sink up, apply a thick roll of the plumber putty under the strainer edge, and push it up through the sink's drain hole. Slip the housing (if your strainer has one), gasket, and washer onto the filter and against the lower side of the sink. Dab the pipe-joint compound and expose the opening threads.  Thread the locknut onto the strainer by hand, then tighten it with pliers while holding the filter in situ. Fit the gasket onto the tailpiece of the sink drain and attach it to the strainer through its slip nut. Tighten the nut using a hand while holding the filter.  Step 6: Set the sink and connect the water supply Remove the tape, and pull it toward the center of the hole. With the sink still, the wrong way up, press a bead of silicone tapping around the lower side of the sink's brim. Turn the sink upright and set it on the hole of the countertop.  Make sure that the front of the sink is parallel with the front fringe of the countertop. Adjust it, if necessary. Next, use the corn-head supply tubes or the braided stainless-steel hoses to connect the tap and shut off the valves. Now, attach the required sprayer hose to the faucet's threaded tailpiece.  Step 7: Connect The Drain Pipes Assemble the trap adapter on top of the sink-drain tailpiece. Cut and dry-fit the length of the PVC pipe and attach the trap adapter to the trap and the drain elbow to the waste line. Then slide the web on the tailpiece to finely tune the length and alignment of the pipe.  Take the drain pieces apart. Clean the cut ends with a utility knife. Use a PVC primer to coat it and its mating pieces. Let it dry and hold for 30 seconds. Now you are finishing the process of how to install faucets. Conclusion The essential features of kitchens and bathrooms are the sink and faucets. The sink and faucets need to be installed properly to avoid any damage and issues later on. Taking this into account, we have mentioned how to install faucets with significant steps to be followed while installing sinks and kitchen faucets. Additional reading: Small Kitchen Storage Ideas Know About The Type Of Kitchens According To Different Size Different Types of Conversions to Make the Most of Spare space  

READ MOREDetails
bedroom house plans

Living Ideas In Small Bedroom House Plans With Efficient House Designs

In small bedroom house plans, a one-bedroom house plan is for individuals who want to live alone due to some reasons. Small bedroom plans can be done according to the couple’s interests and their preferences on behalf of the limited space. Get useful inspirations about one-bedroom house plans, which have great importance for small families or couples.  In small home planning, normally guest houses, accessory dwelling units, and retirement home ideas are best. Living in all-bedroom house plans normally represents budget-friendly ideas that require less maintenance. There are several reasons to choose the small house plans.  Why Are People Driving To One Bedroom House Plans? Choices of the different options for perfect bedroom house plans depend upon the personal interests of the people and their preferences to proceed with standards approaching styles. Every time the big space in your bedroom designs plans is not necessarily. Modern people, especially those leading a fast life, are more likely to choose a small cozy, well-ventilated, balanced interior room as their bedroom. Here are some advantages of the small one-bedroom house plan for the modern fast-forwarding people. The less square footage planning can be done with the help of experienced and well-acknowledging experts who know planning very well.  Some people live alone due to their job purpose, so they need small bedroom house plans instead of large spaces. So buying small house plans and design small living houses can be cost-effective for such people who want to live alone and take an interest in living in a peaceful environment.  Less maintenance and fewer expenses are required for modern 1 bedroom house floor plans to meet your objectives as well as to live with peace.  You do not need to waste money on the decorations of unused home areas. Because the small house plans can cover the empathy space and match your interest’s levels, the compact house plans are minimizing the cost of unused decorative items. Planning of a single person or living with your spouse can be a cost-effective and wise decision-making plan to achieve your objectives and to approach with smart choices to get the best and verified response at the time of your needs.  One Bedroom Design Is Always Meet Up the Objectives  One-bedroom homes are considered more effective and safer as compared to multiple-story homes. Due to having lots of expensive materials, bigger home plans are not considered the best and perfect as small homes.  Bigger homes are for the luxury life, and more space means more time for maintenance. And fewer working professionals have extra time during your working age. This is the main reason working professionals and students always keep voting for the one-bedroom house plans. Here are the points which make the one-bedroom house plans the most robust one. 1 The bedroom house plan is an instant and reliable source for interested communities to meet their objectives and then proceed with easy and simple approaching plans.  Get some help from professional house planners who have the experience to design small homes. Getting started with small house plans with efficient house design can be cost-effective and a nice plan to proceed with smart choices.  One-bedroom home ideas need less space but proper planning to design homes according to the interests and trust levels of the interested people.  Style of 1 bedroom house plans can always impress its residents to meet with their objectives and then proceed through fast and easily accessible resources.  You have to know how to get satisfied and how to match up with your innovative interior interests. The straightforward strategies are always the most effective way to improve your modern small bedroom house plans. Conclusion: From the modern-day aspects, the small is beautiful. This is the reason the tiny house and one-bedroom house concepts are introduced. Good ventilation, well Insulated, Thermal Windows, and Airtight Construction can play a vital role in meeting your objectives. There is a massive range of ideas and valuable inspirations that can proceed to approach the intelligent feature small bedroom house plans and make sure how to get satisfied from the practical, inspiring feature plans.  Read Also: Five Bedroom Rug Ideas – Area Rugs and Decorating Ideas 3 Tips on How To Plan The Best Cheap and Fabulous DIY Bedroom Makeover Seven Simple Ways for Achieving Cozy Bedroom Environment

READ MOREDetails