On average, each woman owns around seven handbags. That’s seven opportunities for seven bottomless pits. If you have trouble locating what’s in your purse simply because you have too much stuff, this article is for you.
Read on, and we’ll divulge some of the purse essentials you’ll need to keep in your bag.
If all else fails, you’ll be able to get around with these few essentials. And if you’re really against clutter, make a pact to only pack the things you need, and throw out everything else.
Purse Essentials You Should Always Keep in Your Bag
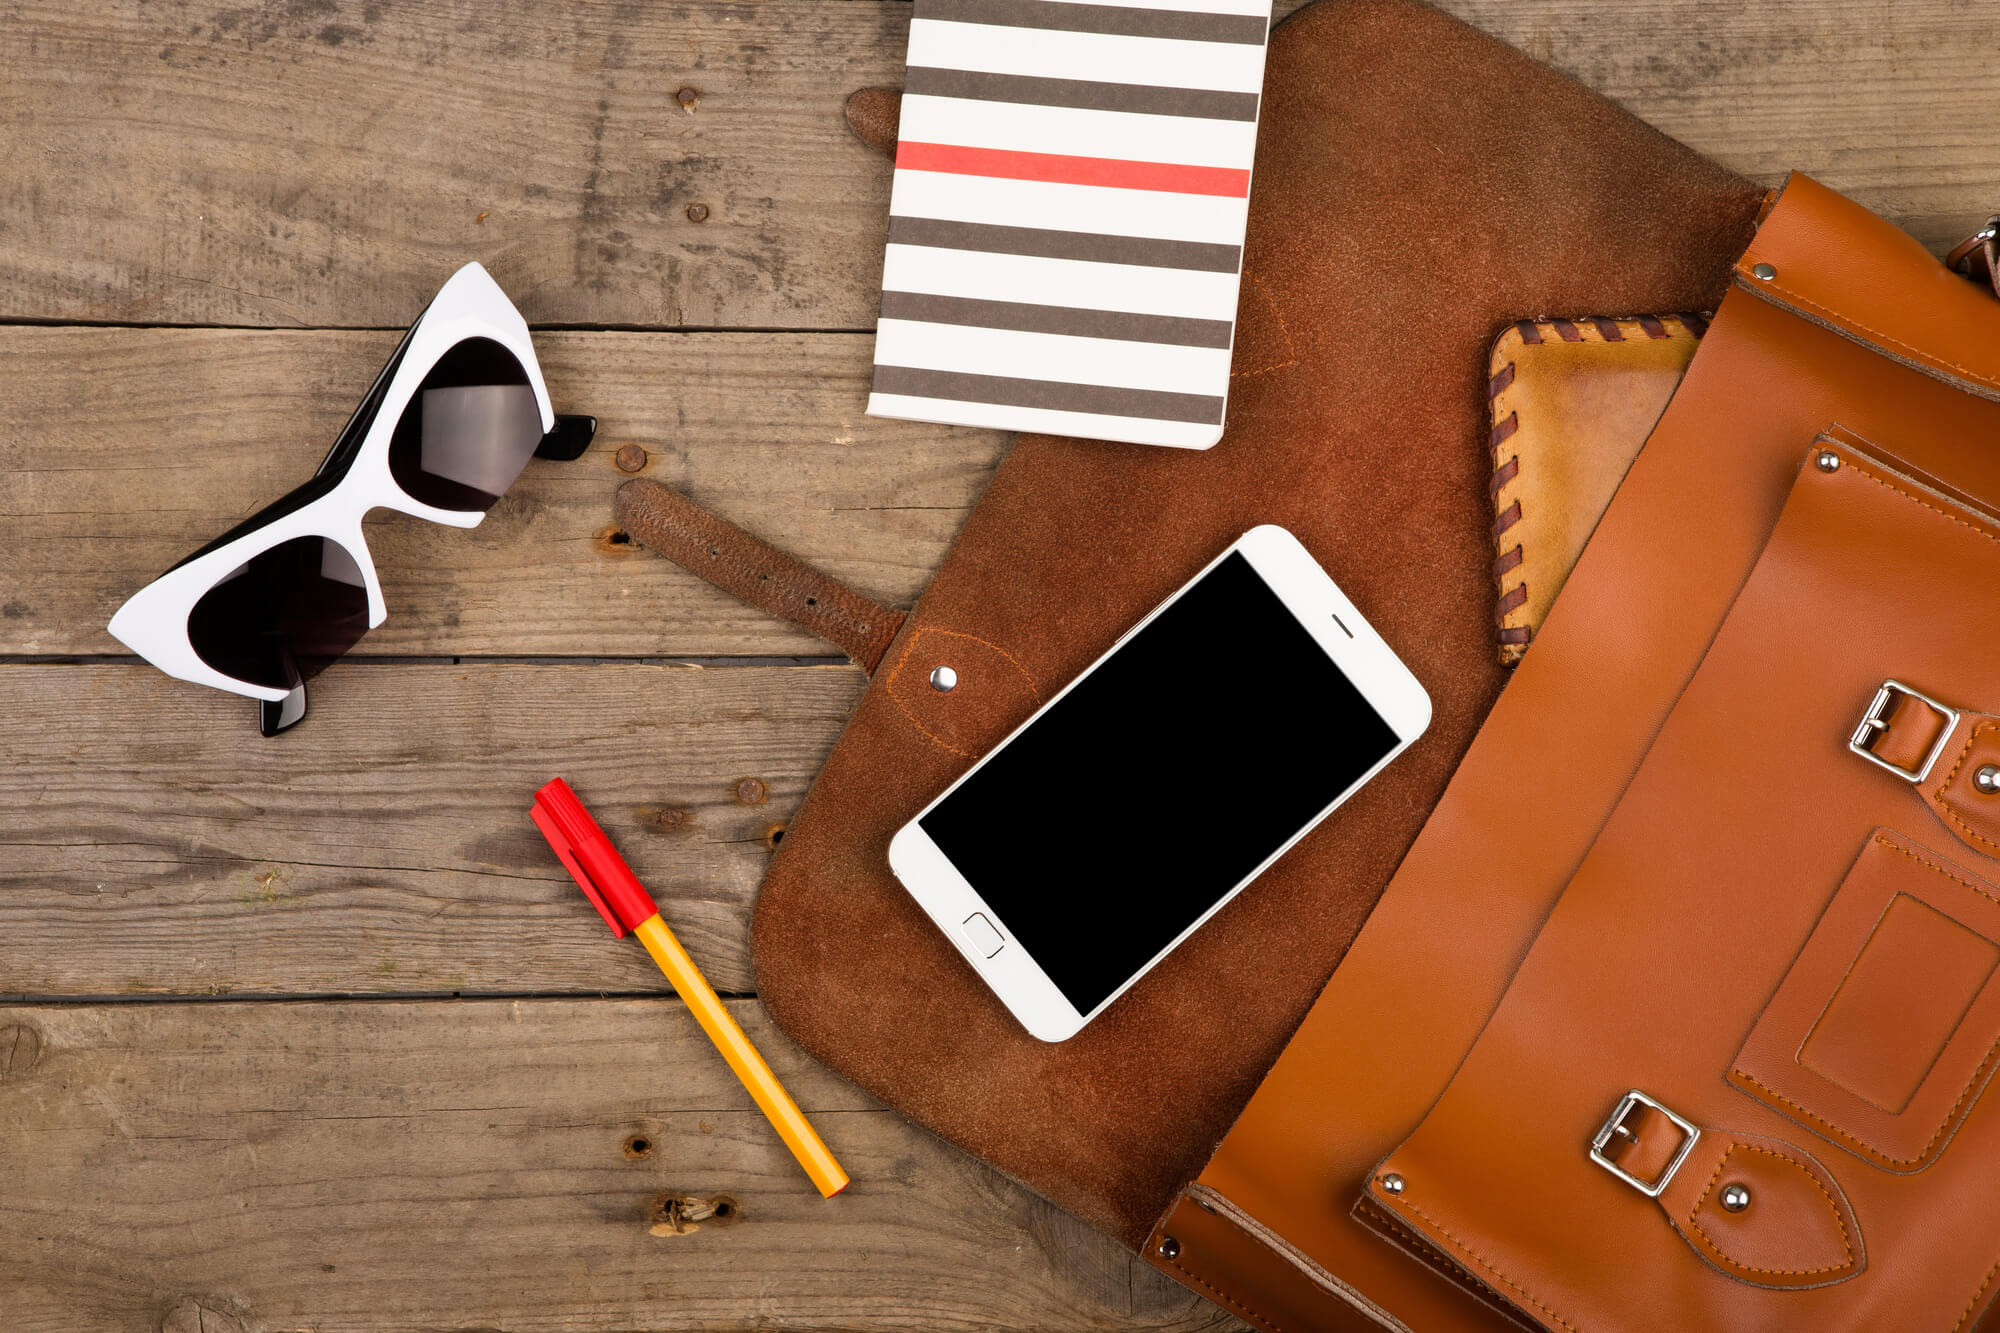
1. Your Phone:

This one is a no-brainer, but every woman needs their phone in their purse. How else would you text your husband annoying quips throughout the day or find out what people are up to on Facebook on your lunch break?
Keep your phone in your purse, and don’t leave home without it.
2. Charging Dock and Charger:

This might sound extreme, but you can get small charging docks that will help you keep the power on your phone for most of the day. You don’t want to waste your time on social media to find that you don’t have a charge when you need it.
If you carry around a charger, that will most likely come in handy at work or meetings when you can get some extra “juice” to help get you through the day.
3. Makeup:
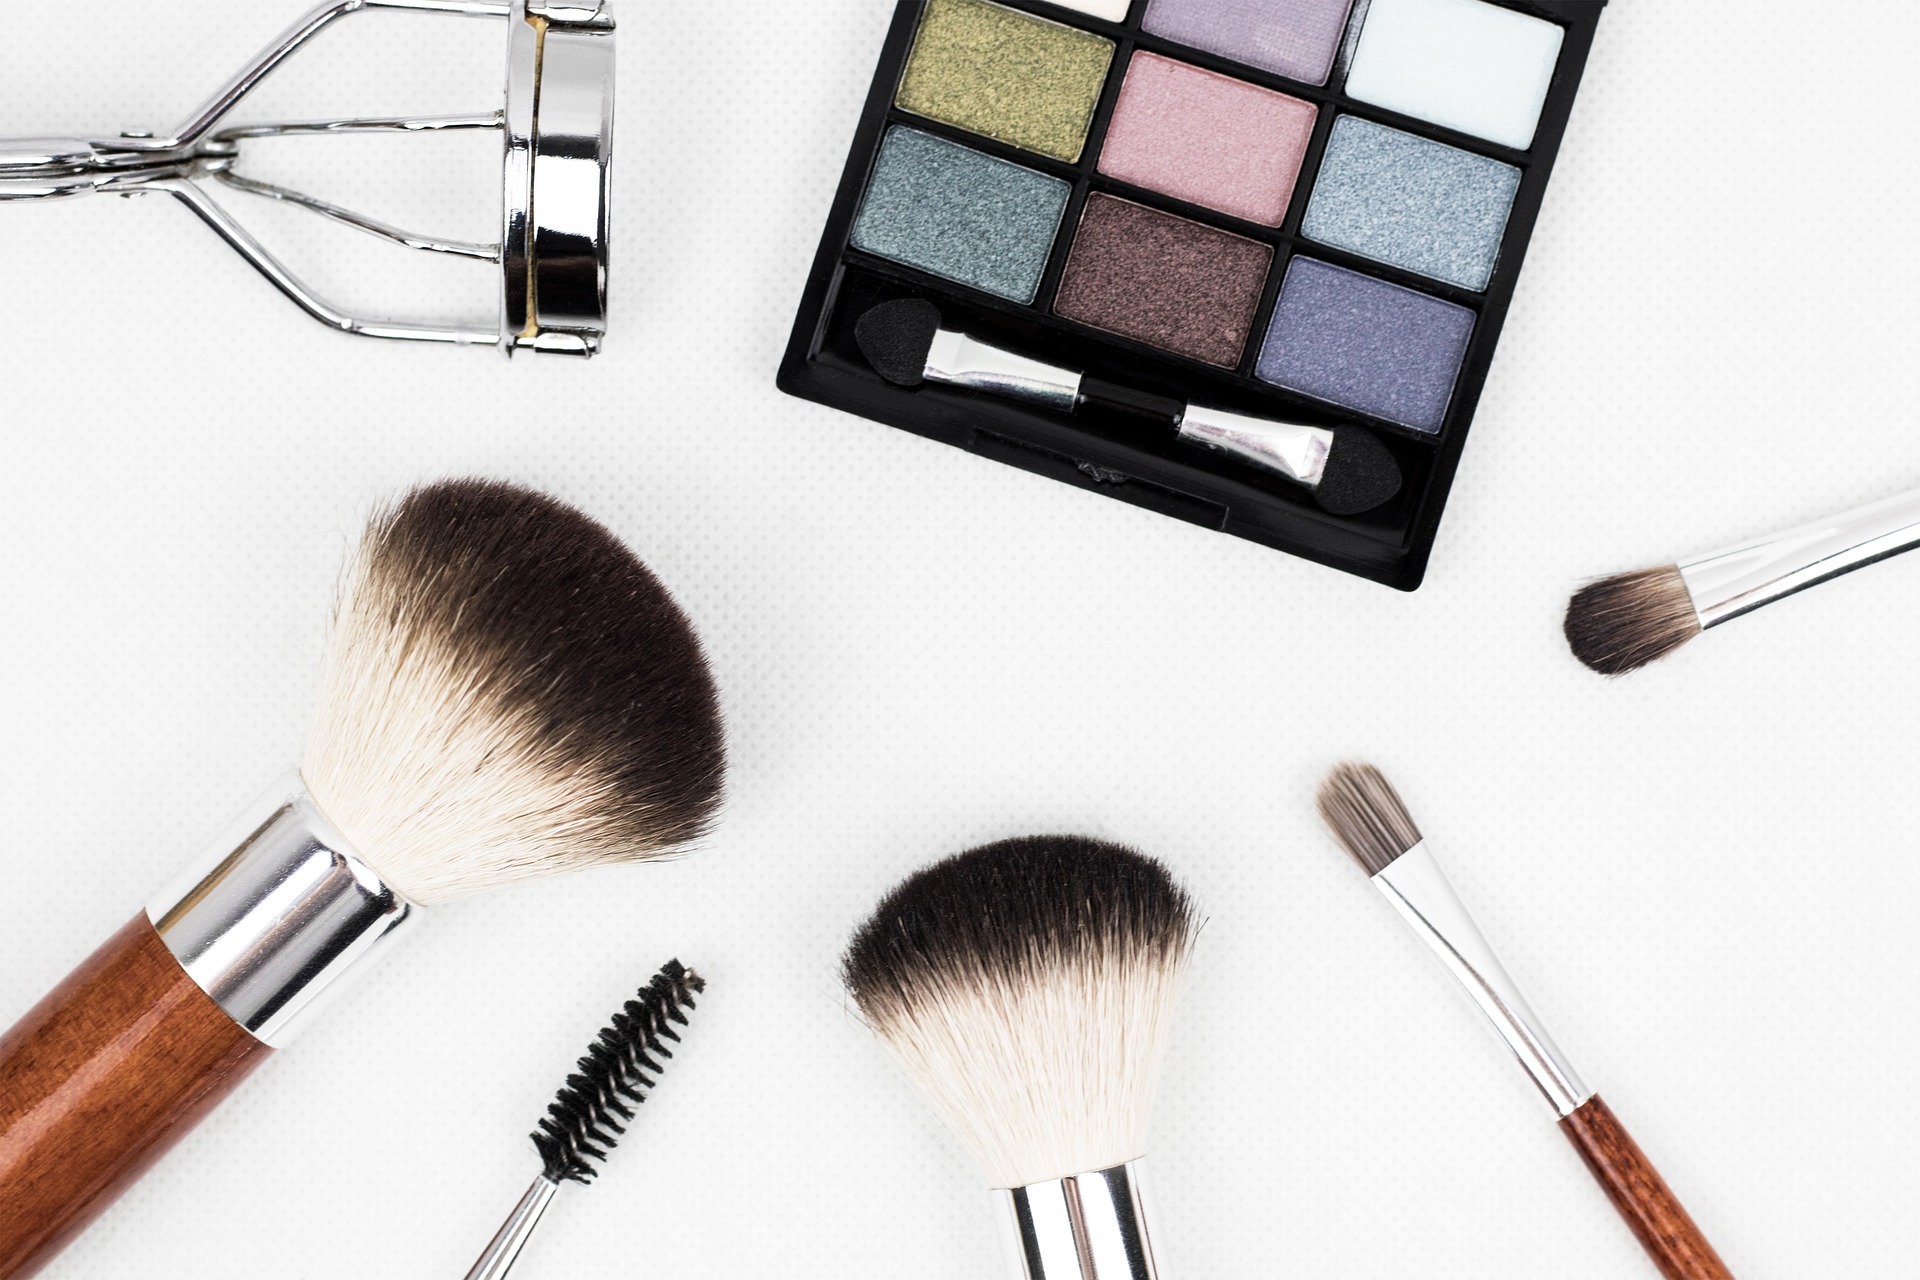
This one is highly personal, as some women don’t wear any makeup. But if you do, you should pack your essentials. Some women pack an entire makeup bag, and if that’s your thing, then go for it.
But if you wear minimal makeup, just pack the items that you’ll likely need to touch up through the day. This might include some blush, concealer, lipstick, or lip gloss. Throughout the day, you can sneak to the bathroom to ensure your makeup looks fresh.
4. Feminine Products:
Even if you’re not expecting your period, this is a good thing to have. In all your years of being a female, you probably already know that accidents happen and periods can come unexpectedly.
You also already know that sometimes your friends need a hand, and you’ll be the savior of the office or your friend group if you have a pad or tampon.
Make sure you’ve got a few in case of emergencies.
5. Breathmints, Gum, or One-Use Toothbrushes:
This one is especially essential if you’re going out on a date or trying to impress someone.
Breath mints, gum, and one-use toothbrushes are great things to have with you, especially if you go out for dinner with a date. You don’t want to have the dreaded garlic breath after a nice romantic Italian meal if he leans in to kiss you.
With these essentials, you can pop one in your mouth on the sly, or slip to the bathroom to brush your teeth with a single use toothbrush. Then, you’ll be fresh and ready for your closeup with your date!
6. A Snack:
You might think we’re going overboard here, but you never know when you’ll be stuck at a meeting or out on a business venture and not have access to food. Or, you might just get the afternoon nibbles at your office.
Packing a snack ensures that you stay healthy, especially if you’re trying to stick to a diet or eating well. By packing a healthy snack, you can avoid temptations at work or school in the form of a vending machine or breakroom snacks. Often times, they’re sweets that offer no nutritional value, so make sure that you pack something to help you get through your afternoon slump.
7. For Bigger Purses: Your Laptop:
You may not want to take your laptop everywhere, and that totally makes sense. But if you’re going somewhere for work, you work for yourself or you have a while to wait in between appointments, you might want to bring your laptop. You can get some things done in the downtime so that you won’t have to bother with them when you get home.
This company offers stylish bags that are roomy enough to pack your laptop but aren’t so over-the-top that you can’t use them every day. They also offer bags for men so that they can stay in fashion as well.
8. Pack of Tissues:
You never know when you’ll get a runny nose, bloody nose or need a spontaneous napkin. And you might find yourself having a good cry and needing something to sop it up.
Having a pack of tissues is a great way to ensure you’re always prepared. Like the feminine products, you can always pass them to friends any time they need them, and you’ll be the hero. They’re perfect for trips to the movies or the theater, as you never know when someone is going to bust out into tears.
Purse Essentials for Your Everyday Life:
Purse essentials are different for everyone, but we feel this list builds a solid foundation. There may be items you might not find fit the bill, and other items you think are absolutely essential. Either way, try and stick to the bare bones of what you’ll need during the day to avoid your purse turning into a black hole of random stuff.
For more tips and tricks, check out the fashion section of our website. We’ve got everything from fashion tips for men and women, as well as hair and jewelry tips.
Read Also: