Protecting Your Footwear: The Ultimate Work Boot Waterproofing Tips

by

28 October 2023

Fashion

Work Boot

When safeguarding your feet during demanding work, having a sturdy pair of work boots is crucial. Yet, merely owning top-quality boots is just the first step. To truly ensure the durability and functionality of your work boots, you need to take proactive measures to shield them from one of their most formidable adversaries: water. 

In this blog post, we'll dive into the ultimate work boot waterproofing tips to help you keep your feet dry, comfortable, and secure while on the job.

Why is Waterproofing Your Work Boots Essential?

Whether you're looking for the best rain boots or prefer a classical logger fit, waterproofing them is essential. Here's why: 

Prolonged Lifespan

Waterproofing your work boots can significantly extend their lifespan. Continuous exposure to water can weaken the materials and stitching of your shoes, leading to premature wear and tear. By keeping your boots dry, you can maximize their durability and longevity.

Enhanced Comfort

There's nothing worse than having wet feet on the job. It can result in blisters, cold feet, and, in extreme cases, even trench foot. Waterproofing your boots helps maintain a dry and comfortable interior, allowing you to focus on your work instead of discomfort.

Heightened Safety

Wet boots can reduce traction and stability, increasing the risk of slips, trips, and falls in the workplace. Proper waterproofing can help maintain the grip of your boots, enhancing your safety while working in challenging conditions.

Improved Health

Prolonged exposure to moisture can lead to various foot problems, including fungal infections and skin irritations. But not with waterproofed boots! They reduce the risk of these health issues.

Now that we've established the importance of waterproofing your work boots let's delve into the ultimate tips to safeguard your investment!

1. Select the Right Work Boot Material
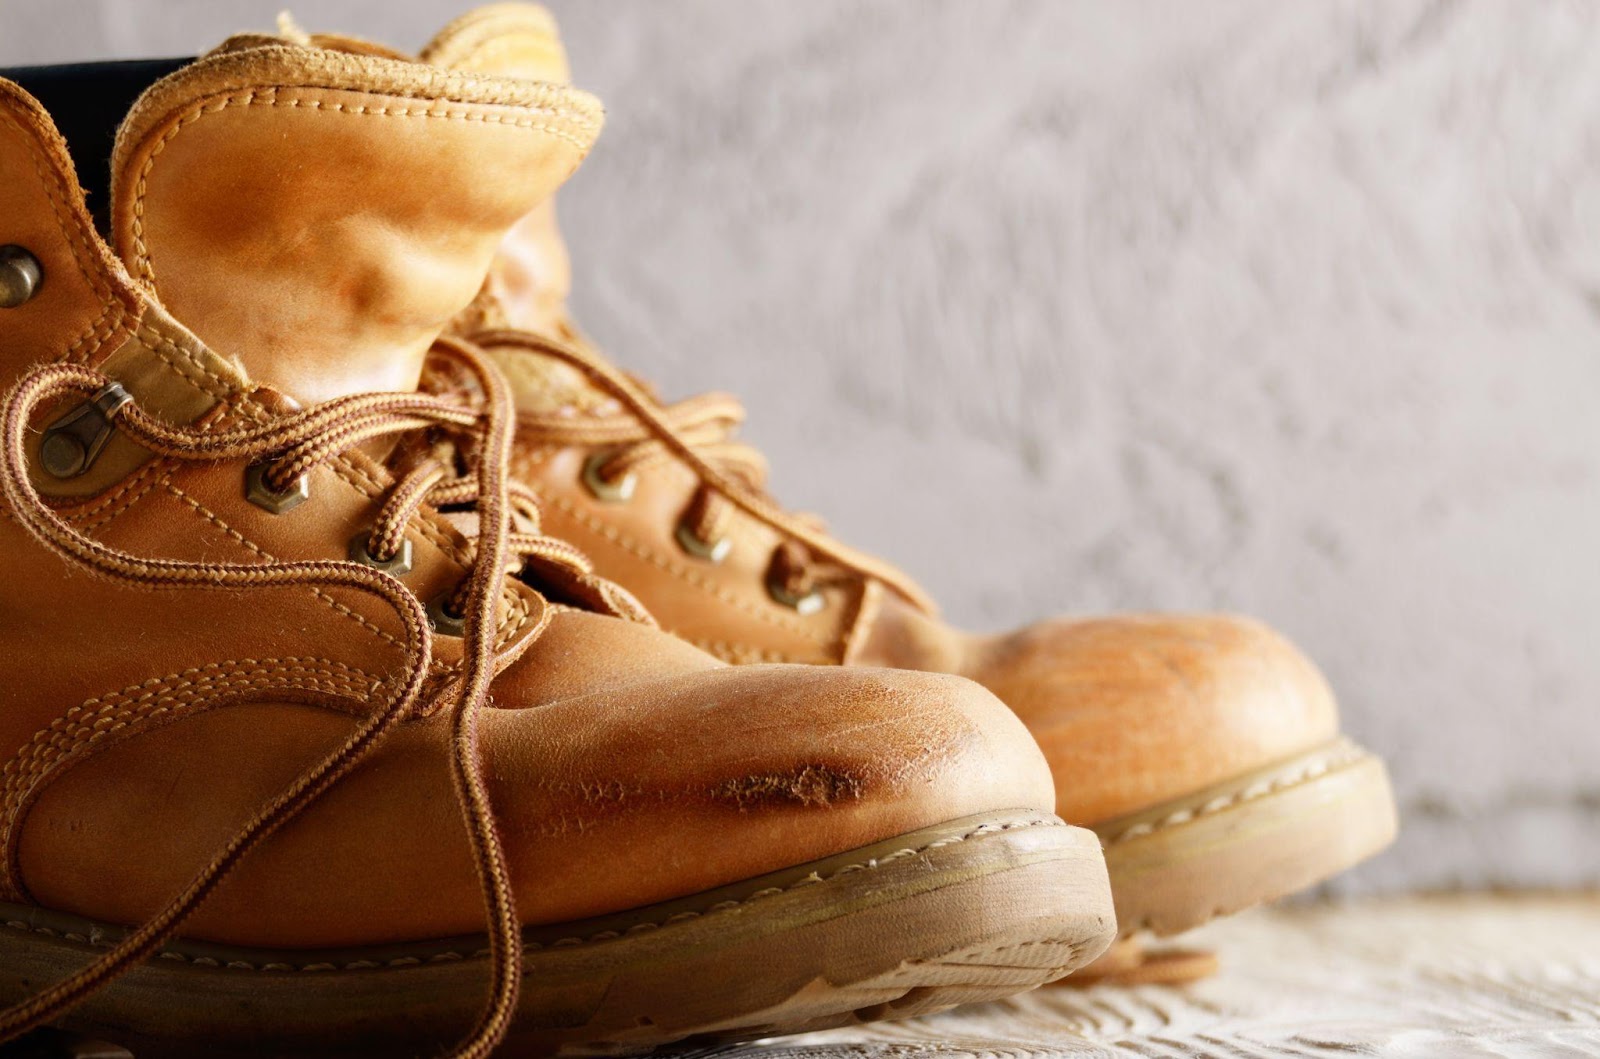
Right Work Boot Material

The first step in waterproofing your work boots starts with your chosen material. Different materials offer varying levels of water resistance. Here are some common work boot materials and their water-resistant characteristics:

  • Full-Grain Leather: Full-grain leather is naturally water-resistant and can endure moderate exposure to moisture. However, it still requires proper waterproofing to maintain its integrity over time.
  • Nubuck Leather: Nubuck leather is softer and more porous than full-grain leather, making it more susceptible to water damage. It necessitates thorough waterproofing and maintenance.
  • Synthetic Materials: Many work boots are crafted from synthetic materials with good water resistance. Nevertheless, they may require more frequent waterproofing to sustain their effectiveness.
  • Gore-Tex: Some work boots feature Gore-Tex membranes, which provide excellent waterproofing and breathability. Boots with Gore-Tex technology are often the top choice for wet conditions.

2. Regularly Clean Your Boots

Proper maintenance is essential for keeping your work boots waterproof. Regularly clean your shoes to eliminate dirt, mud, and other contaminants that compromise water resistance. Follow these steps:

  • Remove the laces: Take out the laces to access all areas of your boots.
  • Brush off dirt and debris: Utilize a soft brush or cloth to eliminate surface dirt and dust.
  • Wash the boots: Use mild soap and warm water to cleanse your boots. A soft cloth is great for gently scrubbing a boot, paying extra attention to seams and crevices. 
  • Rinse and dry: Rinse the boots thoroughly to remove any soap residue. Room temperature is ideal for air drying. Also, keep them away from heat sources to avoid cracking the leather.

3. Apply Waterproofing Products
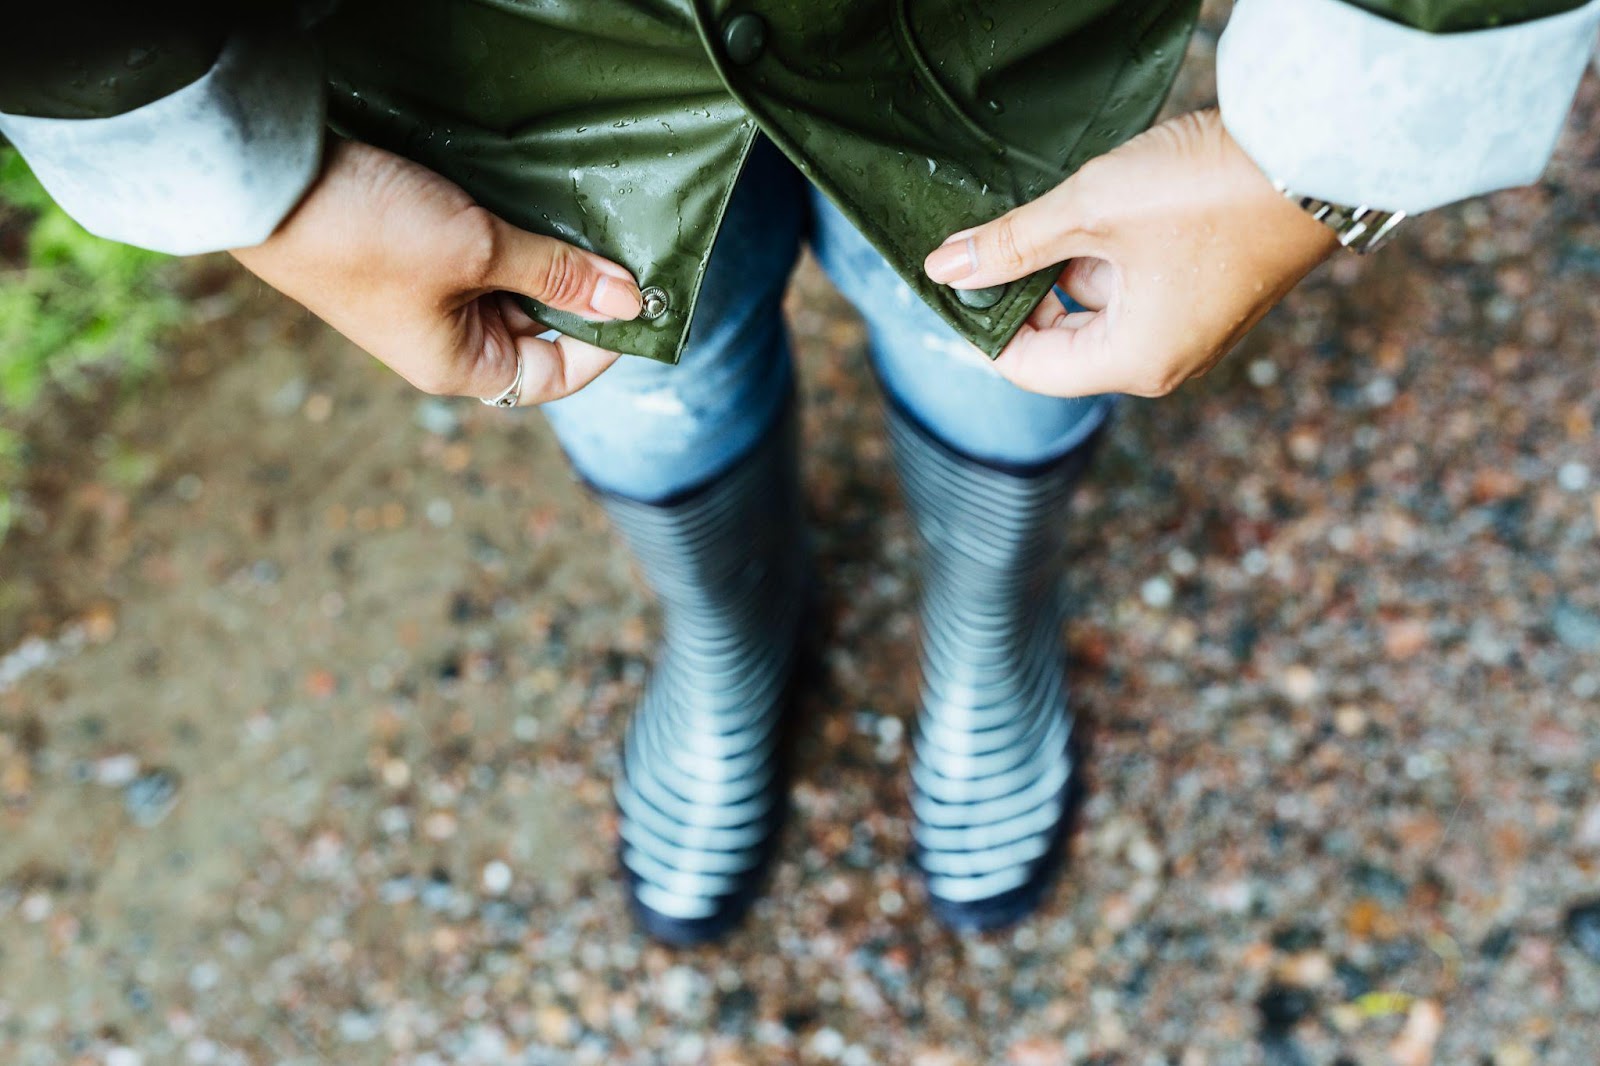
Apply Waterproofing Products

You'll need to apply waterproofing products to transform your work boots into truly waterproof gear. Various options are available, each tailored to different boot materials. Here are some everyday waterproofing products and how to use them:

  • Waterproofing Wax: Ideal for full-grain leather boots, waterproofing wax provides a protective layer that repels water. To apply, clean your boots as mentioned earlier, then rub the wax onto the leather using a clean cloth. You should dry it out before softly buffing it with a brush. 
  • Spray-On Waterproofers: These are suitable for various materials, including leather and synthetics. Spray the product evenly onto your clean, dry boots, and let it dry thoroughly.
  • Silicone-Based Waterproofers: Silicone-based products create a waterproof barrier suitable for leather and synthetic boots. 
  • Nikwax: Nikwax is a famous brand that offers various waterproofing products, including wash-in treatments for Gore-Tex boots. Follow the product-specific instructions for best results.

It's crucial to select a waterproofing product that matches your boot material and follow the manufacturer's instructions carefully. Regular reapplication may be necessary, depending on your work conditions and the product used.

4. Invest in Quality Boot Liners and Insoles

In addition to treating the exterior of your work boots, consider investing in quality boot liners and insoles. These could add a layer of comfort and moisture defense. Here's how they can help:

  • Boot Liners: Insulated boot liners can keep your feet warm and dry by wicking away moisture and providing insulation. Look for liners made from moisture-wicking materials like Merino wool or synthetic blends.
  • Insoles: High-quality insoles with moisture-wicking properties can help keep your feet dry from the inside out. Replace insoles regularly to maintain their effectiveness.

5. Seam Sealing

Seams are one of the most vulnerable areas for water penetration in your work boots. These are the points where different pieces of material are stitched together. Seam sealing involves applying a waterproof sealant along these seams to prevent water from seeping in. Here's how you can do it:

  • Ensure your boots are clean and dry.
  • Use a specialized seam sealer or waterproof adhesive designed for footwear.
  • Apply the sealant evenly along the seams, paying extra attention to high-stress areas.
  • Allow it to dry thoroughly before wearing your boots again.

6. Avoid Overexposure

While waterproofing is essential, it's equally important not to unnecessarily overexpose your boots to harsh elements. Prolonged exposure to water, mud, or extreme conditions can eventually wear down even the best waterproofing treatments. When not at work, store your boots away from direct sunlight or extreme temperatures.

Related: Starting A New Shoe Business: Here Are 5 Areas You Need To Concentrate On

7. Regular Inspection

Frequent inspection of your work boots is vital to ensure they remain in good condition. Here's what to look for:

  • Look for any evidence of wear, damage, or come-apart seams.
  • Inspect the condition of the waterproofing treatment on your boots.
  • Make sure your laces are in good shape and functioning correctly.

8. Repair and Resole as Needed

As your work boots age, they may need repairs or resoling. Cracks, holes, or worn-out soles can significantly reduce the effectiveness of your waterproofing efforts. Consider sending your shoes to a professional cobbler for repair and resoling if your shoes show significant wear. It's an investment in the longevity of your boots.

Wrapping Up

By implementing these advanced tips and techniques, you can further fortify your work boots against water infiltration and ensure they serve you well for many seasons. Your feet will thank you for the dry and comfortable protection, and you'll be well-prepared to tackle any job, no matter how challenging the conditions may be.

Good luck!

Read Also:

Arnab is a professional blogger, having an enormous interest in writing blogs and other jones of calligraphies. In terms of his professional commitments, He carries out sharing sentient blogs.

View all posts

Leave a Reply

Your email address will not be published. Required fields are marked *

Related

Diamond Jewelry

Hottest Trends In Diamond Jewelry

Diamond jewelry pieces are timeless. They will always be in style. They can give any kind of outfit a complete look, whether it is a nice pair of jeans and a trendy top or a beautiful evening gown. Diamond pieces can evoke antique romance. The recent fashion in diamond jewelry offers customers a wide range of options to choose from.  Here are some of the latest trends in diamond jewelry that you should know. These trends can guide you in the right direction and help you accessorize like a fashion expert. 1. Colorful diamond jewelry: In 2021, expect to see an explosion of color in the jewelry world. There is no doubt that colored diamonds are beautiful and fun.  Colorful engagement rings are an ideal option for people who are looking for something unconventional yet flamboyant. Other than colored diamonds, there is also a huge rise in other colored gemstones, including sapphire or emerald and diamond studs or diamond chandelier earrings. These timeless pieces will definitely add a touch of class and glamour to any look. Some of the colors currently trending are pink, sunny yellow, hue chocolate, and champagne diamonds. You can always consult your jewelry expert on the latest diamond trends so you know which piece fits you best. 2. Vintage-inspired rings: Whether you are intrigued by the look of a vintage ring or you are hoping to update a ring from your past, the heirloom-styled ring is currently trending. A lot of women are choosing new rings that replicate the look of a ring from the 90s. However, other women are incorporating a bit of a contemporary twist on their antique rings by simply adding a lab-grown diamond piece to a ring passed down in their families. 3. Stackable rings: A huge trend in diamond jewelry currently is the right stack. Whether you want to add to your ring finger or you just want to start a stack on your right hand, the best option would be the stackable rings. Since the ring stacking trend started, many women are now thinking about how they can fit their black diamond engagement ring into a stack. 4. Lab-grown diamonds: There are plenty of reasons why a lot of women are now opting for lab-grown diamonds, including the environment, cost, and their morals. The mining of diamonds is usually not environment-friendly. It destroys the planet and uses a large amount of water and energy. It also emits unnecessary amounts of carbon. But the lab-grown diamonds can significantly reduce the supply chain. In addition to that, these types of diamonds look as gorgeous as mined diamonds. But chemically, they aren’t the same. The benefits of lab-grown diamonds are endless. So if you want to save the planet, lab-grown diamonds are your perfect choice. 5. Chainlink diamond jewelry: Chains become quite popular in 2020. Not just limited to necklaces, the chain link design has also been redesigned in bracelets and rings. From thin diamond chains in several layers to big and bold singular diamond chain link bracelets, chain link is believed to be the coolest diamond jewelry trend that will take 2021 by storm. Read Also: 5 Tips To Enhance Your Personal Style With Jewellery How to Choose the Right Jewelry for Any Outfit Gold: Choose your Jewellery Carefully The Future of Women’s Fashion: Shopping Online

READ MOREDetails
a casual look

5 Simple Tips for Men to Level up a Casual Look

It's difficult to draw clear lines between what counts as a casual look and what doesn't. Most people are describing it as"business clothing" when they want to describe the suit. But when a suit has a Grey-pink suit with yellow pinstripes? This is tough to be a business clothing. This isn't the kind of thing you'd wear in a boardroom. Depending on your career, your casual wardrobe may be finer or less dressy than your work wardrobe, or it may consist of the same items. 5 Tips To Style The Casual Look For Men Unfortunately, this liberation can be frightening. Most men then adopt a default “uniform” as a casual look: khakis and a button-down shirt for more formal occasions, and jeans and a t-shirt for more relaxed situations. So, if you're looking for some casual style leveling up ideas for guys who want to look great outside of a suit and tie, you've come to the right place. Here are five styling tips for men to rock a casual look. 1.Layering One of the most notable common dress flaws is when the t-shirt and jeans or dress shirt with khakis style is that it is complete at first glance. Nobody's attention will be held because there is nothing to hold it with. They're finished once they've taken in your trousers and shirt. Adding components to an outfit is what layering is all about. Layers include a blazer, a cardigan, a hat, a scarf, and even a casually slung messenger bag with a wallet. Visual complexity is the outcome of adding elements beyond the shirt and pants. People's eyes linger longer since there's more to take in.  As a result, add a few extra pieces for achieving a casual look. For example, you can team up with Jackets or blue blazers. Both are fantastic, Fangyuan lightweight jacket, denim, or leather jackets are exceptionally good combinations; you should have at least one of each. Then, depending on your style and preferences, go where they lead you. 2.Emphasize The Accents What exactly is an accent for a casual look? Anything that isn't the outfit's huge, body-covering pieces. Trousers, shirts, and jackets aren't considered accents; however, depending on how you wear them, virtually anything else can be. Small changes to your fundamental accents can elevate an ensemble from uniform to unique. Replace your boring brown dress shoes with a pair of vividly colored canvas shoes or a loafer with a brass buckle. A colored web belt can be substituted for a leather belt. Add a unique watch or a nice piece of male jewelry.  This does necessitate some restraint. There shouldn't be just one accent in your attire. You've gone overboard if all anyone remembers is your neon-yellow ammunition belt. However, in a world when most guys are wearing the most neutral option available, some color, detail, and originality will set you apart from the pack. 3.Tailor The Fit We normally associate tailoring with professional attire, but leisure apparel can benefit from some personalization as well. You don't have to invest in bespoke construction for all of your casual clothes (though it is a great way to get a one-of-a-kind jacket or blazer tailored exactly how you want it), but a few fit adjustments should be required for the majority of your wardrobe items. Trousers should be hemmed to break neatly at the cuff, with the cuff lying softly on top of your shoes. To avoid a droopy look between your legs or in the butt, the crotch should be kept as near as possible without losing comfort.  Shirts are also worth tailoring for a casual look, especially if you're slim and most shirts are too big for you. A baggy shirt tucked in creates a horrible "muffin top" of cloth spilling out over your belt and an untucked baggy shirt billows like a sail (also bad). Short-sleeved shirts with too-large armholes should also be avoided, as they make you appear skinny and weaker than you are. 4.Switch Up Jeans For Chinos  The jeans are excellent, but they all look the same, and they aren't the only legwear choice. Invest in one or two pairs of chinos to add some diversity to your wardrobe. Simply adding one pair to your wardrobe multiplies the number of outfits you can put together. You may triple that number by adding one more. One basic pair in camel or grey comes highly recommended. Also, get one colored pair to mix things up a little. Because it's uncommon for males to wear color below the waist, it sticks out. 5.Match Things Up  Mix things up a little. Invest in shirts that can be worn alone or that are uncommon under a jacket, such as a long-sleeved t-shirt rather than a collared shirt. Blazer-style jackets can be replaced with cardigans or casual coats. And so forth.  Don't be hesitant to go to stores you've never considered before and try on styles that aren't exactly what you'd wear daily. You might be surprised by what you like to wear. You will not blend in if you start dressed properly. You may appear a little overdressed in some settings. And that's perfectly acceptable. You can be as dressy as you like as long as you're not wearing business clothing in a non-business context. It only needs to be obvious that it's your style.  Conclusion Whether you begin by tailoring your clothes, purchasing new shoes, or adorning your wrists, the possibilities are endless. Simply begin someplace. Take the next step to achieve a casual look after you've taken the first, and the next, and the next. And before you know it, you'll be staring in the mirror and seeing a guy who looks exactly like you, only better-dressed. Read Also:  8 Fashion Tips Exclusively for Men The Season of Suave: Holiday Fashion Tips for Men

READ MOREDetails
what is builder gel

What Is This Magic Product Salons Are Using? What is Builder Gel?

What is builder gel? It could be your whole personality right now. I mean, that’s the prime function of beauty, though. Most importantly, it can change your nails big time. I just felt everyone should get to know more about it. So, here I am with the details!  Firstly, it is a magic product, no doubt. Most licensed nail teachers and professional salon experts say this viscose polish strengthens your nails. The nails can grow without breaking. In technical terms, we call this- building your apex. Some refer to builder gel extensions as adding structure or creating structured overlays.  What is an apex? You now know what builder gel is. But what is an apex? In the terminology of nail care, the apex is the highest point of nail extensions. It is added to your nail to give it strength and balance it simultaneously.  To understand an apex better, you can think of it as the arch or dream curve of the nail. It is the thickest segment of your nail and the most challenging part of your nail palette. Once you get the apex right, you can pull off any of the nail designs 2024. How Do You Apply Builder Gel? Don't confuse it with the application of nail polish. Firstly, we apply nail polish in vertical strokes. However, builder gel is much more viscose. Hence, we use horizontal strokes while applying it.  As a result, the policy expands across the whole nail. There are three types of builder gel. These are hard, medium, and soft gels. If you’re using the hard gel, then use a separate brush for the same.  Let's clarify another confusion here. Some builder gels need you to apply a base coat first and then apply the gel on the top. However, builder gels manufactured by brands like Halo need nothing.  Once applied correctly, the hard gel helps you keep your manicure safe for a long span. However, some experts say using a rubber-based base coat is always better. It helps you to achieve the correct adhesion and take good care of your nails.  Why does builder gel lift? There are many reasons why the builder gel coating can lift from the nail top. Firstly, you must know that it is not as flexible as the natural nail. Therefore, the gel coat may lift at any time. The same may happen when you don’t apply a base coat to make the natural nail more adhesive.  Generally, we call the lifting of gel- “pocket lifting.” The center of the enhanced nail lifts away from your natural nail. Well, we understand that the builder gel coat may ward off any time.  But we apply it to give our nails strength, shape, and safety. So, we must know why the nail coating comes off. Otherwise, our builder gel treatments would be in vain. Here are some of the main reasons I’ve noticed over the years:  Inaccurate nail preparation You can’t achieve proper adhesion if you don’t remove your ail cuticle debris; moreover, not buffing the surface properly leads to the same outcome. Therefore, I suggest using a hydrator properly and avoiding such outcomes especially if you’re into French manicure acrylic nail ideas. Imperfect application I’ve always suggested visiting experienced nail experts. They know the proper application techniques. Frail treatments like builder gel applications may go wrong if you don’t know the accurate application technique.  However, the exact flaws that amateurs make are not properly curing the portions between the layers. The process takes time and patience.  Poor products  Are you using cheap or non-compatible gel primer? Even poor topcoats can also cause poor adhesion. Hence, the builder gel coat can be lifted easily.  Quality of natural nails  Often, your nails are naturally damaged. Some of the people have fragile natural nail layers. In that case, the nail additions can easily ward off. So, you must apply a good hard gel and a base coat of the right consistency. The same is also important for ombre nail designs 2024. Poor Curing Quality Did you use weak UV to cure the gel? It may be one reason your builder gel came off before time. When you don’t apply the UV for long, it makes the polymerization process weaker. As a result, it leads to easy lifting.  Benefits of Using Builder Gel There are many benefits to using builder gels. By now, you know what builder gel is and its uses. Now, it is time to find out what are the most expected benefits of the builder gel application: a. strengthening natural nails if your nails are skinny and weak  b. The nails can grow long, giving your fingers a premium finish  c. The thickness of your nails also improves when you apply a builder gel finish  d. Lastly, the builder gel nails become more durable. It can resist weathering, especially during severe winters.  Builder gels make your nails chip-resistant and much longer lasting. However, you have to make the application right. Remember the tricks I mentioned, and you can enjoy builder gel nails for a long time.  Application Process The application process is easy. It suits even beginners well. I suggest just following the steps below and having a safe and durable coat of builder gel. Start with preparing your nails for application. Do that by cleaning your nails and removing any existing polish or debris. After that, you have to do your nail buffing clinically.  Start with buffing the surface gently. After that, ensure you’ve achieved the right rough texture to help the gel sediment on your nails.  Thirdly, you have to apply builder gel. This is the most critical stop that we were all looking for. First, use only a thin layer of gel on each nail.  Remember, the gel is much thicker than regular nail paint or nail polish. So, don’t use the builder gel in very high concentrations. At the same time, know about the proper application strokes.  When you apply builder gel, the strokes go horizontally. However, the nail polish strokes are vertical. Lastly, use a sculpting form to extend it evenly across the edges, too.  Done the primary step? Now, think about increasing the life of your builder gel nails. You must cure your nails with a UV/LED lamp. It will harden the builder gel layer. To finish off, cover the tips of your nails with a short nail polish layer.  Always remember you must use a clean brush to remove the remains of the polishes applied beforehand. There might be small traces of polish inside the cuticles. Or on the sidewalls. So, use the brush well. Clean up and then layer the builder gel.  Maintenance and Removal Maintaining a builder gel is not challenging. Shrug off the terrors experts may be giving you. You can now easily keep your builder gel nails with some simple tricks:  1. don’t use any harsh chemicals on the nails.  2. Most importantly, don’t soak your nails in water for a prolonged time. It is enough to ward off adhesion. At least avoid doing that for the first 3 days after application.  3. Don’t forget cuticle oil. You must regularly apply cuticle oil to keep the nails hydrated for a long time. In the meantime, the same also keeps your nails healthy. At the same time, cuticle oil can help avoid hangnails or dry and choppy nails. Most importantly, it helps you to avoid cracked cuticles, too.  The removal of the builder gel coat is equally easy. Just soak the nails in an acetone remover. However, you can also remove the layer manually with a nail file and a cuticle pusher. This is, in fact, a gentler method. Hence it helps you to keep the health of your natural nails intact.

READ MOREDetails