The 7 Most Common Types of Plumbing Problems

Published on: 12 December 2018 Last Updated on: 03 September 2024
Plumbing Problems

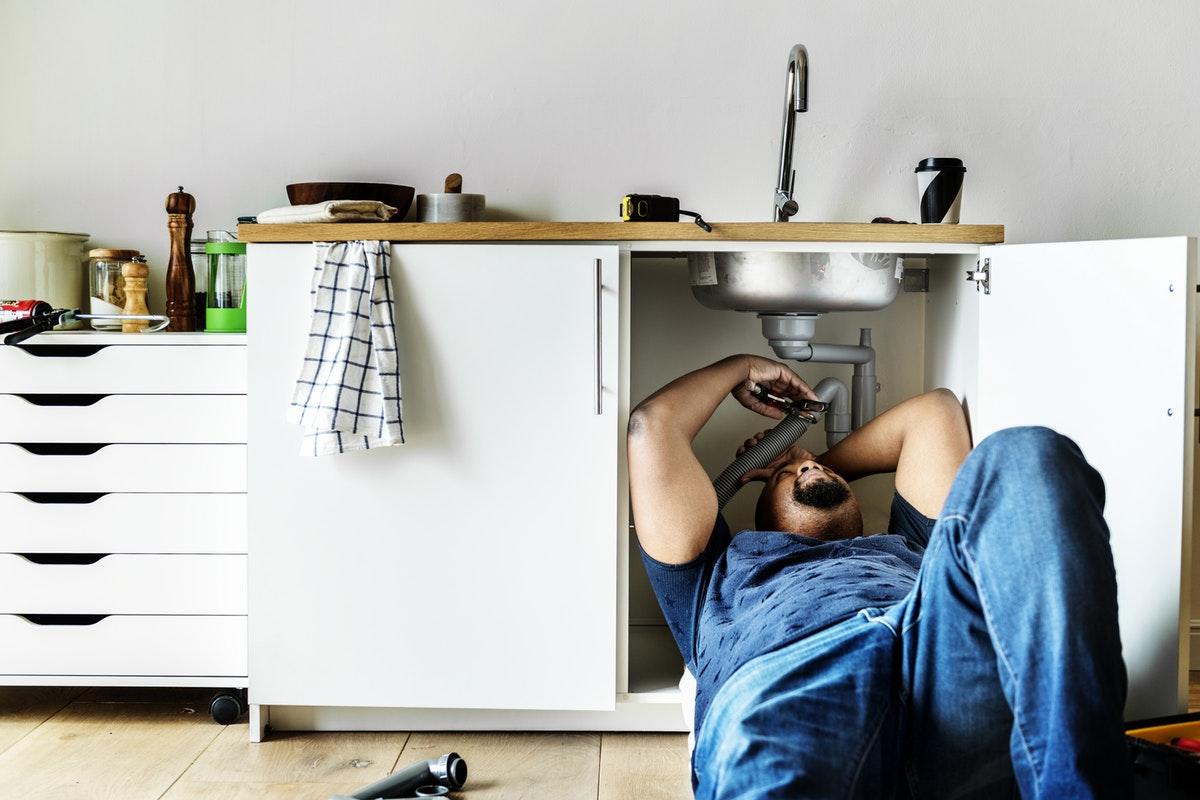
All households at some point will have plumbing problems, and they come in different forms. These problems range from an annoying dripping bathroom faucet to a full-blown emergency plumbing situation like a burst pipe. In such situations, being able to get hold of a 24/7 emergency plumber will be immensely helpful. Websites like Emergency Plumber Finder Blog, on the other hand, will not only help you find an emergency plumber near you, you can also find important tips on what you can do to mitigate the damage while waiting for help. Here is a list of seven most common types of plumbing problems and what you can do when they arise.
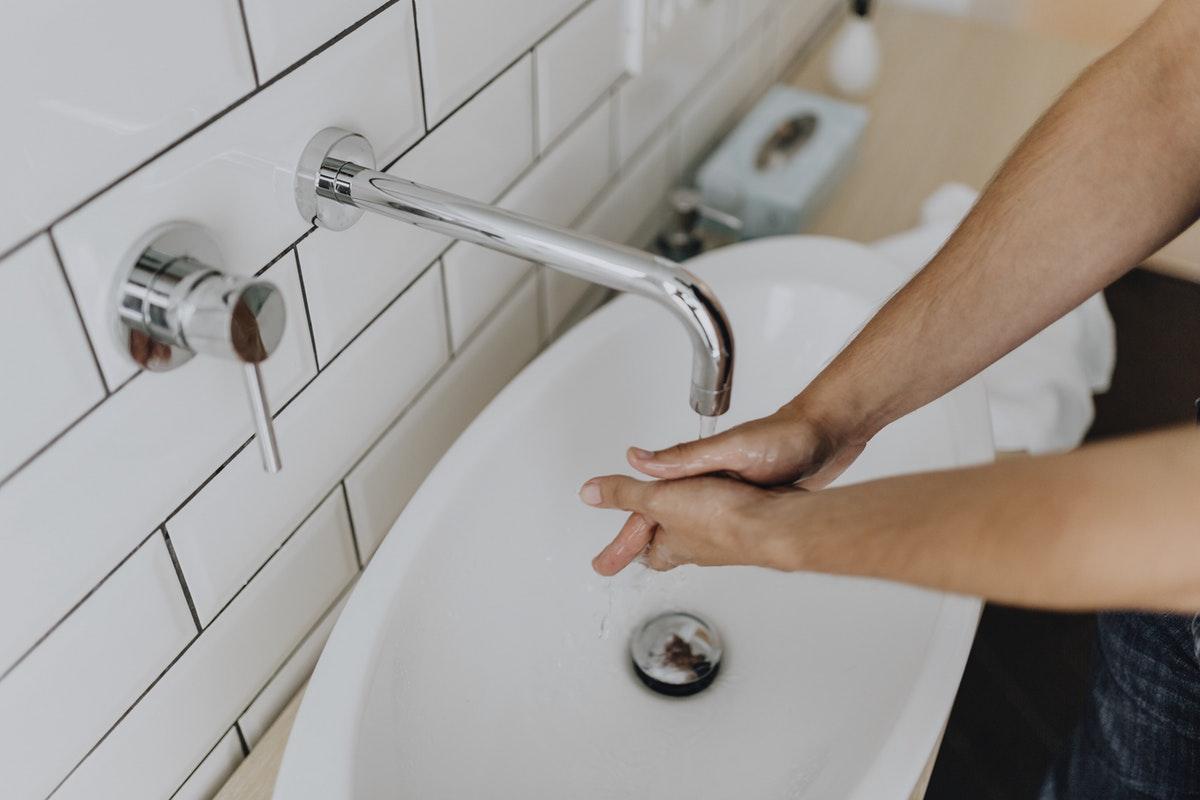
1. Leaky Faucets:

Leaky Faucets

This is one of the most common plumbing issues and, in some cases, turning the handle just a bit more is enough to take care of it. At times, however, the leak may be so severe that it causes a significant dent in your utility bills. Look for the isolation valve near the problem fixture to cut off the water supply to it without interrupting water service to the rest of the house. Call your plumber.

2. Burst Pipes:

Burst Pipes

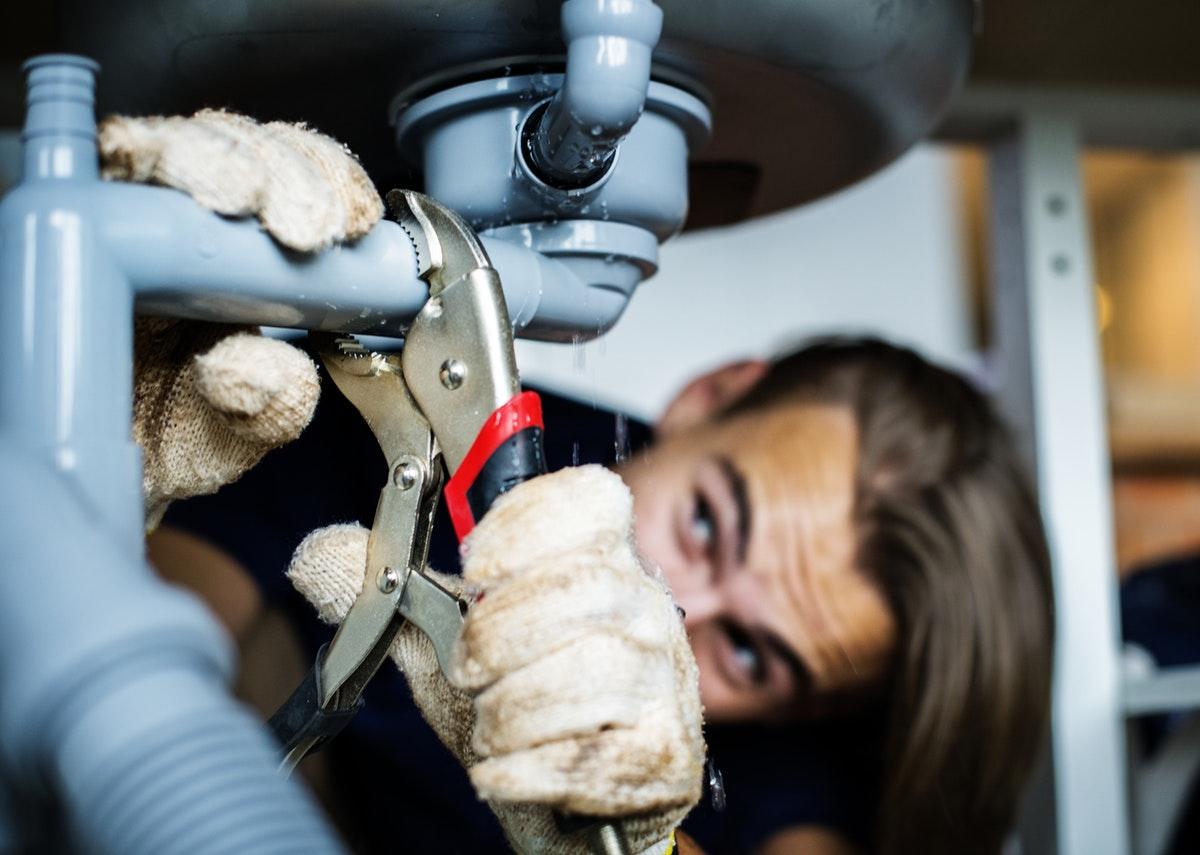
Apart from water spraying all over the place, other more subtle signs of burst or leaky pipes include wet walls and flooding in certain areas of the house. The best way to address this problem is to shut off the main valve that is supplying water to the entire house. Do not forget to turn off the water heater after shutting off the water supply. Turn on any faucets and spigots outside your home to release water and pressure that are still in the pipes. Then, let the pros fix the problem.

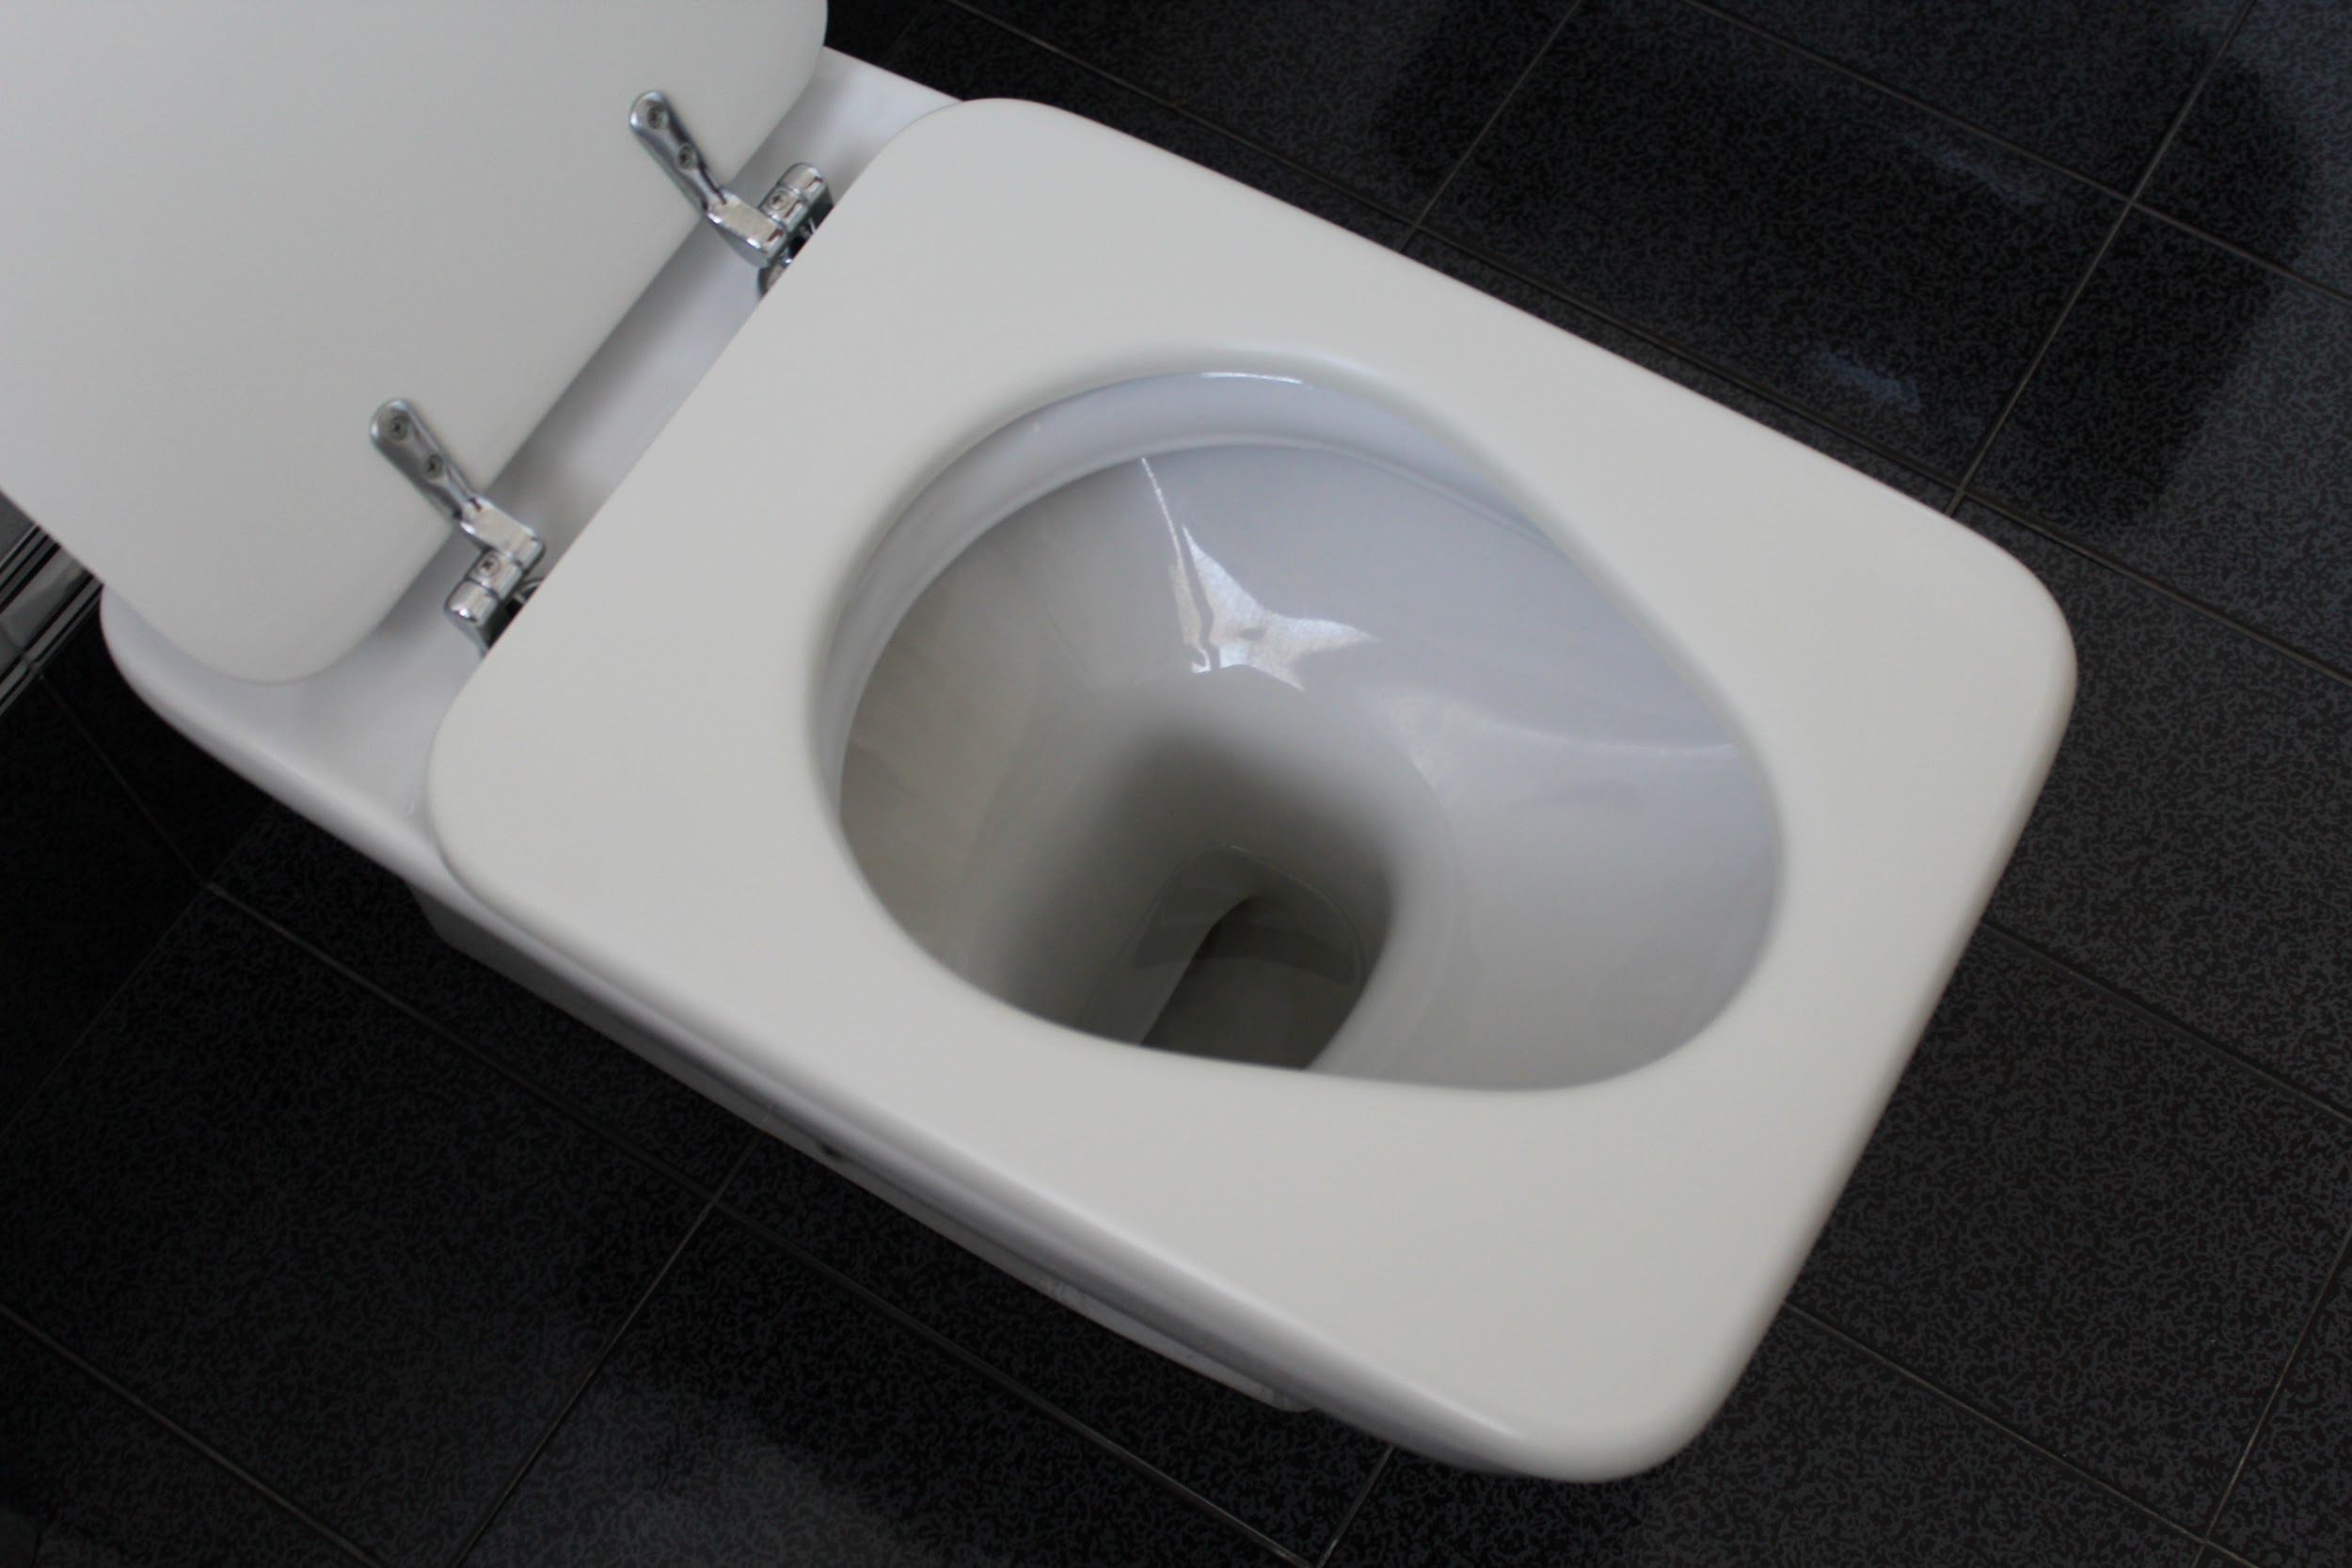
3. Overflowing Toilets:

Overflowing Toilets

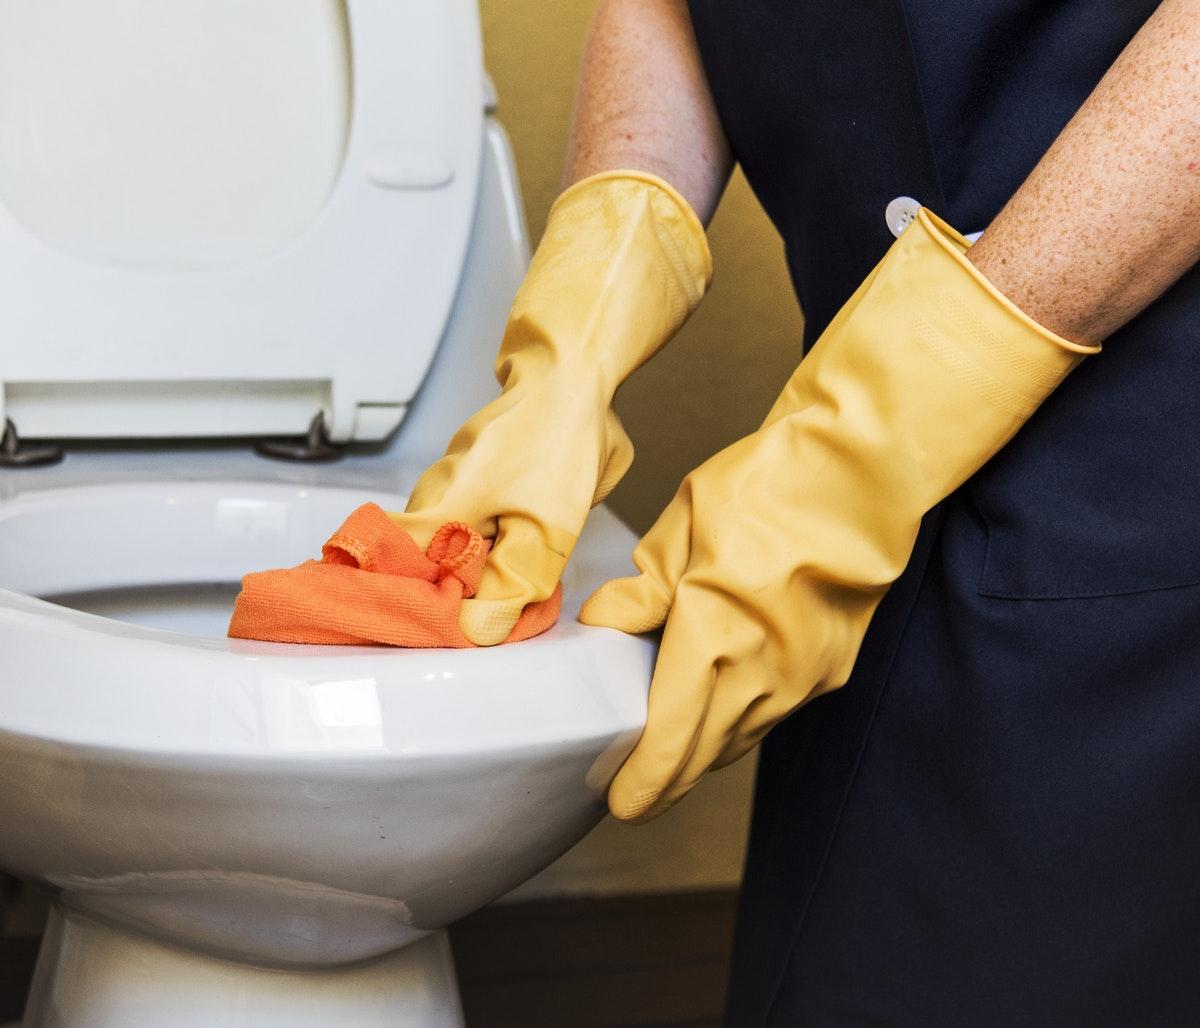
This problem presents an unhygienic dilemma that you don’t want to have. If this problem suddenly confronts you, turn off the isolation valve to cut off the supply to your toilet bowl. One of the main causes of overflowing toilet bowls is some object blocking the hidden part of the water separator. A force cup plunger does the job of dislodging any blockage, so it is a good idea to have one. Should the problem persist, have a plumber fix it.

4. Clogged Drains:

Clogged Drains

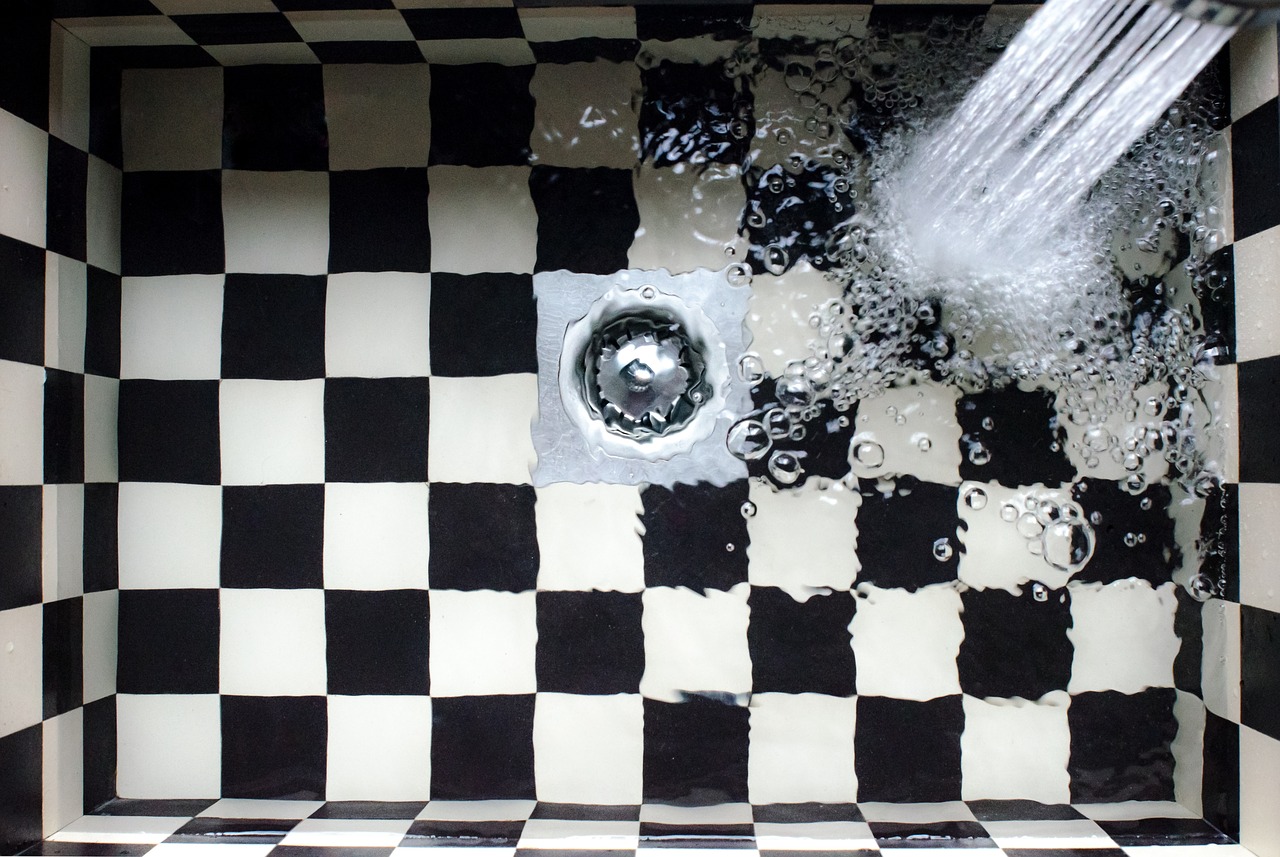
Plumbers have various tools and methods of unclogging drains. One of these tools is a plunger, which you can also use if you have one around to fix the problem yourself. If water still refuses to drain, then it is a job for the plumber.

5. Toilet Bowls That Continue to Drain Water:

Toilet Bowls That Continue to Drain Water

Misadjusted floats and stuck flappers are the usual causes of this problem. These are easy to fix if you are handy enough. However, you’ll need the help of a plumber if any of the flushing mechanism is damaged and is causing the water to continue to drain into the bowl.

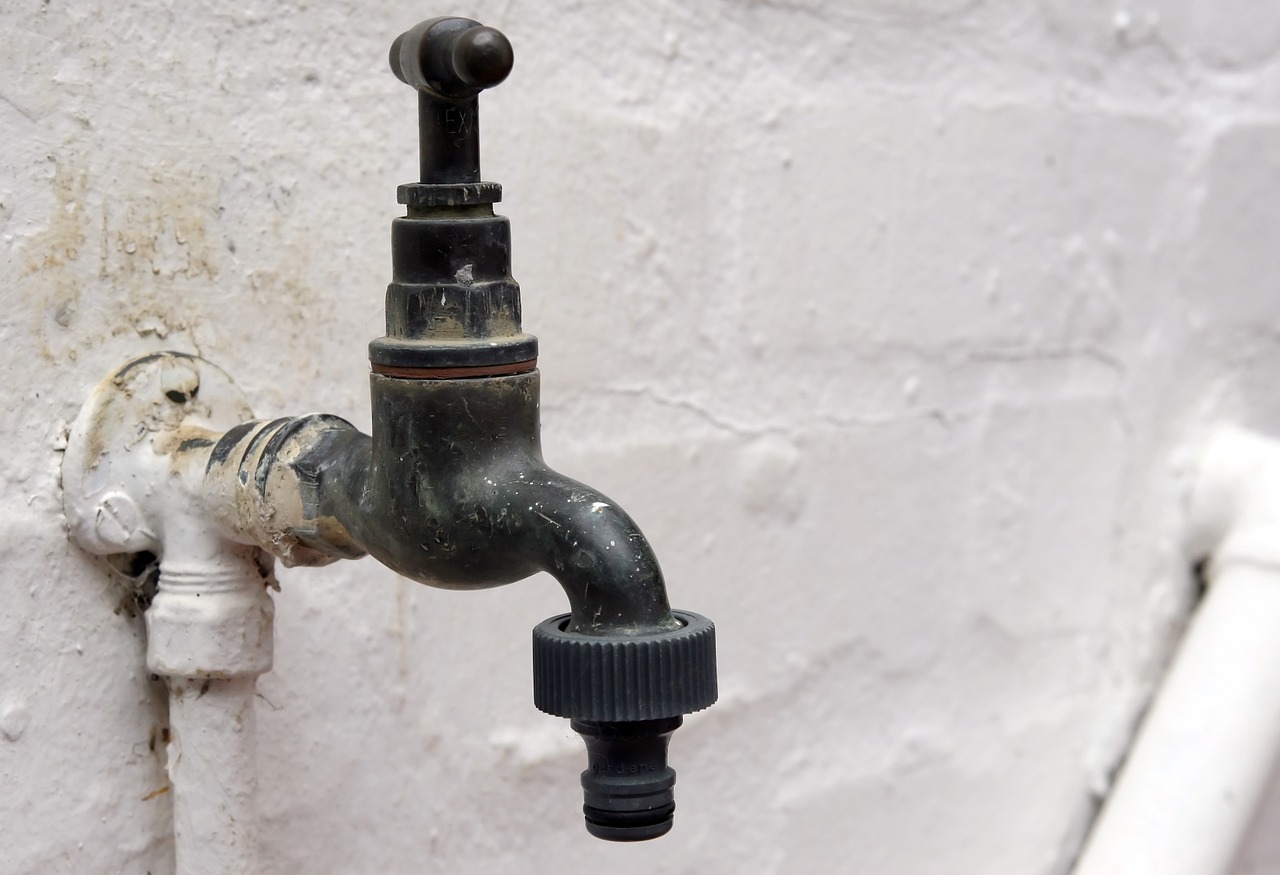
6. Low Water Pressure:

Low Water Pressure

A number of things may cause low water pressure. However, if you just moved into a new home, check if the main water supply valve is fully open. It this does not do anything to improve water pressure, have the plumber check and fix it.

7. Frozen Pipes:

Frozen Pipes

There are measures that you can take to prevent your pipes from freezing in the winter months. Just in case you forgot to take any of these measures, you can try either to thaw out the frozen pipe with a hair dryer or call in the plumber to handle the situation.

Whatever type of plumbing problems that you may encounter, it is always best to leave the job to professionals, especially if you do not have much experience with plumbing work. This goes especially for plumbing emergencies where you run the risk of making the situation worse. Search for 24/7 emergency plumbers in your area, and then add them to your contact list to prepare for any plumbing emergencies and problems.

Read Also:

Content Rally wrapped around an online publication where you can publish your own intellectuals. It is a publishing platform designed to make great stories by content creators. This is your era, your place to be online. So come forward share your views, thoughts and ideas via Content Rally.

View all posts

Leave a Reply

Your email address will not be published. Required fields are marked *

Related

Vacuum Ovens

The Many Uses of Industrial Vacuum Ovens

Vacuum ovens play a critical role in several industries like agriculture, pharmaceutical, semiconductors, electronics, textiles, and food processing. Vacuum ovens are essential tools in laboratory tests, engineering, aerospace, and in many different industries. It’s also commonly used in drying cannabis, herbs, fruits, and vegetables. The technical process in the operation of a high vacuum oven involves removing the moisture of the solid material inside the chamber. It’s ideal for drying hygroscopic materials, or those that quickly absorb moisture in the air. Examples of hygroscopic substances are methanol, sodium hydroxide, honey, sulfuric acid, and glycerin. How Does an Industrial Vacuum Ovens Work? Vacuum ovens work by reducing the pressure just below the vapor pressure of water. As a result, the water will boil. Through the use of the vacuum pumps, the pressure around the oven is slowly lowered. The boiling point of water inside the material will drop down, and this will trigger evaporation. What most people do not know is that water will boil at a lower temperature as long as you lower the pressure around it. If you boil water at very high altitudes where the temperature is low, it will still boil even at less than 100°C. Inside the vacuum, the pressure is lowered to the point where the liquid will boil at room temperature. A high vacuum oven can dry a substance faster compared to an air oven because of compact pressure and low humidity. When is a Vacuum Oven Used? You can use a vacuum oven in the following scenarios: For particle accelerators and vacuum coating. The process will stretch the distance that the particle should cover before it collides with another particle. To take out particles in the air that may trigger a chemical reaction on the substance to be dried. This process is used in vacuum melting. To decontaminate surfaces by cutting the number of molecular impacts per second. It’s useful in laboratories that require atomic disinfection. To trigger a chemical reaction by agitating the equilibrium in normal conditions. To remove volatile substances or dissolved gases. This process is called degassing or freeze-drying. To clean microwave tubes during the manufacturing process. A high vacuum oven can be used in drying, curing, and baking. They can heat up to as high as 800°C. On average, the standard oven can accommodate up to 13,000 liters. Prevent oxidation and decarburization. Decarburization refers to the process of reducing the amount of carbon in the metal. Thermal ovens, meanwhile, are used mainly in pharmaceuticals, cosmetics, and the plastics industries. They are designed to dry heat-sensitive substances. Thermal ovens are also used in hospitals to disinfect and dry blankets, pillowcases, etc. They can also be used to remove solvents from a particular solution. The solvent will separate quicker in a vacuum environment compared to room temperature. Before, the material used on ovens is cast iron, which transfers heat very quickly. Nowadays, manufacturers use stainless steel, which is better at withstanding the pressure without sustaining cracks and deformity. Read Also: How Does A Bbq Smoker Work How To Keep Your Carpet Clean Best-Corded Vacuum Cleaner Smart House Technology For Saving Energy Top 4 Must-Have Appliances In Every Kitchen

READ MOREDetails
Rug Spills

First Aid Tips for Rug Spills

Rug Spills are great room additions. They add a pop of color or design to an otherwise drab-looking room. There are various shapes, sizes, colors and designs you can choose from that will look best in your home or office. But, as they are on the floor, they are prone to getting dirty as well as spillages. Liquids and chemicals can create stains on the rug that can sometimes be difficult to remove. A rug placed in an area with heavy foot traffic needs more cleaning attention. When something spills on your rug, don’t panic. There are things you can do right away to prevent any stains from building up. Here are some: Multiple Tips For Rug Spills  You have to follow multiple tips for your rug spills first aid to make things easier for you. You cannot make things happen in a grey. Make use of several facts that can work well for you.    Spot spills and stains quickly: When dealing with spills and stains on the rug, there is zero time to waste. The longer you take to get rid of them, the harder it will be and the higher the chance that the rug may be stained permanently. There are liquids and other substances that seep into fabric quicker than others, but you don’t want to try to remember if the spill you are dealing with belongs to that group. You have to act fast. Solid and liquid stains require different cleaning tricks: Gum is one of the most common solid substances that can stick to and stain your rug. Never use a sharp object to remove it. A butter knife is your best bet, as the blade is dull and will not cut into your rug. For liquid spills, use a dry cloth to dab the liquid, not wipe it. Doing the latter will only make it worse. Water is your first line of defense: For stains, it is very easy for us to grab the first chemical cleaner we can find in our cabinets. But that should not be the case. Always try the water before anything else. Most times water can do the trick; otherwise, if you are unsure of what to use, it is better to contact your trusted cleaning service. Also, when using any stain remover, do not use too much. It can damage the backing of the rug. Use it sparingly. Get rid of grease stains: For grease stains, your kitchen ingredient – baking soda – is your best friend. Baking soda is an absorbent powder, thus lifting the grease much easier. For any remaining stain after the baking soda trick, you can dab it with a soft cloth and a mild dishwashing liquid. Do not ignore rug care instructions: Instructions on how to care for your rug are there for you to follow. Keep these instructions handy, so you will know what to do when you encounter stains and spills. Do not use anything that is not prescribed by the carpet manufacturer. If all else fails, you can always call a cleaning company and ask for area rug cleaning prices. They provide practical solutions to rug issues such as stains. You can have your rugs serviced at least once a year to preserve their good condition, along with your own frequent cleaning efforts. Read Also: How Cleaning Helps Us Feel Better And Why We Don’t Do It How To Find Affordable Carpet Cleaning How To Keep Your Carpet Clean

READ MOREDetails
Flooring Installation Process

Flooring Installation Process Transforming Your Space With Elegance

When it comes to renovating or building a new space, one of the most crucial aspects is the flooring installation process. The type of flooring you choose can significantly impact the overall aesthetics, functionality, and durability of your space. In this comprehensive guide, we will walk you through the intricate process of flooring installation toronto, providing valuable insights and tips to ensure a successful transformation. Selecting The Right Flooring Material The first step in the flooring installation process is choosing the right material. Whether you opt for hardwood, laminate, vinyl, tile, or carpet, each material has its unique features and benefits. Consider factors such as your budget, the room's purpose, and your design preferences when making this decision. Measuring And Preparing The Space Before the installation begins, accurate measurements of the room are crucial. This step ensures that you purchase the right amount of flooring material. Additionally, you'll need to prepare the space by removing any existing flooring, baseboards, and furniture. A clean, level surface is essential for a smooth installation. Acclimating The Flooring Many flooring materials, especially hardwood, need to acclimate to the room's temperature and humidity levels before installation. This process prevents the flooring from warping or expanding after installation. Follow the manufacturer's recommendations for acclimation time. The Installation Process Subfloor Preparation A stable subfloor is the foundation of a successful flooring installation. Ensure that the subfloor is clean, dry, and free of any irregularities. Repair any damaged areas and add an underlayment if necessary. Layout And Design Planning the layout of your flooring is crucial for achieving a polished look. Decide whether you want a diagonal, herringbone, or straight pattern, depending on your design preferences. This step is especially important for tile and hardwood installations. Cutting And Fitting Precise cutting and fitting of the flooring material are essential for a seamless finish. Use the appropriate tools, such as a saw or cutter, to trim the material to fit the room's dimensions accurately. Pay special attention to corners and edges. Installation Method The installation method varies depending on the type of flooring you've chosen. For example, hardwood may be nailed or glued down, while laminate often features a click-and-lock system. Follow the manufacturer's guidelines and use the appropriate adhesives or fasteners. Finishing Touches After the main installation is complete, it's time for the finishing touches. Install baseboards and transitions to create a polished look. Seal gaps and joints to prevent moisture and dirt from seeping underneath the flooring. Maintenance And Care Cleaning And Maintenance Proper maintenance is crucial to ensure the longevity of your new flooring. Regularly sweep or vacuum to remove dirt and debris. Use manufacturer-recommended cleaning products to maintain the flooring's finish. Repairing Damage Accidents happen, and flooring can get damaged over time. Whether it's a scratch on hardwood or a chipped tile, knowing how to repair minor issues can extend the life of your flooring. Consult with professionals for major repairs. The flooring installation process is a transformative journey that adds beauty and functionality to your space. By carefully selecting the right material, preparing the space, and following the installation steps, you can achieve stunning results that will stand the test of time. Read Also: How To Pick The Perfect Flooring For Your New Home How to Protect Your Wood Flooring in a Busy Household List of Most Durable Kitchen Flooring

READ MOREDetails