10 tips for preserving your carpet’s design

Published on: 29 April 2019 Last Updated on: 11 September 2024
carpet cleaning

When carpets are new, they stand out because every fiber is clean and flawless. However, as people walk on carpeting, the condition of its fibers changes, and this makes the pile less appealing. Carpet cleaning  Environmental elements can affect a carpet’s beauty as well by covering various fibers with microscope contaminants. If you want to keep your carpet in optimum condition in order to maintain its beauty, you’ll need to follow 10 steps.

1. Vacuum:

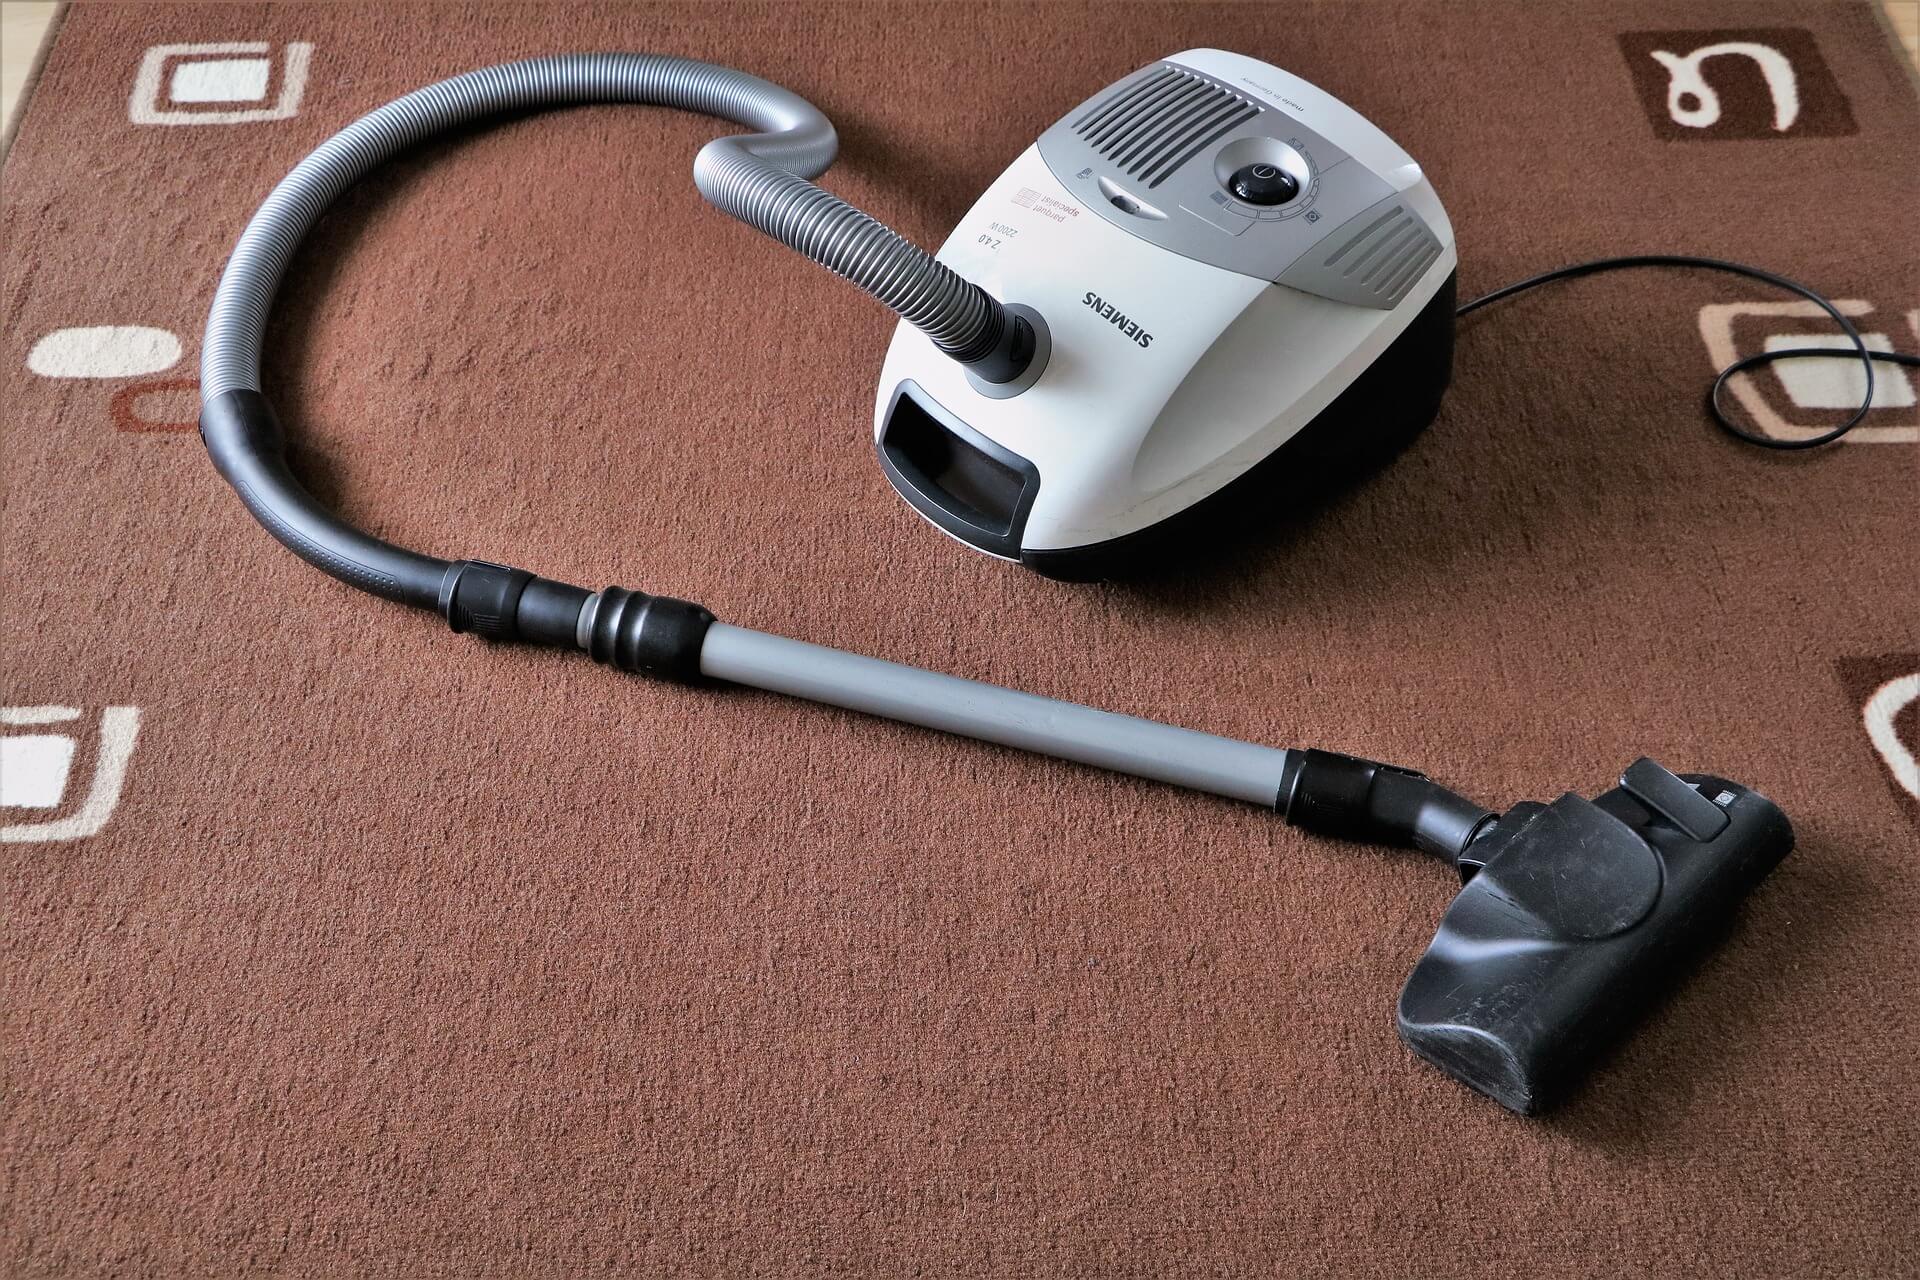
Dust and dirt gradually build up on carpet material. If a dirt or dust layer is very thick, it will make a carpet dull. To extract dust and dirt, clean your carpet with a powerful vacuum twice a month. While vacuuming, push the vacuum horizontally. Then, position the unit so that you can clean the carpet again vertically. The number of passes will vary depending on the carpet’s condition. Select the best carpet cleaning technique can make things easier for you.

2. Prevent Mud and Dirt Stains:

Most shoes have grooves that produce mud stains. If mud dries underneath a pair of shoes, it turns into dirt, and these particles can ruin your beautiful carpets. This is why you must place a mat that has stiff fibers near the front door. If everyone brushes their shoes against the bristles before entering your home, the carpets will stay clean. The dense bristles on the mat will wipe away any mud or dirt that lingers on everyone’s shoe soles.

3. Clean Spills Quickly:

When someone spills a beverage on your carpet, clean up the liquid fast. If you wait until the beverage dries, you’ll have problems removing the stain.

To clean up a spilled beverage, grab a paper towel, and dab it on the carpet fibers. Don’t rub the towel on the carpet because you’ll push the liquid down into nooks and crannies around threads. Whenever you need help eliminating a tough stain, treat the spot with soapy water. Then, dab a clean paper towel on the stain.

4. Keep Pets Off Delicate Carpets:

Pets that spend a lot of time outdoors shouldn’t relax on your carpeting until they take a bath. The big problem is that pets have fur that holds dust and dirt. If contaminated fur touches tall carpet fibers, dirt will transfer onto the carpeting, and some particles may reach the bottom of the pile if a pet rolls or sleeps on the material.

5. Change the Furniture Layout Occasionally:

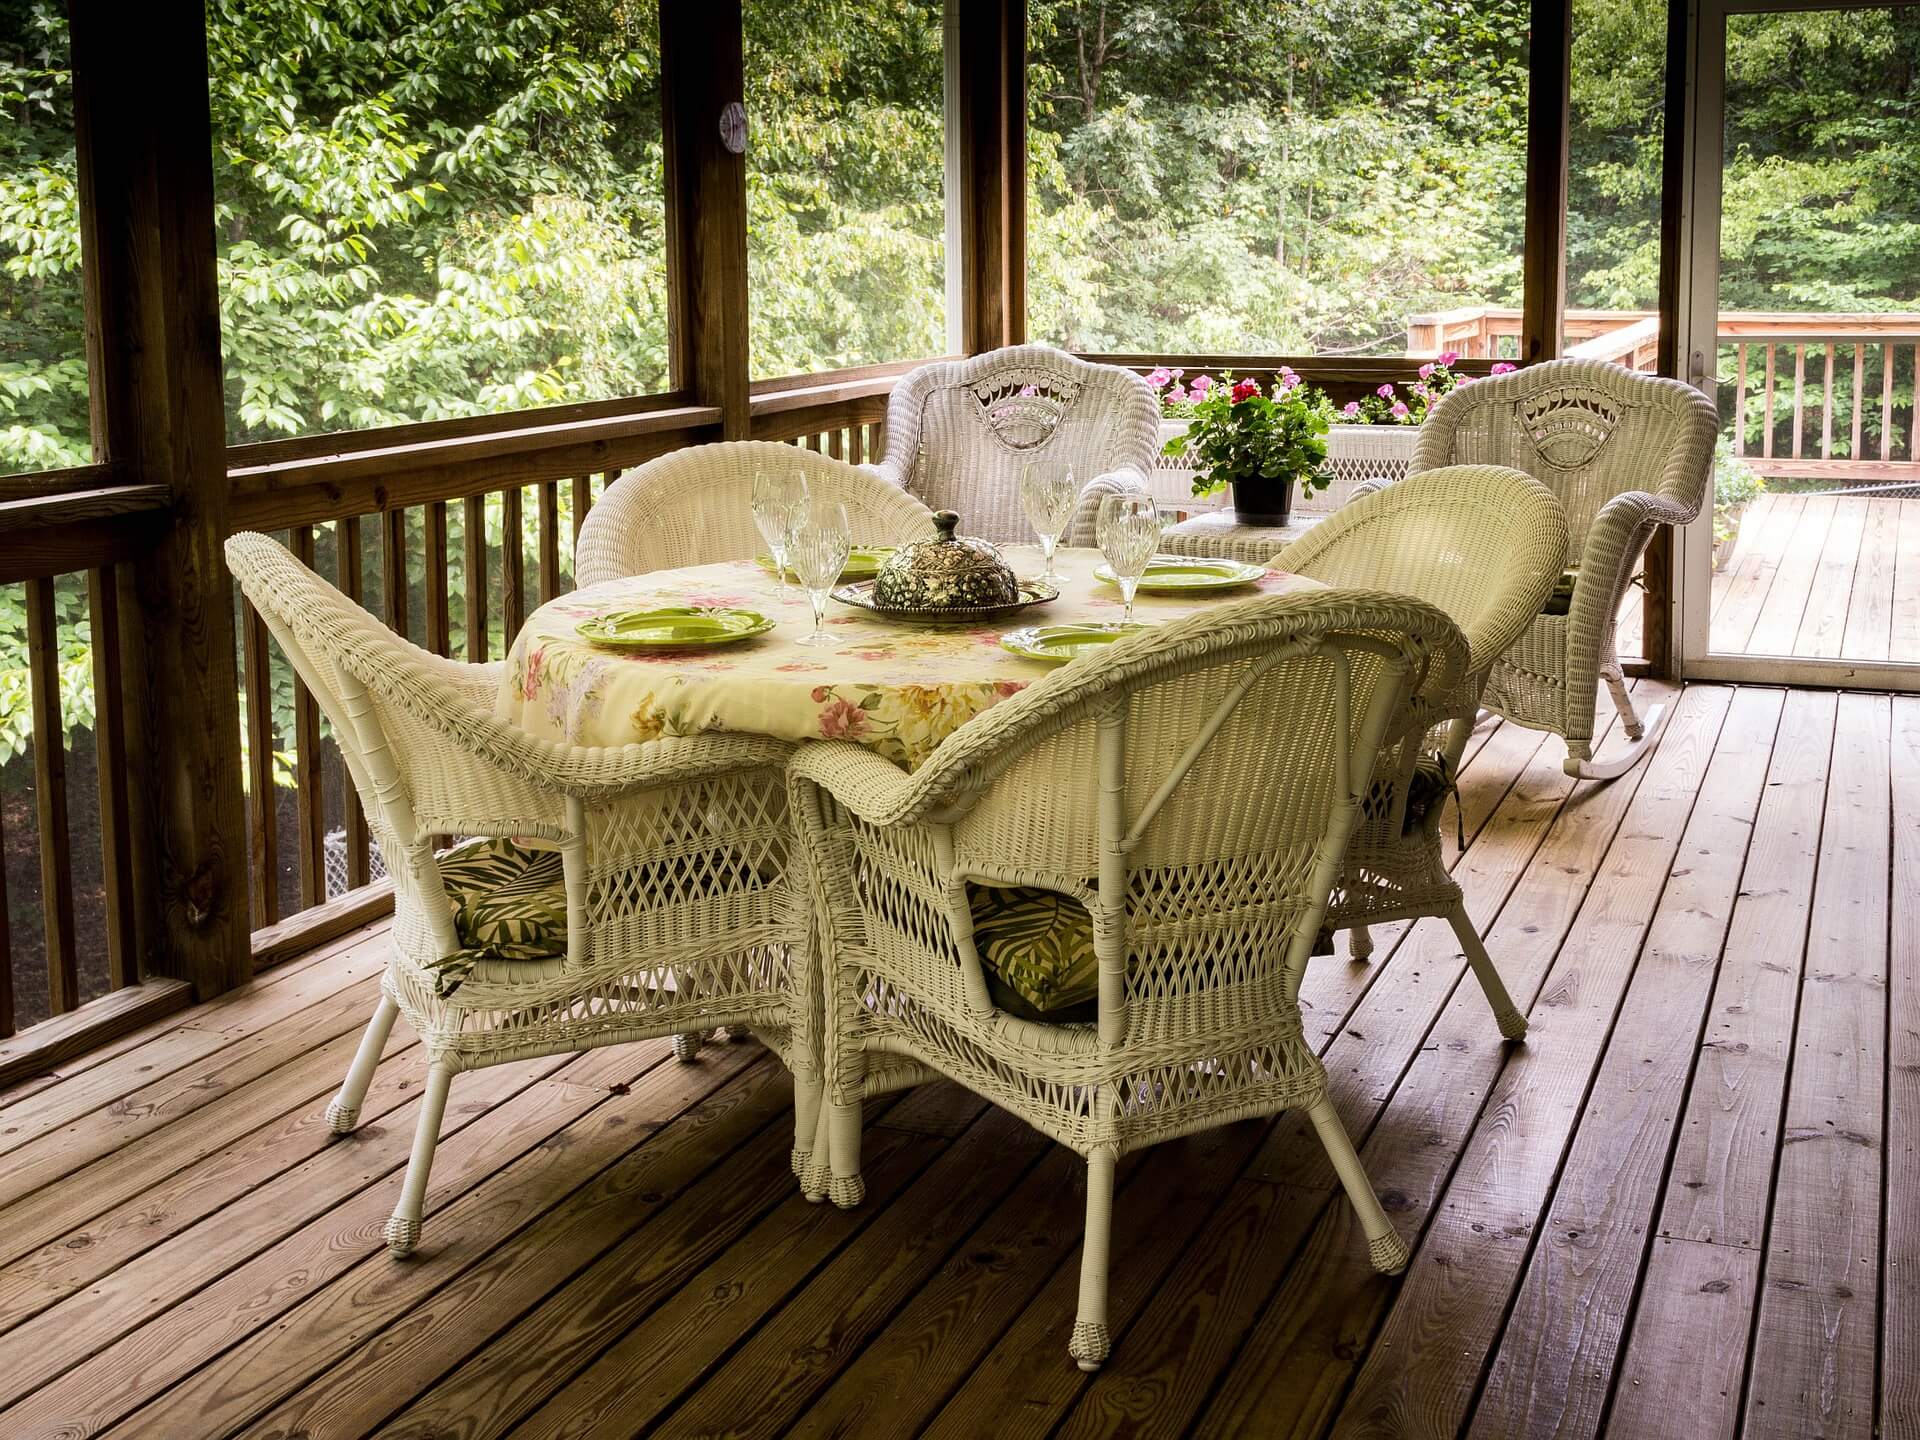
Furniture that’s very heavy can damage delicate carpeting. Typically, the degree of damage is influenced by the length of time that a piece of furniture stays in one spot. The legs on hefty furniture can cause severe damage; they usually create crevices that make carpeting unappealing. In order to keep the fibers springy, simply change the layout of your furniture twice a year.

If you can’t move your furniture because space is limited, invest in rugs with patterns that compliment your main carpeting. Place these rugs underneath the heaviest furniture to give your carpet a layer of protection.

6. Pull the Fibers:

Over time, as heavy furniture is pushed around a space, some areas of a carpet will buckle. If a carpet is very weak, ripples will also develop in isolated zones. These problems won’t go away until someone pulls the fibers. Whenever you find rippling or buckling, implement procedures to correct the problems before creasing occurs. Creases can make the most attractive carpets less appealing because they create elevated zones that are tacky. To get rid of buckles and ripples quickly, let a seasoned carpet technician tackle the job. A professional can stretch out the carpet safely and efficiently without damaging the material.

7. Paint Interior Zones Strategically:

Paint can ruin a carpet if it drops on its fibers. You’ll have to deal with bigger problems if you accidentally smear paint on the fibers or step on a layer of spilled paint. Once pressure is applied to paint, it will adhere to the fibers more efficiently, and the process of cleaning it up will be very challenging.

Whenever you’re going to paint the interior walls around your home, you must prepare the space for the job. Place your paint cans and trays on a high counter or shelf so that no one will accidentally spill paint on your carpeting. While painting elevated areas, never coat your brushes or rollers will excessive paint. This strategy will prevent splattering as you apply coats on the high ceilings and walls.

8. Lease Carpet Cleaning Equipment:

Deep cleaning is an essential cleaning job. The equipment makes a carpet beautiful by washing soiled areas with a soapy formula. As the water soaks the fibers with rich soapy water, a brush loosens the dirt by spinning against the carpet material. After a carpet is deep cleaned, no dirt lingers on its surfaces because a deep cleaning unit extracts the dirty water into a convenient tank.

9. Replace Air Filters:

Air conditioning equipment uses ducts that can direct pollution into a home. However, all air duct systems are able to block contaminants before they enter a home using filters. When a filter is dirty, it must be replaced in a timely manner. If you replace your air filter regularly, thin layers of dust won’t generate on your carpeting. Filters are the best carpet cleaning technique to make proper use of it. Carpet cleaning can make things easier for you to achieve your objectives.

10. Hang Blinds:

The sun produces very harsh UV rays that can damage delicate carpeting. If a carpet is a light color, intense heat from the sun can create noticeable spots on the carpet. By hanging blinds on multiple windows, you’ll shield sunlight and protect your carpeting. Car cleaning can make your ambiance more aesthetic than before.

Read Also:

Content Rally wrapped around an online publication where you can publish your own intellectuals. It is a publishing platform designed to make great stories by content creators. This is your era, your place to be online. So come forward share your views, thoughts and ideas via Content Rally.

View all posts

Leave a Reply

Your email address will not be published. Required fields are marked *

Related

how to harvest basil

Everything You Need To Know About Harvesting Basil!

Basil is one of the most popular and versatile herbs you can grow in your garden or indoors. It has a fresh and aromatic flavor that can enhance any dish, from salads and soups to pizzas and pastas. Basil is also rich in vitamins, minerals, and antioxidants just like cilantro. It can benefit your health and well-being. But how do you harvest basil properly so that it keeps growing and producing more leaves?   If these are some of the things you want to know, I have you covered! In this article, I will answer all these questions and more and give you everything you need to know about harvesting basil! So, keep on reading this blog till the end to learn more…  How to Harvest Basil Leaves? The first thing you need to know about harvesting basil is when to do it. The best time to harvest basil leaves is in the morning when the plant is still fresh and moist. Avoid harvesting basil in the afternoon or evening when the plant is dry and wilted. Also, avoid harvesting basil when it is raining or wet, as this can cause the leaves to rot or mold. Steps to Harvest Basil Leaves To harvest basil leaves, you will need a pair of scissors or a sharp knife and a basket or a bowl to collect the leaves. You can also use your fingers to pinch off the leaves, but be careful not to damage the stem or the plant. Here are the steps to follow: Start from the top of the plant, and look for the stems with leaf clusters. These are called the terminal buds, and they are where the basil flowers will grow. You want to remove these buds, as they will make the plant stop producing new leaves and focus on flowering and seeding. This will reduce the flavor and quality of the basil leaves. Cut or pinch off the stem just below the terminal bud, leaving about a quarter of an inch of stem above the next pair of leaves. This will encourage the plant to grow two new stems from the leaf nodes and produce more leaves. You can also cut or pinch off any other stems that are too long or leggy and leave about four to six pairs of leaves on each stem. Repeat this process for all the stems that have terminal buds, and collect the leaves in your basket or bowl. You can also harvest some of the lower leaves but leave enough leaves on the plant to allow it to photosynthesize and grow. You should not harvest more than a third of the plant at a time, as this can stress the plant and reduce its growth and health. After harvesting, rinse the leaves with water and pat them dry with a paper towel. You can use them fresh or store them for later use. How to Harvest Basil So It Keeps Growing One of the benefits of harvesting basil is that it stimulates the plant to grow more leaves and branches and prevents it from flowering and seeding. However, you need to harvest basil regularly and correctly, so that it keeps growing and producing more leaves. Here are some tips to follow. For instance, you must harvest basil: At least once every two weeks, or more often if you see the terminal buds forming. This will keep the plant bushy and compact and prevent it from becoming woody and bitter. From different parts of the plant, and not always from the same spot. This will ensure that the plant grows evenly and does not become lopsided or uneven. Before it flowers. This is because the flowers will reduce the flavor and quality of the leaves. If you see any flowers forming, remove them as soon as possible. You can also pinch off the flowers and use them as edible garnishes or decorations, as they have a mild and sweet flavor. Before the frost, as the cold weather will kill the plant. You can either harvest the whole plant and store it for later use, or bring it indoors and keep it in a sunny and warm spot. You can also propagate the plant by taking cuttings and rooting them in water or soil and grow new plants for the next season. How to Harvest Basil Without Killing The Plant? Harvesting basil is different from harvesting lettuce or other plants. The process is good for the plant and you, as you can enjoy the fresh and aromatic leaves in your dishes. However, you need to be careful not to harvest too much or too often, as this can harm and kill the plant. Here are some dos and don'ts of harvesting basil without killing it: Do harvest basil from the top of the plant, not the bottom or the middle. This will allow the plant to grow stems and leaves from the lower nodes and maintain its shape and structure. Don't harvest basil from the main stem or cut it too close to the ground. This will damage the plant and prevent it from growing new stems and leaves. Leave at least four to six pairs of leaves on each stem and about an inch of stem above the ground. Do harvest basil gently and carefully, and not roughly or forcefully. This will avoid injuring the plant and exposing it to diseases or pests. Use a sharp and clean tool, such as scissors or a knife, and make clean and smooth cuts. You can also use your fingers to pinch off the leaves but be gentle and precise. Don't harvest basil when it is stressed or unhealthy, such as when it is wilting, yellowing, or diseased. This will weaken the plant and make it more susceptible to further damage. Wait until the plant recovers and looks healthy and green before harvesting. You can also water and fertilize the plant to help it grow and thrive. Do harvest basil when it is young and tender, not old and tough. This will ensure the leaves are fresh, flavorful, and not bitter or woody. Harvest basil when the leaves are about two to three inches long before they curl or turn brown. How to Pick Basil Leaves? Picking basil leaves is another way to harvest and use the leaves in your dishes. You can pick basil leaves with your fingers or with a pair of tweezers, depending on your preference and convenience. Here are some tips on how to pick basil leaves. For instance, you can pick it: From the top of the plant, not the bottom or the middle. This will allow the plant to grow stems and leaves from the lower nodes and maintain its shape and structure. From the stems that have terminal buds, not from those that have none. This will prevent the plant from flowering and seeding and producing more leaves. You can also pick some of the lower leaves but leave enough leaves on the plant to allow it to photosynthesize and grow. Gently and carefully, and not roughly or forcefully. This will avoid injuring the plant and exposing it to diseases or pests. Use your fingers to pinch off the leaves or a pair of tweezers to pluck them off. Be gentle and precise, and do not pull or tug on the leaves or the stems. When they are young and tender and not when they are old and tough, this will ensure the leaves are fresh, flavorful, and not bitter or woody. Pick basil when the leaves are about two to three inches long before they curl or turn brown. How to Store Basil Leaves? Storing basil leaves is a great way to preserve and enjoy them for later use. You can store basil leaves in different ways, depending on how long you want to keep them and how you want to use them. Here are some of the best ways to store basil leaves: Refrigerate Them You can refrigerate basil leaves for up to a week, by wrapping them in a damp paper towel and placing them in a resealable plastic bag or an airtight container. This will keep them moist and fresh, and prevent them from wilting or drying out. However, you should not wash them. Freeze Them You can freeze basil leaves for up to six months, by blanching them in boiling water for a few seconds, and then plunging them in ice water to stop the cooking process. This will preserve their color and flavor, and prevent them from browning or oxidizing. Then, pat them dry with a paper towel, and place them in a resealable plastic bag or an airtight container. You can also chop them and mix them with some olive oil, and freeze them in ice cube trays. This will make it easier to use them in soups, sauces, or dressings. Dry Them You can dry basil leaves for up to a year, by hanging them upside down in a warm and dry place, such as a closet or a pantry. This will dehydrate them and concentrate their flavor, and make them last longer. However, you should avoid drying them in direct sunlight, as this can bleach them and reduce their quality. You can also dry them in an oven or a microwave, but be careful not to burn them or overcook them. Once they are dry, you can store them in a glass jar or a spice container, and crush them or grind them before using them. Make Pesto You can make pesto with basil leaves, by blending them with some garlic, pine nuts, parmesan cheese, and olive oil. This will create a delicious and versatile sauce that you can use for pasta, sandwiches, salads, or dips. You can store pesto in the refrigerator for up to a week, or in the freezer for up to six months. You can also customize pesto by adding other herbs, nuts, cheeses, or spices, according to your taste and preference. How to Cut Basil? Cutting basil is a simple and easy way to harvest and use the leaves in your dishes. You can cut basil with scissors, a knife, or your fingers, depending on your preference and convenience. Here are some tips on how to cut basil: Wash and dry the basil leaves before cutting them to remove any dirt or insects. You can rinse them under running water or soak them in a water bowl with a few drops of vinegar. Then, pat them dry with a paper towel or spin them in a salad spinner. Cut the basil leaves just before using them, to preserve their flavor and aroma. If you cut them too early, they will lose their freshness and wilt. You can also bruise or damage the leaves if you cut them too roughly or with a dull tool. Cut the basil leaves according to the size and shape that you need for your recipe. You can either leave them whole or chop them finely or coarsely. You can also cut them into ribbons or strips, by stacking several leaves together, rolling them up, and slicing them thinly. This is called the chiffonade technique, and it creates a beautiful and elegant garnish. Cut the basil leaves with a sharp and clean tool, such as scissors or a knife, and not with a blender or a food processor. This will avoid bruising or crushing the leaves and releasing their oils and juices. You can also use your fingers to tear or pinch off the leaves but be gentle and careful. How to Use Basil Leaves? Using basil leaves is a fun and easy way to add flavor and aroma to your dishes. You can use basil leaves in different ways, depending on your mood and occasion. Here are some of the best ways to use basil leaves: Fresh You can use fresh basil leaves to garnish and enhance your dishes, such as salads, soups, pizzas, and pastas. Also you can use fresh basil leaves to make salads, such as caprese salad with tomatoes, mozzarella cheese, and basil, or Greek salad with cucumbers, feta cheese, and basil. You can also use fresh basil leaves to make drinks, such as lemonade, tea, or cocktails, with basil, lemon, sugar, and water. Cooked You can use cooked basil leaves to flavor and season your dishes, such as sauces, stews, curries, and casseroles. Also you can use cooked basil leaves to make dishes, such as tomato sauce with basil, garlic, and onion, or chicken with basil, cream, and mushrooms. You can also use cooked basil leaves to make breads, such as focaccia with basil, olive oil, and salt, or muffins with basil, cheese, and eggs. Preserved You can use preserved basil leaves to store and enjoy them for later use, such as freezing, drying, or making pesto. Also you can use preserved basil leaves to make dishes, such as pesto pasta with basil, garlic, pine nuts, and parmesan cheese, or roasted vegetables with basil, olive oil, and salt. You can also use preserved basil leaves to make snacks, such as crackers with basil, cheese, and honey, or popcorn with basil, butter, and salt. Wrapping It Up! Basil is a wonderful herb that you can grow and harvest in your garden or indoors. It has a fresh and aromatic flavor that can enhance any dish, and a rich and nutritious profile that can benefit your health and well-being. By following the tips and tricks in this article, you can learn how to harvest basil properly, so that it keeps growing and producing more leaves, how to cut basil, pick basil leaves, and store them for later use, and how to use basil leaves in different and delicious ways. Read Also: Some Facts You Need to Know About Rainwater Harvesting Asparagus 101: When, How, And How Often To Harvest? Exploring Ideas For A Biophilic Home Design

READ MOREDetails
Non-Serrated Steak Knife

Non-Serrated Steak Knife Set: A Buyers Guide

The first thing that you need to know about steak knives is that they are different from ordinary knives. Steak knives are specifically designed to cut through steaks easily. If you use a regular knife to cut a steak, you will most likely get shredded pieces of meat instead of evenly cut slices. Using the wrong knife can turn what should be an enjoyable dining experience into a frustrating one. So if you want to enjoy your steaks, you need to get yourself a good quality steak knife set. Many prefer straight or non serrated steak knife set over a serrated one, especially those who are particular with the appearance of their steaks. Unlike serrated blades, straight blades do not have jagged edges, so you get perfectly cut steaks every time. Also, you can sharpen non-serrated steak knives frequently so you will always have a sharp knife. Here are some other things you need to consider when buying a non-serrated steak knife: The Knife Should Fit Your Hand Well: If you’re buying a non-serrated steak knife set for yourself, then you need to make sure that the handle can fit in your hand comfortably. This is why it’s advisable to check the handle and test the knife first before buying it. Of course, this would be difficult if you are buying a set online. What you can do is to check the size and dimension of the handle and determine its shape. The presence of curves and edges can sometimes provide a better grip for a knife. It’s essential to feel comfortable while holding and using the knife to make your experience of eating steak more pleasurable. What is the Blade Made Of? It’s also essential to determine the material of the blade. The best steak knives are those that are made from carbon steel. These knives are very durable, and they are also effortless to sharpen. However, they can be quite costly, so they are not ideal for people on a budget. A cheaper alternative is a set of knives made from stainless steel. The best thing about stainless steel knives is their ability to resist rust. Stainless steel knives are also very durable and do not easily break.  A Set that Looks Good: Last but not least, you should get a set of non-serrated knives that you will be proud enough to show off. If you like having guests over for steak dinners, then you should get a set of good looking knives that shows your exquisite taste and good aesthetic sense. After all, eating steak is a multisensory experience. You should not only feed your mouth and tummy, but you should also take care of your eyes as well. The best non-serrated steak knife sets are real works of art. You will not mind displaying it in your kitchen. Getting the best non-serrated steak knife set is vital if you value a good dining experience. A good set of steak knives will surely make eating steaks more enjoyable. Read Also: 4 Tips For Choosing A Good Kitchen Tap 6 Tips To Improve Your Cooking Overnight

READ MOREDetails
Condo Interior

Top Expert Tips for a Stunning Condo Interior!

With industrialization taking the spotlight in many cities, it’s easy to understand why there are a lot of people who choose to find a temporary or permanent residence in the rural areas near their workplace. Condo unit in Cebu is among the most popular picks both for locals and non-locals who wish to have an accessible property within the central city. Given the huge number of real estate companies that now have a lot of units offered, it shouldn’t be much of a problem to find a place that fits your preference and needs well. For those who already purchased their units, the next challenge comes with the need to beautify and enhance the looks of the current unit they own. Condominiums tend to have synonymous designs on all their units so it’s in the hand of the unit owner to personalize the space however he or she wants. Take a look at the following expert tips that can help you achieve that stunning look you hope for. Plan every detail: There is no substitute for planning in interior design. Even professional designers spend time creating a blueprint on how they would beautify an interior. You must do the same. By planning, you get to identify the specific areas of your home in need of enhancements as well as those that can do well without the current furniture you’ve placed on them. If you want to move your furniture around the condo, you need to ensure that you do not end up damaging the same or scraping the new and expensive floor. One great way that you can manage this is by using furniture wheels. This will allow you to move your chairs, sofa sets, and other items without worrying about the need that you will damage them. The more detailed you are in the planning, the better. This also saves you time from having to decide while working. Maximize the use of graphic images on doors or walls: Condo units have vacant spaces that look dull in the absence of accessories. A lot of homeowners use paintings or huge, laminated photos to hang on those vacant spaces, but your option is not just limited to such. You can go for customized printed glasses or wallpapers to add color to those spaces. By personalizing the prints, you’re also adding a hint of identity to your unit. Place accessories such as tables and drapes in front of a full-length window: Full-length windows are attractive because they give you an awesome view of the outside landscape. However, they may not look that attractive when it comes to the overall quality of your interior design. They can look intimidating and may give the illusion of dullness especially if you don’t have much furniture inside. Read also: Experts Recommend: Top Interior Design Trends For 2017 A good way to remedy this would be to put tables directly in front of the window or set up drapes to help provide the frame. Pick bright, minor accessories: Choosing the right accessories can be tricky as they need to highlight the main aspect of your interior without stealing the spotlight from it. Experts suggest that you pick small accessories like vases, flower pots, candles, and pen holders in brighter shades. Achieve balance in the interior. Darker furniture may look great in your personal office space. Balance is a necessary element in interior design. Experts found that using darker furniture makes the available space look bigger. Plus, they can blend well in just about any area within your condo unit. Read also: Interiors to Reduce the Heat Build-up in Your Homes The brighter accessories will do great on these items too. Don’t overcrowd: One common mistake a lot of homeowners do is to place too many items inside their place. While the idea of buying many pieces of furniture may seem like a good thing, it’s not necessarily a strategic thing to do especially when you have a small unit. If any, this would only make the place look smaller and will most certainly impede mobility. You can decorate without having to buy too much. A good rule of thumb would be to settle for the item you need most. There is no use in buying tools which you will not be using. The looks of your personal condo unit are dependent on how well you design it. The tips we mentioned are guidelines on how to make the place look appealing, but at the end of the day, the decision lies in your hands. If you can’t decide where to start your redesign, a good way to be motivated is to look at images online and see how other people improved the looks of their units. Be inspired and start decorating your own place!  

READ MOREDetails