10 tips for preserving your carpet’s design

Published on: 29 April 2019 Last Updated on: 11 September 2024
carpet cleaning

When carpets are new, they stand out because every fiber is clean and flawless. However, as people walk on carpeting, the condition of its fibers changes, and this makes the pile less appealing. Carpet cleaning  Environmental elements can affect a carpet’s beauty as well by covering various fibers with microscope contaminants. If you want to keep your carpet in optimum condition in order to maintain its beauty, you’ll need to follow 10 steps.
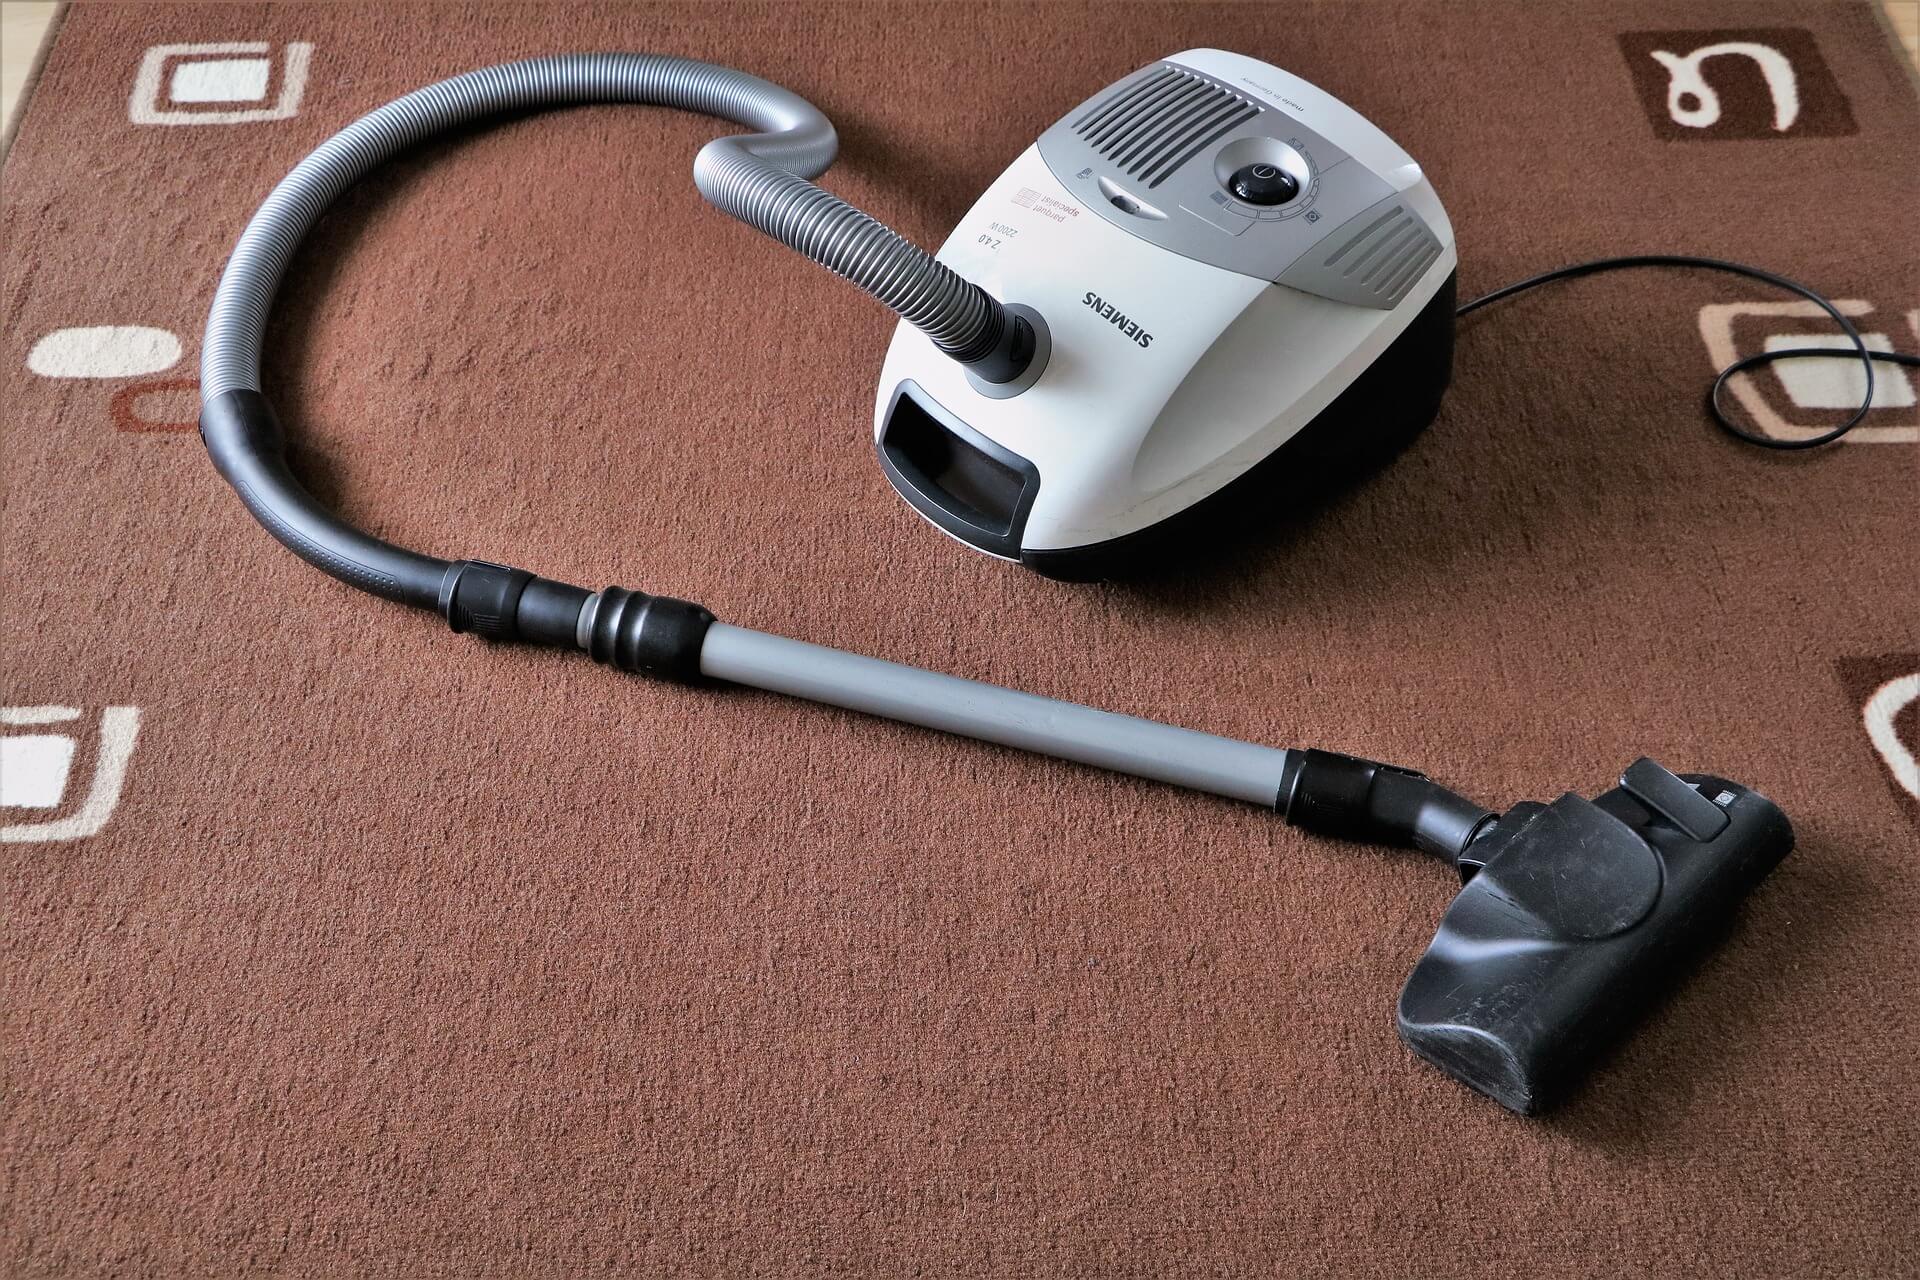
1. Vacuum:

Dust and dirt gradually build up on carpet material. If a dirt or dust layer is very thick, it will make a carpet dull. To extract dust and dirt, clean your carpet with a powerful vacuum twice a month. While vacuuming, push the vacuum horizontally. Then, position the unit so that you can clean the carpet again vertically. The number of passes will vary depending on the carpet’s condition. Select the best carpet cleaning technique can make things easier for you.

2. Prevent Mud and Dirt Stains:

Most shoes have grooves that produce mud stains. If mud dries underneath a pair of shoes, it turns into dirt, and these particles can ruin your beautiful carpets. This is why you must place a mat that has stiff fibers near the front door. If everyone brushes their shoes against the bristles before entering your home, the carpets will stay clean. The dense bristles on the mat will wipe away any mud or dirt that lingers on everyone’s shoe soles.

3. Clean Spills Quickly:

When someone spills a beverage on your carpet, clean up the liquid fast. If you wait until the beverage dries, you’ll have problems removing the stain.

To clean up a spilled beverage, grab a paper towel, and dab it on the carpet fibers. Don’t rub the towel on the carpet because you’ll push the liquid down into nooks and crannies around threads. Whenever you need help eliminating a tough stain, treat the spot with soapy water. Then, dab a clean paper towel on the stain.

4. Keep Pets Off Delicate Carpets:

Pets that spend a lot of time outdoors shouldn’t relax on your carpeting until they take a bath. The big problem is that pets have fur that holds dust and dirt. If contaminated fur touches tall carpet fibers, dirt will transfer onto the carpeting, and some particles may reach the bottom of the pile if a pet rolls or sleeps on the material.

5. Change the Furniture Layout Occasionally:

Furniture that’s very heavy can damage delicate carpeting. Typically, the degree of damage is influenced by the length of time that a piece of furniture stays in one spot. The legs on hefty furniture can cause severe damage; they usually create crevices that make carpeting unappealing. In order to keep the fibers springy, simply change the layout of your furniture twice a year.

If you can’t move your furniture because space is limited, invest in rugs with patterns that compliment your main carpeting. Place these rugs underneath the heaviest furniture to give your carpet a layer of protection.

6. Pull the Fibers:

Over time, as heavy furniture is pushed around a space, some areas of a carpet will buckle. If a carpet is very weak, ripples will also develop in isolated zones. These problems won’t go away until someone pulls the fibers. Whenever you find rippling or buckling, implement procedures to correct the problems before creasing occurs. Creases can make the most attractive carpets less appealing because they create elevated zones that are tacky. To get rid of buckles and ripples quickly, let a seasoned carpet technician tackle the job. A professional can stretch out the carpet safely and efficiently without damaging the material.

7. Paint Interior Zones Strategically:

Paint can ruin a carpet if it drops on its fibers. You’ll have to deal with bigger problems if you accidentally smear paint on the fibers or step on a layer of spilled paint. Once pressure is applied to paint, it will adhere to the fibers more efficiently, and the process of cleaning it up will be very challenging.

Whenever you’re going to paint the interior walls around your home, you must prepare the space for the job. Place your paint cans and trays on a high counter or shelf so that no one will accidentally spill paint on your carpeting. While painting elevated areas, never coat your brushes or rollers will excessive paint. This strategy will prevent splattering as you apply coats on the high ceilings and walls.

8. Lease Carpet Cleaning Equipment:

Deep cleaning is an essential cleaning job. The equipment makes a carpet beautiful by washing soiled areas with a soapy formula. As the water soaks the fibers with rich soapy water, a brush loosens the dirt by spinning against the carpet material. After a carpet is deep cleaned, no dirt lingers on its surfaces because a deep cleaning unit extracts the dirty water into a convenient tank.

9. Replace Air Filters:

Air conditioning equipment uses ducts that can direct pollution into a home. However, all air duct systems are able to block contaminants before they enter a home using filters. When a filter is dirty, it must be replaced in a timely manner. If you replace your air filter regularly, thin layers of dust won’t generate on your carpeting. Filters are the best carpet cleaning technique to make proper use of it. Carpet cleaning can make things easier for you to achieve your objectives.

10. Hang Blinds:

The sun produces very harsh UV rays that can damage delicate carpeting. If a carpet is a light color, intense heat from the sun can create noticeable spots on the carpet. By hanging blinds on multiple windows, you’ll shield sunlight and protect your carpeting. Car cleaning can make your ambiance more aesthetic than before.

Read Also:

Content Rally wrapped around an online publication where you can publish your own intellectuals. It is a publishing platform designed to make great stories by content creators. This is your era, your place to be online. So come forward share your views, thoughts and ideas via Content Rally.

View all posts

Leave a Reply

Your email address will not be published. Required fields are marked *

Related

Mint

Planting & Harvesting Mint

Mint is a wonderful plant that practically cultivates itself. So fast is its growth that it can threaten to spread across and take over your entire yard or garden. One way to battle this is to confine its growth by planting it in a pot or a separate bed. However, once you have this plant, you will be glad, because it has properties that make it fruity and a great addition to tea and foods. As can be seen here, it is also quite useful in health remedies that can aid digestion and relieve headaches. We know you already feel enthralled by this herb and would like to know more. So, why don’t you read on and discover more amazing things about mint… What Mint is All About Mint is an herb that is perennial and has a very wonderful fragrance. Its leaves are toothed and may have tiny pink, white, or purple flowers. Mint has so many variants from crinkled or smooth, to fuzzy or shiny. However, one thing is constant despite what kind of variant it is; all mints have that wonderful fragrance. Hence, whenever you pick up any variant of this great herb and roll it in your fingers, you would get the same smell that will make you either think of sweet teas, candy, or mint juleps. Aside from being a wonderful kitchen companion, this herb is also used as ground covers, garden accents, herbal medicines, and air fresheners. Mints are functional as well as beautiful and can grow either in shades or under the sun.  However, as we already said, this plant is a vigorous spreader; therefore, unless you want to have too much than you need, you have to be very deliberate about planting it. Uses We have already stated several things that mints can be used for, but there are still so many more benefits of this wonderful herb. Below are some of these benefits: Can be used to make mint tea. To do this, simply put the leaves in a cup of hot water and then leave it to sit for some minutes. Make tasty ice cubes with it by freezing the leaves with raspberries and cranberries. Add it to a salad dressing, marinades, or fruit salad.  Use it to relieve headaches by applying It's oil to the temples.  It can also be used to relieve anxiety and stress. Yes, mints have many other health benefits, but though not a practical use, it is also used as a virtue symbol. Planting Mints If you decide to plant mints in your garden or yard, then below are some important things that you have to know: They flourish in light earth which has good drainage. Their original habitats are stream banks, so, the site you plant them should imitate stream bank soils. That is to say, ensure the soil you plant your mints is moist but also well-drained. Variegated mints should not be planted in direct sun as they require a bit of shade. Mints typically grow to become one to two feet tall. If you plant them in a container or pot, then you would need to topdress them with organic or compost fertilizer once in a few months. If you plant mints in your garden, ensure to plant them next to tomatoes or cabbages, this will help contain their spread and prevent them from stealing your crops’ nutrients. Care Mints do not require that much care; however, you should consider the following points when caring for them: If planted outdoor, use light mulch. You can visit https://www.thespruce.com/what-is-mulch-1402413 to read up more on mulch. The light mulch will ensure the soil remains moist and also help the leaves to stay clean. If planted indoors, then ensure you water them often to help the soil stay evenly moist. Mints should be picked and pruned regularly. Like we have stated many times already, these guys are fast spreaders, therefore, you would need a lot of pruning to stop them from taking over everything. This should not worry you since their roots are shallow making it quite easy to drag them out of the soil. The Propagating You do not need to do a lot to propagate mint. The perfect way to go about this is to find the plant which you like and then cut out of it. Ensure the cutting is at least 6 inches and has ample roots attached. Then plant them in the soil horizontally. You can always get a cutting from a gardening friend, so this is nothing to worry about. Harvesting and Storing To learn how to harvest mint is quite easy, it typically does not involve any special skill. You may either pick the leaves individually, or you may use shears to prune the plant and then take off the leaves from the stem you had cut off. Despite the harvesting process being relatively easy, you need to remember a few things when you harvest your mints: Frequent harvesting will keep the plant at its best. The younger leaves have a better flavor than the old ones. You can pluck the leaves whenever you need mints. If you need dry mints, then pluck the leaves before flowering and then save them in an airtight container. You can also store fresh mints that you do not immediately have use for. To do this, put water in a glass and then put the stems inside the water. The mint will stay fresh for 3 to 7 days this way. You may equally put the mints inside a rubber bag and then store them in your refrigerator. This should keep it fresh for at least a week. Conclusion Mint is an herb that would make a very great addition to your garden or yard. But, without proper knowledge about the plant, everything may spiral out of control. Therefore, you must have basic knowledge about planting, caring for, and harvesting this plant before you farm it.  Read Also: How to Maintain a Bright and Beautiful Garden During Winter How to Choose the Right Containers for Your Container Garden Grow these flowering plants in your home garden How To Grow Tomatoes From Seed  

READ MOREDetails
Home

How To Make Your Home Look Like A Splendid Hotel?

But, when you enter your home after such a lavish holiday, don’t you feel irritated to see the unmade bed and cluttered bathroom? Yes right!! So, It’s worth to experience even a small version of this luxury in your daily lifestyle. With that point of view, I am listing out today some really effective ways through which you can easily attain a deluxe and opulent experience at your home. Have a look!! A lavish bedroom is the first priority You’ve to agree with the fact that when you go to a luxury hotel the first thing which catches your attention is a well-designed bed with matching cushion, bedsheets, and mattress. So, at the very first step, start with a premium quality mattress and then layer it up with the fluffy and big pillows. Choose a king or queen size bed with a headboard upside, two bedside tables, two beautiful side lamps, etc. Make a stupendous entry-way Just think of the last awesome hotel you visited, you would have noticed a well-organized lobby with some pretty orchids, designer mirrors, and dim lighting. Incorporating such a view in your small entry-way of your home is not a tough job. You just have to do a simple thing to attract your visitor’s eye to an attractive centerpiece. It can be a small table made up of marble, wood or glitzy lacquer. A refreshing spa bathroom When you’re thinking of imitating a luxury hotel, one thing which is must-have is a posh bathroom décor. You can add a glass confined walk-in shower, a dip sink with large mirrors and extremely appealing and pleasant smelling soaps. And to make it more hi-fi and comfortable things which you can add are soft towels like the puffy clouds and a bathrobe. Designer curtains are must When it comes to the window and door curtains, these are very important. It’s because the whole look of your home is dependent on these curtains up to a great extent. If you go for cheap curtains from the local store then you’re spoiling your home decor. The curtains should be of exact measurements and the ones which are in contrast with the color of your walls look more good. Read also: Top Expert Tips For A Stunning Condo Interior! Gorgeous lighting is necessary A five-star or seven-star hotel is never dark or dreary. It has enough lights that brighten up the whole interior and give the hotel-room a prominent look. At first, think of the huge overhead lights in your home. You shouldn’t use the out-dated ones and instead go for the modern and lush light-fixtures. Then add some beautiful lamps to your side-tables. An artistic look of the lamps makes a real difference. You can try that. Next, don’t forget to add some light scones over your artwork which will make them effectively visible. Flowers and greenery give the ultimate touch You can add some pretty, pleasing, elegant and aromatic floral arrangements in your every room. And even you can add those decorative plants to give an aesthetic look and make the rooms look more like a hotel room. When you enter a hotel room, the first thing which you smell is some sweet-smelling blooms. So, add up them to your home as well. These changes in your home decor will surely change it for better and will make you feel as if you’re in one of the snuggest hotels of the town. Lastly, have a happy home and great living!! Read also: Best Vietnam Trekking Tours With North Vietnam Travel Three Amazing Travel Destinations In Africa

READ MOREDetails
Blocked Drains

How to Solve the Biggest Problems in Blocked Drains

Many things can clog a drain in a tub or sink by blocking nooks and crannies in its plumbing system. The big benefit is that there are easy ways to eliminate different clogs, and you can achieve practical results by using the solutions in this guide. Bent Hanger A hanger can extract hair and goo that blocks a drain in a tub or sink. To use a hanger, you'll need to take it apart so that its hook can travel down the drain. When wiggling the hook around, ensure that it doesn't push the debris down the pipe. You can avoid this problem by maneuvering the hook around in a circle before pulling it up. The rotation will help you grab debris that's lodged against the walls in the drain. Once you've removed most of the debris, eliminate the lingering particles by running the hot water. Baking Soda and Vinegar A baking soda and vinegar solution can get rid of a general clog. To make the solution, mix 1/3 cup of vinegar with 1/3 cup of baking soda. When the mixture fizzes, pour it down the drain so that the bubbles can dissolve sticky grime that's causing the clog. If possible, let the solution set in the drain for 24 hours. Then, flush the drain thoroughly with hot tap water. When a drain has a heavy clog, pour the baking soda down the drain first. Then, gradually pour the vinegar into the drain. This strategy will give the solution an opportunity to activate the source of the clog. Vacuum A wet and dry vacuum can pull up the is that's stuck in the upper portion of a drain. The suction power is very important as it can impact how effectively a vac extracts debris, to ensure that your vacuum has an efficient motor. To use a vacuum, adjust it to the highest setting. Then, place the hose over the drain. If the debris isn't too dry or stiff, the vacuum will remove it. Tumbling Water When your plumbing system has a clog that's tough to access, you can remove it by pouring boiling water down a drain. If you have a kettle, you can use it to bring the water to a boil, or you can boil water in the microwave. While the water is boiling, pour it slowly down the drain in stages, and wait a few seconds between each pour. To avoid burn injuries, hover the kettle or pot close to the drain so that the water doesn't splash. Caustic Soda Caustic soda contains sodium hydroxide, which is a risky substance that can produce chemical burns. As a result, you must wear dense rubber gloves and protective goggles when using caustic soda. Because caustic soda is strong, you'll need to combine it with ¾ gallons of cold tap water. For a general clog, you'll only need three cups of soda. To mix the soda, stir it around in the water with a wooden spoon. The mixture will begin to fizz as it heats up during this process. At this point, pour the solution down the drain, and let it sit there for about half an hour. Then, use boiling water to flush the drain. Pipe Maintenance General maintenance is an easy way to unclog a drain underneath a sink. Begin by placing a bucket below the trap. The bucket will capture water that spills after the trap is removed. To remove the trap pipe, gradually loosen it with a plumber's wrench. While the trap is detached, lift the housing, and rotate it until the trap is upside down. The source of the clog should drop on the ground. If nothing drops, use a tool to fish out the debris. Salt and Baking Soda Thick blockages will break down when they're treated with strong chemicals. The easiest way to create a chemical reaction that's powerful enough to destroy heavy grime is by mixing ½ cup of baking soda with ½ cup of salt in a drain. After the solution sets for about 20 minutes, rinse it down the drain with boiling water. Dish Detergent Dish detergent can eliminate clogs in a toilet bowl if it's mixed with hot water. The soapy suds are effective because they strategically break down dry debris. For an average clog, you'll only need to mix ½ cup of dish soap and a cup of hot water in the bowl. Vinegar and Baking Soda Tubs have the toughest clogs since a lot of dirt and grime travels through the drains each day. To get rid of thick debris, you'll need to loosen the goo, and the best solution for this task is made with a combination of baking soda and vinegar. To treat a clog, pour the solution down the drain. Then, cover the drain with a stopper. At this point, let the solution set for about 45 minutes, and pull the stopper off the drain. As the water exits the tub, the pressure will get rid of the blockage that was weakened by the vinegar and baking soda. Plunger Plungers can get rid of a clog in the toilet bowl. When using a plunger, totally submerge it underwater. The rubber portion of the bell should touch the housing in a sink or toilet. Once you have a good grip, push and pull the handle rapidly for about 20 seconds. Then, lift the plunger, and let the water escape out of the drain. Whenever the process of unclogging a fixture is too complicated, seek help from a professional plumber. If you want great service options, considering working with Canberra Blocked Drains Definitive Plumbing. Read Also: The 7 Most Common Types Of Plumbing Problems 8 Plumbing Myths Busted 4 Tips For Finishing A Basement

READ MOREDetails