
Best Data Recovery Software To Recover Deleted Files From Mac

Published on: 19 July 2023 Last Updated on: 29 January 2026
Best Data Recovery Software To Recover Deleted Files From Mac
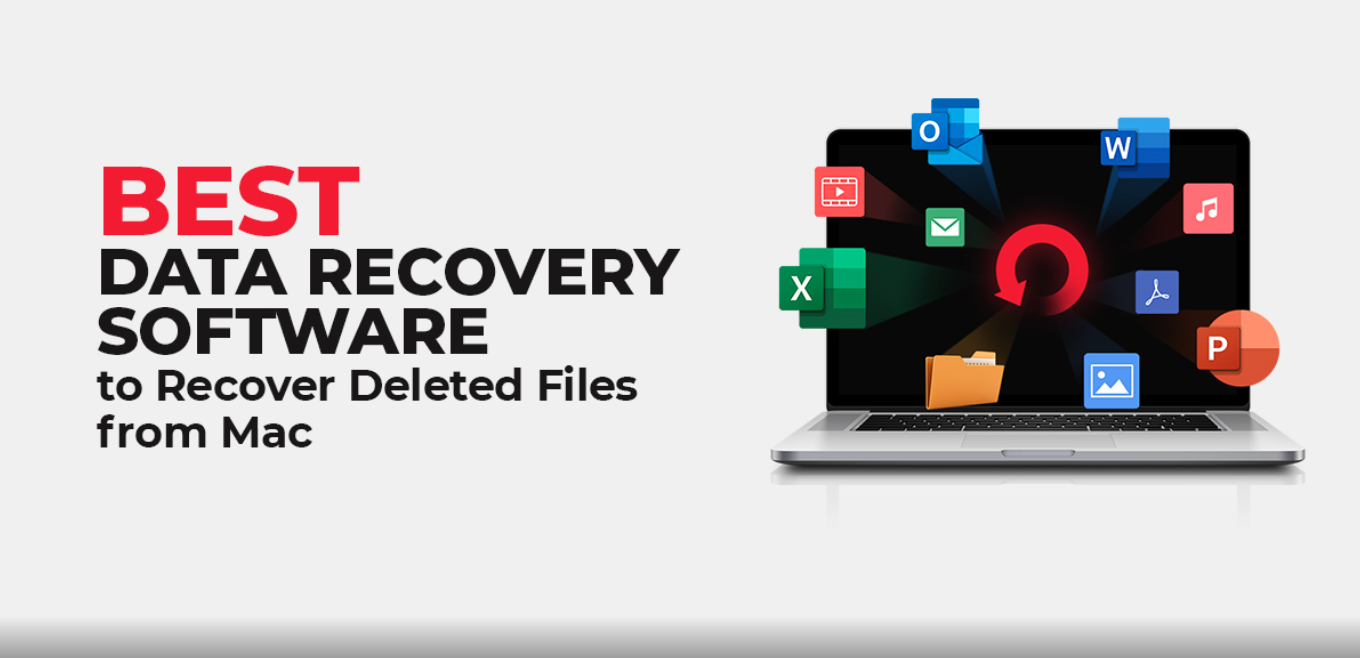
If you’re here after encountering a data loss scenario and looking for the best Mac data recovery software to get back your precious files, continue reading the article. In this post, we’ve curated a list of the best five software to help you recover deleted files on Mac. The software you choose should be reliable and compatible with the version of the Mac you’re using.

Stellar Data Recovery Professional For Mac
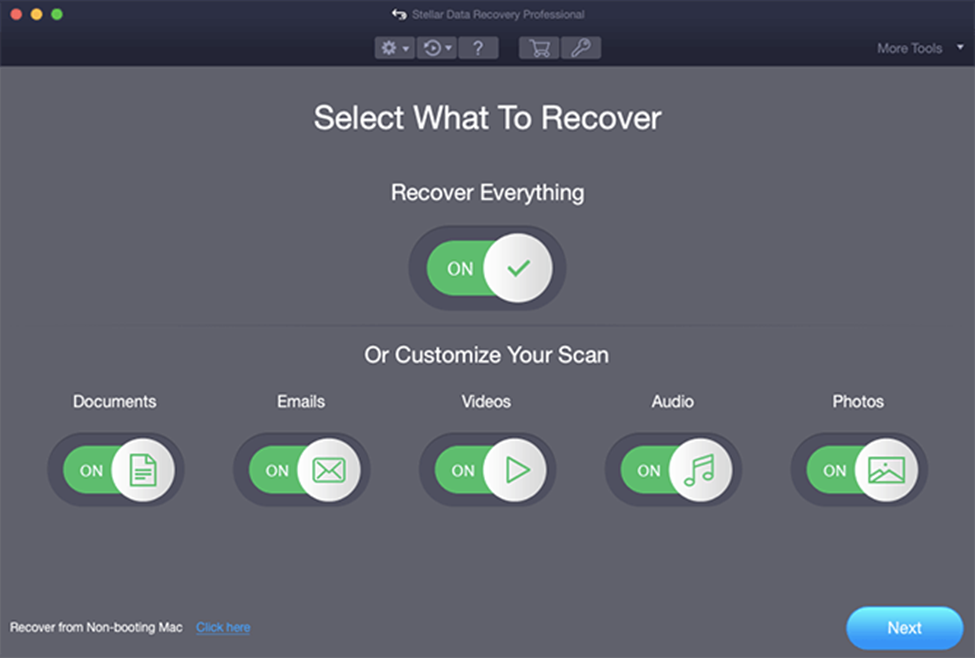
Stellar Data Recovery Professional For Mac If you wish to recover deleted or lost Word, PDF, or Excel files from your Mac, Stellar Data Recovery is the best software for you.
  • With the help of Stellar Data Recovery Professional for Mac, you can recover data from the lost volume and crashed and non-booting Mac.
  • Not just this, with this software, you can also monitor the health of your hard drive
  • This software also allows to perform disk imaging and disk cloning.
You can free download the trial version of this mac data recovery software. Scan and preview the recoverable data using the free trial. If you’re satisfied with the results, you can upgrade to the professional version that promises an added bouquet of features!

Tenorshare 4DDiG (Mac)

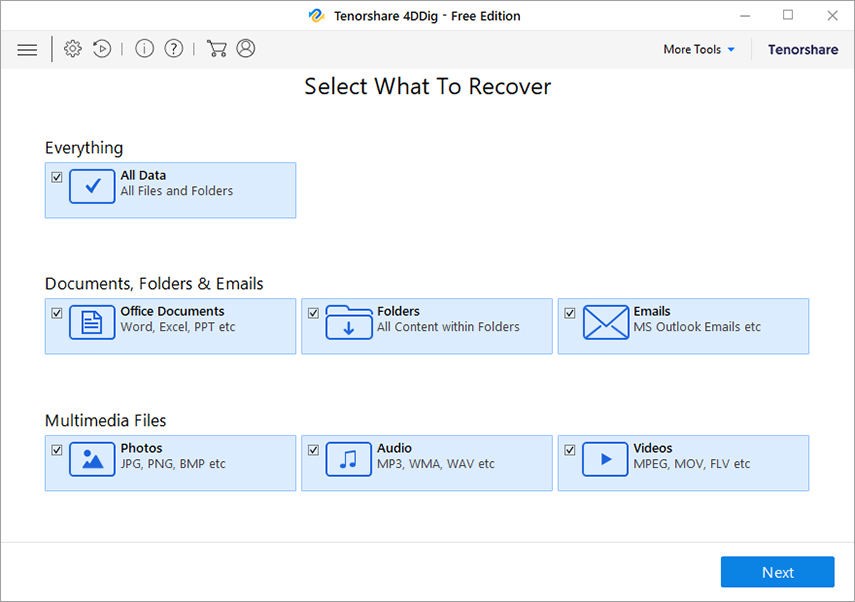
Tenorshare 4DDiG (Mac) It is a powerful Mac data recovery software that allows users to recover unlimited photos, videos, documents, audio, etc., from Mac and external storage devices that are lost, deleted, or formatted. Tenorshare 4DDiG (Mac) also allows raw recovery, lost file recovery, and partition recovery. You can even recover data from crashed or dead Mac using the software.

Wondershare Recoverit For Mac
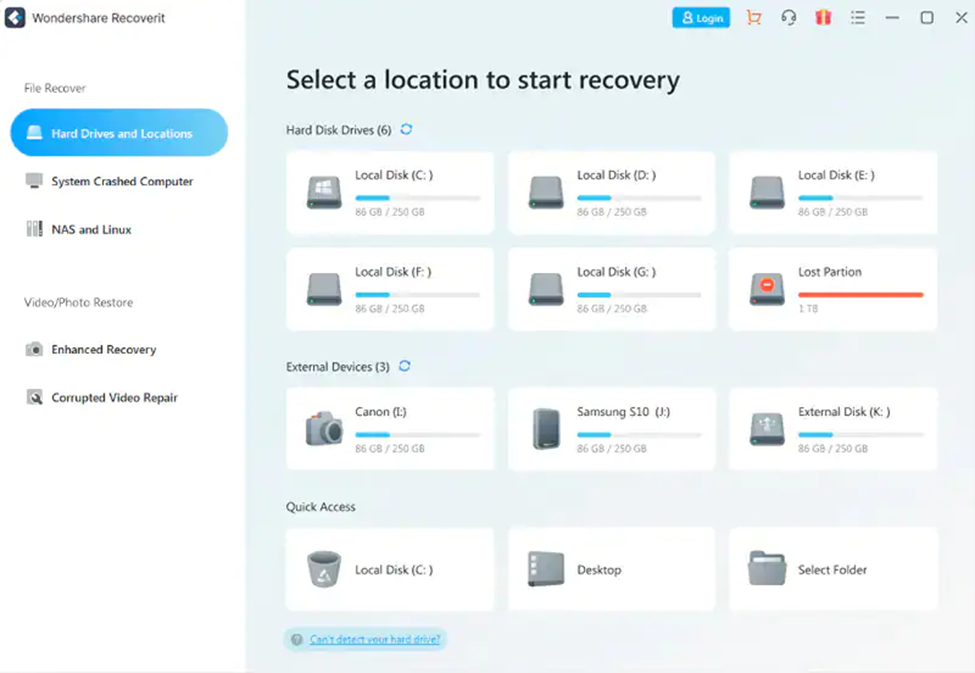
Wondershare Recoverit For Mac Using this software to recover your lost or deleted files on Mac is quite safe. You can recover lost office files, outlook & archive files, graphics, audio, videos, and more from internal and external HDD, SD cards, memory cards, USB flash drives, etc. Furthermore, you can even create a bootable media with the standard software version that helps recover data from a crashed Mac. This software allows data recovery from a wide range of data loss scenarios such as virus attacks, accidental emptying of Trash, hard disk drive crash, factory reset with no backup, partition error, raw state, and re-installation of the operating system. The software supports different file systems, including APFS, ExFAT, FAT16, FAT32, HFS+, NTFS, Ext2, Ext3, Ext4, and more.

Softtote Data Recovery Mac
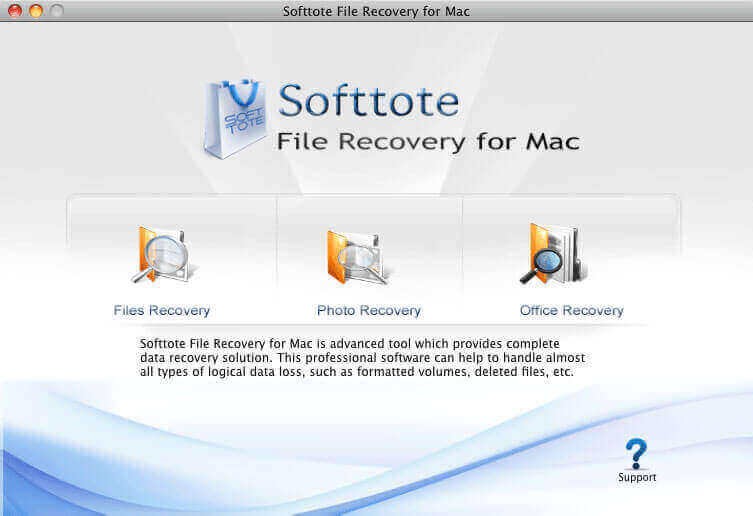
Softtote Data Recovery Mac It is an all-in-one software for Mac data recovery that helps in retrieving lost or deleted files, missing partition and formatted drives. Not just this, the software is even capable of recovering data from corrupt HDD, camera, MP4 and MP3 player, USB Flash drive, etc. The data recovery software also offers Photo Recovery, Lost Partition Recovery, and file recovery.

Data Rescue For Mac
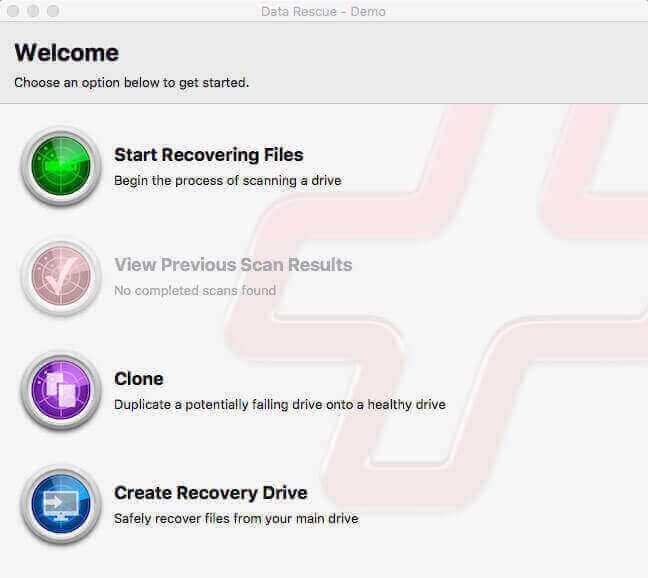
Data Rescue For Mac The function of this software goes beyond just hard drive recovery as it can also recover from different devices, like CF cards, SSDs, SD cards, USB drives, and many more. Using Data Rescue for Mac, you can easily locate, preview, and retrieve lost data, deleted files, and reformatted drives. This software uses two scanning modes to scan your storage drive- Quick and Deep. It is possible to recover the files and view the previous scan results. You can recover photos, videos, audio, and various file formats.

How To Choose The Best Data Recovery Software?

When deciding which software to pick for Mac data recovery, consider the data loss scenario at hand. Think what type of software will be able to bring back your files efficiently and in no time. There is a plethora of data recovery options available today. However, choosing the specific software that caters to your individual needs is a must for successfully recovering deleted files from Mac. Other factors while choosing the software can be the OS, file systems, data loss situations, and storage devices that the software supports. Another vital parameter to consider is the software’s ease of use; DIY software will be preferred much more than the ones requiring technical proficiency. Make sure to first download the trial version to preview the recoverable files. If you’re happy with the results, only then purchase the software. Look for the features in the software and figure out how they will benefit you. For instance- software with features like disk imaging, drive monitoring, and cloning can do wonders!

Read Also :

Abdul Aziz Mondol is a professional blogger who is having a colossal interest in writing blogs and other jones of calligraphies. In terms of his professional commitments, he loves to share content related to business, finance, technology, and the gaming niche.

View all posts

Leave a Reply

Your email address will not be published. Required fields are marked *

Related

Alexa device issue

How To Troubleshoot The Alexa Not Responding Issue? [Fixed]

Alexa is a virtual assistant, which works with an echo dot in order to fulfill all the demands of its users. With its thousands of attractive features, Alexa has made the life of its users super easy and also entertaining at the same time.  With its hi-tech features, Alexa can do almost everything from controlling smart home lights to set reminders, playing songs, jokes, news, quizzes, and much more things. But due to some reasons, you may find your Alexa not responding to the commands that you are giving it.  Do not worry if you are facing the Alexa not responding issue. Here we have the most effective and easiest troubleshooting steps to fix this issue.  Troubleshoot The Alexa Not Responding Issue: Here are the troubleshooting steps that you need to follow for solving the Alexa not responding issue with your echo dot. There are a bunch of reasons for what you may be facing this Alexa not working issue.  So, let’s head towards the troubleshooting steps.  1. Check The Microphone Button There are many instances when we find that the reason behind Alexa not responding is because the microphone is damaged or we forget to turn the button on. The microphone button is one of the most common reasons for this issue.  So, check the microphone button first. If the issue persists and it seems that everything is totally fine there. You can step to the next process.  2. Reboot The Device This is one of the most effective and easiest ways in the whole troubleshooting process of Alexa is not responding issue. There is not much trouble, all you need to do is just restart the device and the issue will get resolved. But this restarting has a definite name called power drain, and it is more than just powering off the power button and power on it again.  Here is the step-by-step guide for the power drain process. First, you need to check the power light. In case it is showing blue light, that means the device is able to hear you but simply the Alexa device is unresponsive to your commands.  Disconnect the power cable from the power source for at least 30 seconds. Wait for a little while, and after that, connect the power cord again with the power outlet. Now, when your device is ready completely, try to give it any command again. If the issue is resolved, then it is fine. But in case the issue of Alexa not responding continues, head to the next step.  3. Echo Dot Hard Reset In case the above described troubleshoot does not work for your echo dot. Here is the step-by-step guide to hard reset. You will find the reset button at the bottom of the device. You can use a pin to press the button. As soon as you press the button, the device will power off. Here, you need to wait for a little and then power the device on again. All the settings of the device will then reset to the original.  4. Disable And Enable Alexa Privacy If Alexa not responding after all the above-mentioned troubleshooting steps, now is the time to enable Alexa privacy and in order to do so, follow the below steps. You will find a button at the end of Alexa’s nucleus screen. You need to press the button. This button is to enable the privacy of Alexa. If you press the button again, the device will hear you again. Give a command to Alexa in order to check whether the issue is resolved or not.  5. Check Your WiFi Connection Behind the “Alexa not responding” issue, there is a huge chance that maybe your wifi connection is not working properly. That is why Alexa is finding it difficult to respond to your commands.  Well, let me tell you that if you do not have a proper internet connection, there will be no use for this Alexa device. So, check the router now. In case you find anything wrong, contact your network service provider.  6. Try Changing The Position  In case you have placed your echo dot device far from your router or in someplace where it is having issues connecting with the router. This can be the main reason why you are experiencing “Alexa not responding.”  Make sure that you are placing Alexa within the wifi range. The place should be accessible to yours as well so that your echo dot device can connect with the network properly and also can hear you clearly.  7. Set Echo And Smartphone On The Same Network Always keep in mind that the smartphone that you are using and Alexa have to be connected within the same network. In case they are connected with different routers or your phone is not connected with the router’s network, you will face the “Alexa not responding issues.” Connect both of them on the same router’s network in order to resolve the issue.  8. WiFi Congestions If you have connected a lot of devices within the same router’s network, it may create the “Alexa not responding” issue. Due to excessive wifi congestions, your echo dot is not able to respond to your given commands. Remove or disconnect some other devices, and then try to give your device command and check if the issue is resolved.  Still Alexa Not Responding? All the steps that I have told you in this troubleshooting guide are enough for resolving Alexa not responding to voice issue. But if you face the same problem after performing all the troubleshooting steps. You should contact Alexa customer care. Call on the Alexa helpline number and ask for help.  More Resources:  Benefits Of Having A Cordless Vacuum Cleaner At Home What is type c cable, and is it worth buying

READ MOREDetails
Flying Crane

Flying Crane: Purpose, Benefits, And Usage

The AF 200 flying crane's primary aim is to ensure that we can completely revolutionize the wind energy industry and bring forward the most promising piece of technology you can expect from us. We believe that when it comes to technology and high precision, it never has to be in a way that you must compromise on the working of the environment or sustainability factors. This is why we have brought forward the most comprehensive flying crane, and we can say with conviction that this is the best one you can invest in. At AirFlight, our aim is always quality, which is what we have also focused on here. What Are Flying Cranes Typically Used?  Flying crane helicopters have significant uses. When it comes to lifting heavy equipment from one place to a remote place, a flying crane is the only reliable to take help. Here we listed the primary purposes where a flying crane is needed.  1. Lifting And Transporting Heavy Materials As we said that lifting heavy materials in a short time from one to another place,  Flying cranes are a fantastic option. Lifting heavy construction materials, including concrete, bricks, wood, heavy bake loads, and steel.  It allows you to shift the materials for emergency purposes. That is why many construction companies use flying cranes as per their requirement.  2. Replace And Remove Rooftop Units What you can do when you need to lift heavy unit materials from the rooftop of the tower building. You may understand that it is not possible to use any other crane to shift the material from the 80-floor building.  Here, aerial crane companies' workers and employees are the most skillful staff who know how to handle these things and how they can shift the materials without making any mistakes.  Helicopter cranes are able to spin 360 degrees and they are most efficient in mountainous terrain and congested cities.  3. Forestry Operations Well, for forestry operations, an aerial crane is a suitable tool. To conduct everything in the forest, helicopters can assist in placing tools and picking up the wood to restore them in the nearest factory.  However, “heli-logging” is a method of logging that uses an aerial crane to lift cut trees and remove them from the operation area.  4. Utility Construction Project Flying crane technology is able to haul huge pipelines in half time. It is a valuable tool when it comes to lattice structures, placing monopoles, and transporting materials and machinery On the other hand, the flying car is also used to set pipe sections for cell towers in different geo-location. They are the practical choice to install towers in hill stations or hard-to-reach areas. What Is The Unique Feature Of The Af200 Flying Crane? It is common to wonder what is so remarkable about this particular flying crane and why it differs from the other market options. The first and most important reason that makes it one of the best is because of the efficient take-off as well as the landing. Another significant factor about the flying crane is that it is equipped with automated take-off. This ensures that you do not have to put in manual effort for the same. Not only that, another very unique thing about the flying crane is that it is equipped with pre-programmable flying paths. There are no two ways about the fact that one of the most beautiful things about this particular flying crane is that we have tried to decrease manual labor as much as we can. Our primary focus has always been to boost automation and ensure that ultimate efficiency is promised to our clients. AirFlight is one of the better-known brands for the most fantastic flying crane. The Benefits Of Flying Crane  Helicopters flying cranes are capable of reaching anywhere and everywhere. They can lift anything from swimming pools, cars, riversides, or construction palaces, etc. A flying crane is the most convenient tool to lift materials from high-rise buildings. After a disaster, for rescue purposes, they can be used to lift materials like rubbish or goods and shift them to remote areas.  It is capable of conducting the work in half of the time. With the help of flying cranes, many real estate companies and utility construction companies are able to install or build towers or hotels at hard-to-reach places.  Final Words So, these are all about flying cranes. Engineers are made flying crane drawings and designs to ensure the tool can provide the best service.  If you think that you want the best flying crane and that too on a budget, you only need to get in touch with us, and we will help you. We can vouch that the AF200 flying crane is the best you will come across! However, if you have any queries, feel free to raise your question in the comments section.  Additional: 3 New Age Engineering & Construction Technology How New POS Technology is Advancing Merchant Processing How Cutting Edge Technology is Helping Dubai Improve its Healthcare Services 5 Ways Technology Will Change the Hospitality Industry Post Covid-19 Pandemic

READ MOREDetails
Recover Your Lost Files from BitLocker Encrypted Drive

Recover Your Lost Files from BitLocker Encrypted Drive

Data is an important pillar of modern society. This is why many people use third-party software to encrypt data and restrict any unauthorized access. Although this might offer high-level security to the data, at the same time, it adds difficulty at the time of data recovery. Being a digital marketer, I ensure that nobody accesses my data. To do that, I use BitLocker to encrypt all my data. One morning when I was trying to access my photos, I found that the SD card was somehow damaged, and now I cannot access my photos. This really startled me, as it was only a couple of days away or my clients' photos were delivered. I Tried data recovery software to recover the inaccessible photos, but the efforts were in vain, as the BitLocker was resisting to do. Fortunately, after several tries and integrating a couple of tricks, I was able to get back my photos. It was a great feat for me, and I thought that many individuals like me face the same problem. So, I took this opportunity to share my experience and how I was able to recover data from BitLocker encrypted drives. How to Recover BitLocker Encrypted Files? Data recovery is a complicated and time-consuming process. There is data that can be restored or recovered from simple recycle bin recovery. The data recovery process is complex. I have come up with this solution to recover BitLocker encrypted data. 1. Recover Data from BitLocker Encrypted C: Drive: As we know, C: Drive is the operating system drive.l the moment you start your system, new data keeps on adding to the system drive. So, the recovery of encrypted data depends on whether the lost un accessed files have been overwritten or not. In case of overwritten activity, you will not be able to get back your data. Instead, the data will stand corrupted. However, if the data is not overwritten and is encrypted by the BitLocker, you can recover data by following the steps given below. Once such a scenario occurs, stop using the drives to ensure data is not overwritten. Download a data recovery software. You will see the main interface with all the active drives in the system. Select the targeted drive. Initiate a scan. Select the data you're meant to recover and click “Recover”. 2. Recover Data from Encrypted Data Drive: Data drives are the drives where you store data. The D: Drive and F: drive you to see are the data drive. If you cannot access these drives, you can follow the same process. The only difference will be that you will select the drive storage instead of selecting the system storage. Download and install the data recovery software. Select the BitLocker encrypted drive. Run a scan. Select the targeted data. Click recover. 3. Recover Data from BitLocker Encrypted SSDs: Today, instead of HDD, most systems have SSDs. While we use an SSD, we have no idea that it deletes data without our permission. I know this can surprise you. But that is the truth. Windows 7 or the other later ver5sion initiates an automatic TRIM on SSDs. The only way to ensure your data is safe is to keep track of whether TRIM is enabled or not. Once you know that TRIM is Disabled, you can use the same steps to recover or access BitLocker encrypted data. Download and install the data recovery software. Select the BitLocker encrypted drive. Run a scan. Select the data you want to recover. Click recover. Conclusion: To sum it up, yes, there are easy ways in which you can recover encrypted data. In this article, I have shared the methods I used to retrieve my data. I hope that these methods work in the same way as they worked out for me. Read Also: Things to Consider While Choosing Data Recovery Software How To Empty Trash On Android?

READ MOREDetails