Published on: 02 March 2018
Last Updated on: 12 August 2024
A picture is worth a thousand words and yours should tell the exact story that you want to tell the world. You must find ways of having your photos say what you want them to say. Corporate events normally tend to be quite boring and stuffy affairs and this would most likely be captured in the event photos. A boring event captured in a picture would bore even the intended audience but this can be avoided by making use of these few pointers that will ensure your photographs spark the desired interest in your target audience.
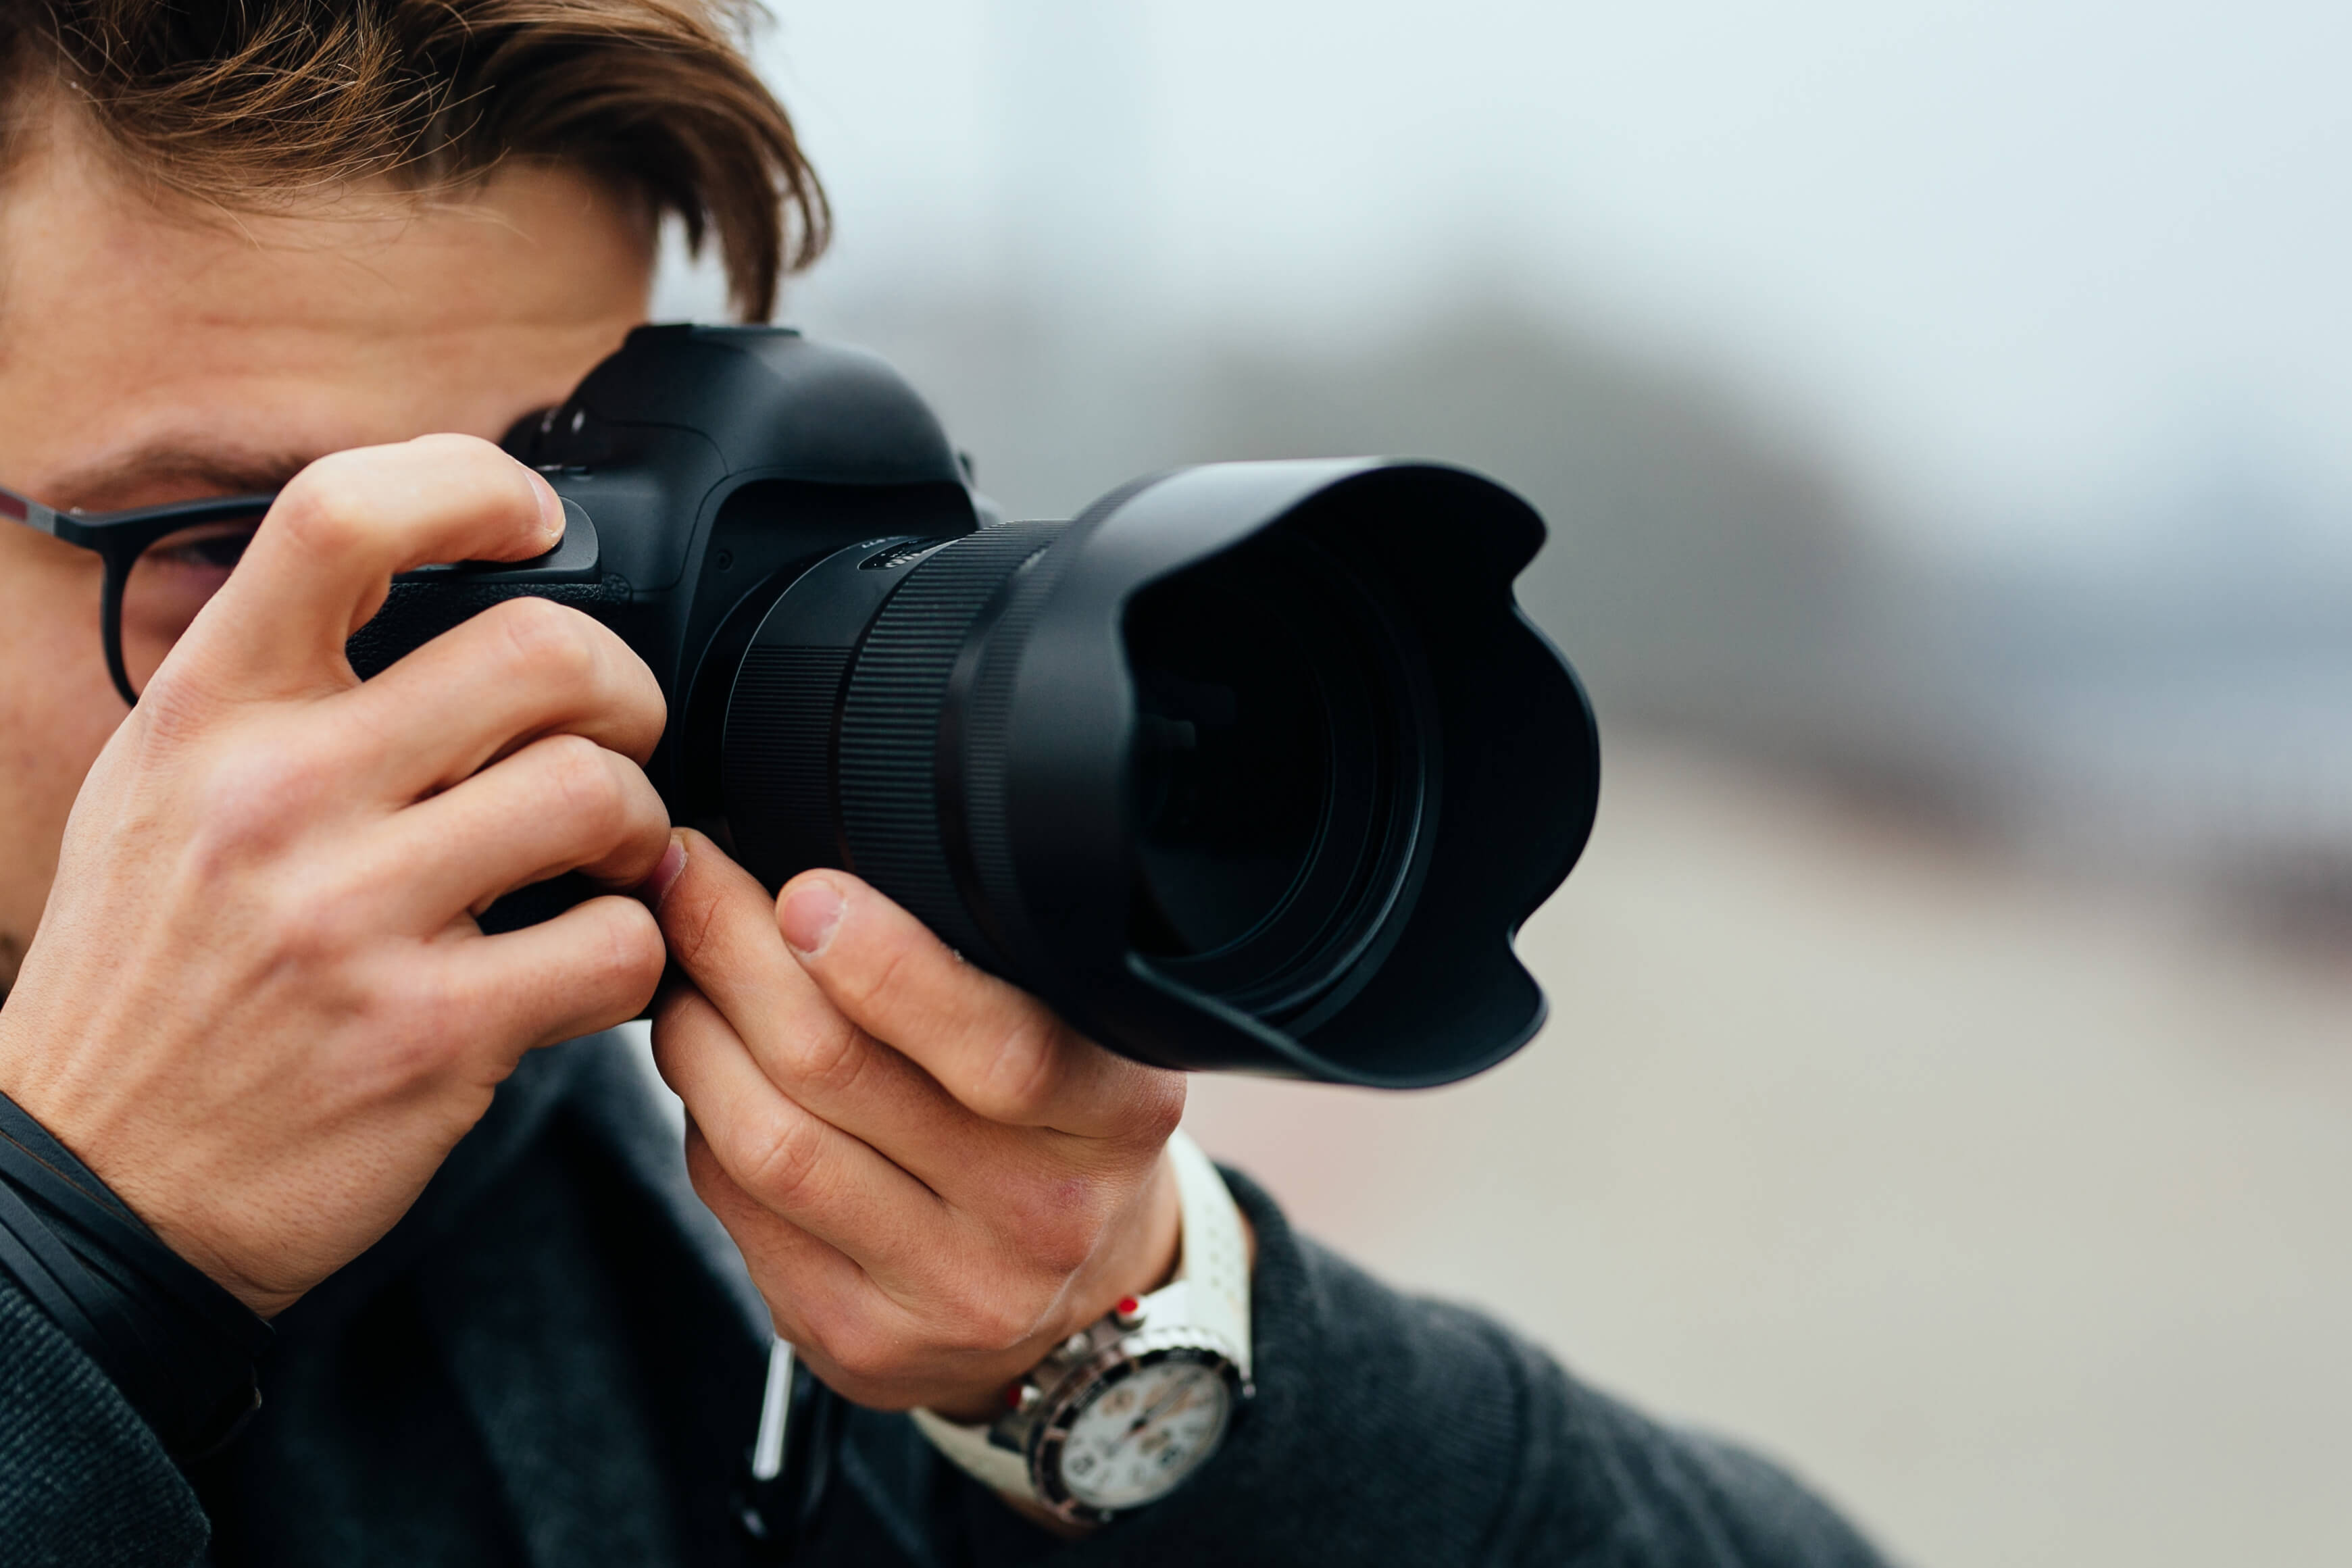
Get Creative with Angles :
Assuming that there is no mingling in the event and everyone was seated; it would be quite boring to have many photos of a bunch of people in suits just sitting down. But shooting from different angles and from different perspectives can change all this. It may mean making use of the centerpieces that the event has put in place or it could be you getting shots from outside the room, the possibilities are endless. One just needs to think outside the box.
Keep the Photographer In The Know About the Intended Use of the Photos :
Depending on where you want to use your photographs it is good to always let the photographer know so that they can know exactly how to capture the event. Say if the photos are to be used for the company’s social media profile, then the photographer would know the exact angle to capture them from. The ideal photograph for a company website would be totally different from the one to be used on the social media profile. Letting the photographer know in advance will ensure that you get the most value out of your pictures.
Highlight On Keynote People at the Event :
In the event that there are keynote speakers who are going to grace your event, it is always prudent to let the photographer know in advance so that he/she can capture them in the best light. In the same breath, if there are people who absolutely do not want to be photographed, also let the photographer know in advance so as to not offend anyone intentionally or not. If as the organizer of the event, you are unable to point out the said people, it is well in order to have one of your staff members be the one to show the photographer.
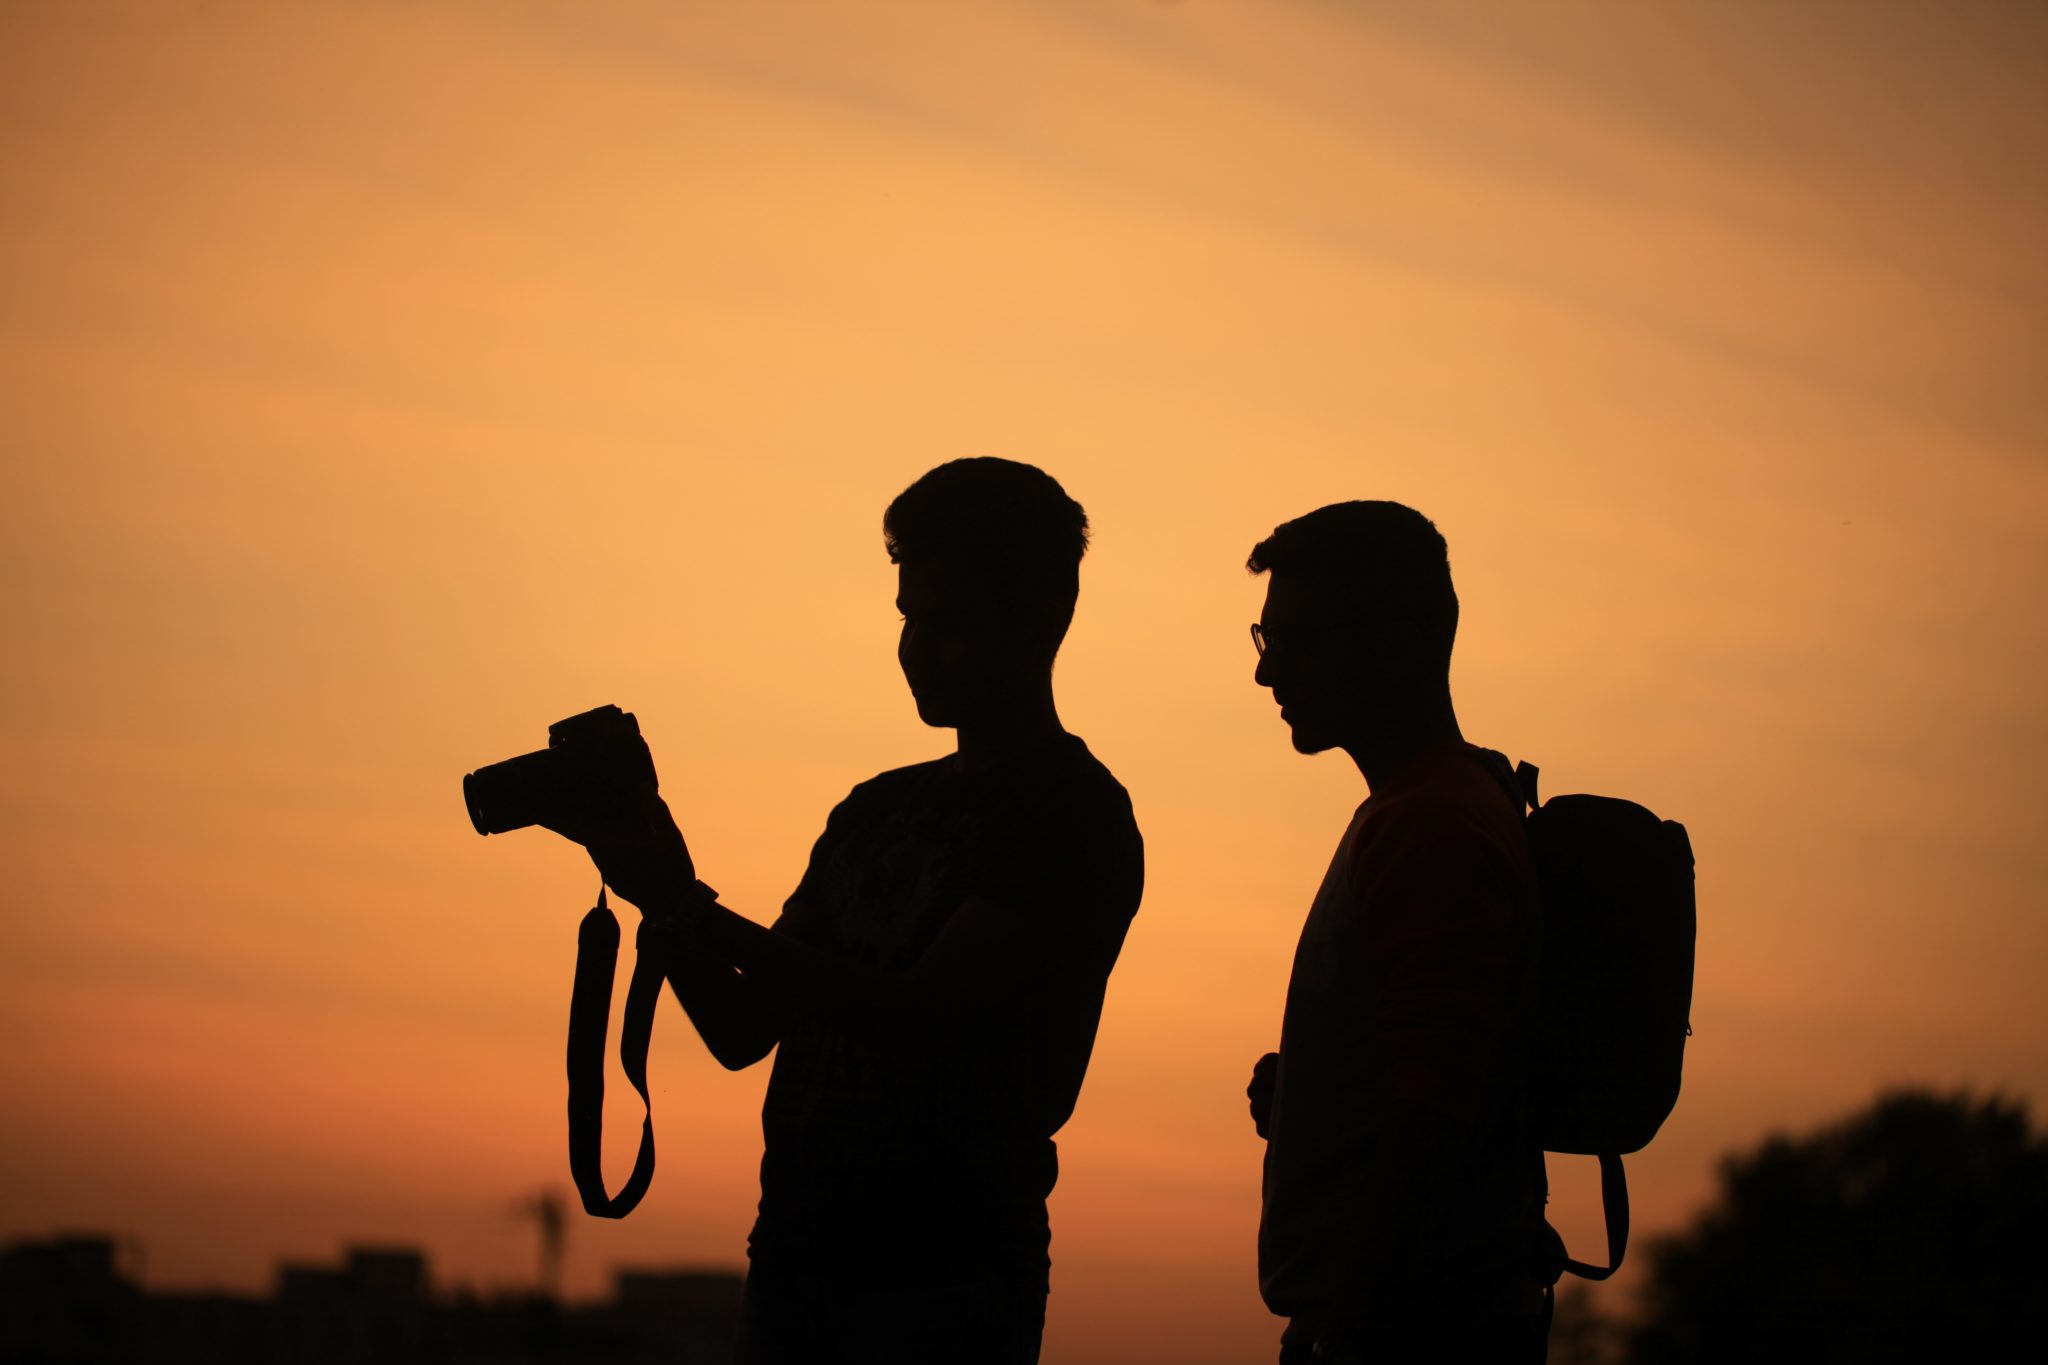
Let the Venue Help You Get a Photographer :
Finding a worthy photographer who can live up to your expectations can be quite a task. Companies like the photo team are professional photographers who exclusively deal with corporate events but if one is unable to retain their services for one reason or another, you can choose to seek help from the event venue. Nowadays, most venues have their in-house photographers or know about good photographers from previous events held on their premises. Getting the venue to recommend a good photographer for your event is quite in order because chances are that he/she has had a photography session within the premises and therefore is aware of the good angles and will advise you accordingly.
Have Fun with Posed Photos :
As mentioned earlier, corporate events can be boring. This does not mean that the event photos have to be boring as well. Having fun with attendees of a corporate event will oftentimes have them loosen up a whole lot more and this will give your photos a whole new flair as opposed to the traditional grip and grin type of photos common with serious events. Be fast about posing for the photos though because you do not want to delay the event or hold the attendees longer than necessary.
Getting creative with photography takes skill and experience and unfortunately, not all photographers have these. It is best to seek the services of a professional event photographer who will give you exactly what you seek in your event photos.
Content Rally wrapped around an online publication where you can publish your own intellectuals. It is a publishing platform designed to make great stories by content creators. This is your era, your place to be online. So come forward share your views, thoughts and ideas via Content Rally.
Everyone loves looking at photos. Whether it is an artwork, a particular location, or a memorable personal event, photographs will always take center place in any room. Choosing the best frame for your photo is imperative.
Technology makes it easier for anyone to capture these elusive memories. With smartphones, photos are shared immediately with friends through Facebook and Instagram feeds.
However, there will always be a select few photos that people want to display in their homes. And one way to highlight the beauty of these pictures is through the art of framing.
Framing today is as easy as uploading pictures, choosing the right and the best frames online, and having them delivered to your doorstep in a few days. The best frame can enhance the beauty of photos and even transform them into artwork.
With an abundance of frames to choose from, it should be easy to find one that complements your picture. However, if you’re not the artistic kind, here are some essential tips from framing experts.
How to Choose the Best Frame for Your Photo:
Choosing frame materials
Wood frames give pictures a warm and classic look. The colors can vary from light to dark, depending on the wood’s finishing.
Photos that contain warm tones (like red, brown, and orange) are an ideal match for dark frames like mahogany and walnut. However, pictures with cool hues (like blue, green, and lavender) pair well with light-colored wood, typically made of oak, ash, and pine.
You can find various frames online that are even black or white.
Black frames give off an elegant, formal look to pictures. Choosing a black frame will highlight the darker areas of the photo and will provide a nice contrast against the lighter ones. To achieve a balanced look, choose photos with some light and dark tones if you prefer a black frame.
White frames are best for casual and candid photos. The darkness in the picture will stand out while the lighter hues will blend into the background.
Metallic frames are the ideal choice for family pictures, landscapes, and wedding photos. They make the photo’s coloring more vibrant and exude an eye-catching, classy appearance.
Matching a frame to the room decor
Although home renovations are becoming more popular, the fastest way to enhance your home’s décor is by changing the display of photos.
The ideal frame should complement the room’s current décor, and frames can do just that if it has very intricate details.
Choosing a frame for an artwork
If you have beautiful artwork, the picture frame will depend on its kind.
Still-life
For clean and uncluttered still life photos, an ornate gold frame will dress up the look. Going for a double mat with gold edging is even better.
Another trick is to focus on the color that stands out and choose a metallic frame in a similar shade. Avoid the mat to have a better color impact. Choose narrow metal frames online for balance.
Nature
Seascape photos will go well with shimmery frames. Rustic wood is a natural fit for pictures of cottages.
For displaying rock mountains, a light neutral mat paired with a plain white frame is the ideal choice.
Deciding on the frame color
One essential tip is to select a color in the artwork or photo and get the best frame with the same color. Not only will that color be accentuated, but there will be a sense of continuity.
It can either be a dominant color or even a minuscule color in the picture. Highlighting even the smallest color will draw attention to the photo.
Another tip, if one prefers a neutral approach, is to choose white frames.
Including matting to frames
Matting is ideal for small pictures. The choice of mat color will complement the image and include space from the artwork to the frame, resulting in an overall clean look.
Conclusion
Framing is an art. It’s not just about hanging a picture on a wall. Knowing the techniques in choosing the right picture frame online(best frame) is the secret to enhancing the view.
Read Also:
Celebrities and Their Pets: 5 Reasons Why They Love to Take Pictures With Them
Picture Collage- Essential Things to keep in mind while making your First Collage
Professional headshots and regular portraits may seem similar, as both are photography forms meant to capture an individual's likeness. However, the distinctions are crucial, particularly in a professional context.
A professional headshot is tailored to convey a person's professional identity and is often required for corporate profiles, business websites, and LinkedIn pages. These headshots are designed to create a strong first impression, showcasing the subject in a polished and approachable manner.
Conversely, a regular portrait captures a person in a more personal and artistic fashion, often reflecting their personality, lifestyle, or an artistic concept. Portraits are less rigid in styling, composition, and use of backgrounds, allowing for more creative freedom.
Portraits might be full-body shots or tightly cropped images set in various environments and with varying lighting and mood, contrasting with a professional headshot's usually consistent illumination and composition.
Key Takeaways
Professional headshots are curated for professional branding.
Portraits offer more freedom and are personal or artistic.
Lighting and cropping are key differentiators between the two.
Fundamentals of a Professional Headshot
Before exploring the key components of a professional headshot, it's important to understand that they demand precise technical execution, thoughtful composition, and careful attention to the portrayal of the subject.
Technical Aspects
Professional headshots stand out due to their exceptional lighting and focus, which require a photographer to make meticulous adjustments. The right lighting is crucial; it should illuminate the subject's features without harsh shadows or overexposure. A high-resolution camera is also essential to capture the detail needed for a headshot, ensuring that the final image is crisp with a clean focus.
Composition and Aesthetics
The framing and cropping in a professional headshot are deliberate, typically adhering to industry standards—such as the top of the shoulders and head being visible, with the subject's eyes positioned at or just above the center line. Backgrounds are simple and unobtrusive, highlighting the subject's conversation with the camera.
Subject Presentation
In a professional headshot, the subject’s presentation is key. Professional attire is recommended, and personal grooming is crucial. The subject’s expression is approachable yet authoritative, portraying confidence. The outcome is a portrait showcasing professionalism and character, suitable for professional contexts such as professional networking.
Impact of Headshots in Professional Settings
A professional headshot can be a cornerstone of a person's online presence, significantly influencing first impressions and branding effectiveness.
Online Professional Platforms
LinkedIn has become the quintessential online platform for professionals. A polished headshot here enhances a LinkedIn profile, signaling credibility and competence. It is the first element that captures attention, laying the groundwork for potential connections. On resumes, a professional headshot can differentiate a candidate, especially in industries where appearance and personality are integral, like sales or public relations.
A headshot is a critical tool for a casting director's selection process in entertainment. Actors and models must convey versatility and professionalism in a single image, often determining if they get considered for a role.
Corporate Branding and Marketing
In corporate contexts, professional headshots embody the ethos of the company. On corporate websites and business cards, they help build a personal connection with clients. Companies reinforce their brand and showcase their team's professionalism through consistent, high-quality headshots across various marketing materials.
Entrepreneurs utilize headshots to establish a personal brand, an invaluable asset in attracting partnerships and customers. Reflecting confidence and professionalism, headshots are crucial for entrepreneurs presenting themselves on business platforms and online profiles.
For businesses that want to ensure they portray high professionalism, partnering with a professional headshot studio is a strategic move. It presents a unified brand image that fosters trust and reliability.
Feel And Mood Of Portrait And Headshot
There is a massive difference between the mood and feel of portraits and headshots. When a headshot is taken professionally for business purposes, it will exude a jolly vibe. The aim of a headshot is to communicate a particular message to the viewers.
In other words, when a headshot of a particular person is captured, they communicate friendliness, trustworthiness, reliability, and many other good things. Usually, these types of headshots are used for LinkedIn profiles and business websites. The use of a headshot also depends on the field you are trying to achieve.
However, professional headshots do not have to be about bonhomie always. They can be shot in different ways to express toughness, concentration, and knowledge.
When it comes to a professional portrait, the outcome usually is very straightforward. The shot is taken craftily to complement a story or article. So, for a portrait shot, there is always a proper theme.
A professionally captured portrait expresses a lot of mood, and there is a lot of drama in those photographs. In a portrait, a subject does not look straight into the camera. The subject remains busy with some activities while the photographer captures them.
To cut a long story short, a portrait is about weaving a story and conveying that to others. A headshot, on the other hand, is about introducing yourself to others. A headshot is also suitable for communicating a message quickly.
The Lighting Setup Of A Portrait And A Headshot
Lighting plays a very crucial role in determining how a photograph will look. I have already discussed how the mood and feel of headshots and portraits differ.
When a photographer captures a headshot, they will use big light modifiers. In the case of outdoor photoshoots, the photographer will use concrete or building pavements to get the headshots right.
Further, when a headshot is captured, the subject has less shadow. There is an absence of shadow to keep the overall look of the headshot pleasant. Once again, no drama is expected or required in a professionally captured headshot.
On the other hand, professionally captured portraits have a more dramatic lighting setup. The photographer has to create drama through the lighting setup. Also, keeping in mind the aesthetic appeal of a portrait, using conventional modifiers is often avoided in professional portraits.
Here are some other modifiers that are used in capturing professional portraits.
Color gels
Mirrors
Glass
To reiterate, lighting decides the mood and expression of a particular photograph. So, use the lights and modifiers according to the type of photograph you want to click and what you want to communicate.
The Use Of Lenses In Headshot And Portraits
When a professional headshot is captured, a photographer will usually use an 85mm or above long focal lens. Thanks to the use of a long-focus lens, there is hardly any facial distortion in headshots.
Lenses with a shorter focal length are used in clicking professional portraits. A photographer will use 24mm to 50mm lenses to depict the surrounding.
Conclusion
Professional headshots are distinct in both purpose and execution. They employ meticulous post-processing to ensure a polished yet natural look, incorporating adjustments like color correction and skin retouching.
The subject's engagement with the camera is direct, generally from the shoulders up, differentiating them from the broader scope of a portrait. Headshots provide a professional representation, focusing on clarity and simplicity, while portraits offer a more expansive narrative.
Read Also:
5 Corporate Video Production Styles
Photography and Number of Techniques
How to Best Photograph a Corporate Event
Whether you’re planning to explore wildlife in a nature preserve or you simply want to capture seasonal changes in your local park, no outdoor photography adventure should be undertaken without proper equipment. Outdoor conditions are unpredictable and your expensive equipment is sensitive, therefore you cannot be too prepared. Here is the list of handy tools you shouldn’t forget when venturing in nature.
Here re Handy Tools for Outdoor Photography:
1. Cleaning
Making sure that your lens and sensor are clean, especially when taking photos outdoors, should go without saying. Tiny dust spots, smudges, or even hair can make your carefully planned shoot less perfect, and using the software in post-editing can only do so much. To avoid this potential disaster, be sure to always carry a brush with fine bristles and a blower. These won’t take much space and can prove essential in ensuring clear and sharp photography.
2. Tripod
Tripod is an indispensable piece of equipment for shooting outdoor sceneries since you never know when you will have to use long exposures. Capturing clouds and bird flocks early in the morning or tree silhouettes in dusk can be quite demanding if you forget your tripod. Be sure to pick a tripod of an appropriate height, and take into consideration that ground most likely won’t be flat.
3. Lens
Be prepared to spend some money on a quality long lens. They are considered mandatory by many professional photographers, especially if your ambition is to capture wildlife. Something around 400 mm is a minimum. However, taking into account the crop-factor of certain cameras, you may find that the 300 mm lens will suit your needs equally well. Read the reviews of different lenses before buying one.
4. Backpack
Planning an outdoor shooting should most certainly include a good camera backpack. Keep in mind several things when choosing a backpack. First and foremost, it needs to contain enough space for your equipment, especially the long lens we’ve already mentioned. Secondly, it must be sturdy and keep your equipment safe from different kinds of weather conditions. Lastly, you should seriously consider a backpack that is comfortable to wear, bearing in mind you will probably spend a lot of time walking.
5. Lights
Lights in the form of a torch or a headlamp are standard tools for any outdoor activity. Nonetheless, many people get too preoccupied with camera equipment that they simply overlook something as simple as a torch. The best way to go is to get a small LED torch since it is ideal for lighting up even far objects. Most of the new torches can be easily recharged using the USB cable, and have various modes for illuminating farther and closer objects. Another solution is to pack a headlamp. For some, it is a more practical solution. It leaves your hands free, which can prove useful, both in taking pictures and walking on rough terrain at night.
6. Binoculars
Finally, your outdoor kit wouldn’t be complete without a pair of binoculars. After you have chosen your ideal location, you may proceed to scan for a spot that captures your imagination. Although you can do this with your camera, it may prove impractical. When it comes to choosing specific binoculars, always factor in the waterproofing. You never know how fast the weather can change, and waterproof binoculars are a safe investment, even though this can increase the price a bit.
Another important thing is the magnification. The two most common ones are 8X and 10X, the latter being usually a bit larger. This choice rests solely on your preference, but if you tend to travel light, you may instead consider getting a monocular. It is much lighter and does not occupy a lot of space in your camera backpack.
To conclude, outdoor photography should be carefully planned. This does not comprise solely camera equipment, but other tools that are part of any outdoor experience, such as a backpack, a torch, or binoculars. Always waterproof your equipment, wear comfortable clothes and shoes, and be careful in your search for a sublime outdoor shot.
Read also:
10 Must-Haves for Travel Photography
5 Handy Survival Tools to Invest On
5 Essential Tips For The Traveling Photographer