Convex Mirror – An Essential Thing For Your Daily Needs

inner-img

The convex mirror otherwise known as a fish-eye mirror is used in many places for protection and to avoid accidents. It is one of the simple ways to alert you to impending dangers. You don’t need to spend a fortune for sophisticated security systems in order to protect your home. There are many varieties of mirrors for your safety like dome mirrors and bathroom safety mirrors. However, they are one of the most flexible mirrors. These mirrors allow you to view different directions without having to adjust the mirror or allowing others to know what you are looking for.

What is a Convex Mirror?

convex mirrors

convex mirrors

Convex mirrors are made of acrylic or glass and are hardened to make it unbreakable. They diverge light to reflect images. These mirrors have a broad view as against ordinary mirrors. Vehicles use these mirrors to provide a rear view to the drivers. It is also used in stores, grocery shops, etc. as a security device. They can be used both indoor and also in outdoor. They are easy to install and affordable.

Why do you need a convex mirror?

A convex mirror has several applications. It is used in huge apartment complexes and commercial buildings for security. It allows security personnel to check on intruders and to help them in alerting for a possible attack or security breach. It is important because it can provide adequate time to plan and be prepared for any attack either by calling the police or face them yourself. You can avoid a lot of damage to the people and property just with this simple device. It also saves a lot of money since it can avoid shoplifting.

convex mirror

convex mirror

You can use these mirrors as an additional accessory along with a camera to enhance the visibility. They provide multiple angles simultaneously allowing the camera to record several angles of a scene. It can be a very useful investigative material for law enforcing agencies to nab the guilty. You could also use them effectively in parking spaces to regulate and avoid any untoward accidents. These mirrors at street bends can make the riding safer. An outdoor mirror can avoid a lot of accidents since they provide a view of the corners.

Advantages & disadvantages

The most important advantage of a convex mirror is the ability to provide different angles from a stationary point. However, the clarity is sacrificed which is the major disadvantage of the convex mirror. They are also resistant to extreme weather conditions making them ideal for outdoor use. You just have to take care that they don’t get covered in frost. If the mirror is covered with frost then it will lead to dangers since people will have a false sense of security which can be damaging.

How to use?

Convex Mirrors

Convex Mirrors

When you are choosing the mirror, you need to make sure that you decide on the location you intend to install them. If the location is a small one, it is enough if you use a flat mirror. However, larger areas need a convex mirror for better visibility from different angles. You should also decide whether you want to use them indoors or outside. These mirrors can also be used in cell phones to take better selfies.

Where to buy?

You can but these mirrors from a store at your location selling mirrors or order them from online stores, it sells security items for both indoor as well as outdoor use. Online stores provide at a much cheaper cost. You could buy them for as little as $20. However, the cost varies depending on size and the type of use. If the size is bigger and is for outdoor use, it may cost higher going up to even $180.

These are one of the low-cost convex mirrors safety devices to protect yourself & your property. You can use them outdoor to avoid accidents or indoors to prevent shoplifting etc. You can buy them online at an affordable cost.

Lucia Patterson is the woman behind TheLegalGuides, a blog solely focused on legal guides, tips, and advice. Lucia loves essay writing and blogs at EssayWritingGuides from her college days.

View all posts

Leave a Reply

Your email address will not be published. Required fields are marked *

Related

Evacuation Plan

Why You Need A Cold Weather Evacuation Plan

Whether you already have an evacuation plan or are just starting to think about making one, it’s necessary to have different plans for different scenarios. Think about it: does your evacuation plan assume that there will be blue skies and warm temperatures during an evacuation for a fire? A thorough evacuation plan takes many different situations into account. You should be aware of the different types of evacuations that occur, from natural disasters such as forest fires, landslides, tornados, and house fires. And yet, often, people forget to plan for adverse weather conditions, like having to wait in a safety zone in frigid temperatures, pouring rain, or a snowstorm or having to leave through emergency exits with heaps of snow or ice obstructing the way. Checkout Three Prime Reasons You Need A Cold Weather Evacuation Plan: If you already have an evacuation plan and are prepared with emergency tools like the Evacuscape evacuation chair, you’re already ahead of the game, and winterizing your plan won’t require too many tweaks. If you don’t yet have any evacuation plan in place, you can make your cold weather plan at the same time as your warm weather plan. Here are some of the key reasons why it’s essential that you plan for cold weather evacuations. 1. Higher Risk of Fires Between fireplaces, candles, and increased use of heating systems, there’s much more opportunity for fires in the home to occur. The National Fire Protection Association (NFPA) says that house fires occur more often in winter than in any other season. The increased risk must be taken into account during emergency planning for everyone’s safety. Plus, you can take the opportunity to ensure your practice has good fire safety tips. 2. Increased Chance for Severe Weather Natural weather-related disasters come at all times of the year. Winter brings freezing cold temperatures and all sorts of precipitation – from snowstorms to ice storms. Storms can last for days, and power outages often occur, leading to further safety issues. It’s essential to know the different scenarios that can occur. For some, it may be safer to stay put indoors, whereas, for others, you may need to leave your home. You May Also Check: All The Colors You Should Wear This Winter 3. Provides More Opportunities for Safety Planning Considering different conditions allows you to prepare accordingly. From simple and easy things like keeping a warm coat or jacket available to quickly grab on your way out to keep you warm while waiting outside to advance planning, like making sure exits are clear of snow and ice and making sure windows that might be used are easily opened when the cold and ice start happening. The whole point of emergency evacuation planning is to ensure people know how to evacuate safely and are familiar with the plan enough that they can remember it in the event of an emergency when feelings of panic are likely to occur. One thing you will probably never hear someone say is that they regretted taking safety precautions like planning an evacuation plan for their family and going over it every once in a while, to ensure everyone is familiar with it. Making another evacuation plan for cold weather allows you the opportunity to go over your plan, talk to your family about it, and keep it fresh in everyone’s minds to keep your family safe and protected this winter. Read Also: How to Maintain a Bright and Beautiful Garden During WinterPrepping Your Vehicle For Winter Weather Driving7 Daring Party Drinks to Try This Winter

READ MOREDetails
Control Pests

DIY Ways to Control Pests in Your Garden

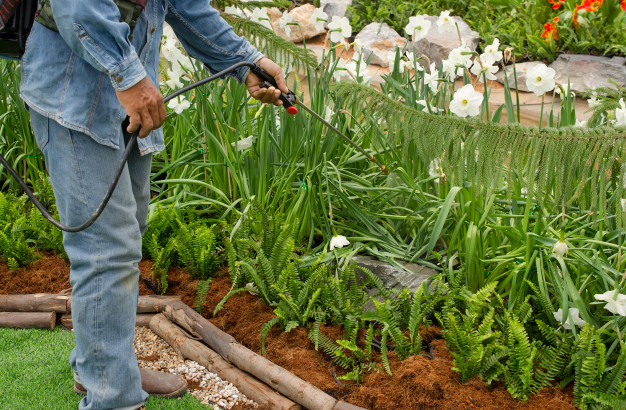
Pests can be a menace and a mood killer. They dampen your spirits of developing a beautiful garden with their destructiveness. Many gardeners make frequent visits to the stores to buy insecticides to try and save their gardens. But did you know your home is full of natural insecticides that you could use to control the pest? Several items that you use in your home can also be used to control pests in the garden. So, if you are tired of the frequent visit to the stores or don’t have the time, here are several home items and products you can use to control pests in your garden. DIY Ways to Control Pests in Your Garden: One Hot Pepper Spray: Mix one gallon of water and about three spoons of hot pepper; if you are using fresh peppers, chop about ten peppers. Simmer the mixture or about 15 minutes and then let the mixture settle for 2 hours. Add a few drops of dish soap to the mixture. The soap helps the mixture acquire a sticky solution that can easily adhere to the plants. Garlic-Mint Insect Spray: To make this homemade pesticide, blend some mint leaves with garlic gloves. Add cayenne pepper and dishwashing soap. Boil the mixture and let it settle for 12hours. It should be ready to chase the bugs away. Apple Cider Vinegar Fruit Fly Trap: Flies are irritant and spread diseases very fast. Instead of waiting until it’s morning to buy some bug spray, you can easily make a homemade fly trap using basic kitchen products. Fill a bottle with apple cider vinegar and add a few pieces of chopped apple. The bottle top should be funneled shaped or have a shaker that allows the flies to get in but restrict them from easily getting out. Coffee Grounds: Do not throw away used coffee grounds if you have a pest problem in your house. Despite making you a cup of coffee, coffee grounds can be used as homemade pesticides. If there is an infestation of ants in your garden, place the coffee grounds in the spot they are originating from. Coffee grounds are fatal to many species of ants. Coffee grounds can also be used to control bugs, snails, and slugs. Eggshells: If a population of slugs and snails are wreaking havoc on your recently planted seedlings, you can easily win the war with eggshells. Eggshells make the ground rough, and the snails find it challenging to slither. Crash eggshells into tiny pieces and then spread the pieces on the ground. The shells also add value to your garden by adding calcium and other minerals to the soil when they degrade. Dust Mite Oil Repellent: You can easily make a pesticide to control mites and aphids that invade your home and garden with some few basic home items. To do this, mix either lavender, eucalyptus, peppermint, clove or rosemary oil with water. Pour the mixture into a spray bottle. Mites and aphids hate the smell of this mixture and will stay away from the sprayed area. You can add lemongrass and basil to repel lice and fleas as well. Egg Deer Repellent: Yes, a deer is also a pest. They can be a big problem for your garden, especially if you live near game reserves. However, you can keep the deer away from your plants by using a mixture of eggs and water. Mix several eggs with water and blend the mixture until it forms a solution. Pour the mixture into a spray bottle and then spray the solution on the leaves of your plants. The deer will be repelled by the smell and will stay away from your garden. Bananas and Tin Foil: Aphids are some of the most destructive pests in the garden. They can easily destroy a whole garden if they are not controlled. It is one of the best ways to Control Pests. To control aphids collects banana peels and chop them up into small pieces. Place the peels under the soil around the base of the plants. Aphids are repelled by the peels, and the peels add nutrients to the soil when they decompose. Foil can also be used to chase way aphids. The foil reflects sun rays to the underside of the leaves when placed at the base of the plants. The heat and light will chase away the destructive pests. Some people might wonder, “what if I meet banana spiders while spraying the garden?” Well, the best thing to do is to leave them alone. Banana spiders are pest controllers and will help you reduce pests in your garden. Majority of banana spiders are harmless to humans. Pests should no longer be a big problem if you use the home remedies above. Frequent visits to the store to buy pesticides will also be a thing of the past. Read Also: What You Should Expect From A Pest Control Visit 5 Tips To Keeping Animals Away From Your Garden 5 Essential Tips To Designing A Beautiful Front Yard Garden

READ MOREDetails
burner

A Guide in Choosing the Perfect Brewing Burner

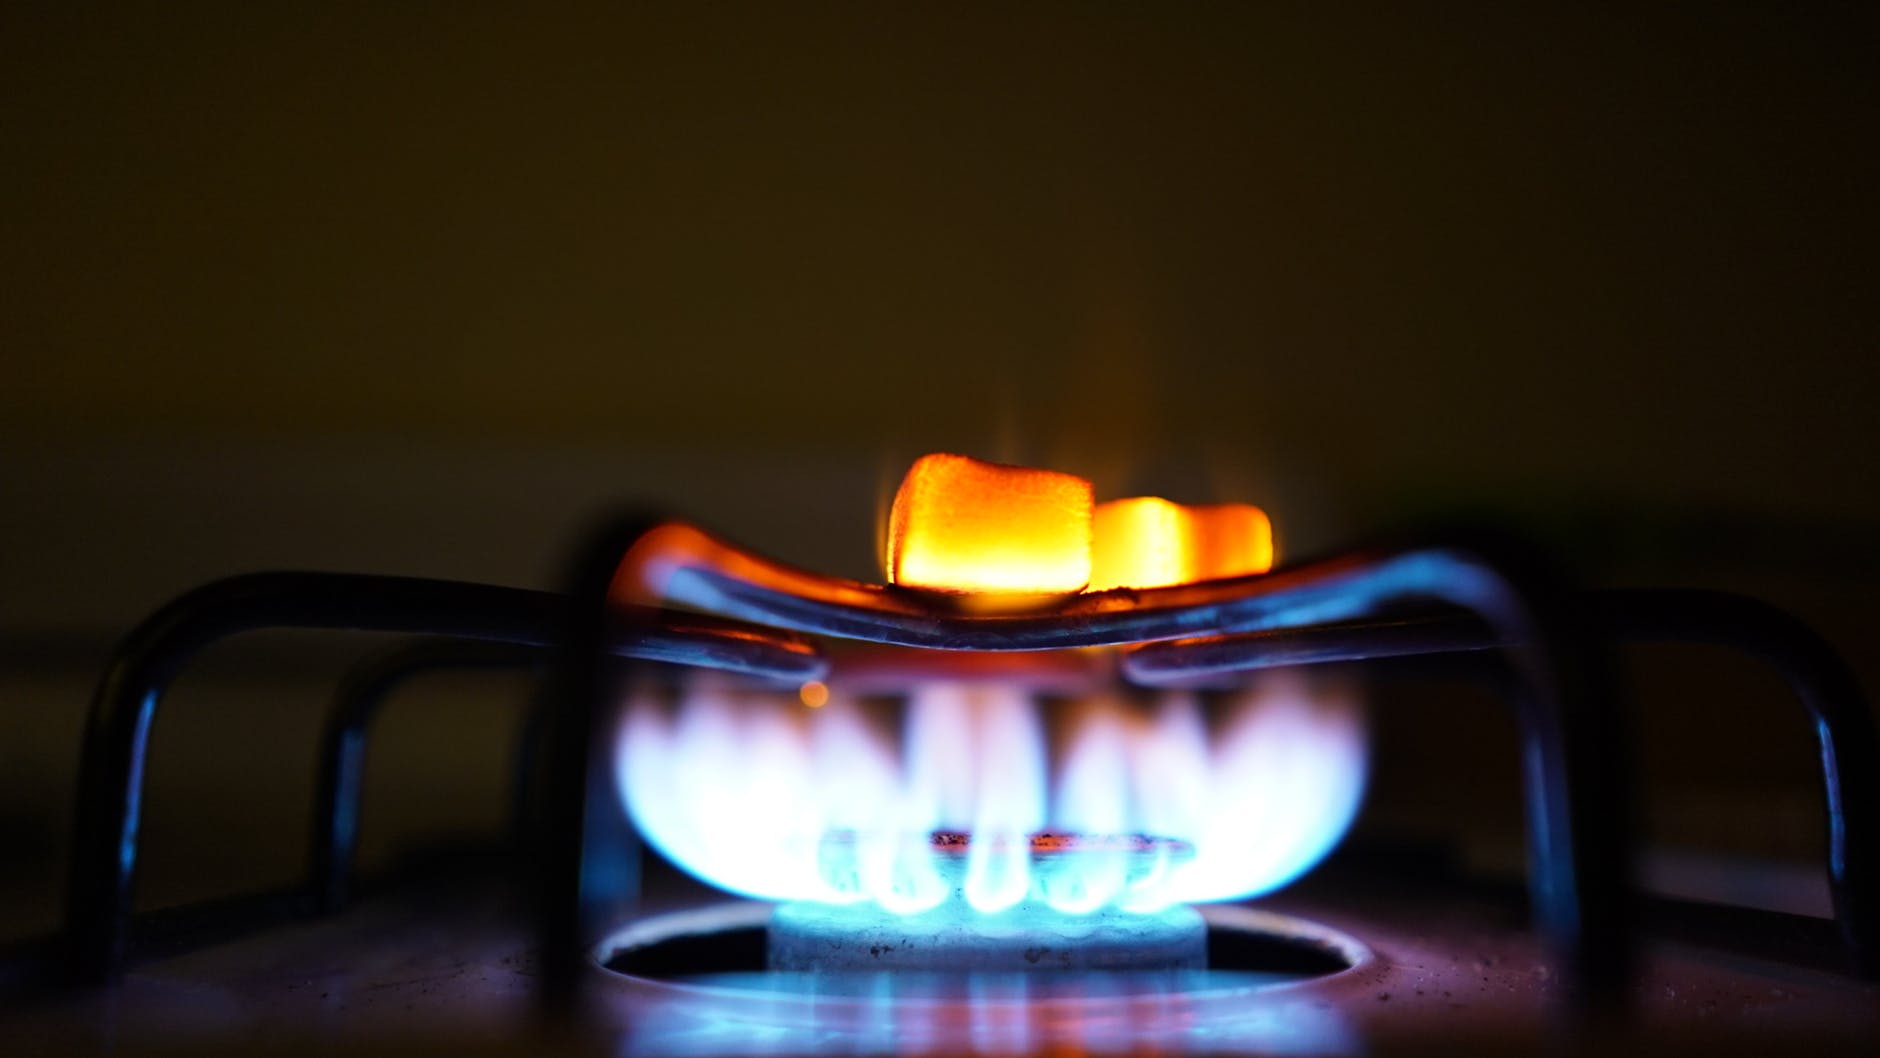
A brewing burner is unquestionably the first major investment you make once you venture into home beer brewing. Acquiring a high-quality home brewing burner is imperative. A substandard one will not only compromise the taste and quality of your beer, but it will also turn into an exciting hobby into an annoying nightmare. An excellent brewing burner guarantees uniform heat distribution, and it’s instrumental in preventing scorching. It also hastens the boiling process, substantially lowering the amount of time you spend waiting around. Here are considerations to make when purchasing the best brewing burner. 1. A number of BTUs Generated: BTUs are units for measuring the amount of heat generated by the burner. Generally, one BTU adds one degree Fahrenheit to a pound of water that is at room temperature. You will find burners with BTUs of between 55,000 and 210,000. Bear in mind that a bigger burner doesn't always translate to a better operation. While high BTU output is ideal for all kinds of grain brewing, certain lower output models are more reliable due to their ability to distribute heat more efficiently. Read more reviews about your prospective burner before making a purchase decision. 2. Quality of Metal Used: All models of brewing burners are built from either cast iron or stainless steel. Cast iron is a bit thicker and tougher but weighs more and can rust easily. Thus, cast iron models are not suitable for outdoor brewing. However, if you are looking for a lighter model or you want to do lots of outdoor brewing, then a stainless steel model will serve you well. 3. Windscreens: If you expect to do a lot of outdoor brewing, you should go for a model that has a durable windscreen. It will shield your flame and keep it lighting even when a strong breeze comes. Windscreens guarantee a smooth boil and make home beer brewing a sensational experience. 4. Height: Outdoor propane burners tend to have longer legs compared to your traditional stove. The long stand allows you to brew your beer comfortably without compromising the health of your back. However, you should go for a model that sits nearer to the ground, if you will be dealing with a huge batch of boiling wort. Models with shorter stands are sturdier than those with longer stands. Top 3 Brewing Burners:   1. Edelmetall Bru Burner: This burner has lovely copper accents and stylish nameplate. It is made of refined stainless steel and copper. It produces a maximum of 72,000 BTU per hour. This burner boils a huge kettle of wort within a few minutes. 2. Bayou Classic KAB4 Banjo Burner: This brewing equipment offers a high amount of uniform heat. It generates more than 100,000 BTU, which is sufficient heat to boil a couple of gallons within minutes. Its 22-inch cooking surface can accommodate most brew kettles. It comes with a 4 ft rubber hose, a brass control valve, and 30-PSI regulator. 3. Dark Star 2.0: This propane burner can generate about 65,000 BTU of heat an hour. This burner is easy to use, and it can heat a maximum of 15 gallons of brew. This 6-inch diameter burner comes with an adjustable regulator, a wind guard, and lighter power. Choosing the best brewing burner is all about addressing your needs. Look for a model with features that are most crucial to you. Other than quick boil times, a quality burner offers a big surface area that can comfortably hold large brew pots.   Read More: 5 Best Stimulant-Free Fat Burners. 10 Unique Kitchen Hacks to Save your Time in Kitchen and Cooking.    

READ MOREDetails