Why You Need A Cold Weather Evacuation Plan

by

10 October 2022

Home & Garden

Evacuation Plan

Whether you already have an evacuation plan or are just starting to think about making one, it’s necessary to have different plans for different scenarios. Think about it: does your evacuation plan assume that there will be blue skies and warm temperatures during an evacuation for a fire?

A thorough evacuation plan takes many different situations into account. You should be aware of the different types of evacuations that occur, from natural disasters such as forest fires, landslides, tornados, and house fires.

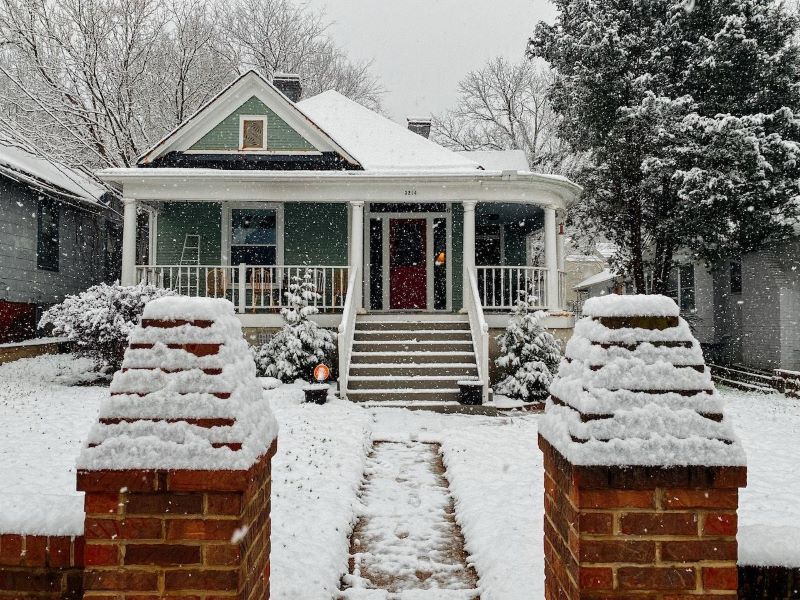
And yet, often, people forget to plan for adverse weather conditions, like having to wait in a safety zone in frigid temperatures, pouring rain, or a snowstorm or having to leave through emergency exits with heaps of snow or ice obstructing the way.

Checkout Three Prime Reasons You Need A Cold Weather Evacuation Plan:

If you already have an evacuation plan and are prepared with emergency tools like the Evacuscape evacuation chair, you’re already ahead of the game, and winterizing your plan won’t require too many tweaks. If you don’t yet have any evacuation plan in place, you can make your cold weather plan at the same time as your warm weather plan.

Here are some of the key reasons why it’s essential that you plan for cold weather evacuations.

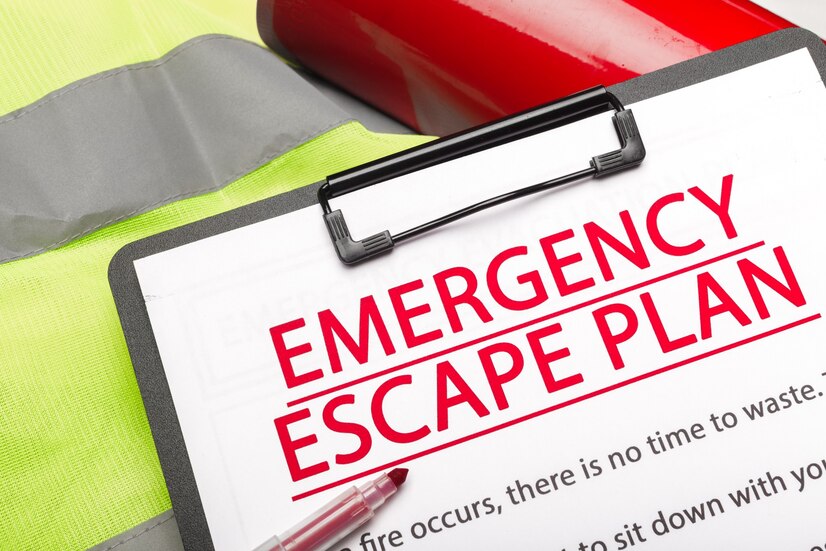
1. Higher Risk of Fires

Higher Risk of Fires

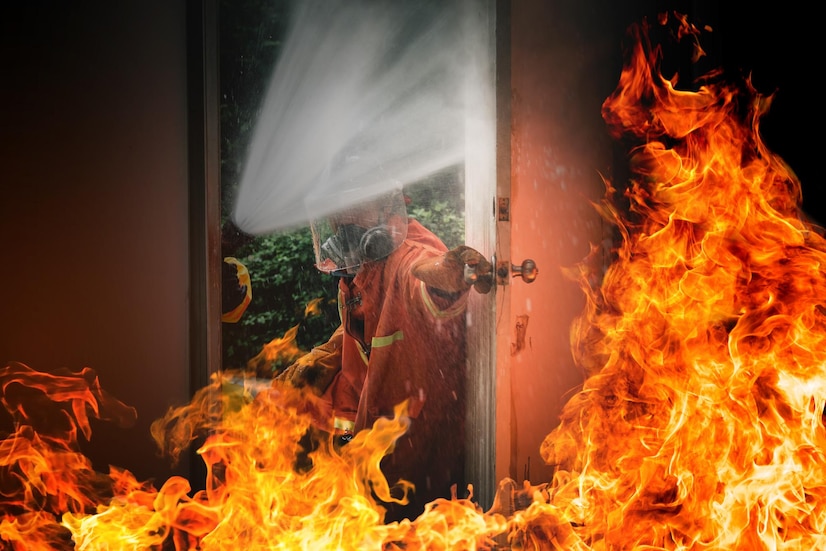
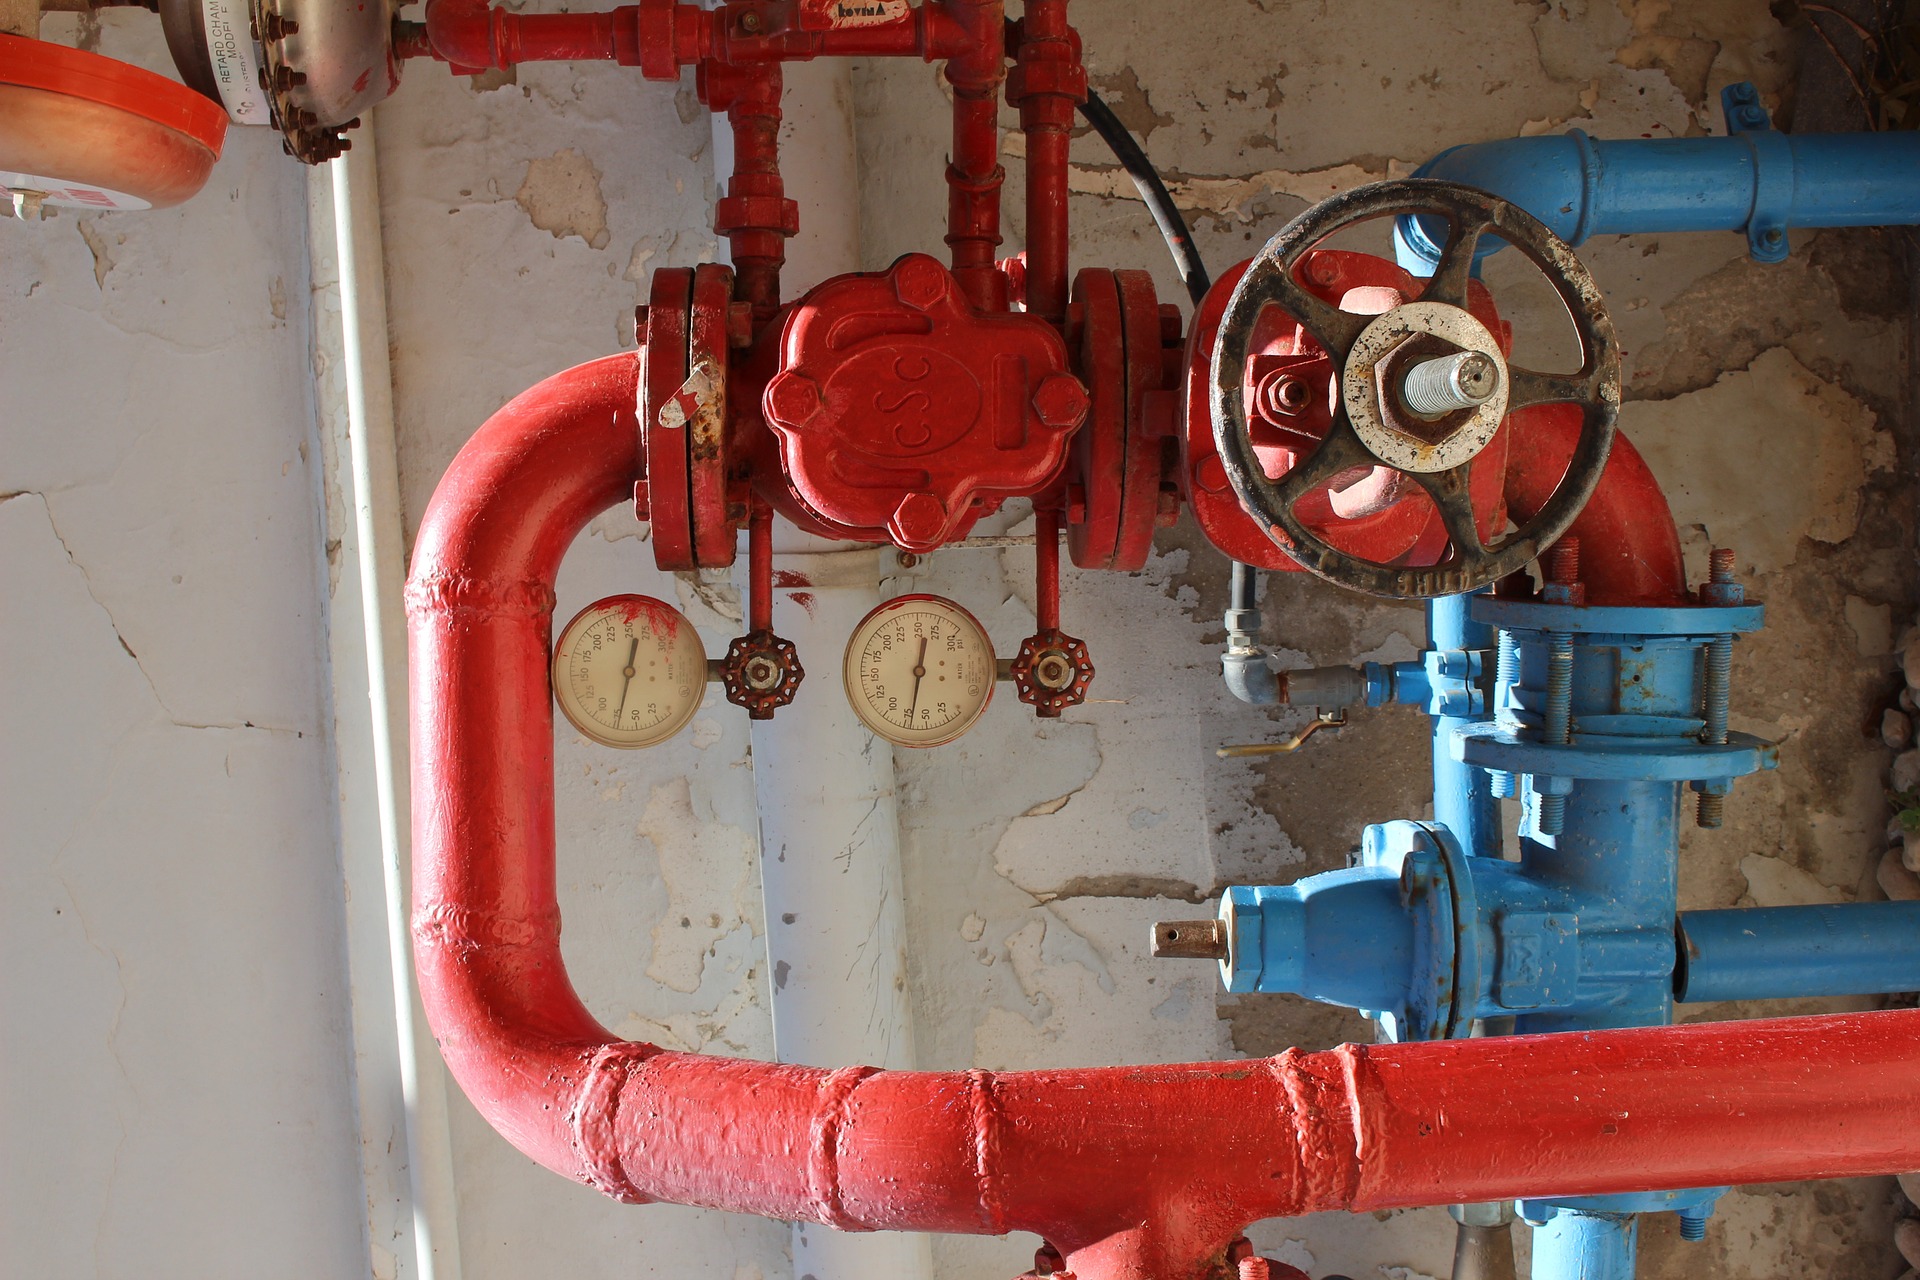
Between fireplaces, candles, and increased use of heating systems, there’s much more opportunity for fires in the home to occur. The National Fire Protection Association (NFPA) says that house fires occur more often in winter than in any other season.

The increased risk must be taken into account during emergency planning for everyone’s safety. Plus, you can take the opportunity to ensure your practice has good fire safety tips.

2. Increased Chance for Severe Weather

Natural weather-related disasters

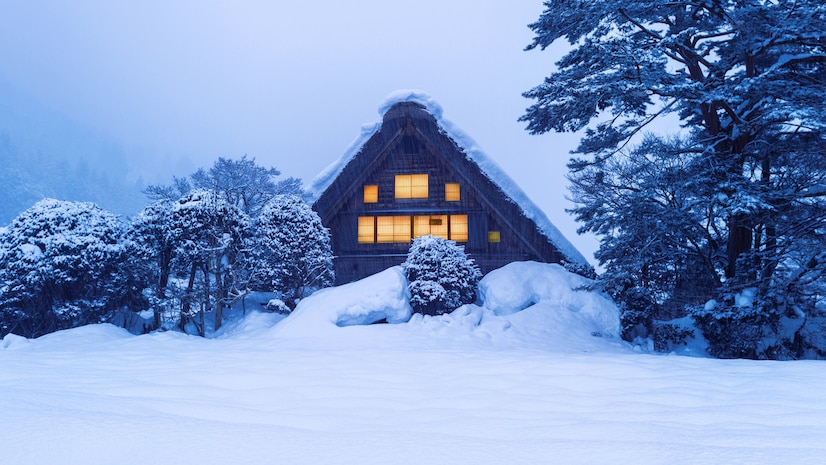
Natural weather-related disasters come at all times of the year. Winter brings freezing cold temperatures and all sorts of precipitation – from snowstorms to ice storms. Storms can last for days, and power outages often occur, leading to further safety issues.

It’s essential to know the different scenarios that can occur. For some, it may be safer to stay put indoors, whereas, for others, you may need to leave your home.

You May Also Check: All The Colors You Should Wear This Winter

3. Provides More Opportunities for Safety Planning

 emergency evacuation planning

Considering different conditions allows you to prepare accordingly. From simple and easy things like keeping a warm coat or jacket available to quickly grab on your way out to keep you warm while waiting outside to advance planning, like making sure exits are clear of snow and ice and making sure windows that might be used are easily opened when the cold and ice start happening.

The whole point of emergency evacuation planning is to ensure people know how to evacuate safely and are familiar with the plan enough that they can remember it in the event of an emergency when feelings of panic are likely to occur.

One thing you will probably never hear someone say is that they regretted taking safety precautions like planning an evacuation plan for their family and going over it every once in a while, to ensure everyone is familiar with it.

Making another evacuation plan for cold weather allows you the opportunity to go over your plan, talk to your family about it, and keep it fresh in everyone’s minds to keep your family safe and protected this winter.

Read Also:

Arnab is a professional blogger, having an enormous interest in writing blogs and other jones of calligraphies. In terms of his professional commitments, He carries out sharing sentient blogs.

View all posts

Leave a Reply

Your email address will not be published. Required fields are marked *

Related

Home Value

The Guide to Understanding Your Home Value

As easy as it may sound, ascertaining your home's value is a complex process determined by several factors. For starters, you may estimate the value of your home by only knowing how much it cost you to acquire it, and how old it is. Before we dive deep into understanding your home value, let's get to know why it is vital to know your home's value. Comprehending the Value of Your Home Several factors can make you curious when it comes to knowing the value of your property. Maybe you want to relocate and need to know how much you would have from your old home to start your new one. Perhaps you are ready to get a new homeowner's policy, or maybe you are looking to refinance your mortgage. What is Your Home Worth? Many say your property is about as much as someone is willing to pay for it. In this case, all you would have to do is find someone willing to spend as much as you think is worth it. Generally, there is a lot to put into consideration when it comes to house value. The more you know about the factors to put into consideration, the easier it becomes for you to establish an estimated cost. Critical Factors to Consider • Recent sales of comparable properties in the area. • Location and neighborhood of the house. • Recent renovations and repairs. • The square footage covered and the age of the home. Here are three main steps that can help learn your home value: 1. Understand What "Home Market Value" Means Personal sentiments do not determine your . How great you think your home is, or highly-priced because of its memories is not substantial. Home market value is the amount one is willing to pay for your home. Consider that a buyer will not visualize your home the same way you would. For example, an old couple is looking to buy your house, but you have swings in the yard. While this may be of aesthetic and practical use for you, the potential buyer may view it as an added expense as they would prefer removal, especially if grandkids are not in the picture. A potential buyer will be keen on the following, which determines your house value as well. • Location: They will want to know how far your home is from essential services like schools, churches, highways, and shopping centers. Rooms: The room to bathroom ratio should meet architectural guidelines. Safety: If they would like to be future parents or already have kids, security is especially important. Nobody wants to live in a neighborhood where you have to keep looking over your shoulder. When choosing to resell, security is a vast price determinant. Square Footage: Property size is a crucial factor. Is the compound spacious enough for adjustments here and there to accommodate individual tastes? Curb Appeal: First appearances are everything. You wouldn't want to push away potential buyers because of an unkempt curb. The School District: Young couples or parents would be very keen on this. How many schools are in the area, and are they of acceptable academic standards? Sales of Comparable Homes in the Area: How much are people willing to pay? Keep track of the number of foreclosures in the area, if there are any. 2. Using Online Tools Searching for your home address online will help you learn many facts about your home according to public records. Information like age, the type of house it is, the square footage, the number of rooms it has, how much was paid for the home by previous owners, etc. The estimated value for your property is indicated in the public records. Unfortunately, you cannot entirely rely on the information you get online. The report found is only as helpful as the amount of data collected about your house and its neighborhood. 3. Engage the Services of a Real Estate Agent A real estate agent is very reliable in comparison to online information. Unlike online communication that is limited and may be inaccurate, a real estate agent has real-time data and access to several home listing service databases. The pros and cons will be better determined as they have experience and expertise in the matter. An excellent real estate agent will view your house from different angles and develop an attractive yet reasonable price. Pricing is everything. If the price is too high, it will overstay in the market as nobody is interested. If the price is too low, you will go at a loss, but the right price leads to a thick wallet, a big smile, and a satisfied buyer. In summary, you ought to engage the services of those with the required evaluation expertise and know-how. The ideal experts should offer you a free house valuation to better determine your property's worth. If required, they will also help identify a buyer. Read Also: 5 Tips For Designing a Tiny House 8 Smart House Upgrades that are Totally Worth the Money

READ MOREDetails
burner

A Guide in Choosing the Perfect Brewing Burner

A brewing burner is unquestionably the first major investment you make once you venture into home beer brewing. Acquiring a high-quality home brewing burner is imperative. A substandard one will not only compromise the taste and quality of your beer, but it will also turn into an exciting hobby into an annoying nightmare. An excellent brewing burner guarantees uniform heat distribution, and it’s instrumental in preventing scorching. It also hastens the boiling process, substantially lowering the amount of time you spend waiting around. Here are considerations to make when purchasing the best brewing burner. 1. A number of BTUs Generated: BTUs are units for measuring the amount of heat generated by the burner. Generally, one BTU adds one degree Fahrenheit to a pound of water that is at room temperature. You will find burners with BTUs of between 55,000 and 210,000. Bear in mind that a bigger burner doesn't always translate to a better operation. While high BTU output is ideal for all kinds of grain brewing, certain lower output models are more reliable due to their ability to distribute heat more efficiently. Read more reviews about your prospective burner before making a purchase decision. 2. Quality of Metal Used: All models of brewing burners are built from either cast iron or stainless steel. Cast iron is a bit thicker and tougher but weighs more and can rust easily. Thus, cast iron models are not suitable for outdoor brewing. However, if you are looking for a lighter model or you want to do lots of outdoor brewing, then a stainless steel model will serve you well. 3. Windscreens: If you expect to do a lot of outdoor brewing, you should go for a model that has a durable windscreen. It will shield your flame and keep it lighting even when a strong breeze comes. Windscreens guarantee a smooth boil and make home beer brewing a sensational experience. 4. Height: Outdoor propane burners tend to have longer legs compared to your traditional stove. The long stand allows you to brew your beer comfortably without compromising the health of your back. However, you should go for a model that sits nearer to the ground, if you will be dealing with a huge batch of boiling wort. Models with shorter stands are sturdier than those with longer stands. Top 3 Brewing Burners:   1. Edelmetall Bru Burner: This burner has lovely copper accents and stylish nameplate. It is made of refined stainless steel and copper. It produces a maximum of 72,000 BTU per hour. This burner boils a huge kettle of wort within a few minutes. 2. Bayou Classic KAB4 Banjo Burner: This brewing equipment offers a high amount of uniform heat. It generates more than 100,000 BTU, which is sufficient heat to boil a couple of gallons within minutes. Its 22-inch cooking surface can accommodate most brew kettles. It comes with a 4 ft rubber hose, a brass control valve, and 30-PSI regulator. 3. Dark Star 2.0: This propane burner can generate about 65,000 BTU of heat an hour. This burner is easy to use, and it can heat a maximum of 15 gallons of brew. This 6-inch diameter burner comes with an adjustable regulator, a wind guard, and lighter power. Choosing the best brewing burner is all about addressing your needs. Look for a model with features that are most crucial to you. Other than quick boil times, a quality burner offers a big surface area that can comfortably hold large brew pots.   Read More: 5 Best Stimulant-Free Fat Burners. 10 Unique Kitchen Hacks to Save your Time in Kitchen and Cooking.    

READ MOREDetails

Natural ways to get rid of flea in your lawn

It may be a challenging task to remove fleas from your lawn. This can drive somebody crazy, sick and tired of spending a huge sum of money to buy chemicals with a view to expelling fleas for good. All efforts go up in smoke due to wrong methods. Is there any right, natural way to make their dream come true? Yes, here is the answer that is proven for green pest control in Minnetonka. Natural ways to kill fleas in your lawn : source Spray thoroughly your whole lawn with natural ingredients: Nowadays, many industrial products are available for your choice, yet they can be harmful to your health. Why don’t you make use of fewer but multifunctional things right in your kitchen? Vinegar or lemon is accepted. As for vinegar, mix ½ vinegar with ½ fresh water. As for lemon, slice them and boil in at least 20 minutes. Either vinegar or lemon, you also end up pouring the combined water into a spray bottle in order to sprinkle your lawn. This handmade flea killer is friendly to the environment, hence you can utilize it day in and day out. Flood your lawn: After spraying, don’t rush to flood right away. Take some time, about at least 2 hours, to kill the adults. So, what about larvae and eggs? Just flood your lawn slightly to soak up and eradicate them. Maintain the flood in a couple of minutes, and drain your lawn as fast as possible. Natural ways to prevent fleas re-infesting : Source  Rake your lawn to get rid of all shrubs, littered pots, trash and leaves: In fact, this step is indispensable in the whole process of getting rid of tenacious pests. Many people are wondering why they treat flea inside their home and in their pets already, but flea infestation does not decrease or boom just after a short period. Simply it is because of your uncompleted treatment, and you have skipped one of the most potential areas, your lawn. Fleas can live outdoors until they find a good chance to jump into your house or your pets, and their favorite environment is a moist, dark place. They can find it easier to escape from your “checking-radar” if hiding under a bottle or rotten leaves. After raking all useless items, don’t pile them up. Instead, clear up and throw away as soon as possible. The cleaner your lawn is, the lower the percentage of being infestation is. Mow your lawn: Mowing is one of the most useful methods to remove flea in the lawn. It can be understandable because to let your lawn long also means to create “an ideal shield” for fleas’ larvae and eggs. In addition, short lawn also allows sunlight to deeply penetrate into while fleas really hate daylight. Nonetheless, don’t try to cut your lawn as short as possible as the too-short, on the contrary, can make your lawn weaker and more attractive to fleas and even other animals like ants. Don’t overwater: As aforementioned, fleas prefer moist, as a result, you should prepare for an appropriate watering schedule and leave your lawn to dry. Moreover, a good drainage system is enormously useful. Minimize other animals’ contact to your lawn: Outside your fence may be a huge potential to be infested by fleas, coming from wildlife animals. Build up a fence around your lawn to protect your lawn and your house as well. Sound simple, right? In fact, it really is. All the mentioned methods are so cost-effective and practical. They are really worth a try. Read More : Grow These Flowering Plants In Your Home Garden To Remove Vastu Related Problems How To Choose The Right Containers For Your Container Garden Does Organic Gardening Improve Soil Quality? featured image Source: https://pxhere.com/en/photo/994438

READ MOREDetails