

The world of DIY crafting is ever-evolving, with creative individuals constantly seeking new ways to add a personal touch to their projects. One versatile tool that often gets overlooked is the rubber stamp.
Rubber stamps have been a staple in the crafting world for generations, providing a simple yet effective way to add intricate designs and personalized touches to various projects. While these stamps are commonly used for scrapbooking and card making, their versatility extends far beyond these traditional applications.
With this and many more other information, let’s get started with this.
What Are Creative Rubber Stamps?
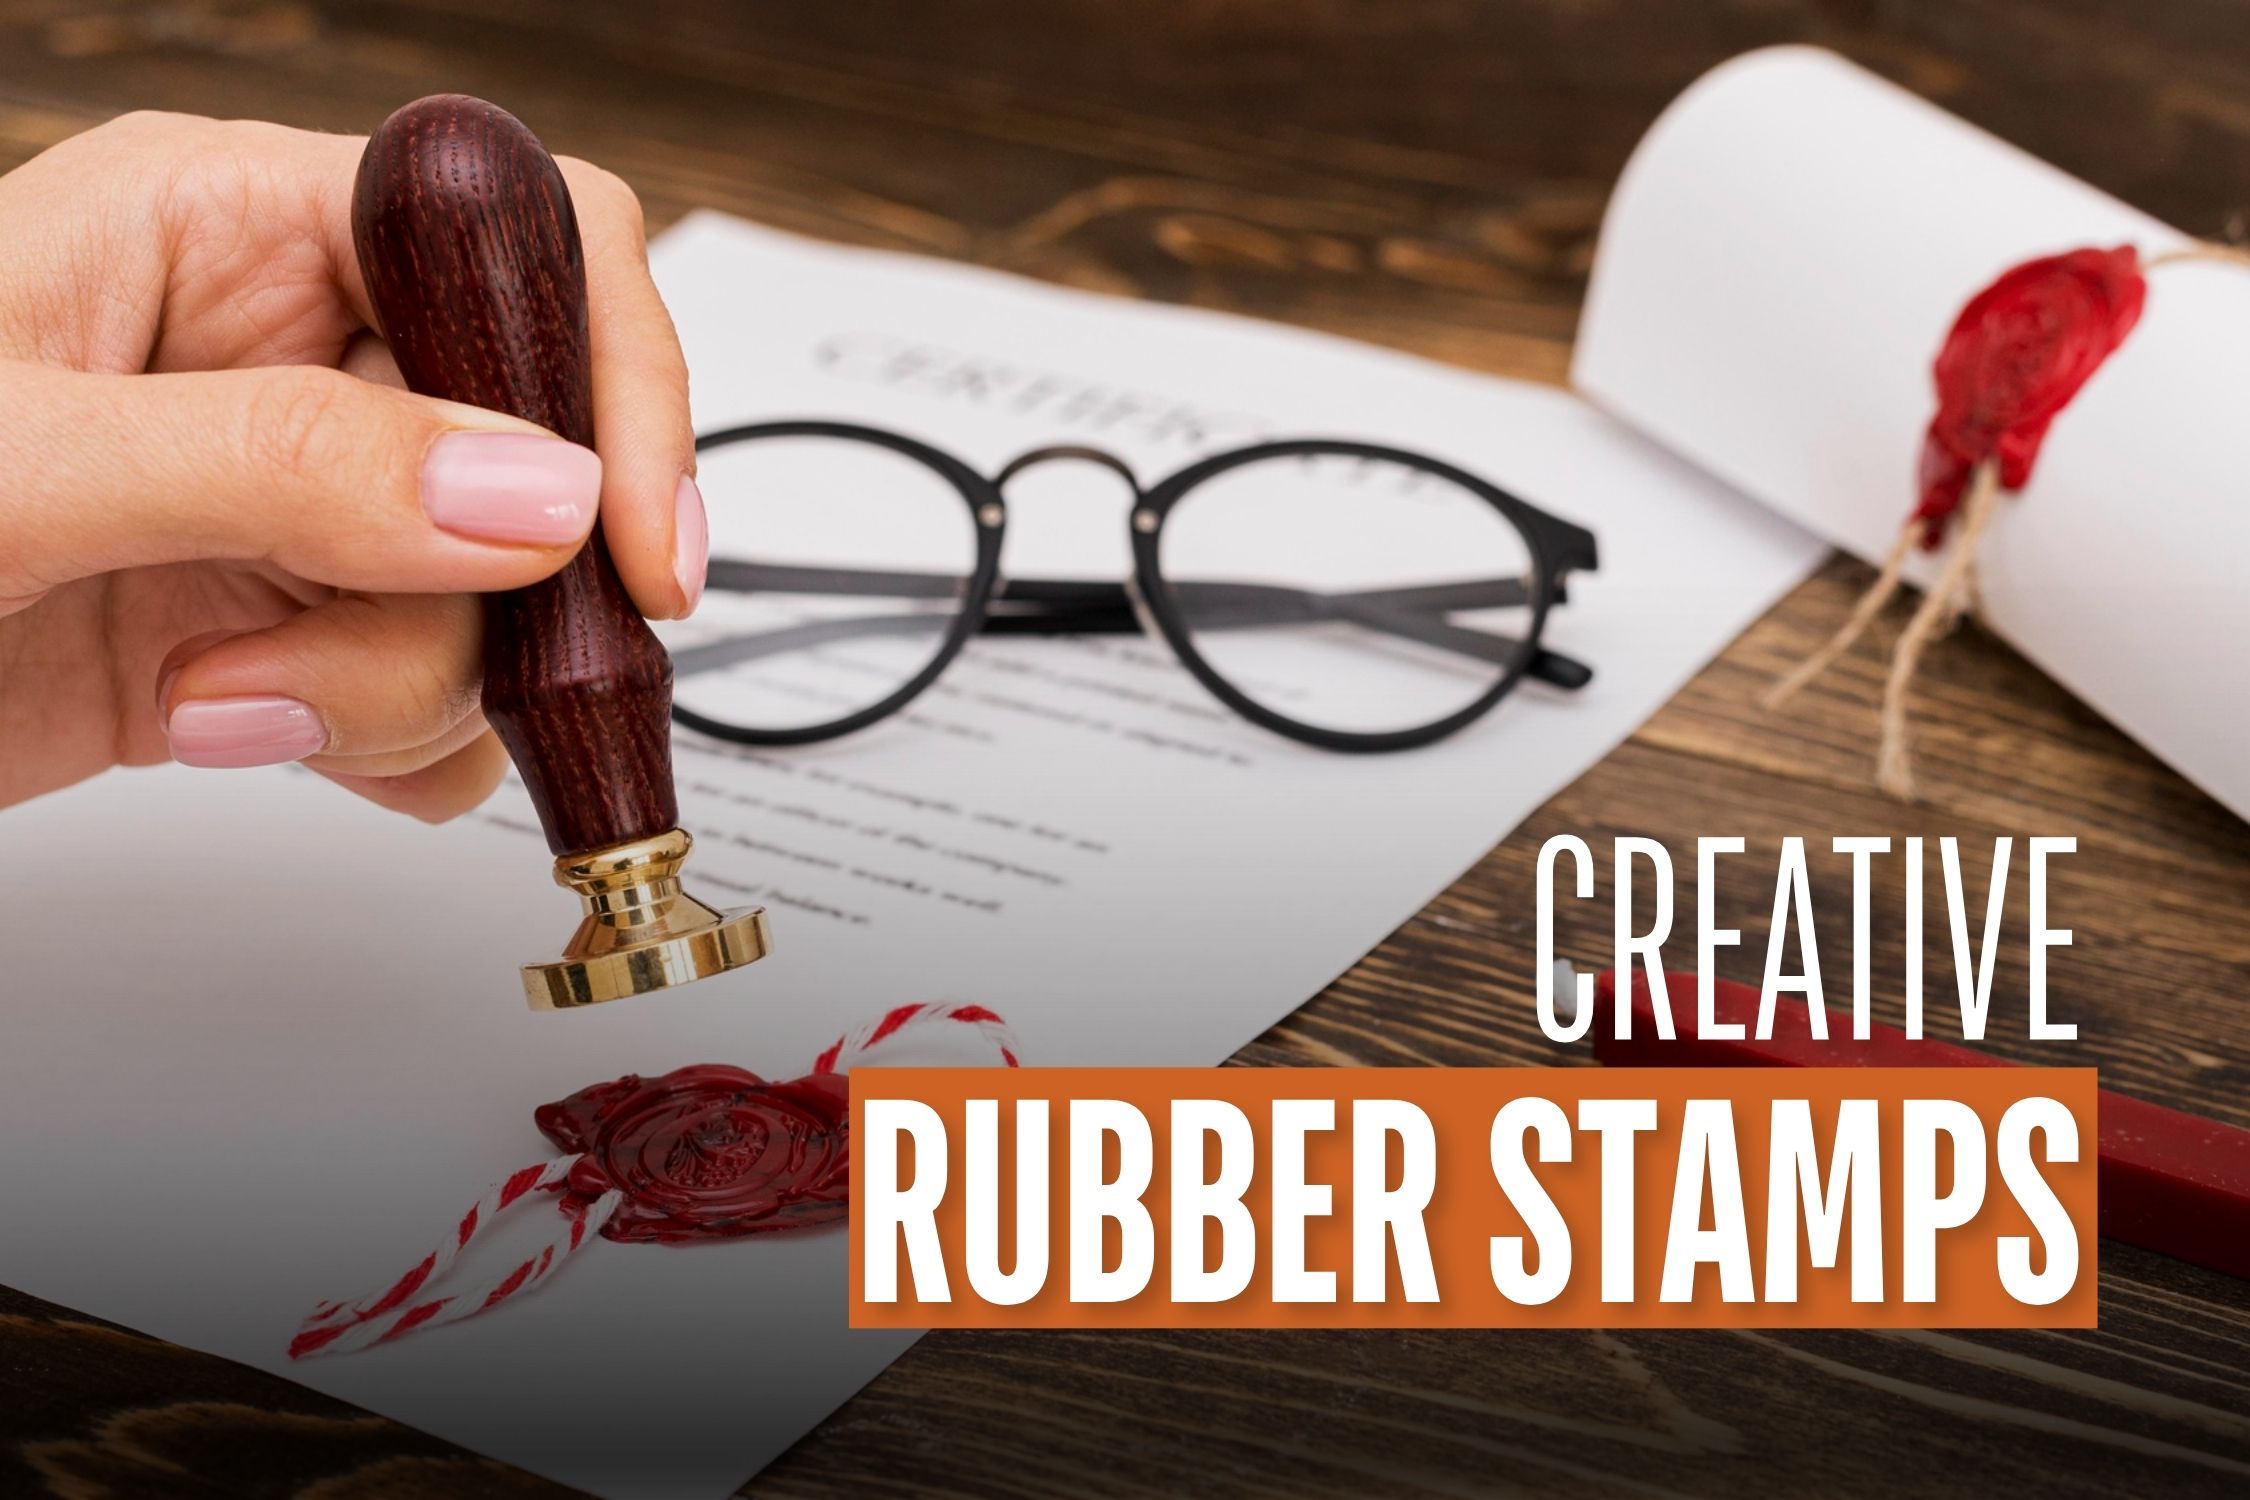
To put simply, rubber stamps refer to a small device having a name, symbol and date on it. One needs to press it tightly on an ink pad and then paste it on the document. Usually, big organizations use stamps for branding purposes, but it has other uses as well. They are not just communication facilitators but also carry relevant messages themselves.
The design of a stamp varies, and there might be different uses for it, too. In the next section of the article, I have listed down 10 ways in which one can make use of creative rubber stamps. Make your DIY projects look good with these astounding stamps.
Here Are Ten Prime Ways To Use Creative Rubber Stamps In Your DIY Project
Using rubber stamps for your own purposes varies significantly. While some do it for stationery purposes, others use them for decor uses. This article explores a few innovative ways to use Creative Rubber Stamps in your DIY projects, allowing you to unleash your creativity and add unique flair to your creations.

1. Custom Fabric Patterns:
It can be a game-changer for textile enthusiasts. Create custom fabric patterns by stamping them onto plain fabric with fabric ink. Whether making custom clothing, throw pillows, or home decor items, these stamps allow you to add intricate designs that reflect your style. Most custom fabric patterns need something to seal them properly. Thus, rubber stamps are the best solution here.
2. Personalized Stationery:
Elevate your correspondence with personalized stationery. Use these stamps to add your monogram, a special design, or favorite quotes to notecards, envelopes, and letterhead. Your letters will stand out and leave a lasting impression on recipients. Who can forget to use stamps for personalized stationery items? They are literally the best when you want to make an impression before your peers.
3. Decorative Wrapping Paper:
Tired of generic store-bought wrapping paper? Make your gifts extra special by creating custom wrapping paper with rubber stamps. Use festive designs for holidays or birthdays, or go for a minimalist look with subtle patterns. Your gifts will look like works of art. Additionally, they serve their true purpose- keeping everything together! So, what else do you need from a single stamp?
4. DIY Home Decor:
Transform your living space with DIY home decor projects. Stamp intricate designs onto plain canvas to create unique wall art or add decorative accents to lampshades, curtains, or furniture. The potential is boundless, and it’s effortless to align your decor with your style. Moreover, the quest of constantly decorating our abode is completed with these stamps. Nothing else is required!
5. Personalized Textiles:
Take your customization to the next level by stamping your name or initials on linens, towels, or napkins. It provides a quick and cost-effective way to personalize your home textiles, making your space your own. As already mentioned, custom textiles and fabrics can make the most out of these rubber stamps. You just need to use them in the best way possible.
6. Garden Markers:
Gardening enthusiasts can use these stamps to create stylish garden markers. Label your plants and herbs with stamped designs on wooden stakes or stones. Not only will it help you keep track of your garden, but it also adds a decorative touch. And don’t worry because they come at affordable prices, too. Search for stamps that will assort your gardens perfectly.
7. Unique Wedding Invitations:
For couples looking to add a personal touch to their wedding invitations, these stamps offer an elegant solution. Customize your wedding invitations with your initials, wedding date, or a romantic motif. It’s a budget-friendly way to create beautiful, one-of-a-kind invitations. Let your guests remember you for sending out the most assorted invitations!
8. Art Journals and Scrapbooks:
Artists and scrapbookers can take their creativity up a notch with these stamps. Use them to create intricate backgrounds, borders, and embellishments in your art journals or scrapbooks. The stamps add depth and character to your creations, making them unique. Just like it fulfills your stationery needs, stamps literally enhance your scrapbooks and art journals as well.
9. Handmade Gift Tags:
When giving a thoughtful gift, remember to add a handmade touch with custom gift tags. Stamp designs, names, or special messages on plain tags to make your gifts extra special and memorable.
10. Personalized Clothing:
Whether you aim to breathe new life into a pair of worn-out jeans or infuse personality into a simple t-shirt, these stamps offer a helping hand in achieving a distinctive appearance. Craft your clothing designs by applying fabric ink to your garments through stamping. Feel free to explore various colors and patterns as you express your style.
Conclusion:
Creative Rubber Stamps are a versatile tool that can elevate your DIY projects to new heights. These innovative uses demonstrate the limitless possibilities that these stamps offer. Whether you're a crafting enthusiast or just looking to add a personal touch to everyday items, consider incorporating these stamps into your creative repertoire.
With a bit of imagination, you can turn the ordinary into something extraordinary, all with the help of these handy tools. So, get stamping and watch your DIY projects come to life in unique and exciting ways.
And it’s a wrap on this comprehensive guide! I hope it imparted you valuable insights and you could find the best stamp for you. Also, don’t forget to comment below and share your thoughts into this.
Read Also: