When we think of air quality issues what comes to mind is often industrial factories or people blowing smoke in our face. But anything you use to build or decorate your home can have a positive or negative impact the air quality inside your home. Air quality can be directly linked to life expectancy so it’s an issue that should
1. Check your Paint:
Choosing the right paint is important. We sleep in rooms covered with paint every night. As the paint dries volatile organic compounds (or VOCs) escape into the air and can negatively impact the air quality in your house. These chemicals can cause headaches and dizziness and the long-term effects of exposure are not yet known.
Choosing non-toxic paint for your living quarters will have positive health benefits for years to come. Low or no VOC paints are the best choice for an eco-friendly home. Over the last several years paint companies have introduced many excellent options.
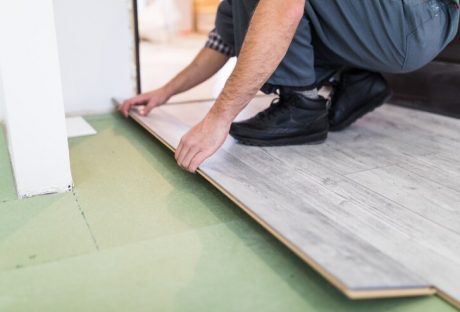
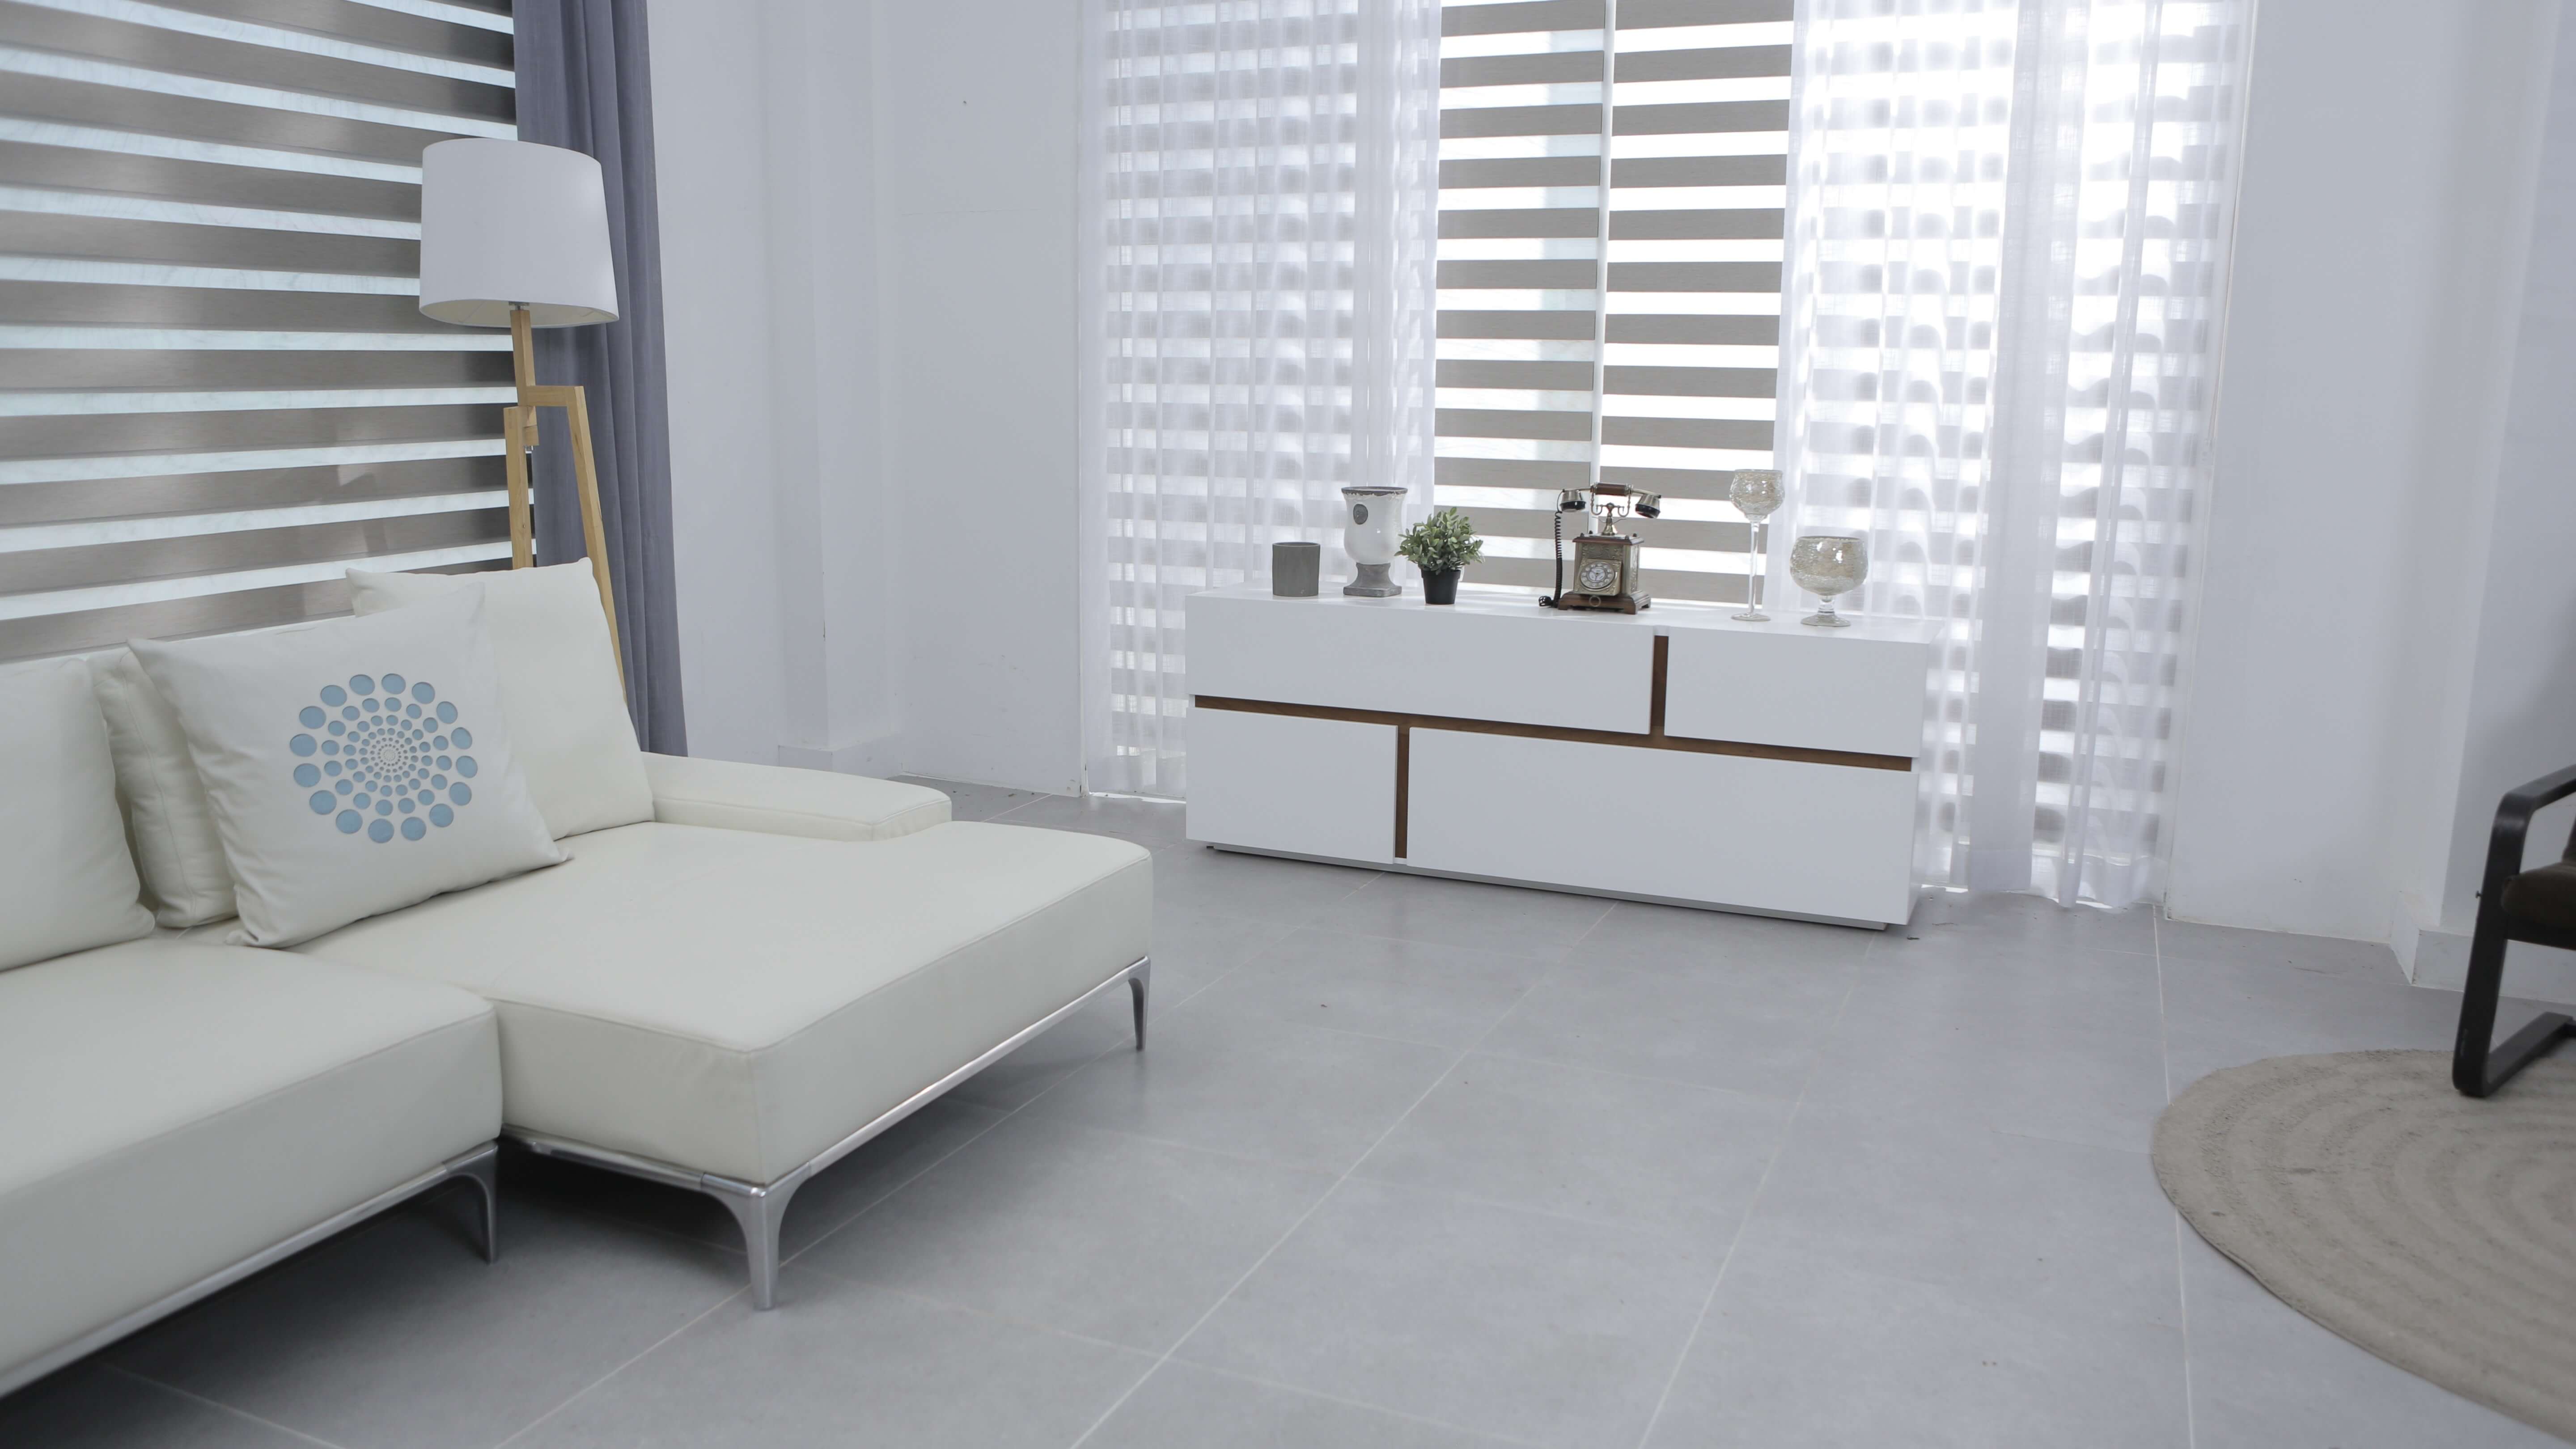
2. Check Your Flooring:
Vinyl and synthetic carpets emit loads of VOCs. If you’re looking for non-toxic, allergy-friendly flooring try cork, linoleum, or ceramic tile. Hardwood floors have become quite popular, but if you want the beauty without the toxic chemicals buy hardwoods sealed with a water-based polyurethane or presealed hardwoods.
3. Consider purchasing an air purifier:
Buying a quality air filter can be a good tool in your arsenal in the fight against toxic chemicals. Be sure to buy a model with a HEPA (high-efficiency air particle absorbing) filter. Don’t skimp and buy the cheapest filter you can find, view this purchase as an investment. The CADR (clean air delivery rate) of your purifier is also important. The higher the CADR number the more air is moving through the purifier. Air purifiers with high CADR numbers can be used to purify the air in larger spaces.
4. Plug Your Leaks:
Mold and mildew can have a significantly negative impact on your home’s air quality. Make sure your home is free of leaks. It’s important to check the places that get the least traffic in your home. Make sure your basement, attic, crawl space, and utility closet are free of water and moisture. It’s a good idea to call a professional who can help you pinpoint problem areas.
5. Test Your Home for Radon:
Radon is an odorless, colorless gas that can cause lung cancer in healthy humans. Radon is the gas produced by the decay of uranium in most soil. If there are gaps or holes in your home’s foundation radon gas can seep into your living space undetected. Any home can have a radon gas problem. You can buy an inexpensive test kit at your local hardware or home improvement store. There is no safe level of radon exposure.
Content Rally wrapped around an online publication where you can publish your own intellectuals. It is a publishing platform designed to make great stories by content creators. This is your era, your place to be online. So come forward share your views, thoughts and ideas via Content Rally.
So you want to downsize to a smaller apartment?
If you’re banging your head against the wall trying to figure out how to make a move go smoothly, you’re not alone. We’ve all been guilty of having too much stuff!
Give yourself a break and start thinking of solutions. Stay inspired by focusing on the many benefits of downsizing!
Moving into a smaller apartment gives you the chance to start over and get rid of things you no longer need. It can also help you to get organized and keep only the essentials.
Even better, you won’t have to clean nearly as much space and can live as a minimalist! That in itself has some serious perks. Your stuff won’t own you and you’ll have more time to enjoy life.
Do you see where we’re going with this?
Get ready, because, in this article, we offer seven expert hacks to help make the process of moving into a smaller apartment easier.
Here are 7 Expert Hacks for Downsizing to a Smaller Apartment:
1. Analyze the space you’ll have
It’s essential to know the total space of your new apartment before you start the downsizing process.
Take a look at your new floor plan and figure out how much room in feet and inches are on each wall. That way you’ll know what will fit in your apartment.
If the measurements aren’t on the floor plan, ask the leasing office to provide you with the details.
But, the floor plan or provided measurements won’t tell you everything. You need to measure the extra spaces as well:
Closets
Space under the bed (more on this later)
Bathroom storage and cabinets
Garage storage (if your apartment includes a separate garage)
Kitchen storage and cabinets
Other spaces where you might add shelving (like the top of the fridge or in a window)
When you’re done with that, measure your current furniture and decide which pieces will fit into your place and which ones you won’t need.
2. Determine your actual needs
An excellent way to figure out what your needs are is by asking yourself if everything was gone, what would you replace?
Jot down some necessary items you can’t live without such as a bed, sofa, coffeemaker, dog bed — whatever is important to you.
You should also ask yourself the following questions:
What sentimental items will I miss the most?
Does this item serve a purpose?
Do I already have something that serves the same purpose?
Can I use this item to accomplish more than one task?
Is this object in good shape, and will it last for a while longer?
This is the point where you’ll be making some headway on knowing what you’re keeping and what you can live without.
If ever in doubt of whether you should keep or donate something, go back to asking yourself these questions.
3. Set some tangible goals
When it’s getting closer to moving time, you need to come up with a game plan.
Best get started with setting some goals before time escapes you!
We’re assuming you want to declutter and possibly redecorate your new place, and if that’s the case, it’s time to set some tangible goals.
Ask yourself these questions:
(Yes, we realize we’re telling you to do this yet again.)
What do I hope to gain by adopting a minimalist lifestyle?
Do I want to keep the furniture I have or get new furniture (#1 and #4 will help with this)
How do I plan to declutter?
How will I maximize my space? (Keep reading because we cover this in #4.)
What will I do if I can’t decide to part with some items?
Should I pay for storage elsewhere to store extra belongings?
Need some help answering those kinds of questions?
Here are some goals you could have:
I want a clutter-free apartment that will give me peace.
Not fixating on my possessions will help me feel free.
I’d like to have a clean slate and keep my belongings organized moving forward.
Being minimalistic will help me put emphasis on the most important emotional and physical items in my life.
Write down a few goals that inspire you so that when you feel like giving up, you’ll be able to remind yourself of your intentions.
4. Be a master organizer by maximizing space
Since you know how much space is in your apartment, as we recommended in #2, you should already have a plan in place as to where everything should go.
With the limited storage space in your new digs, it’ll help to store things vertically.
Vertically aligning hooks and shelves helps you take advantage of every square inch of space.
You might want to use adhesive hooks at first because most are easy to adjust.
We’ll be getting into how to simplify your wardrobe next, but for now, keep in mind that multi-use furniture can solve a lot of storage problems.
Keep reading because we’re about to reveal some killer ideas.
One idea is to maximize space by incorporating storage headboards. These are pieces of furniture such as bookshelves and a hutch that’ll fit over your bed.
Incorporating these types of units will make it easier to store a variety of items from family treasures to books and jewelry.
For example, incorporating a fitted unit in your closet can make it easier to organize.
Beyond that, think of other ways you can make use of storage. Is there any room underneath the bed you’ll be moving into your fancy new apartment?
If there isn’t and you need an upgrade, buy a bed that has drawers underneath. Trust us — those drawers will be your best friend when you need to store extra items of clothing such as blankets or sweatshirts.
Keep your bed if you like it, and it just so happens that you may be able to squeeze in some bins underneath to use as storage. For example, milk crates work well when you want to store books, tee shirts, and keepsakes.
5. Simplify your wardrobe
Seriously, how do you go about simplifying your wardrobe with you have a gazillion t-shirts?
If you think your new closet is small, just think about the people who live in tiny homes. Now those are super tiny!
Don’t worry; you can do this if they can!
Here are some steps to follow that’ll make your wardrobe functional in no time at all.
Step 1: Get all of your clothing out (ALL of it!) and put it somewhere you can sort through it. Whether that’s on the floor or on your bed is entirely up to you.
Step 2: Next, divide those clothes into three different piles and decide to donate, keep, or store them.
Step 3: Ask yourself if the clothing fits you or if it's still in wearable condition. If you haven’t worn jeans, for example, due to a weight gain or loss, donate or store those items.
Don’t keep clothing that’s falling apart. That’s just a waste of precious closet space!
Step 4: Are you done going through your clothing and separating them into three different piles?
Okay good, you’re going to do it again. This time ask yourself if this clothing fits your personality and your current lifestyle.
Step 5: Mission complete! Well, almost. Organize the clothes you’re keeping, store what you plan to wear later (such as seasonal clothing), and drop off clothes you’re donating.
6. Sell or donate what you don’t want
Now that you know how much space you have, and how to simplify your wardrobe, let's dive into why it's so essential to sell or donate belongings. It's time to stop and figure out which items you can and can't part with.
As you know, whether you're moving to a different city or relocating to a separate apartment at the same complex, moving takes a lot of work.
You should do everything in your power to simplify the moving process.
Eager to make some money to help with moving expenses?
One way to do that is by selling belongings and furniture you no longer want.
Try Craigslist, eBay, garage sales, Facebook, consignment stores, and more.
Before you even start packing, you should sell, donate, or recycle stuff you can live without. This will eliminate packing everything up only to decide later that you didn't need that item of clothing or five extra plates.
If you have problems deciding whether you want to keep, sell, or donate an item, take a hard look at everything you own.
Think about whether another person would find use out of that item.
If the item is useful, you can either donate it or sell it, depending on its value.
Who knows, your trash may turn into someone else's treasure.
7. Digitize nonessential media
Next let's dive into how you can digitize and save documents, pictures, videos, cassettes, videos, DVDs, and CDs.
While it's important to keep hard copies of documents such as your social security card and birth certificate, try to save and scan everything else.
Transfer CDs and DVDs to digital files by using free computer programs such as Freemake Video Converter, Movavi, and WinX.
Scan documents to your computer or save them as PDF files. After you're done scanning everything, use services like Google Drive, Dropbox, and Microsoft One Drive.
Online storage sites are lifesavers when your goal is to digitize media.
Think of all of the space you'll free up in your new apartment by getting rid of boxes of videos, paper, and more by going paperless!
It'll take some time, but it'll totally be worth it. And boom! Suddenly you'll realize you're there.
So, do you think it’s time to move? Even though downsizing may seem daunting, it doesn’t have to be. Moving to a smaller apartment has its perks, such as decluttering your life and organizing your new place with fewer belongings.
Simply put, downsizing to a smaller apartment means:
Enjoying lower monthly expenses and living costs
Not having to clean nearly as much since your place is smaller
Living a minimalist lifestyle without meaningless belongings getting in your way
Instead of sweating the small stuff, take the moving process step by step. Before you know it, you’ll be enjoying your new digs, relieved that you took the time to eliminate the clutter.
Carolina Creek is a great townhouse-style community located about a mile from Eastern Carolina University's campus. The community consists of 2x3 and 3x3 apartments and contains a full amenity suite including a fitness center, pool, business center, and game room. The community is the best value in the Greenville NC student housing market.
Read Also:
5 Tips For Designing a Tiny House
How To Make Your Home Look Like You Hired An Interior Designer
Buying A House Vs Renting An Apartment: Which Is More Affordable?
Cleaning and Disinfection have never been more important than amid the COVID-19 pandemic. And, with quarantine restrictions beginning to loosen, many businesses that were shuttered during lockdown will start resuming operations. As this happens, the biggest challenge for commercial building owners is being able and ready to return buildings to use swiftly and safely. Reducing the risk of exposure by cleaning and disinfecting is an integral part of reopening commercial buildings as the safety of occupants remains a key priority.
With this rising demand for clean environments, commercial buildings will have to come up with safe and effective cleaning strategies that will assure occupants of their safety even as the threat of the virus continues to linger in our minds. With so much uncertainty surrounding the spread of the coronavirus and how people can protect against it, it's not worth it to take any risks. You can find professional cleaning, sanitizing, and disinfecting services at www.excelpestservices.com. Cleaning and disinfecting commercial buildings for reopening will involve developing a plan, implementing the plan, as well as maintaining and revising the plan.
Develop Your Disinfection Plan:
There's no one-size-fits-all cleaning and disinfection plan as commercial buildings are structured differently and for different purposes. You will need to evaluate your building to determine the surfaces and materials that make up that area. This will guide you in choosing the appropriate cleaning and disinfection method suitable for each.
Implement Your Plan:
Once you have the right cleaning and disinfection plan for your building, it's time to put it into action. We have mapped out a few key strategies that will help you navigate this issue and ensure optimal cleaning and disinfection service. Without further ado, let's get started:
Wear appropriate PPE (personal protective equipment):
Whether you are contracting a cleaning service or using in-house janitorial staff, the cleaning crew must wear appropriate PPEs like gloves, masks, goggles, and so on. That's because they are at a higher risk of being exposed to COVID-19 (given that it can stay on surfaces for days) and the toxicity of cleaning/disinfecting products. Not wearing PPEs also means asymptomatic carriers could spread pathogens to clean areas. It's also important for the cleaning crew to receive training on the proper use of PPEs, cleaning equipment, and cleaning products to ensure efficiency.
Apply normal routine cleaning on visibly dirty surfaces:
It's important to clean surfaces and objects with soap and water before disinfecting. And, be sure to clean soft and porous materials according to the manufacturer's instructions.
Determine what you need to disinfect:
While some surfaces and materials are cleaned with just soap and water, others must be disinfected. Scientists have proven that coronavirus can also live on various surfaces for up to a couple of days. People can contract it by touching contaminated surfaces and then touching their eyes, mouth, or nose.
Start by disinfecting high-touch surfaces as they are the main source of spreading pathogens. This includes doorknobs/handles, elevator buttons, restroom facilities, trash can lids, faucet handles, floor surfaces, light switches, tables/countertops/desks, handrails, and so on. Additionally, areas unique to your building may also require disinfecting. For instance, retail occupancy will require disinfecting shopping cart handles and payment touchpads while offices will need to disinfect computer monitors, keyboards, conference tables, etc.
Soft and porous materials in high-traffic areas like carpets, upholstery, and curtains can be germ reservoirs and will need to be disinfected as well.
Use EPA-Approved cleaning/disinfectant products:
Not all cleaning products are suitable for removing pathogens, particularly traces of COVID-19, from building surfaces. It's important to look at EPA's suggested products as they are both effective and non-toxic. If EPA-approved disinfectants are not available, you can use a diluted solution of household bleach or 70% Isopropyl Alcohol (IPA).
Use products effectively:
It's important to follow the directions on the label with regards to the application method (concentration and dilution), contact time, as well as any other precautions to take when applying like good ventilation and appropriate PPE to wear. This will ensure the effective and safe use of cleaning and disinfecting products. Avoid mixing cleaning and disinfection products as this can result in very dangerous fumes that could cause serious injury or even death.
Avoid over-disinfection:
It is possible to over-disinfect surfaces while trying to ensure no pathogens are left behind. And although these products are great at removing pathogens, their overuse can have serious side effects in humans. Disinfectants can pose an immediate risk to some people, including those who are asthmatic or suffer from migraines, allergies, suppressed immune systems, or immune disorders. They may experience symptoms like headaches, nausea, and vomiting, irritability, difficulty breathing, mood swings, memory loss, seizures, etc.
Outdoor areas require normal routine cleaning:
Many outdoor surfaces will not be touched; as such, disinfecting them is a waste of supplies. However, some areas like bars and restaurants will require disinfecting. Pools and other water play areas must also be well-maintained, for example disinfecting with chlorine or bromine.
What about an unoccupied building?
Properties that have not been occupied for over 7 days will do with normal routine cleaning, meaning there's no need for disinfecting. That's because the coronavirus cannot survive on surfaces for longer than this time. But once you reopen, you will have to develop and implement a disinfection plan to keep everyone safe.
Work in zones:
It's important to separate areas in the building by how likely they are to contain pathogens. Then start with low-risk zones moving into high-risk areas to help avoid cross-contamination.
Maintain and Revise the Plan:
Once you reopen, it's important to maintain the above disinfection strategies to minimize the risk of contracting COVID-19 and other pathogens. This should be done in conjunction with other safe practices like social distancing, wearing masks, frequent hand washing, and more. Be sure to revise and update your cleaning and disinfection plan based on the current circumstances (level of COVID-19 exposure in your building) and updated guidance by the local and federal governments.
Read also:
10 Tactics To Maintain Clear Windows
5 Hotel Housekeeping Tricks You Need To Clean Your Bathroom
How Cleaning Helps Us Feel Better and Why We Don’t Do It
Does your driveway look worn out? Or is it starting to fade and crack? If that’s the case, you should note that your driveway can affect the curb appeal of your property. Sadly, most people hold on to repairing their driveways until they start noticing major issues like water drainage problems and potholes. However, this should be the case.
You should always schedule periodical driveway upgrades—especially during the summertime. Generally, summertime is the perfect period to update your driveway and address some of these issues. With that said, let’s look at some of the things to keep in mind when upgrading your driveway.
Paving material
The first thing you need to consider is the paving material. While concrete comes in various options, it can be quite difficult for you to find a pre-fab material that perfectly matches your budget. Here are some of the most common materials used when upgrading driveways:
Asphalt pavement - This paving material tends to be less expensive than other types. However, asphalt can fill up with water rather easily, leading to drainage problems down the road. On the upside, asphalt pavements come in various textures and designs, allowing you to choose a layout that best fits your property.
Pea gravel - Though this option is slightly more expensive than asphalt pavements, it’s far more durable. However, it also tends to be less aesthetically appealing.
Concrete pavement - This paving material is typically the most expensive and durable choice for your driveway—especially since you can customize the layout and design as you like. On top of that, concrete comes in a wide range of textures and colors—so it’s easier to find something that perfectly matches your property.
Drainage solutions
If there are no major drainage issues on your property, then you’re all set to begin work on updating your driveway. However, before you start this process, it’s important that you first mark where each water outlet is located—such as drains and downspouts.
This step isn’t 100% necessary; however, it makes sense because it can help prevent any work from happening near these areas—which could ultimately cause damage to both outlets and the new surface of your driveway.
Also, note that if there’s stagnant water anywhere on your property after setting up temporary markers, then this means that there are some drainage issues on your property.
Lastly, if you’re experiencing major issues with water drainage on the property—such as pooling or puddles—after completing updating your driveway, then it may be time to get in contact with a professional who will help encourage the proper flow of water throughout your property.
Even though there are ways to fix these drainage problems on your own, it is best to leave these issues up to a professional. This is because they usually have more advanced tools at their disposal—which can make solving these types of problems much easier for them from the very beginning.
Sealer
Once you have marked the location of all necessary outlets, it’s time for you to mark off where new layers will be placed—which includes marking off where any new edges need to be placed around your driveway.
Also, you should use spray paint or chalk to draw out how much space is required between each layer—this step helps ensure that you don’t accidentally apply any materials on top of one another during this part of the process. Then after applying the sealer, it needs at least 24 hours to dry up before applying any additional layers of paint.
Add layers
As mentioned before, you should create some space between each layer as you apply them on top of your existing driveway. If anything overlaps, then this could cause issues with both texture and color—and may even lead to added expense if extra materials need to be purchased for re-applying the materials properly onto the surface of your driveway. This is the main reason why you must use a large enough tarp to ensure that all materials are applied at a safe distance from one another.
Once everything is dry or completely hardened, it’s time to add additional material around the edges of your property—this step helps ensure that water doesn’t run off the sides of your driveway when it rains.
To make this part of the process easier, you should use a garden hose to help draw out where the edges will be placed to learn how much materials are needed. Then once that’s finished, it needs at least 24 hours (ideally longer) for everything to completely dry up before applying any sealer.
There’s one more thing you need to know about updating your driveway. If there was ever a time when you experienced foundation damage on your property from natural elements—such as water, weeds, or vegetation—then get rid of all grass and weeds near the affected area before adding any new surface layers on top of paint on its own.
The reason being is that these things will probably grow out of control on top of your driveway, which can lead to additional maintenance problems.
Bottom Line
According to the Florida asphalt paving experts from ABC Paving, upgrading your driveway around summertime doesn’t always need to cost a lot of money. Sometimes, it can be as simple as making sure you use the proper materials for protecting your existing driveway before adding new layers on top.
Suppose there are any issues with drainage or standing water after doing so. In that case, getting in contact with a professional is usually the best solution—and this also applies regardless of whether you live in an urban area or rural location because everyone will benefit anyway.
Read Also:
Asphalt Pavement Maintenance Tips
Floor Cutting Using Diamond Saw: What You Need To Know
All You Need To Know About Concrete Repair Solutions And Services