Is Your Garage Filled with Rubbish : ContentRally.com

by

20 October 2018

Home Improvement

Garage

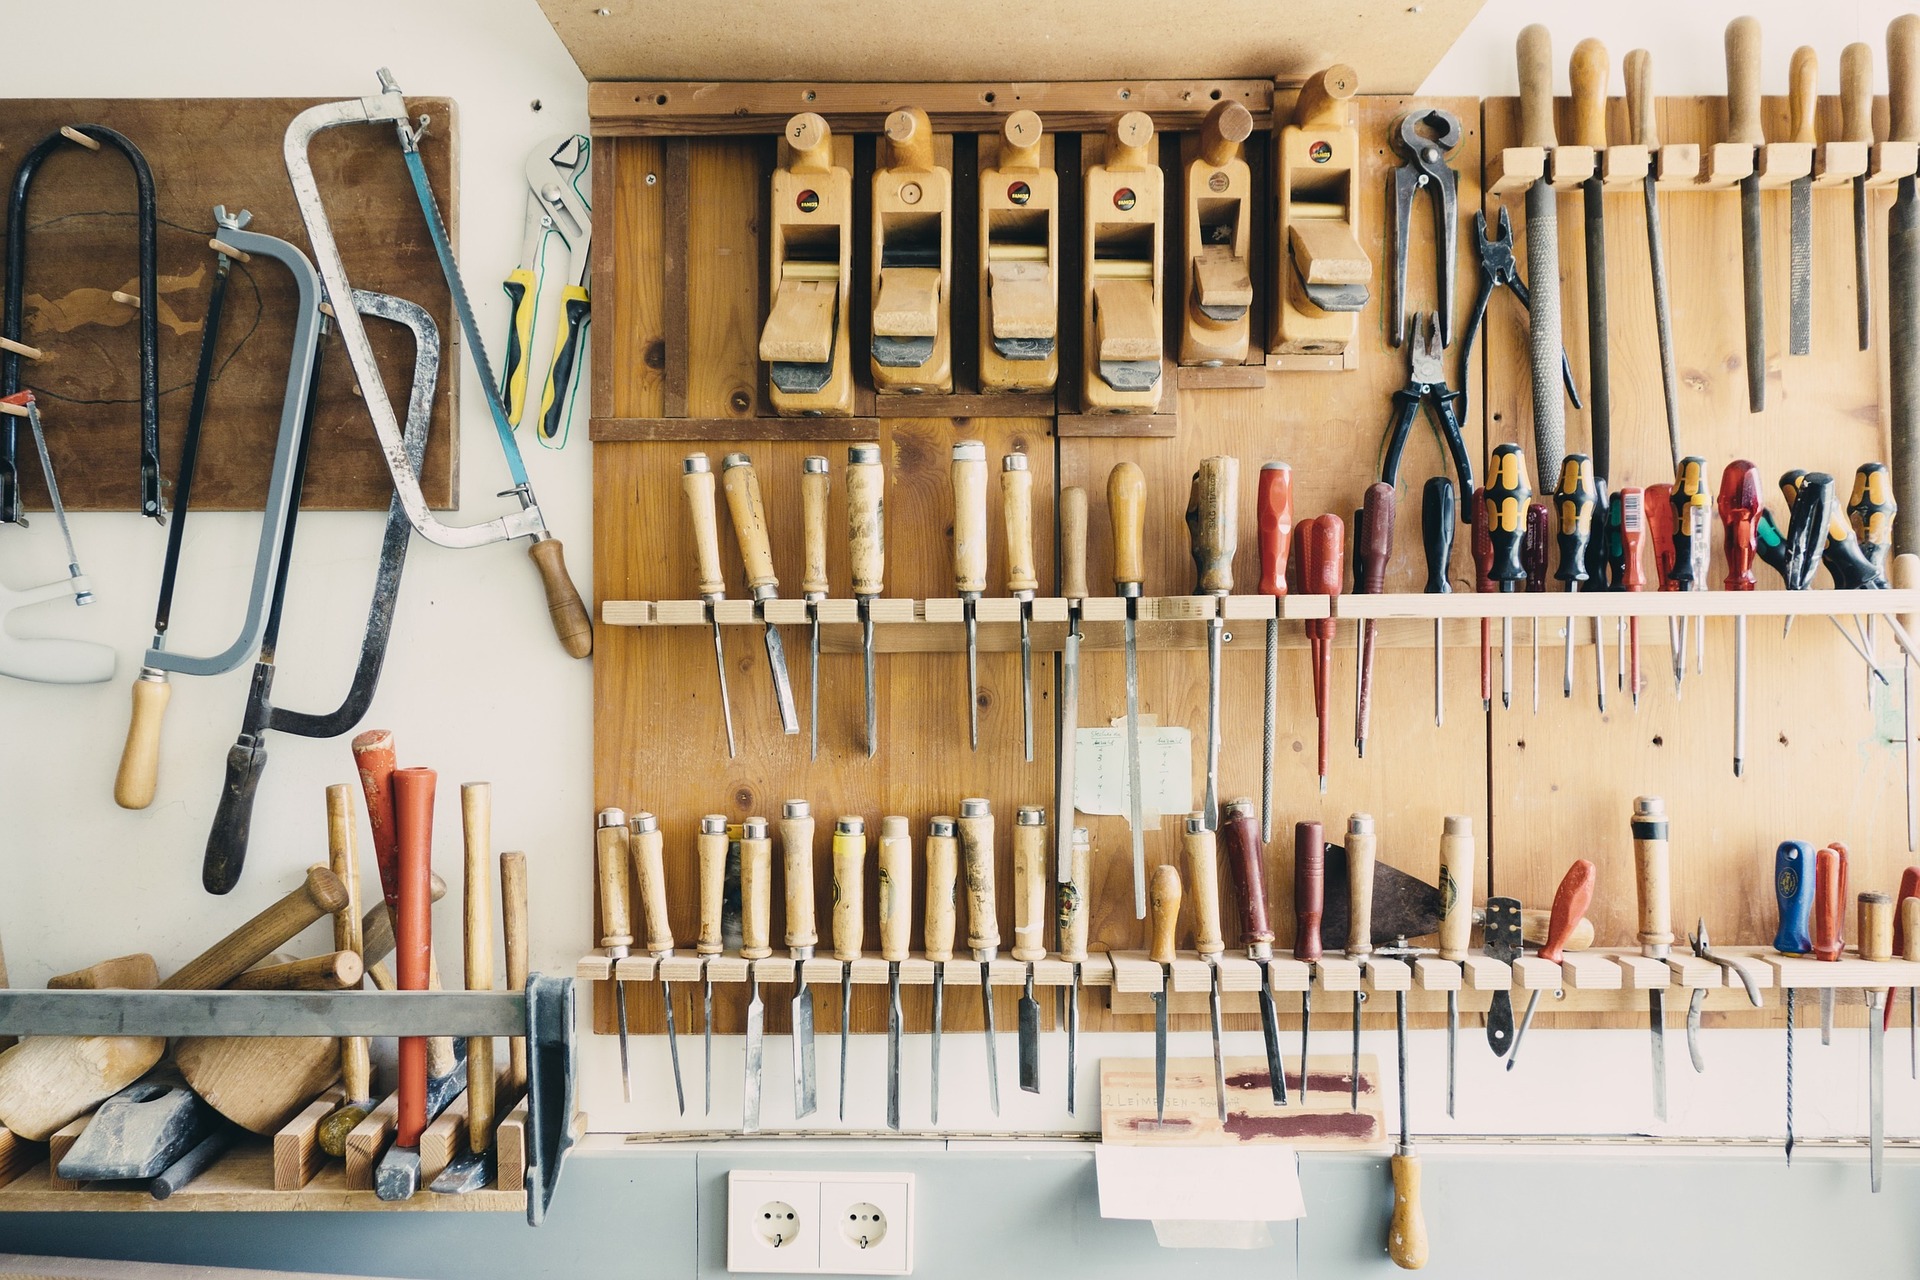
Our garages and sheds can quickly accumulate a lot of items, be it garden tools and handyman tools, sports equipment, old furniture and appliances, and a whole lot more. While we all know that a garage is specially-made for vehicles, we sometimes can’t help but use it as a storage area as well. We do this especially with items which we no longer use or need, simply because we don’t know what to do with the items or we haven’t yet made up our minds whether to do away with them or not. But if you’re looking at your garage and are thinking that it’s time to get it cleared, you may be facing a daunting and challenging task. Clearing your garage of all sorts of items can take time, and it can even pose certain risks of injuries or accidents. So, what is there to do? Is your garage filled with rubbish and other items? Here’s what you can do to clear the space.

Find the right garage clearance service:

If you are serious about clearing your garage and reclaiming your space, but you don’t have the inclination or the time to do it yourself, you should find the right garage clearance service. There are many professional companies which specialise in this kind of service, and a simple search can provide you with a list of prospective professionals in your area. You can contact them and ask for an estimate of their rates, and if their rates are reasonable and their service seems reliable, you can book a schedule to have your garage cleared. A team will then arrive at your property and essentially remove all the items you want them to remove from your garage. Some things can be recycled, while you can decide to either donate or give away other items. The team will then load the items you no longer want into their specialised trucks and make sure as well that they clean your garage and leave it tidy.

Some additional facts you should know:

A professional clearance service such as a garage and house clearance service can take care of whatever items you have in your garage. They can remove all types of items, be it old equipment and tools and even vehicles. Whatever rubbish you have can be taken care of by the team, collected and then properly disposed of. If you have a lot of broken equipment such as gardening equipment, sports equipment, workbenches, machinery, and so on, the team can easily remove it for you. You can also do away with other forms of rubbish such as old toys, old clothing, and other miscellaneous objects. If you have a shed filled with soil and garden waste, masonry, fencing, gates, and more, you can rely on a clearance service as well.

But a garage clearance service will not only remove items from your garage – it will also make sure to sort through them to see which items can be recycled. These professional services are focused on making sure that things which can still be recycled are recycled and not placed directly in a landfill, thereby helping the environment as well.

Read Also:

I enjoy writing and I write quality guest posts on topics of my interest and passion. I have been doing this since my college days. My special interests are in health, fitness, food and following the latest trends in these areas. I am an editor at Content Rally.

View all posts

Leave a Reply

Your email address will not be published. Required fields are marked *

Related

campfire cooking essentials

8 Campfire Cooking Essentials For a Camp Kitchen That Crackles

When you’re ready to go outside and cook over a fire, equipment might be the only thing that separates you from a culinary disaster. Most traditional kitchen gear has plastic parts that would melt over an open flame. Rather than wing it with the items in your kitchen, these eight campfire cooking essentials can make your campfire cooking enjoyable and successful.  8 Campfire Cooking Essentials For A Camp Kitchen   Camping is an excellent healthy outing. But if you do not take the precautions and make a shortlist of the essentials, you will not feel the excitement. You are in the middle of the jungle or camping ground, but you will see you forget many things. Hence, you cannot turn your back in the middle of the camping and reach out to your essential kitchen items. This is going to be a serious issue. Here is the list of eight campfire cooking essentials for your camping kitchen use. 1. Water Canteens Cooking at a campfire requires more water than most people expect. You can make your life easier by bringing your own supply in several water canteens. You can drink from the canteens and use the extra water for your meal-making endeavors.  Campers can also use single-walled stainless steel canteens to boil water safely too. The water canteen is the first among the campfire cooking essentials. Kitchen utensils and drinking water are the most important things.  Similar Reads: Unique Kitchen Hacks to Save your Time in Kitchen 2. Cast-Iron Skillet Cast-iron camping gear can withstand the heat that comes from open flames. Heavy-duty cast iron cooking gear lasts through nearly any cooking situation. If you don’t want to buy new cast iron pans, shop for them at your local resale or antique stores.  The more you use your cast iron pans as your campfire cooking essentials, the better they get. The regular pans are getting fried out in the open flame. 3. Cast-Iron Dutch Oven A cast-iron Dutch oven is a must-have item for anyone who loves to camp. Put your food in the Dutch oven, put the lid on, and place it directly in the fire. You can make everything from oatmeal and stew to enchiladas and apple pie in them.  These hearty pots are versatile and easy to maintain, making them a favorite campfire cooking essentials among campers and hikers. 4. Cooking Grate With Legs Sometimes you don’t want to put your food directly into the flames. This situation is where a cooking grate comes into play.  The legs put the grate above the fire so that you can cook the meat right over the direct heat - like grilling but without the campfire cooking essentials grills. Be sure the legs can tolerate the heat before you purchase a cooking grate. Similar Reads: Right Kitchen Cabinet Materials for Your Project 5. Rotisserie With A Grill Spinning a turkey over a fire can be an excellent way to enjoy your Thanksgiving in the fresh outdoors. Many campers enjoy the process of turning their food on a spit over the open flames.  When you buy a rotisserie with a grill, you can cook veggies and meat simultaneously.  6. Campfire Tongs To keep your hands safe, you’ll want campfire tongs made of aluminum or stainless steel. These tongs should be long enough that you can reach your food over the campfire. I Invest in a good set of grabbers so you don’t accidentally drop your food in the fire. Many new campers do not have the idea how to grill the food in the open flame. 7. Roasting Sticks The most accessible foods to cook over a campfire include marshmallows and hotdogs. You could use a stick to pierce your mallows and dogs, but campfire cooking essentials Roasting sticks made of stainless steel are better choices.  The food-grade materials are safer than twigs you find on the ground.  Similar Reads: Small Kitchen Storage Ideas 8. Collapsible Sink Eventually, you’ll need to clean your camping cooking gear. A collapsible sink lets you do it without wasting space or water. Small portable sinks are available in the market. These sinks are not going to take a huge space. This is the reason the portable foldable lightweight sinks are on the list of campfire cooking essentials. Invest In Fun And Food Be prepared for campfire cooking with all of the necessary campfire cooking essentials gears. Buying quality campfire cooking gear is an investment in making memories with your family and friends.  Read Also: Top Secrets That Slash Your Kitchen Remodeling Bill in Half How to Find the Best Wholesale Kitchen Cabinets 7 Unique Kitchen Design Ideas That Your Family Will Enjoy Top 4 Must-Have Appliances In Every Kitchen The Best Countertops to Help Revamp Your Kitchen 3 Trendy Lighting Ideas for Your Kitchen Island

READ MOREDetails
house painting

5 Interior House Painting Tips

Owning a house which you can modify according to your personal desire, is always something permanent and something incredibly profound. A home with well-painted walls and beams should tell the story of who you are and what you love. New paint with vibrant colors can change your mood, and make your home your favorite place to live in. Interior house painting can be a very intimidating and challenging task if you decide to take it upon yourself. You have two options, to either do it by yourself or hire a professional painting company to look over the project. If you opt with the first choice, these tips and techniques will help you to paint your own home, according to your likings, within a very friendly budget. When you want to paint your Boynton Beach home, be sure to give Gustafson Painting a call. The following steps are a guide on how to paint a house to meet your expectations: 1. Self Choosing Colors: The critical step, to begin with, is to choose a color which you like. Or at least you should have a good idea of what color combination suits your home, i.e. which colors you would like to paint to your rooms and which colors to paint washrooms, kitchen, etc. Select the color palettes and plan out which color combination gives your rooms the vibrant energy. Every color has its functions, e.g. Blue, green and purple are all relaxing colors. Moreover, other deep and shocking colors such as red, pink and yellow can be used in rooms which are mostly in use during the day, giving your rooms a lively, gaudy look. 2. Gathering Tools and Equipment: After this, you have to pick all the tools and equipment which are needed for painting the house; which includes sanding and scraping tools, wire brush, respirator, paint rollers, plastic sheets to cover the carpets and your valuable stuff, work gloves, drop cloth, ladder and scotch tape. This will ensure you are ready and won't have to leave your task in between, to search for something. 3. Repairing Damaged Parts: Once you have organized everything, the next step is to remove any dirt and dust buildups from the walls by using a pressure washer. After this, you can apply epoxy filler to cracks and fractures by using a putty knife. Allow it to let it dry. Once this is done, fill the gap around windows, doors, and ceilings to ensure a better coat of paint. When this is dried up, then feel the wall with your hand to ensure if there are any uneven spots left behind. Then, apply the primer to prepare the walls for paint when all damaged parts are repaired. 4. Brush the Walls: Before painting the walls with a roller, you should brush the walls. To brush the walls, mean to paint the corner of walls, ceilings, and trims. You can choose from paintbrushes which come in many shapes and sizes. The traditional method to paint the walls through brush is by the use of metal cans, which can be very difficult for you to carry along with the brush and can result in poor results. But nowadays, there are proper paint pails which will make the whole task a lot easier for you. 5. Ready to Paint Ahead! Finally, you are ready to paint with the rollers. But wait, before this you should mix a primer with paint to give a fresh and everlasting look. If you paint without using a primer, then the paint would peel off. For this, you have to scrap all the paint away, clean the surface before applying the first coat and after that, apply the second coat of your own choice. This is one way when you do not use a primer. But if you are using a primer with paint, then it will not cause any problem even if the first coat is not applied. And the most important order of painting as suggested by the experts of house painters in San Diego is that you should paint the trim first, then ceilings, and then walls. It will provide better adhesion throughout and will enhance the ability of the topcoat. Another pro tip is that don’t forget to open the windows and doors of your house during painting, as it provides better ventilation and the paint dries off quickly and efficiently. At the end of the painting, do the cleanup. Wash all the brushes and other stuff which you have used in the process. At last, give your house a final touch by placing all of the favorite furniture in place, to give your dream house a new look! With these interior house painting tips from the most experienced of the San Diego painting company, you will get pro results for your residence! Read Also: Find The Right Painters For Your Ann Arbor Home This Painting Season 5 Factors To Consider In Choosing The Right Floor Colors Roofing Painting Contractor Leads: Four Questions To Ask Before Hiring One

READ MOREDetails

What Leather Is Used In Leather Chesterfield Sofa

A Chesterfield sofa is all about looking good and being comfy. It's known for its neat button pattern and high, rounded armrests. The best part about leather Chesterfield sofas is the use of top-quality leather. This makes the couch look great and last for a long time. In this article, we will explore the types of leather, how the sofas are made, and how to care for them. Our goal is to give you a complete understanding of the leather used in Chesterfield sofas. The Story of Chesterfield Sofas The name "Chesterfield sofa" comes from the Earl of Chesterfield. He was looking for a sofa that was not just cozy, but also wouldn't crumple his suit when he sat. So the Chesterfield sofa became the perfect solution. Leather plays a crucial role in these sofas. It's not just about the appearance, but it's about lasting a long time too. The finest leathers used for a Chesterfield are Full-grain and Top-grain. Full-grain is the best you can get. It keeps all the natural patterns of the animal skin. The sofas made with it are all unique. Top-grain is just a step below. It gives a more uniform look with its sanded and finished surface. Types Of Leather Used In Chesterfield Sofas 1. Full-Grain Leather Chesterfields When you want the best, you go for full-grain leather. This type of leather is the finest you can find. The surface of the hide is left untouched except for removing the hair. This keeps all the original textures and marks. Each Chesterfield made with this leather is one of a kind. Full-grain leather is super durable. This leather can handle moisture and, if cared for correctly, will develop a beautiful patina as it ages. However, full-grain is the priciest of the leathers. But, it is well worth the cost. If you value heritage, long life, and individual beauty, it is the right choice for you. 2. Top-Grain Leather Top-grain leather is another great option for a Chesterfield. It is almost as good as full-grain. But, it is slightly processed to remove any imperfections. This makes it look more uniform. Top-grain leather sofas are good quality, durable, and a bit more affordable. They won't get the same deep patina as full-grain sofas. But they are still tough and can handle everyday use. This leather is easier to take care of because it resists stains. The smooth surface of top-grain leather gives a sleek and modern look. This is perfect if you like a more contemporary style. 3. Bonded Leather If you're on a budget, bonded leather is for you. It gives the look of a leather sofa without the high cost. Bonded leather is crafted from remnants of leather, which are combined together. It doesn't match up to the durability or breathability of full or top-grain leather. However, for furniture that's not used daily, it can be a viable choice. Plus, it's better suited to handle sunlight, making it a decent pick for rooms with a lot of sunshine. The main selling point of bonded leather is its affordability. But remember, its lifespan may not be as long as that of superior-quality leather. The Making of a Chesterfield Sofa Making a Chesterfield sofa takes a lot of work. It needs skill, focus, and a good understanding of leather. Each step, from choosing the hide to cutting, tanning, and dyeing, affects the final look and quality. The deep-buttoning of a Chesterfield is a special process. It needs careful work to make sure it is done correctly and will last. The buttons need to be tied down securely to keep the tufted look. The leather also needs special treatment to protect it from stains and wear. The Chesterfield Styles The Chesterfield sofa has a signature style, easily recognized by its deep-buttoned upholstery, high rolled arms, and equal back height. But while the classic design remains popular, modern interpretations of the Chesterfield style have also found a place in contemporary homes. The classic Chesterfield is often wrapped in full-grain or top-grain leather, rich in tones of browns and blacks, conveying a sense of old-world luxury. The design is a perfect fit for traditional or vintage-inspired interiors. Modern Chesterfields, on the other hand, have been reimagined in lighter shades of leather or even brightly colored hues. This modern twist offers a fresh and vibrant take on the traditional design, suitable for more contemporary or eclectic spaces. But whether classic or modern, the Chesterfield maintains its signature features. These design elements have stood the test of time, ensuring the sofa's presence in homes for many years to come. Conclusion A Chesterfield sofa is a piece of history that adds luxury to any room. The type of leather used greatly affects how the sofa looks, how long it lasts, and how much it costs. From premium full-grain leather to the more affordable top-grain and bonded leather, each has unique qualities. No matter your choice, the artistry and skill in making these sofas are always there. It is a tradition of quality that has lasted for centuries. By understanding the types of leather and how the sofas are made, you can choose the best Chesterfield for you. With knowledge about style, practical needs, and cost, you'll be better equipped to choose the right sofa. Plus, your appreciation for your couch will only grow as you understand the craftsmanship and effort behind it. Read Also: Misconceptions about Elevator Shoes for Men 4 Must-Have Characters In All Men’s Leather Belts How Can I Get Scratches Out Of Leather?

READ MOREDetails