


When you’re ready to go outside and cook over a fire, equipment might be the only thing that separates you from a culinary disaster. Most traditional kitchen gear has plastic parts that would melt over an open flame. Rather than wing it with the items in your kitchen, these eight campfire cooking essentials can make your campfire cooking enjoyable and successful.
8 Campfire Cooking Essentials For A Camp Kitchen
Camping is an excellent healthy outing. But if you do not take the precautions and make a shortlist of the essentials, you will not feel the excitement. You are in the middle of the jungle or camping ground, but you will see you forget many things. Hence, you cannot turn your back in the middle of the camping and reach out to your essential kitchen items. This is going to be a serious issue.
Here is the list of eight campfire cooking essentials for your camping kitchen use.
1. Water Canteens
Cooking at a campfire requires more water than most people expect. You can make your life easier by bringing your own supply in several water canteens. You can drink from the canteens and use the extra water for your meal-making endeavors.
Campers can also use single-walled stainless steel canteens to boil water safely too. The water canteen is the first among the campfire cooking essentials. Kitchen utensils and drinking water are the most important things.
Similar Reads: Unique Kitchen Hacks to Save your Time in Kitchen
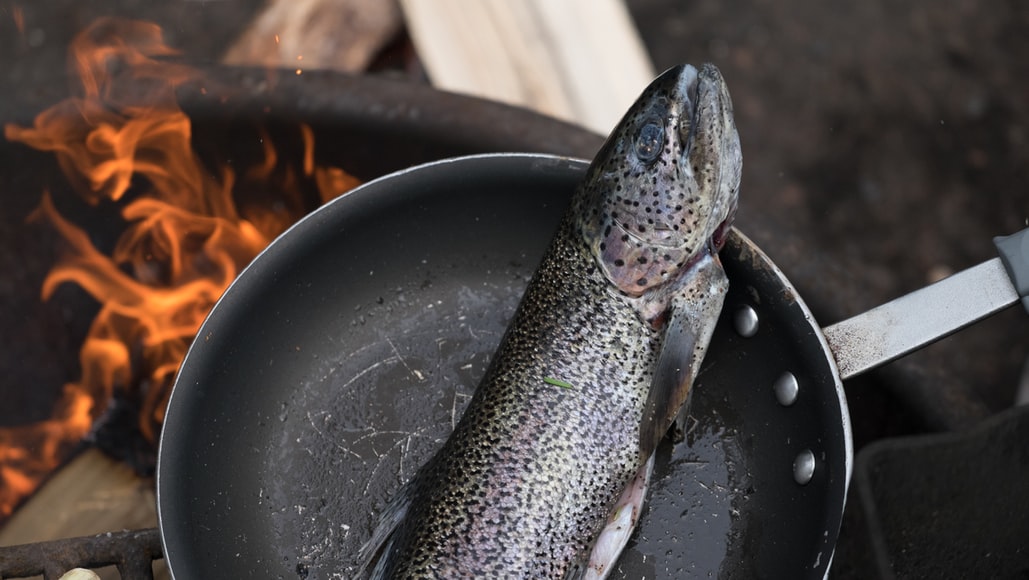
2. Cast-Iron Skillet
Cast-iron camping gear can withstand the heat that comes from open flames. Heavy-duty cast iron cooking gear lasts through nearly any cooking situation. If you don’t want to buy new cast iron pans, shop for them at your local resale or antique stores.
The more you use your cast iron pans as your campfire cooking essentials, the better they get. The regular pans are getting fried out in the open flame.
3. Cast-Iron Dutch Oven
A cast-iron Dutch oven is a must-have item for anyone who loves to camp. Put your food in the Dutch oven, put the lid on, and place it directly in the fire. You can make everything from oatmeal and stew to enchiladas and apple pie in them.
These hearty pots are versatile and easy to maintain, making them a favorite campfire cooking essentials among campers and hikers.
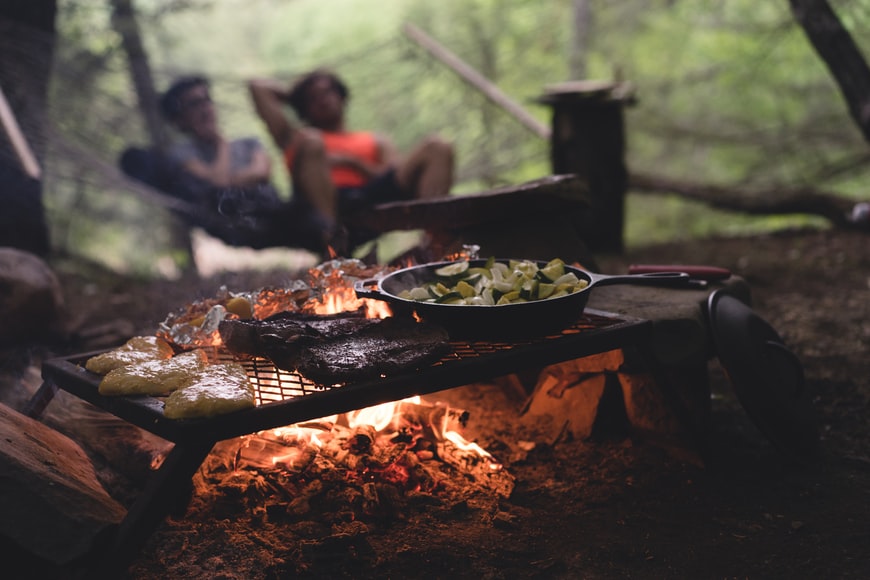
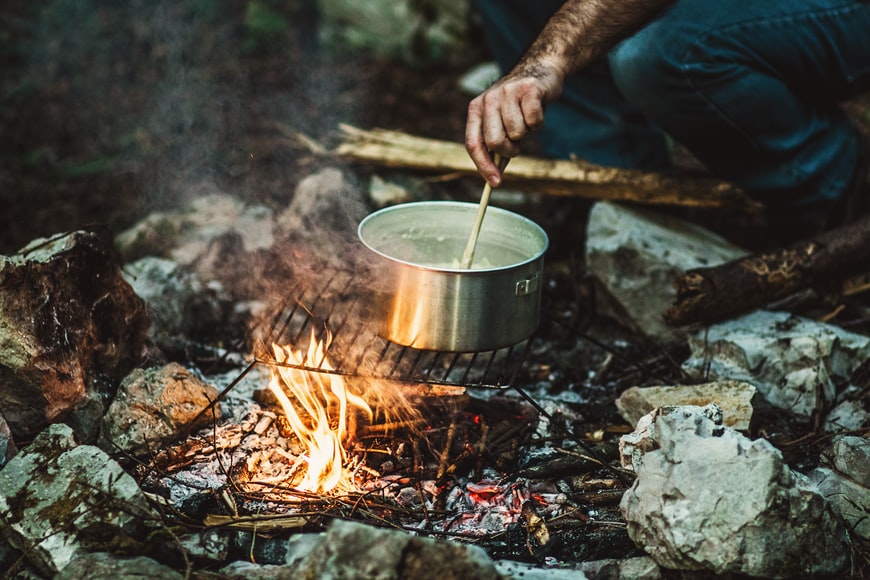
4. Cooking Grate With Legs
Sometimes you don’t want to put your food directly into the flames. This situation is where a cooking grate comes into play.
The legs put the grate above the fire so that you can cook the meat right over the direct heat – like grilling but without the campfire cooking essentials grills. Be sure the legs can tolerate the heat before you purchase a cooking grate.
Similar Reads: Right Kitchen Cabinet Materials for Your Project
5. Rotisserie With A Grill
Spinning a turkey over a fire can be an excellent way to enjoy your Thanksgiving in the fresh outdoors. Many campers enjoy the process of turning their food on a spit over the open flames.
When you buy a rotisserie with a grill, you can cook veggies and meat simultaneously.
6. Campfire Tongs
To keep your hands safe, you’ll want campfire tongs made of aluminum or stainless steel. These tongs should be long enough that you can reach your food over the campfire. I
Invest in a good set of grabbers so you don’t accidentally drop your food in the fire. Many new campers do not have the idea how to grill the food in the open flame.
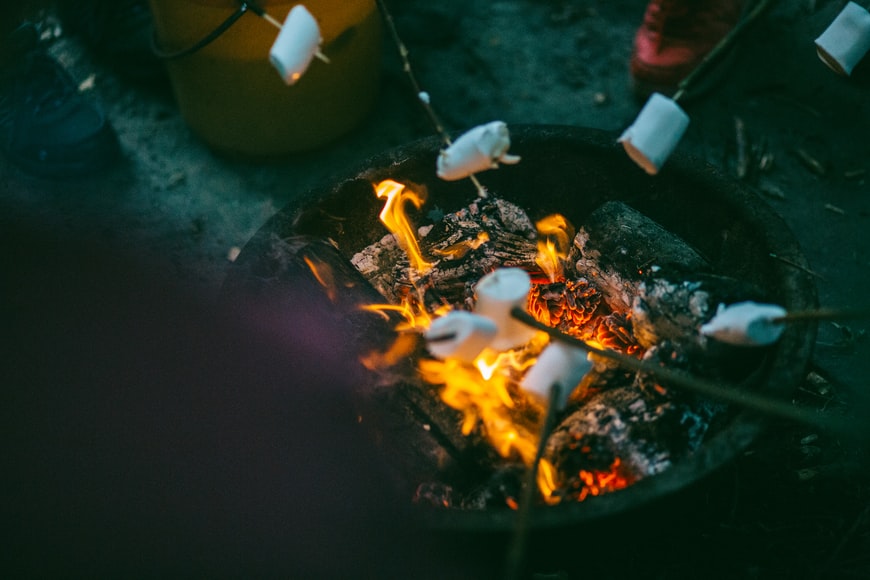
7. Roasting Sticks
The most accessible foods to cook over a campfire include marshmallows and hotdogs. You could use a stick to pierce your mallows and dogs, but campfire cooking essentials
Roasting sticks made of stainless steel are better choices.
The food-grade materials are safer than twigs you find on the ground.
Similar Reads: Small Kitchen Storage Ideas
8. Collapsible Sink
Eventually, you’ll need to clean your camping cooking gear. A collapsible sink lets you do it without wasting space or water.
Small portable sinks are available in the market. These sinks are not going to take a huge space. This is the reason the portable foldable lightweight sinks are on the list of campfire cooking essentials.
Invest In Fun And Food
Be prepared for campfire cooking with all of the necessary campfire cooking essentials
gears. Buying quality campfire cooking gear is an investment in making memories with your family and friends.
Read Also:
- Top Secrets That Slash Your Kitchen Remodeling Bill in Half
- How to Find the Best Wholesale Kitchen Cabinets
- 7 Unique Kitchen Design Ideas That Your Family Will Enjoy
- Top 4 Must-Have Appliances In Every Kitchen
- The Best Countertops to Help Revamp Your Kitchen
- 3 Trendy Lighting Ideas for Your Kitchen Island