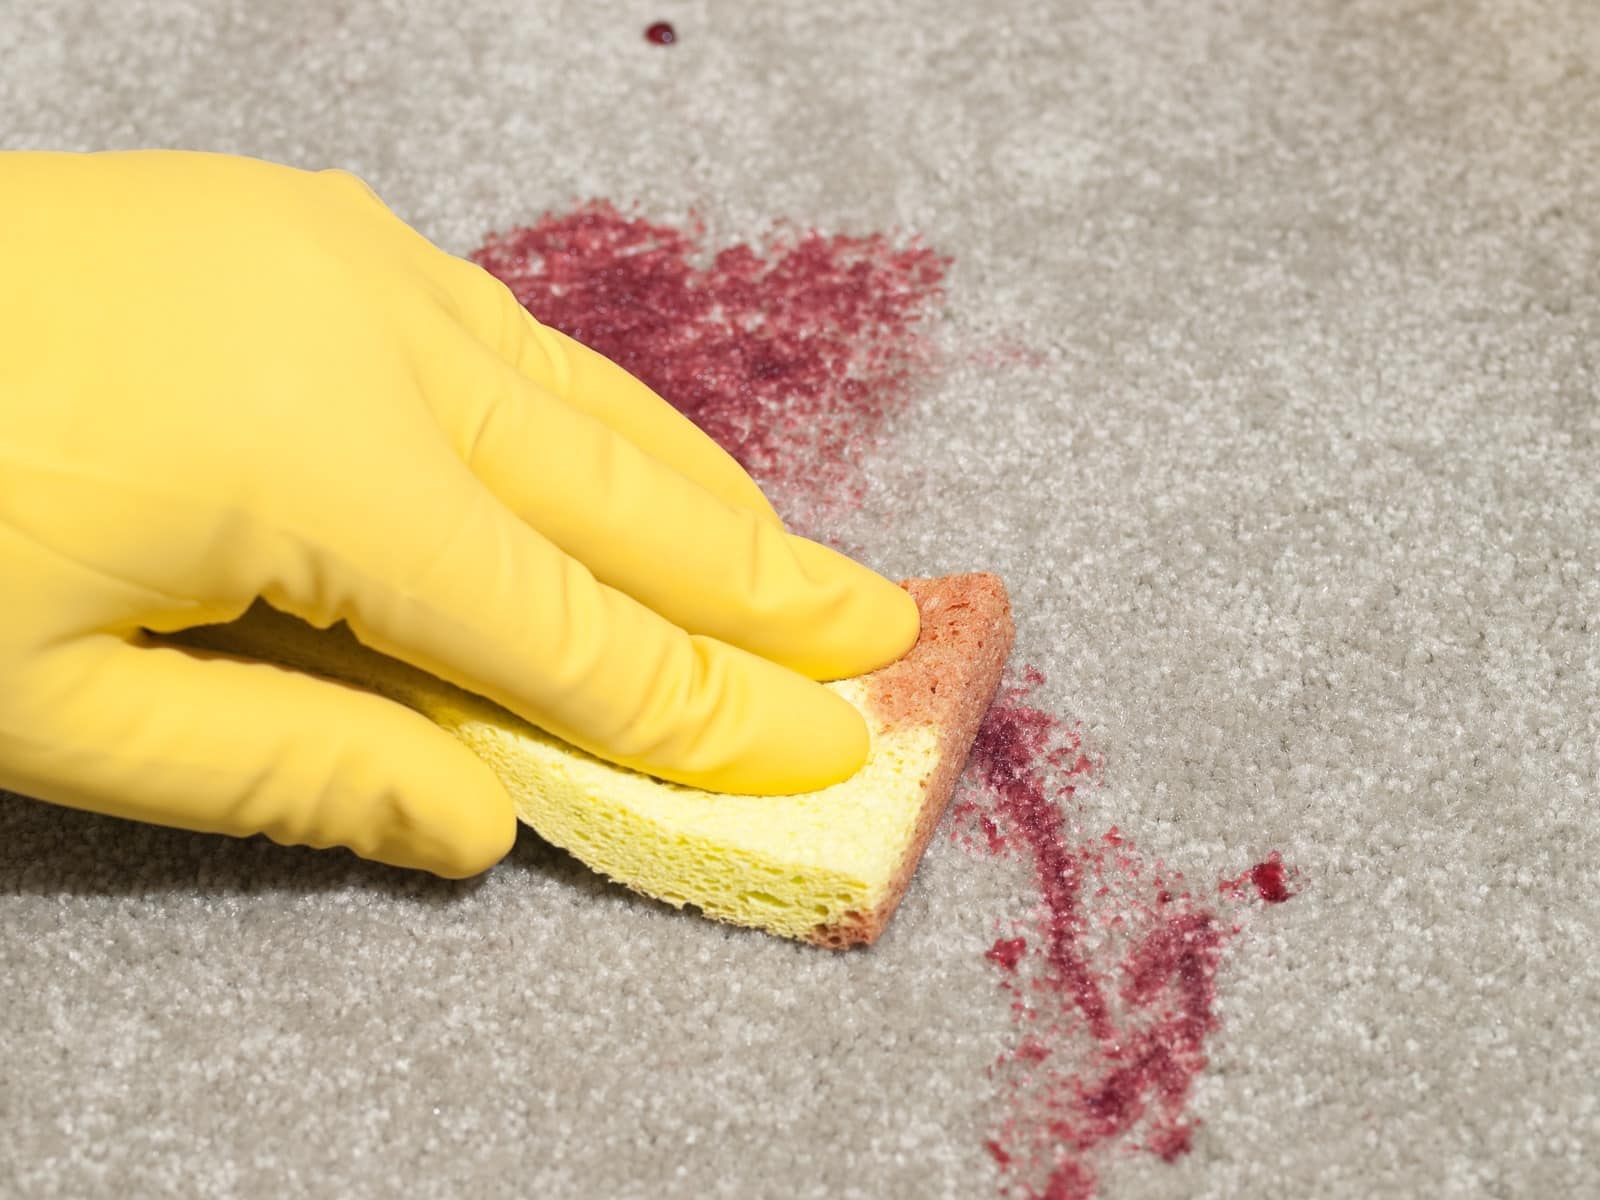
Know This: Tips On How To Clean Up Blood Stains on Workplace Accidents

Blood

Comply with OSHA Standards :

Employers are required to comply with OSHA guidelines and specifically to the Bloodborne Pathogen Standard. Employers must also create Exposure Control Plans. This is the case for any workplaces where employees are in contact directly with blood or other infectious body fluids while on the job.

Employees and workers that work in financial institutions and banks do not perform jobs where they have reason to believe they will come in contact with blood. In the event of an accident, these workers must know how to handle cleaning up blood properly.

Workers must learn how to use precautions and treat any blood or bodily fluids as if they are contaminated. They must treat them as though they have pathogens or are infected with HBV or HIV. Hepatitis B vaccines should be made available within 10 days of exposure on the job to pathogens.

As an employer, you have an obligation to follow the guidelines set forth by OSHA regarding biohazard waste. To be a good citizen, you must comply with all government regulations and make the health and safety of others your priority.

What You Need to Clean Minor Spills :

Before starting the process of cleaning up blood, be sure you have:

  • Protective equipment for all personnel
  • A registered disinfectant with the ability to clean broad-spectrum pathogens
  • Biohazard bags and labels
  • Brush and dustpan
  • Forceps and tongs
  • Leak-proof sharps containers
  • Disinfectant wipes
  • To clean a blood spill from a surface:

Equip Yourself Properly :

Source 

Use gloves, masks, gowns, and eyewear to protect yourself from splashes. Make sure that your protective gear fits comfortably and has no holes in it. You do not want pathogens to come into contact with your body.

Remove :

Source

With your brush and dustpan or your forceps and tongs, remove any shards of broken glass from the area. You want to avoid ripping your protective clothing. Put each piece in the leak-proof sharps container. Do not remove them by hand once they are inside.

First Cleaning :

Use cloth towels to cover the blood spill and let them absorb as much as possible. The disinfectant will not work if blood is on the surface. Once covered and cleaned toss the towels in a bag designed for biohazards.

Second Cleaning :

Go on to the second cleaning only after the room has been properly ventilated. Pour the disinfectant on the surface and let it stay there for 10 minutes. Then, scrub from the outside to the center using cloth towels. Toss these towels in the biohazard bag after doing the second cleaning.

Third Cleaning :

Use more towels and disinfectant on the surface. Put these in a biohazard bag when you are through. Leave the surface to dry.

Disposal :

Source

Dispose of any protective gear and equipment the same way you did the towels. Put them in a biohazard bag. Seal it and place into a second container. Be sure to label the container clearly and call the local health department for instructions on how to dispose of things correctly.

 Decontaminate :

After doing this, use the registered disinfectant to decontaminate any brooms, buckets, dustpans or other items you can use again. Scrub the tools thoroughly and then rinse with water.

Check :

Do a final check to make sure no area of your body has been contaminated. Make sure no blood has splashed on your feet or on your shirt.

Wash Your Hands :

Source

Wash hands thoroughly with water and disinfectant soap.  Disinfectant wipes can also be used if you are not near a sink.

Report Incident :

This is crucial. Fill out the incident report clearly as soon as the cleanup is complete. File it as instructed, and be sure

It is important that you and your employees know how to clean up the blood in your workplace. Get help if you need it from a blood cleanup company. Keep your workers healthy and safe with the instructions in this guide.


I enjoy writing and I write quality guest posts on topics of my interest and passion. I have been doing this since my college days. My special interests are in health, fitness, food and following the latest trends in these areas. I am an editor at Content Rally.

View all posts

Leave a Reply

Your email address will not be published. Required fields are marked *

Related

Accent Chairs

11 Gorgeous Accent Chairs For Small Spaces

If you want a chair that’s ideally suited to your small living space, here’s some artistic inspiration. The idea of placing an accent chair in a small space is the same as the idea of placing an artwork in a small space. It gives you both a focal point and a feature to discuss with guests who come and visit that space. An accent chair can be many things. It could sport a bold pattern or color, or it could be an odd shape or size. Let's look at the 11 best accent chair ideas for your small space. 11 Gorgeous Accent Chair Ideas For Small Spaces These eleven ideas for beautiful accent chairs should set you on the right design path. 1 - Be bold When it comes to making an impression, one single bright bold color can be all it takes, especially in a small space. Be bold, pick your color and choose a chair to accent it. 2 - Opt for floral You can choose to add a floral pattern to your chair, which will be reflected around other features of the room. Imagine highlighting your floral chair with flowers on the table, for example. 3 – Armrests Do you want a chair with or without armrests? When you place armrests on a chair it can reinforce a compact space. A chair without armrests, on the other hand, is more open and better suited to these compact rooms. 4 – Color blocking you don't have to stick to one color of the chair. You could have two chairs which are contrasting colors. 5 - Add extras You don’t want to put doilies over the armrests like your Gran might have but switching up your cushion choice can really change the impact the chair has on the space. Do you want it to be round, patterned, fluffy, or square? Moderndigsfurniture.com has some great accouterments. 6 - Consider wood Wooden chairs may not be the most comfortable chairs, but they can be excellent in small spaces. Their simple design makes them easy to use throughout the house, but also means that they go with most spaces. 7 - Consider metal If you have a contemporary and or a small room that you want to use an accent chair to highlight, then we strongly suggest that you consider a metal chair. Metalwork doesn't just belong outside. 8 - Go, designer You can always tell a high-end artistic product. If you go for a designer chair, it will stand out no matter where you place it. 9 - Think about dark colors Dark colors placed in the dining room can create a feeling of intimacy and atmosphere. If you have a small room that's bright white, adding one black chair will be quite striking. 10 - Explore patterns The days of the wicker chair may be over, but a rattan pattern will still look good. What about stripes? Have you considered checking? Explore the world of patterns before you buy your chair. 11 - Think nontraditional The 90s might be over, but the bean bags stuck around. There are few chairs more comfortable in life than the oversized beanbag. Read Also: Everything you need to know about glamming your home with curtains Should You Get A Dining Bench Best House Renovations For 2021

READ MOREDetails
ceiling light

How You Can Choose the Ideal Ceiling Light for Your Living Area

Your house can certainly benefit from the right lighting – lighting is, after all, essential for any living space. With the proper lighting, you can have warmth and homeliness in your abode, but you can also have an entirely functional element that can help you perform certain tasks and see everything clearly. But lighting can have an impact on other elements as well, and it can affect your space's wall color to the color of your flooring or carpet. It is therefore essential to have an ideal plan for your lighting, especially when it comes to your living area. The correct light can go a long way in giving your home the ambiance and serenity it needs, and it can lend a great atmosphere to your living space as well. The ceiling light you choose, in particular, can make a huge impact. Here, then, is how you can select the ideal ceiling light for your living area. How You Can Choose the Ideal Ceiling Light for Your Living Area: The height of the ceiling and the available space: Firstly, you should try to figure out how you use the room and the time of day you often spend there. It is also important to note the available space – how big or small it is – as well as the height of the ceiling. If, for instance, the ceiling in your living area is low, a large fixture such as a chandelier may not be such an ideal choice, as it may make your living room appear cluttered and smaller. On the other hand, if you have a high ceiling, a small ceiling fixture may look awkward and may even 'disappear' in a room with a high ceiling. If your living area has a low ceiling, you could go for semi-flush mount or flush mount lighting fixtures, as these kinds of fixtures have a small drop and don't extend too far from the ceiling, which adds to the illusion of a higher ceiling or space. For high ceilings, big, bold chandeliers or lighting fixtures are an excellent option. The type of lighting: You should know that different ceiling lights will have a variety of functions, which leads us to the different types of lighting. You should ask yourself this important question as well: what is the purpose of your ceiling light, especially when taking into consideration the kind of ambiance you would like your living area to have? Essentially speaking, there are three major types of lighting: task lighting, accent lighting, and ambient lighting. In general, a ceiling light in the living area provides ambient lighting because it gives a wide illumination, and you can also control it with the use of a dimmer. You can complement ambient lighting with the use of layers in the lighting scheme and design of your living area. You can add layers with lighting fixtures such as lamps (both floor and table lamps), sconces, drop lights, downlights, and recessed lighting. Lamps serve well as both accent and task lighting too. The bulb: The bulb you choose also makes a difference, as any expert will tell you – and many of us make the error of overlooking the bulb, even though it can impact the overall elegance of our lighting design. Modern lighting often involves the use of LED bulbs, as they are bright and energy-efficient, and they can last for a long time. Living areas can definitely benefit from the use of LED bulbs, because living room lighting is used almost every day, most especially at night, and LED bulbs are ideal for this type of use. There are decorative LED bulbs which you can also make use of, and they are often great for any living space – this is especially true for filament bulbs, which are trendy yet have a unique vintage appeal. Read Also: 3 Trendy Lighting Ideas For Your Kitchen Island The Benefits Of Solar Lighting In A Nutshell Las Vegas Electricians Share Fun Lighting Ideas For Your Home

READ MOREDetails
Organized After A Move

Tips To Unpack, Stay Organized After A Move

So you have finally moved into the house of your dreams. What next? Once your belongings are unloaded, you must figure out how to get organized after a move. This includes unpacking and organizing all of that stuff! Of course, this whole process can be a little too overwhelming. But Austin maid service has some organizing tips that might come in handy. Tips for Organizing a Move Before moving in, make sure the new home is completely spruced up to welcome its new members. This includes wiping down shelves, countertops, cabinets, and floors. The bathroom and kitchen should be completely clean and smelling good. Once you have stepped into your new home, it’s time to unbox the essentials first. Forget everything else and unpack the essentials box that carries important stuff that you cannot do without. Little steps first Of course, you want to organize your new home right away. After all, it is your dream house and you wish to start enjoying your stay quickly. But it can be quite messy initially. If you try to start with organizing all rooms together, you may end up making no significant progress at the end of the day. So what next? Well, you must start with one room first and unpack your stuff accordingly. For a family of small kids, you may start with unpacking the nursery. Try to maintain a sense of normalcy so kids do not find moving overwhelming. Setup their rooms first and you can easily create a safe haven for them, where they can play and rest while you organize the rest of the space. After the kid’s room, you can start with the kitchen and your bedroom. Other rooms can still wait. Give rooms a purpose In order to stay organized after a move, the next step is to plan how to store your belongings. In this regard, you can assign different purposes for each room, including pantry, basement, garage, hallway, and bathroom. Now start unpacking things and assign everything a new home. Start with larger items Bulky stuff takes a lot of space. So start with arranging larger items. You do not want to hit a bed or dressing table every now and trip and fall. Move dining table, bed, dressers, and solid pieces of furniture to their respective rooms. This should clear up space and make you feel a little relaxed. It’s absolutely fine to delay organizing the smaller stuff. Take some rest and then unpack smaller items, including books, clothes, utensils, and accessories. Install all larger kitchen appliances first. This includes the fridge, dishwasher, stove, food processor, washer, and dryer. Tackle the kitchen When looking for tips to organize home after a move, your priority should be to unpack the kitchen stuff. What is the most essential cookware? What else is most commonly used in the kitchen? You want to organize the essentials first. Organize those in easily accessible drawers. This includes pots and pans, coffee mugs, cereal bowls, and plates. Keep all dishwashing soaps and sponges handy. Do not forget the kitchen cleaning supplies as well. Unpack remaining rooms Once your most important rooms are in order, it’s time to organize the remaining space. Tackle one room at a time and then move to the next. It is a good idea to keep the task of organizing storage areas for last. Since home organizing after the move is a huge task that may take days, this will ensure you have clean uncluttered space for dining and resting. The storage space can still wait. Don’t forget the entryway Organize this space once you are done with the cleaning aspect of all major rooms. If you continue to ignore this area, it might turn into a complete mess with a pile of stuff that you have been delaying organizing. So when you wish to get organized after a move, place a small basket by the door. This should collect all of the mail that reaches your new home. Bring some hooks to organize items that can be easily lost. This includes keys and dog leashes.  When installing hooks at the entryway, keep a few points for coats, jackets, and umbrella. You don’t want this type of stuff to crowd your chairs and sofas. Place a shoe rack at the entryway. You do not want any viruses to enter your new abode with shoes, right? In these coronavirus times, it becomes even more important to drop your shoes at the door. Place a rug or mat at the entryway to avoid bringing dirt, snow, and slush into your abode. These tips for organizing after a move can make life a little easier for you and your family. You can always rely on dependable professional services for the job if the task seems a little overwhelming. Read Also: 10 Steps to Move in Your New House Moving home checklist: What you need to know Factors To Consider While Preparing For A Move

READ MOREDetails