10 Plumbing Myths Debunked

Published on: 25 July 2019 Last Updated on: 19 January 2022
Plumbing Myths

Colepepper Plumbing plumber home services often get calls to fix issues that are caused by misguided beliefs and even myths on how plumbing systems work. An easily preventable plumbing problem can escalate to a full-blown emergency in no time if you believed such myths and hold on to habits that will wreak havoc both on your pipes and on your budget. Below are 10 of the most common plumbing myths and the truth behind them.

10 Plumbing Myths Debunked:

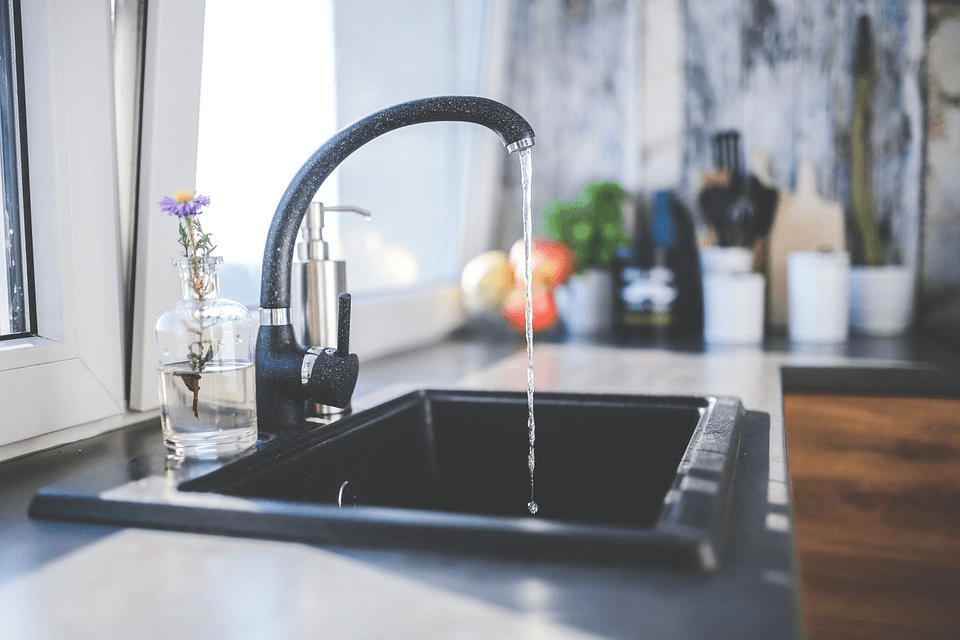
Myth 1: It’s OK to Have a Dripping Faucet:

A dripping faucet, according to the United States Environmental Protection Agency, can waste as many as 3,000 gallons of water a year. To give you an even clearer picture, you can take approximately 200 showers with that much water. If you have a dripping faucet, you are essentially paying for 3,000 gallons of water that you don’t use every year. That’s definitely not acceptable.

Myth 2: It’s OK to Throw Oil and Grease Down the Drain:

Oil and Grease

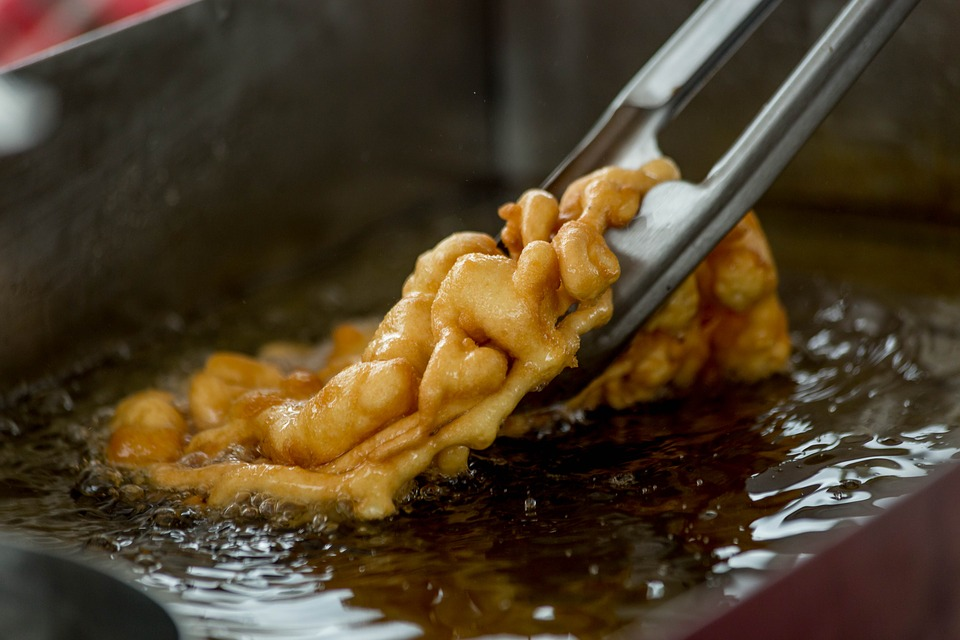
Some folks mistakenly believe that oil and grease will end up in the sewers even before it solidifies in the drain pipes. The truth, however, is that grease may become solid even before it gets to the main sewer line. Throwing grease down the drain is a sure way of clogging up the drain.

Myth 3: Pouring Hot Water Down the Drain Will Clear Up Blockages:

This is somehow related to the previous myth. There are those who believe that pouring hot water will cause grease blockages to melt and flow straight into the sewers. What this will do is just melt the grease a bit and then spread it down the drain further, causing an even bigger problem as it will spread the clog deeper into the pipes.

Myth 4: Drain Cleaners Do a Better Job Than Hot Water:

Although this may be true to some degree, drain cleaners do more harm than good. Drain cleaners have strong solvents that can eat away at pipes. In time, the clogged pipes will be the least of your problems.

Myth 5: Combination of a Plunger and Drain Cleaners Are Very Effective:

Plunger

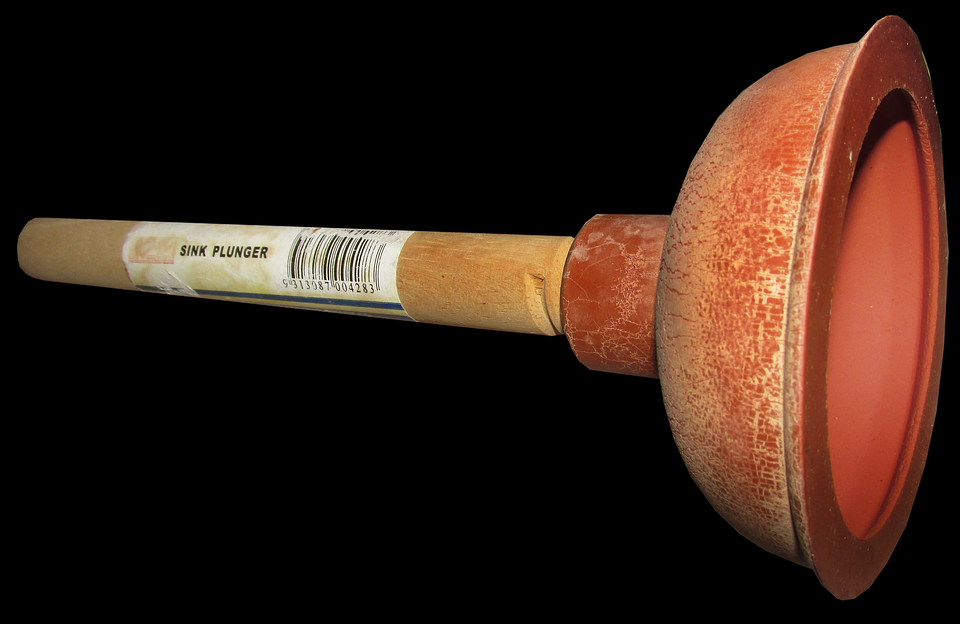
Slow-moving drains can lead to some of the most unwise attempts to clear out a clog. Pouring drain cleaner down the drain and then trying to work at the clog with a plunger can cause serious injuries to you. This should not even be attempted at all.

Myth 6: Toilet Tank Cleaners Help it Perform Better:

Toilet tank drop-in cleaners hardly do anything to make toilets flush better. What is even worse is that it can eat away at some of the more delicate parts of the flushing system, thus causing it to malfunction over time.

Myth 7: Placing a Brick Inside the Toilet Tank Will Help Save Water:

The brick will degrade inside the tank over time and its particles can cause blockages or may cause the flushing system to malfunction. You can just tweak the water level adjustments inside the tank if you want your toilet to use less water to flush.

Myth 8: Ice Cubes Can Sharpen Garbage Disposal Blades:

Ice Cubes

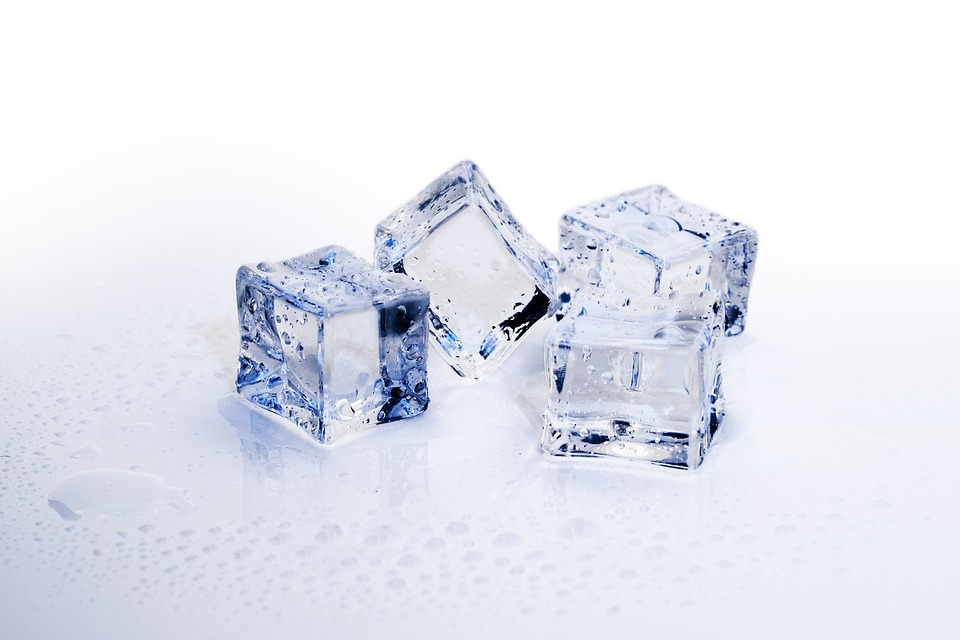
Your sink’s garbage disposal unit has no blades. However, the ice will help clean its grooves that impel the solid waste down the waste bin.

Myth 9: Flushable Baby Wipes:

These supposedly flushable wipes have been observed in too many cases of clogged toilets. Even some toilet paper brands can cause blockages. It’s better to throw the wipes in the trash can instead.

Myth 10: Toilet Water Spin the Other Way Down in the Southern Hemisphere:

Even if this myth were true, which it’s not, it won’t make your domestic life any better.

Rather than believing these and other myths related to plumbing, it’s better to exercise caution and develops habits that will help keep your home’s plumbing system in good shape. It will also be a good idea to schedule a yearly maintenance inspection by expert plumbers to catch any potential plumbing emergency.

Read Also:

Content Rally wrapped around an online publication where you can publish your own intellectuals. It is a publishing platform designed to make great stories by content creators. This is your era, your place to be online. So come forward share your views, thoughts and ideas via Content Rally.

View all posts

Leave a Reply

Your email address will not be published. Required fields are marked *

Related

Lighting Ideas

Las Vegas Electricians Share Fun Lighting Ideas for Your Home

Callidus Nevada electrician service providers have made calls to a significant number of homes in Las Vegas. This gave them the unique opportunity to get a glimpse at the different home lighting styles and preferences of the city’s residents. In the same process, they were able to pick out fun lighting ideas and methods that are beneficial in terms of both form and functionality. Below are a few fun lighting ideas that these Las Vegas electricians want to share for your home: 1. Switch to LED Light Bulbs: Anything that will help you save money easily will be fun, wouldn’t it? Ditching your incandescent and compact fluorescent lamp (CFL) light bulbs in favor of light-emitting diode (LED) lights can help you reduce your electric bills and save hundreds of dollars in a year. LED lights use 90 percent less energy to give off the same brightness as their incandescent counterparts. Technology has come a long way in LED lights that they now come in a variety of colors apart from cool white. You can even have several color options in a single LED light bulb. While you may need to cough up some cash initially to go full-on LED in your home, it will be a very wise investment. Apart from the savings that you will make on your electricity bills, LEDs also last considerably longer than incandescent and CFL lights. 2. Think Beyond Overhead Lighting: Overhead lighting does a very good job of lighting up a room and comes very handy for a variety of uses and occasions. However, relying solely on overhead lights can be impractical in some situations, and it can get boring over time. For instance, some shadows may fall in areas where you may especially need more light such as the stairs, kitchen counter, or couch where you do your reading. Overhead or ambient lighting can get boring in the sense that it is constant. It may light a room, but it does very little to change the mood and character of a room. This is why you need to consider what experts call the “three layers of light” when installing lights. Overhead or ambient lighting is the main layer of light in a room. It provides general illumination in the whole area. Examples of these types of lights are fixtures like chandeliers, recessed lights, and troffers. The second layer of light is accent lighting, and they come in the form of wall sconces, path lights, and recessed wall lightings. Accent lighting is generally for decorative purposes. The third layer of light is task lighting and, as its name suggests, you use it to light up specific areas for certain tasks. Examples include reading lamps, vanity lights, under-cabinet lighting, and pendulum lights above a kitchen island. The second and third layers of lighting provide a room with character, and they can empower you to change the look and mood of the room at the flip of a switch. With power-saving LED lights and strip lights at your disposal, the combination of the three layers of lighting can present you with a myriad of ways that you can play with the layers to suit your taste. 3. Don’t Forget Natural Lighting: If you live in Nevada or anywhere that is sunny for most of the year, you will do well to make use of the abundance of outdoor lighting. Not only will this liven up a room, but it can also likewise help you lower your electricity bill as well. Use sheer curtains to let in more light. You can also do away with the window treatments to maximize the light coming from the outside. Bare windows will also give the room the illusion of being more spacious. Just like ambient lighting, outdoor lighting is also constant and may cast permanent shadows in certain parts of your home. While shadows do add some drama and depth to a room, you can install wall sconces in the darker areas as an option. As you may have already realized, most of the lighting ideas here are quite simple, and the results can be dramatic. You may even take on some of the more labor-intensive tips above on your own if you are handy enough. For some other lighting ideas, however, you may need to acquire the services of reputable Las Vegas electricians, especially when installing lighting fixtures. Take a long good look in and around your home and see how where you can improve and make your lighting more interesting. It just may be the right time for you to see your home in a new light — pun intended. Read Also: How to Choose LED Lights for Every Room in Your Home Five Ways To Improve The Air Quality Inside Your Home Create A Stunning Outdoor Space With These Residential Landscape Lighting Tips

READ MOREDetails
how to install faucets

How To Install Faucets And Sinks

Installing a new sink is an uncomplicated and quick task. The process is relatively easy, and you can do the installation part by yourself with a bit of experience. Then how to install faucets? Though some complicated kitchen faucets require professional installation, many of the kitchen fixtures can be installed easily.  Here is a guide on how to install faucets and sinks.  Materials Needed   In order to install the kitchen faucet and sink set, you will need the following list of things: a sink, a faucet or tap, a basin wrench, a strainer set, pump pliers, a screwdriver, a crescent wrench, a spatula, plumber's putty, silicone sealant, a bucket, a flashlight, and a set of towels.  How to install faucets, and this reason is nearby if you wish to enlarge the opening within the countertop. It is also necessary to know how to clean bathroom sinks to maintain hygiene.  Step By Step Guide To Install Faucets And Sinks If you are looking for durable, sturdy, and premium quality faucets, it is best to choose Oltsw taps.  Here, we have mentioned the steps to know how to install faucets and sinks.  Step 1: Measure and mark the layout of the kitchen’s sink Place the counter's back edge in the center of the sink within its cabinet. If the sink contains a template, align it along the mark on the counter. This is the first step of how to install faucets. Place the back edge one and a half inches parallel to the counter. Trace around it; proceed to the subsequent degree. If there is no template, use 2-inch tape to stipulate the sink location. Mark the middle of the sink on its back edge. Lay the sink inverted on the counter. Align the mark on the sink and the one on the counter together.  Step 2: Mark the cut lines on the counter The cut line marking is the second phase of how to install faucets. The employing a straightedge to attach the marks, you will find yourself with an oblong outline on the counter of the sink's hole. To approximate the radius of the corner of the sink, round off the corners by hand. Take a slightly wider bit than the jigsaw blade (½-inch bit is typically enough). Then, at each junction of the cut-out lines, make sure to drill a hole inside the radius.  Step 3: Use a jigsaw to cut the sink opening Place a jigsaw blade into a front hole and cut along the marked line to the back hole. Repeat on the opposite side. Lay a scrap of wood some inches longer than the cut-out across the sink area. Screw through the piece and into the cut-out waste to stop it from binding the saw blade or falling. Cut along the cut lines marked at the front and back and remove the cut-out piece. Make sure that the fit of the sink in the countertop is set. If it is necessary, trim the opening with the jigsaw.  Step 4: Install the kitchen faucet Set the sink the wrong way up on a padded sawhorse or counter. Then, feed the tap's supply tubing and tailpiece through the gasket, which helps seal the faucet to the sink. Screw the washers and mount them on the lower side sink deck. This is the pre-final step of how to install faucets. Just make sure that the tap can swing for a whole area across the sink deck before tightening mounting nuts.  Step 5: Attach The Strainer Over Applied Putty Put the sink up, apply a thick roll of the plumber putty under the strainer edge, and push it up through the sink's drain hole. Slip the housing (if your strainer has one), gasket, and washer onto the filter and against the lower side of the sink. Dab the pipe-joint compound and expose the opening threads.  Thread the locknut onto the strainer by hand, then tighten it with pliers while holding the filter in situ. Fit the gasket onto the tailpiece of the sink drain and attach it to the strainer through its slip nut. Tighten the nut using a hand while holding the filter.  Step 6: Set the sink and connect the water supply Remove the tape, and pull it toward the center of the hole. With the sink still, the wrong way up, press a bead of silicone tapping around the lower side of the sink's brim. Turn the sink upright and set it on the hole of the countertop.  Make sure that the front of the sink is parallel with the front fringe of the countertop. Adjust it, if necessary. Next, use the corn-head supply tubes or the braided stainless-steel hoses to connect the tap and shut off the valves. Now, attach the required sprayer hose to the faucet's threaded tailpiece.  Step 7: Connect The Drain Pipes Assemble the trap adapter on top of the sink-drain tailpiece. Cut and dry-fit the length of the PVC pipe and attach the trap adapter to the trap and the drain elbow to the waste line. Then slide the web on the tailpiece to finely tune the length and alignment of the pipe.  Take the drain pieces apart. Clean the cut ends with a utility knife. Use a PVC primer to coat it and its mating pieces. Let it dry and hold for 30 seconds. Now you are finishing the process of how to install faucets. Conclusion The essential features of kitchens and bathrooms are the sink and faucets. The sink and faucets need to be installed properly to avoid any damage and issues later on. Taking this into account, we have mentioned how to install faucets with significant steps to be followed while installing sinks and kitchen faucets. Additional reading: Small Kitchen Storage Ideas Know About The Type Of Kitchens According To Different Size Different Types of Conversions to Make the Most of Spare space  

READ MOREDetails
pest control services

4 Benefits of Pest Control Services

Sooner or later you are bound to deal with pests in your home. Unfortunately, no matter how hard you try to keep them out, they always find a way to sneak in houses. However, this doesn’t mean that you won’t be able to get rid of them. Pests are not so dangerous, but they can cause problems and be a huge nuisance as well. Some of them even carry diseases, which is not good. That’s why every household needs to eliminate this problem as soon as possible by hiring pest control services. Moreover, if you don’t have the time to eliminate them on your own, then it is best to hire professional services. Sometimes people don’t know how to deal with this kind of issue. What’s worse, you might think that you’ve eliminated all of them from the house, when in fact they are still present. Some of them hide between walls where no one can see them. This is why it is always a good idea to hire pest control services and have the pests eliminated once and for all. You can really benefit from this type of service. Here are some of the advantages: 4 Benefits of Pest Control Services: Keeps diseases out As mentioned above, pests can carry diseases that can easily transmit to humans as well as animals. If you have pets in the house, it is best to keep them away from the pests. This is also advisable for the entire household. Why risk your health? A pest infestation can cause serious issues and they are quite frequent. Cockroaches, for example, can cause asthma. They also carry with them a lot of bacteria and pathogens. You don’t always have to hire pest control services when there’s an actual problem. Make sure that you do maintenance checks as well. This will prevent an even bigger problem arising in the future. The most important thing in the world is your health and of those around you. If you notice tiny pests invading your home, make sure to deal with them as quickly as possible. The right thing to do is to hire pest control services. Better sleep We all need to sleep. During this time, our mind and muscles relax and we always feel better after a good night's sleep. How would you be able to sleep if the house is infested with rodents that constantly run around the rooms? For starters, they can easily damage and destroy a lot of things around the house. They can even ruin the quality of your food. If you have rodents in the attic, then they will constantly make noise. Click on this link for more details. The best thing to do is to hire pest control services to eliminate the problem thoroughly. No one wants to live in a house filled with pests. They are not good for anybody. Pest infestations are a common thing, but you should act right away. Don’t let the issue become bigger by procrastinating. No more restless nights because of those annoying rodents. You will be able to sleep soundly. Thorough cleaning As mentioned above, if you take it upon yourself to clean the house from infestation, you might not do a very good job. After all, not everyone is skilled in eliminating pests from their homes. A pest control service can do a thorough job on the matter. You won’t be able to encounter any more insects or rodents. Professionals that eliminate these types of issues are skilled and experienced. They will do a much better job than you. Firstly, they will examine the situation and then start working on a solution. Secondly, with the right technique, they will thoroughly clean the entire place. Moreover, you probably won’t even know which product to use to eliminate the infestation once and for all. Also, they will provide you with helpful information on what to do to prevent the problem from ever arising again. Sometimes, these things happen and you need to be prepared for them. Decrease allergies and itching A lot of households deal with fleas, bed bugs, spiders and even mosquitos. They can sting you and cause terrible itching on the skin. If you keep on scratching you can easily transform those bites into permanent scars. In addition, if you leave the problem for too long, it can spread and become more difficult to get rid of. For more helpful information, make sure to check out Statewide Pest Control Melbourne, Victoria. This is because these types of pests can easily make large colonies or nests. If you notice something like this in your home, make sure to hire an exterminator as soon as you can. Only a professional exterminator knows what to do in situations like these. They will eliminate the issue and prevent it from happening again. You no longer have to worry about bites. Read Also: Releasing Stress Even if You Don’t Leave Home How Private Hire Insurance Takes You Out from Problems?

READ MOREDetails