7 Specifications You Should Look for When Buying a Home Generator

Published on: 20 March 2019 Last Updated on: 13 September 2024
Home Generator

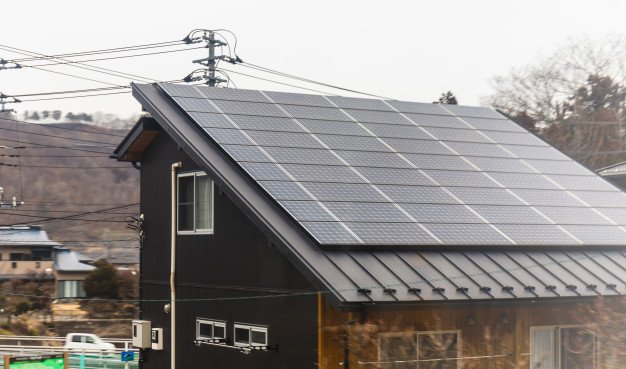
Pretty much everyone has wished they had a backup home generator at one time or another. Whether you want a generator just so you won’t be left in the dark during a power failure or you need to know your family will be safe from the cold should a prolonged power outage happen during the dead of winter, buying a home generator requires some careful thought.

Past the obvious choices of cost and reliability, there are a number of factors you should carefully consider before buying a home generator, such as price, your expected power needs, installation requirements, and maintenance issues.

The variety of options and requirements can turn a seemingly simple purchase into a complex problem if you don’t know what you need. Here are seven specifications you should look for when buying a home generator:

Specifications You Need To Look For Home Generator 

There are several factors you need to look at while seeking a home generator. Work out the plans that can work well for you.

1. Power Requirements:

Power needs are often dictated by your budget, as the more powerful a generator is the more it will, typically, cost. However, initial determining factors for calculating the size of the generator can be addressed with this query: During an electricity failure, does the generator need to power the entire house, or just handle emergency needs?

When considering a generator that is able to handle the electrical demands of all the appliances in your home, factors such as peak demand during the months you use the most electricity is a deciding factor. Common generator voltages are 120/240 volts. If you are unsure, your electrician can provide this information.

If you live in the south, where the temperatures are moderate throughout the winter, you will not need as powerful a generator as if you live in the far north where temperatures can be deadly in the winter months. A powerful home generator can make things easier for you.

On the other hand, when calculating needs for backup supply, only the requirements of the reserve need to be calculated.

In the north, this should include the furnace and a couple of lights. In the south, a smaller unit that can power a few lights and the refrigerator is probably adequate.

For emergency loads, you may need to have an electrician install a dedicated emergency circuit from the main service panel to a distinct backup panel. However, this is typically up to the homeowner’s liking for a whole-house system.

2. Fuel Type:

While it might seem convenient, gasoline is usually an inferior fuel choice for emergency generators as it tends to go bad quite quickly, especially gasoline with ethanol. Better choices include propane, natural gas, and diesel fuel. Powerful home generator can make things easier and effective for you.

Prices can be a major contention when choosing between a natural gas generator, or propane and diesel since the price of the generator will depend on the amount of fuel the generator uses. The accessibility of the form of fuel is an additional important element.

Propane and diesel fuel generators will have to be refilled during extended outages, whereas the utility company provides a continual source of natural gas. Local laws may dictate what type of fuel is available in your area. For example, the fuel element, propane is not usually permissible to be used within the limits of the city

3. Installation:

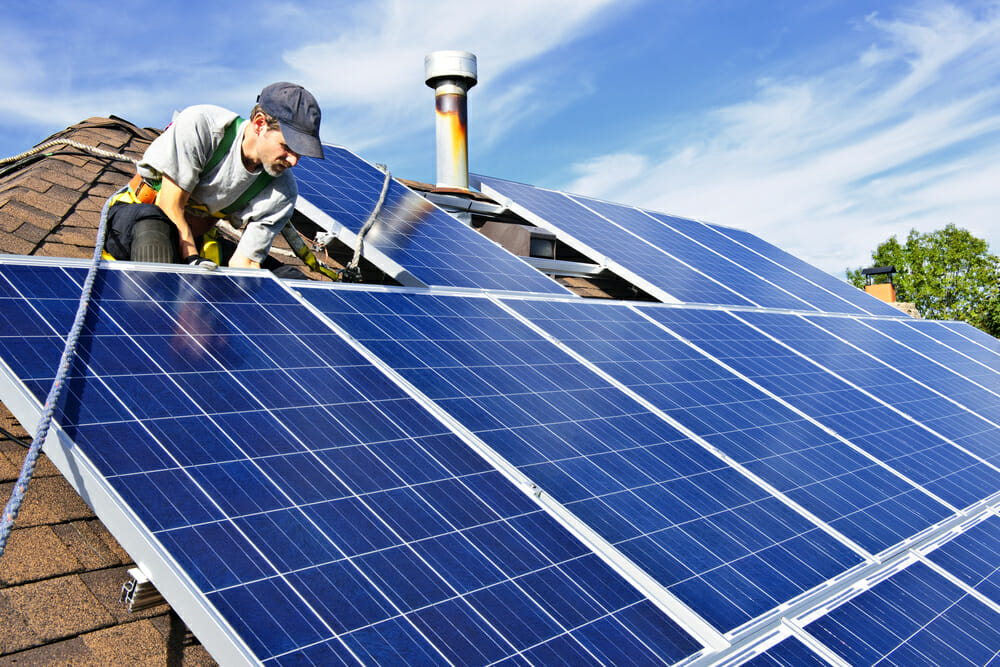
Depending on the type of unit, you may need to hire a licensed electrician to install the generator. While smaller portable units simply require you plug a power cord directly into the unit, larger whole-house generators will need to be hardwired into your electrical system. Additionally, you will probably have to hire an authorized and insured plumber if you will be connecting the generator to a natural-gas fuel source.

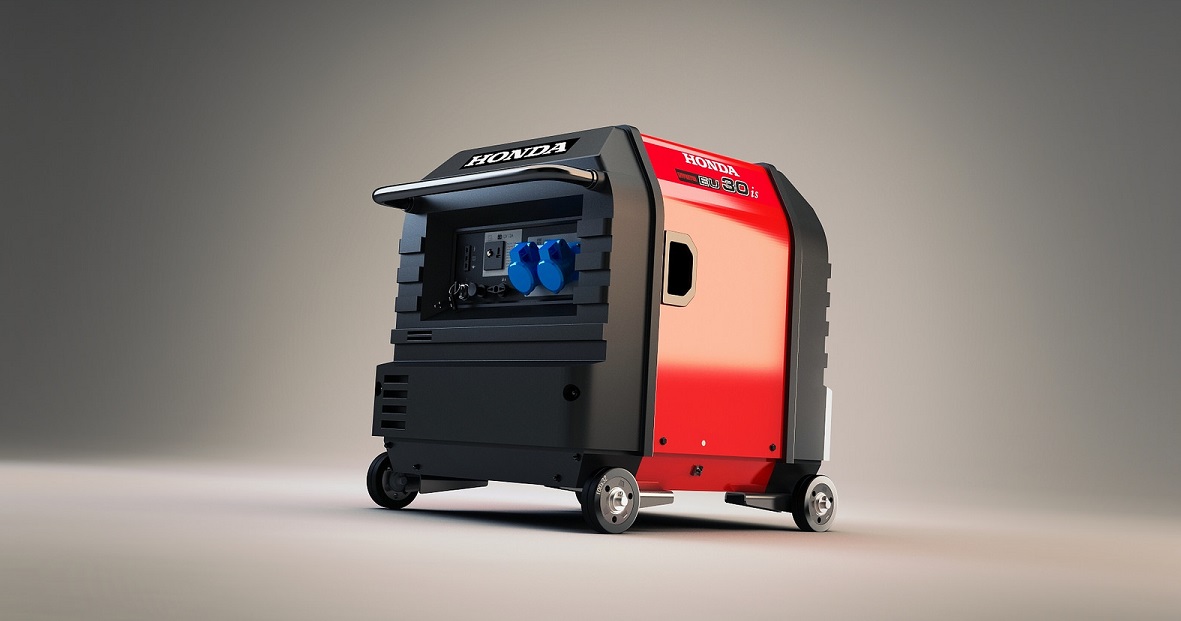
However, for simple emergency situations, a portable unit like gasoline-powered online Honda generators can provide up to 10,000 watts of emergency power and be stored in your garage, basement or on your porch. Some of the larger generator companies have their own installation staff or may subcontract the work.

However, in some areas, depending on local codes, a homeowner with the proper skills may be able to perform their own installation. The important consideration is to use a trustworthy firm with a proven record of accomplishment of installing standby power-generator systems.

4. Placement:

Where your generator will be located is an important consideration. The home generator should be installed as close to the fuel supply and service panel as possible.

The generator must also be positioned where it can be easily reached for servicing. This is especially important if the unit is not being powered by natural gas, as you will have to fill the tank periodically.

Additionally, it must be located at a comfortable distance from the ground to prevent any form of water from coming close or entering the unit in case of flooding.

Outdoor installations may be required to be a secure distance from flammable structures to meet codes, as well as for safety in the absence of any local requirements.

Indoor installations should adhere to norms and rules regarding exhaust, closeness to flammable materials, fuel-supply, and ventilation.

Even if local codes don’t require it, the power back up should be placed in some type of enclosure to protect it from the elements and possible vandalism.

Consider if there are Outdoor Noise Regulation imposed by the local Council or government body for installing the home generator outdoors.

Some municipalities require the noise level of a generator is restricted to a specified decibel level at the property line closest to the unit. If a noise ordinance exists, the required level of sound will dictate the kind of power generator that will be used. Quite a few residential generators are supplied with sound deadening enclosure.

5. Options:

Accessory options can vary widely, depending on the home generator make and model. Some systems will offer a remote panel that can be installed in a convenient spot inside your home that will have controls and displays to allow you to control and monitor your system without having to go outside. Larger whole-house systems will typically have an automatic transfer switch that will switch the generator on when a power disruption is detected and may be an option on some smaller units.

6. Maintenance:

Like any piece of mechanical equipment, and home generators require regular and proper maintenance to ensure it will do the job you bought it to do when the time comes. Unfortunately, because it isn’t typically used on a regular base, maintenance often isn’t thought about, until the generator won’t start during a power outage.

Some companies will include routine maintenance in the cost of the unit or you may be able to purchase a separate maintenance contract. If you are a do-it-yourselfer you can perform maintenance on your generator yourself, just be sure it won’t void the warranty.

7. Warranty:

The typical warranty for residential generators usually varies from one to five year, based on the manufacturer and model. Be sure to study the warranty coverage, including the duration, and what is and what is not covered. Many companies will offer an extended warranty for an added fee.

Read Also:

Featured Image: generatorpalace.com

Content Rally wrapped around an online publication where you can publish your own intellectuals. It is a publishing platform designed to make great stories by content creators. This is your era, your place to be online. So come forward share your views, thoughts and ideas via Content Rally.

View all posts

Leave a Reply

Your email address will not be published. Required fields are marked *

Related

Prepare Your Solar Panels for the Fall

Prepare Your Solar Panels for the Fall

Summer is done, and you can already see it by the drop in temperatures and the duration of the day. With shorter days also comes the reduced amount of sunlight during a 24 hour period, which worries some solar panel owners. Some people aren’t sure how effective their solar panels will be during the colder period of the year. However, as experts from Action Solar assure us, panels work just fine throughout the year; all you need to do is make sure that you optimize them for the season. Here’s how. Clean Your Panels: No matter how many panels you have, they are exposed to the elements all the time, and naturally, they get dirty. However, solar panels are quite durable and strong, meaning that you don’t need to clean them very often and even when you do, you don’t need to go into too much detail. In fact, if you clean them too often, you might damage them, so it’s better to give them a cursory sweep every month or so and be done with it. Removing debris like leaves and branches are more important than dusting them, as most solar panels only lose about 7% of their effectiveness when dirty, as researchers from the University of California in San Diego found out. Adjust the Tilt: During the summer, the sun falls more directly to the ground, meaning that your solar panels will absorb a lot of the sunlight even without careful positioning. However, as summer transitions into the fall and eventually winter, the sun will shift and the rays will fall in a more tilted angle. So, if you want to use as much of the sunlight as possible, you will need to adjust your panels accordingly. Naturally, you should not do this on your own, but rather invite professionals to do it for you. Not only are they skilled in handling solar panels, but they will be able to calculate the optimal tilt and positioning of your panels. The best solar companies in California recommend realigning your solar panels at least twice a year in order to maximize the productivity of your panel throughout the year and not just in summer. However, if you include the fall and spring adjustment as well, you will be able to actually bring out the maximum from your panels. Deal with the Decreased Output by Saving Energy: During the summer, days are longer and usually sunnier than any other part of the year. That’s great news for your solar panels because they will be able to produce more energy. That being said, you probably spend a lot of electricity just by running your AC all day. In the fall, on the other hand, you don’t need your AC and the days are still relatively long. So, you will be able to produce a lot more energy which you won’t immediately spend. This is the time when you will be able to bring your electricity bill down by a noticeable margin. However, as fall progresses, the days will be shorter, which means that you may need to cut some unnecessary electricity spending if you want your bill to remain low; that is until winter rolls around, and you need to fire up your furnace. The technology behind solar panels is improving every day, and the time when solar panels only used to be productive in the summer are long gone. Read Also: Everything You Need To Know About Portable Solar Power How To Start Living Off The Grid

READ MOREDetails
Solar Panel

10 Steps To Take To Set Up Solar Panels At Home

Solar panel has become increasingly popular in the past few years. This is partly driven by how environmentally friendly it is, although many people have noted how economical it can be too. Despite being a smart decision for lowering energy bills, potential users can be put off by its installation costs. This shouldn't be an issue, as installing solar panels at home can be much easier than people might expect. As long as you have some DIY electrical knowledge, then you should be able to install the panels yourself. As Gem Energy Brisbane Solar Power notes, there are a number of steps that you'll need to take when installing a solar panel at home. Steps To Take To Set Up Solar Panels At Home 1. Calculate Your Electrical Load: Before you decide on anything, you should calculate your current electrical usage. Once you've done so, you'll then be able to determine which solar panels and other parts you'll need. This is relatively simple to do, and often only requires a bit of math, plus an energy reading from your meter. 2. Battery Selection: Which battery you choose can be vital for your solar power. Naturally, the panels only generate electricity during the day, so you'll need to store some for the night. To do so, you should choose a high-quality one that provides a consistent amount of electricity over time. This will make it reliable when you're running several appliances during the evening. 3. Select Your Solar Panels: There are a considerable number of solar panels to choose from, which can be overwhelming. When you're deciding on one, you should look at its energy rating. This is typically determined based on set conditions, with some being more appropriate for certain weather. As a result, you should research how well a model will perform in your area. 4. Know Where To Place It: When you're considering a solar panel, you should determine where the best place on your property to put it is. There can be a few factors at play here, with access to sunlight being the most notable. The obvious place to install the panel is your roof, although you'll need to decide where to place it here. 5. Choose A Charge Controller: This is a device that's placed between your battery and solar panel and regulates the flow of electricity between the two. Choosing the right one can make a large difference, as it dictates how effectively your battery will charge. This means that you should spend a considerable amount of time picking one. 6. Pick The Right Inverter: Solar panels typically turn sunlight into alternating current (AC). However, most appliances function on direct current (DC). As such, you'll need to purchase an inverter, which switches from one to the other. There are a few types of inverters to choose from, each with its benefits. As such, you should spend time researching each. 7. Mount The Solar Panel: Once you have the equipment, it's now time to mount the solar panel. You can either create your own mounting mechanism or purchase a premade one. If you're not overly familiar with the process, then it's recommended that you buy a kit. When creating your own, be aware of the angle that you're mounting it at, as this will affect how much sunlight it receives. 8. Inverter & Battery Stand: Similar to the solar panel itself, you may need to build a stand to hold your battery and inverter. However, this isn't a complicated task, as you'll be able to make do with a box that includes a hole for the wiring. Once everything has been wired, it's important to note that you should cover this hole as much as possible to keep everything from being damaged. You should also ensure that it's kept away from running water. 9. Start Wiring: The wiring may be the most overwhelming part of the process, although it can be more straightforward than you think. Put simply, the connection should go from the solar panel to your charge converter to your load, i.e., your appliances. Alongside this, the charge controller should be connected to your battery, which should also be connected to your load. 10. Start Enjoying Your Solar Panel: Once you've connected everything in the appropriate manner, you can start enjoying your solar power. While setting everything up, you should ensure that you've done so in the right way. The wiring is the most important area here, so you should take care of it. Read Also: What You Should Know About Solar Energy For Schools: Benefits, Expectations, And More

READ MOREDetails
HVO Fuel

HVO Fuel Uncovered: The Secret Fuel That Could Change Everything

The "fight" for a cleaner planet has been going on for a long time. People are trying to beat themselves because they and the things they use are the main polluters. Cars and everything that uses fossil fuels are among them, considering their emissions of exhaust gases into the atmosphere are huge. At the global level, governments make efforts to reduce dependence on fossil fuels, knowing these are the biggest polluters. That's why the desire to find alternative sources of energy from renewable sources has been present for a long time. While there are already certain options in use, as you can read here, new solutions are constantly coming up with improved performance and lower CO2 emissions. Alternative fuels are essential for sustainable carbon-free energy supply and reduction of greenhouse gas emissions. And while you're probably already familiar with their use, HVO (which stands for Hydrotreated Vegetable Oil) might be new to you. This low-carbon liquid fuel has gained attention lately because it seems like the long-awaited solution to pollution issues. About The HVO Fuel HVO implies using cooking oils and similar fatty waste as fuel. That's not an entirely new concept since the use of processed vegetable oils in diesel engines has been known for more than a century. Nevertheless, it's a new hype among eco-conscious consumers because it's plant-based and very clean. Its CO2 emission and the number of PM particles are almost 90% lower than diesel and kerosene, fossil fuels that are still widely used. The base of HVO is vegetable oil, that is, used cooking oil, such as sunflower, peanut, grapeseed, etc. However, it can also be made of both food-grade and non-food-grade oils (like palm or soy), animal fat residues, and tall oil. In their original state, these liquids could not be used as fuels, so they undergo hydrotreatment. It serves to change their consistency and composition for use in standard diesel engines. Hydrotreatment involves the use of hydrogen to eliminate oxygen from the oils. This treatment takes place at very high temperatures, and then glycerides, or fat components, are separated. That's a refining process that leaves this new fuel with minimal impurities, meaning that, during its combustion, there will be no harmful by-products and gases. That means less damage to the engine itself but also drastically less pollution. The Use Of HVO In general, HVO represents an alternative to fossil fuels, especially diesel, one of the major pollutants globally. So this new energy source can be used in all engines made for diesel. It means that its most common application will be in car engines. Still, it has found its purpose in off-road and agricultural machinery, boats, and generators. Some of the major truck makers have already made vehicles powered by HVO, as in this biodiesel-powered racing truck. This new fuel from reputable manufacturers like SyntechBiofuel.com is equally usable in modern diesel engines as well as in older types that don't have electronic fuel injection. They will have almost the same performance in operation as if regular diesel was used, only with much less damage to the engine, the entire circuit, and the environment. Alternative fuels also have a huge potential to become the primary energy source for heating systems. Oil and gas still dominate in this area, but more and more households and industrial facilities are turning to alternative solutions. For instance, heat pumps are a popular yet costly solution. HVO can be an even better and more cost-effective option if you plan to go green, that is, to switch to it from standard heating systems that use oil or kerosene. This venture won't cost you extra money because there's no need for system modifications and add-ons, as would eventually be the case with heat pumps. Benefits Of Switching To HVO Fuel As said, using HVO cuts the emission of harmful gases by up to 90%, depending on what makes the base of this fuel. That results from clean combustion because there are no impurities and PM particles in this processed liquid. Moving on, it means that engines will utilize a higher percentage of fuel, so their consumption will be lower. Simply put, HVO is a cleaner and more economical solution than diesel. This fuel is also sustainable, as it's made from waste (used cooking oil and animal fat). It also emits much less greenhouse gases than other fuels. As there's no carbon in HVO, there are no toxic and potentially carcinogenic combustion by-products. Another advantage of using HVO in standard diesel engines is that there is no need for their upgrades. But if you plan to use it as a replacement for heating oil in oil-fired boilers, there might be some minimal changes to your existing system. In any case, this can bring significant savings to both individuals and companies that, for some reason, have relied on fossil fuels until now. Because it doesn't contain oxygen molecules, HVO has a fairly long shelf life. So you can store it in specialized containers for up to 10 years without fear it will lose its properties and viscosity. For the same reason, HVO's freezing point is lower than that of ordinary diesel. Also, it won't harm the environment in case of accident spillage or leak. How HVO Differ From FAME? FAME is biodiesel, which isn't the same as HVO, although there are certain similarities. For starters, both are plant-based. But what makes a significant difference is how they're made. FAME utilizes esterification, which turns fatty molecules into esters and keeps oxygen molecules in it. As explained, HVO is obtained by a refinery process that removes oxygen from fats, leaving them ester-free, clean, stable, and non-prone to oxidation. So, unlike FAME, hydrotreated vegetable oils can't spoil, thicken, or degrade during storage. HVO is the fuel of the future, and there are many good reasons for that. It's a clean, non-toxic, sustainable, and economical alternative to diesel. It contributes to reducing the global carbon footprint, bringing no harm to the living world and the environment. Read Also: Fuel Storage Tanks: Ensuring Safe And Reliable Fuel Management 6 Effective Ways To Improve Your Car’s Fuel Efficiency 5 Ways To Improve The Fuel Efficiency Of Your Truck

READ MOREDetails