10 Steps To Take To Set Up Solar Panels At Home

Published on: 26 July 2019 Last Updated on: 19 January 2022
Solar Panel

Solar panel has become increasingly popular in the past few years. This is partly driven by how environmentally friendly it is, although many people have noted how economical it can be too. Despite being a smart decision for lowering energy bills, potential users can be put off by its installation costs.

This shouldn’t be an issue, as installing solar panels at home can be much easier than people might expect. As long as you have some DIY electrical knowledge, then you should be able to install the panels yourself.

As Gem Energy Brisbane Solar Power notes, there are a number of steps that you’ll need to take when installing a solar panel at home.

Steps To Take To Set Up Solar Panels At Home

1. Calculate Your Electrical Load:

Before you decide on anything, you should calculate your current electrical usage. Once you’ve done so, you’ll then be able to determine which solar panels and other parts you’ll need. This is relatively simple to do, and often only requires a bit of math, plus an energy reading from your meter.

2. Battery Selection:

Which battery you choose can be vital for your solar power. Naturally, the panels only generate electricity during the day, so you’ll need to store some for the night. To do so, you should choose a high-quality one that provides a consistent amount of electricity over time. This will make it reliable when you’re running several appliances during the evening.

3. Select Your Solar Panels:

There are a considerable number of solar panels to choose from, which can be overwhelming. When you’re deciding on one, you should look at its energy rating. This is typically determined based on set conditions, with some being more appropriate for certain weather. As a result, you should research how well a model will perform in your area.

4. Know Where To Place It:

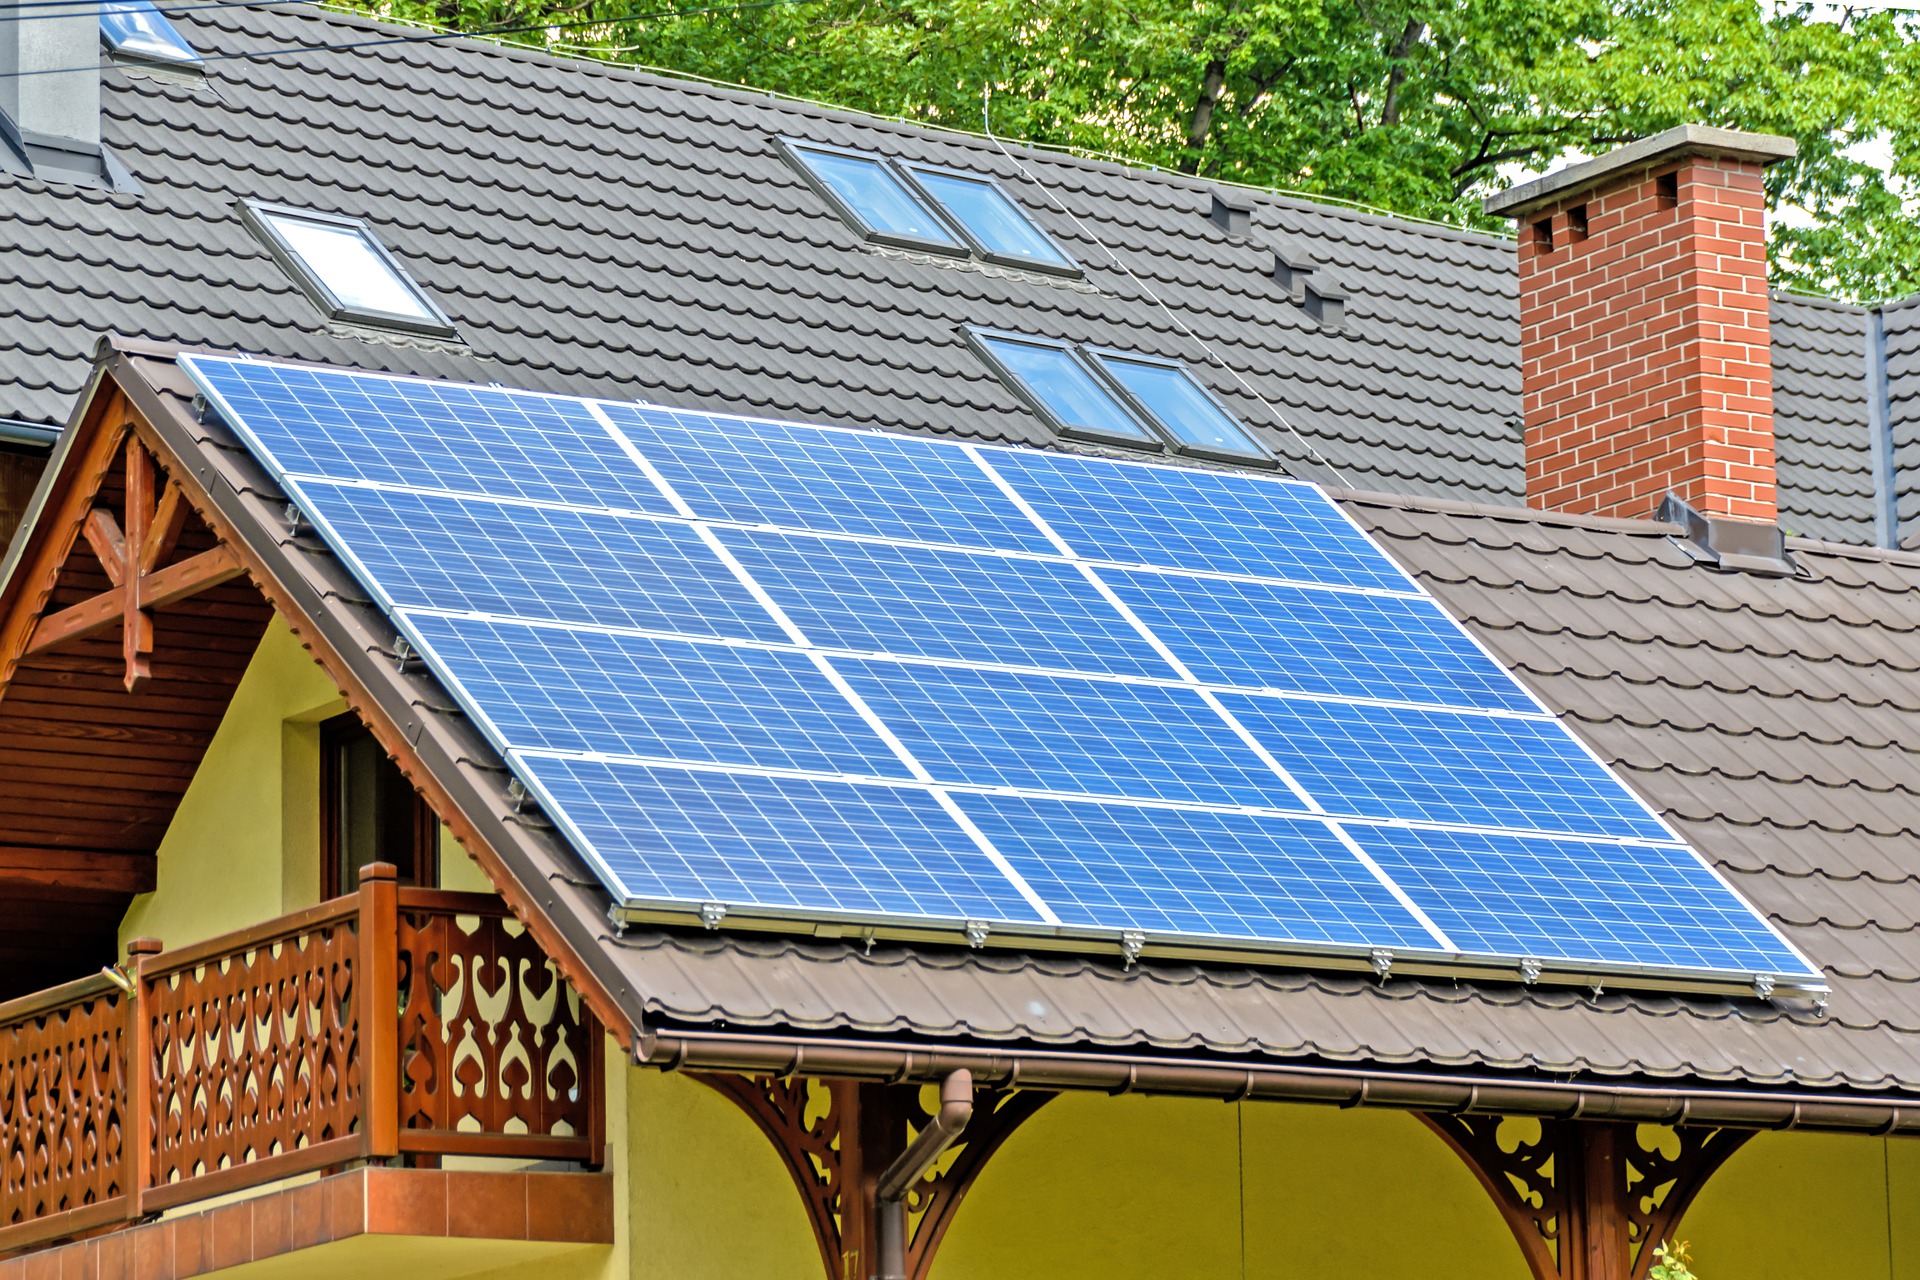
When you’re considering a solar panel, you should determine where the best place on your property to put it is. There can be a few factors at play here, with access to sunlight being the most notable. The obvious place to install the panel is your roof, although you’ll need to decide where to place it here.

5. Choose A Charge Controller:

This is a device that’s placed between your battery and solar panel and regulates the flow of electricity between the two. Choosing the right one can make a large difference, as it dictates how effectively your battery will charge. This means that you should spend a considerable amount of time picking one.

6. Pick The Right Inverter:

Solar panels typically turn sunlight into alternating current (AC). However, most appliances function on direct current (DC). As such, you’ll need to purchase an inverter, which switches from one to the other. There are a few types of inverters to choose from, each with its benefits. As such, you should spend time researching each.

7. Mount The Solar Panel:

Once you have the equipment, it’s now time to mount the solar panel. You can either create your own mounting mechanism or purchase a premade one. If you’re not overly familiar with the process, then it’s recommended that you buy a kit. When creating your own, be aware of the angle that you’re mounting it at, as this will affect how much sunlight it receives.

8. Inverter & Battery Stand:

Similar to the solar panel itself, you may need to build a stand to hold your battery and inverter. However, this isn’t a complicated task, as you’ll be able to make do with a box that includes a hole for the wiring. Once everything has been wired, it’s important to note that you should cover this hole as much as possible to keep everything from being damaged. You should also ensure that it’s kept away from running water.

9. Start Wiring:

The wiring may be the most overwhelming part of the process, although it can be more straightforward than you think. Put simply, the connection should go from the solar panel to your charge converter to your load, i.e., your appliances. Alongside this, the charge controller should be connected to your battery, which should also be connected to your load.

10. Start Enjoying Your Solar Panel:

Once you’ve connected everything in the appropriate manner, you can start enjoying your solar power. While setting everything up, you should ensure that you’ve done so in the right way. The wiring is the most important area here, so you should take care of it.

Read Also:

Content Rally wrapped around an online publication where you can publish your own intellectuals. It is a publishing platform designed to make great stories by content creators. This is your era, your place to be online. So come forward share your views, thoughts and ideas via Content Rally.

View all posts

Leave a Reply

Your email address will not be published. Required fields are marked *

Related

Solar Panel

Five Factors That Impact Solar Panel Installation And Maintenance Costs

More homeowners are increasingly turning to solar power as an alternative energy source due to its ability to lower electricity bills and boost home resale values. While going green is an excellent move, installing and maintaining solar power systems are associated with high costs. By learning about the factors influencing them, you can easily decide if switching to solar power is worth your hard-earned money. Here Are Five Prime Factors That Impact Solar Panel Installation And Maintenance Costs 1. Your preferred solar panel contractor Selecting the right solar panel installer is critical as you transition to a more sustainable lifestyle. Proper installation and maintenance can make or break your project's cost-effectiveness, so don't be tempted by low prices alone! To get ahead of potential problems down the road, research companies for their qualifications and reviews before making any commitments. Investing in an experienced contractor may come at a higher upfront price tag but will ensure successful integration into renewable energy sources with long-term savings benefits. When you contact us, we will answer any inquiries regarding the cost of our solar power installation and maintenance solutions. 2. Roof type and angle The type and angle of your roof significantly impact your solar panel's installation cost and maintenance. Roofs that are flat, slate, or shingle can be challenging to work with, and installation may take more time and effort, which leads to higher costs. The angle and orientation of the roof also play a role. A roof with a steep slope facing south will provide optimum sun exposure, reducing installation costs and improving energy production. 3. Structural issues Structural issues also affect solar panel installation costs and maintenance. The integrity of the roof and the structural load-bearing capability are essential considerations. Reinforcement may be necessary if the roof cannot accommodate the solar panel's weight, which will increase installation costs. Similarly, any structural issues that require repairs, such as rot, sagging, or cracks, would require rectification before installation, which increases installation costs. 4. Solar system add-ons When upgrading your solar power system, several accessories could enhance its performance. Battery backup systems can store excess energy for later use and offer protection when the sun isn't shining as brightly or in case of an outage. While these add-ons come with additional costs upfront, they may provide long-term financial savings, greater reliability to offset any weather variations affecting production levels, and added peace of mind during emergencies. 5. Local costs Local codes and regulations can also influence solar power installation cost and maintenance. Permits and interconnection fees, for example, can vary between localities, and you must confirm any costs before proceeding with the installation. Licensing, inspection, and maintenance costs are additional expenses that may be imposed in your locality. Conclusion Investing in a solar energy system could be an effective way to reduce your utility bills. Still, the timeline of when you can expect to see those savings depends on several factors. In sunny areas with high current energy costs, these systems can pay off within five years, though other locations may have longer wait times that stretch out into ten or 20-year cycles before any real return is seen. It ultimately comes down to your value on environmentally friendly solutions and long-term investments versus the more immediate financial gains from traditional power generation sources. Read Also: Ready Rooftops – How to Install Solar Panels 8 Tips For Choosing Solar Panels For Outdoor Activity How Much Do You Save With Solar Panels? The Ultimate Guide

READ MOREDetails
Installing A Greenhouse

What You Need To Know Before Installing A Greenhouse

If you decide to up your game in gardening by widening your space and growing more crops, plants, fruits, and veggies, it’s time to consider investing in a greenhouse. Nothing beats the convenience of harvesting organic ingredients and producing straight from your garden. Not only does this help you save money, but it also allows you to explore more variety of seedlings to grow.  Greenhouses are an excellent environment for fruits and vegetables to grow in their best state. Because of the safe enclosure, insects and external conditions cannot adversely affect their growth and condition. This safe haven ensures your plants' nourishment to reap the best quality of produce later on. However, before installing a greenhouse, you should acquire more knowledge and learn helpful techniques.  Here is everything you need to know before installing a greenhouse. Type Of Greenhouse Design  In order to buy or build a greenhouse, you first need to figure out how much-growing space you will need and what type of greenhouse design is best for you. You will have to continue using the same greenhouse for many years, so choose a size that will provide ample space for all the crops you wish to grow and care for. Opt for a reliable greenhouse company that includes installation services.   Purchasing With Installation Included  Some greenhouse specialists like Swgreenhouses.co.uk will include installation with your purchase, which means you don't have to worry about installing it yourself in your own garden, which can save a lot of worries.  Upon choosing the company or provider, don’t forget to seek advice on what type of greenhouse would best fit your needs and preferences. Here are two types to consider: Attached  A lean-to or attached greenhouse offers the advantage of not having to build all four walls. It can significantly reduce greenhouse construction or installation cost. Since the foundation is already within your house, the greenhouse will remain stable and sturdy. Many home gardeners choose this greenhouse option because it’s easier to construct and cost-effective. The ideal area in your home to install an attached greenhouse is to find a place with enough sunlight. Freestanding  The other option you can choose is freestanding greenhouses. It is the best bet if you want to place your greenhouse in different locations within your home. While they may require a heftier initial investment, you can see how cost-effective they can be in the long run since you can grow more plants in them.  It also enhances your curb appeal as they become an extended sanctuary of your home. You can add decor or furniture and keep your greenhouse an additional space to entertain guests or spend time with the family. Because of their multiple purposes, freestanding greenhouses can be an excellent investment. Consider The Plants You Want To Grow Another important step before constructing or installing your greenhouse is deciding the kind of plants you’ll grow. This will help you determine the requirements for growing them and guide you in designing the greenhouse. If you don't know what kind of plants to grow in your greenhouse, you can't properly plan the proper temperature or lighting. To care for your plants and vegetables, you have to factor in their sunlight and water requirement, temperature, humidity, and other factors. Choose plants that are matched to how your greenhouse can supply these elements. Also, note that you'll need to buy greenhouse tools, equipment, and accessories based on your chosen plants.  The good news is that you can grow any plant in your greenhouse. This is because the greenhouse's main benefit is that you can control all these necessary elements to keep your plants strong and healthy. But you will need to decide what types of species grow well together and keep your greenhouse successful and effective.  Whether you’re thinking of growing spiky plants that can be used to decorate houses or fruits and veggies that can be grown organically, the key is to be familiar with several plant species and their corresponding care requirements. After all, you'll be able to plan which plants can grow together if you have a broad understanding of the plants you're growing.  Choose Your Location  Choosing your location is important when deciding to invest in a greenhouse. If your greenhouse is near your home, you can visit and monitor it more often. However, if it’s a bit far, you might not be able to care for it frequently. Make sure it’s strategically located somewhere you or your family can easily access. When choosing the best location, the general rule is to select a place where the sun shines much longer and more often. Thoroughly study and assess your residence, and see where the sun rises and sets daily. Consider these factors when deciding where to install your greenhouse. Find an area where your greenhouse will have protection against strong winds and frost pockets in case these instances occur.  Light, Water, And Ventilation  Finally, you have to ensure that your greenhouse will have convenient power sources, water, and air ventilation. This will enable you to install lighting and water fixtures easily. Your greenhouse must meet some requirements regardless of style, size, or construction method. Consider the aspects below: Electricity  You can control temperature easier when you install fans within the greenhouse. Wire the outlets safely and securely, and acquire all permits when installing a greenhouse. Aside from using a commercial power supply, you can consider installing solar-powered panels to generate electricity for the lights necessary in the greenhouse.  Air Ventilation  Air ventilation can be increased through the use of indoor greenhouse fans. They help alleviate extreme temperatures and climates. Airflow prevents warm air from rising, whereas cold air gathers below near the plants without airflow. Install fans or roof vents to promote more ventilation.  Water   Your greenhouse must have water access. Many greenhouses use garden hoses that are attached to a nearby resource. However, you can also go for automated sprinkler systems, which can be scheduled or turned on manually without having to go through all plants one by one.   Conclusion  Your greenhouse investment will ultimately depend on you. You can do it yourself or hire professionals to install them successfully in your home. However, it’s crucial to know the details and aspects mentioned above to make your greenhouse construction project a breeze. Additional: Best Paying Jobs In Energy Smart House Technology for Saving Energy What You Should Know about Solar Energy for Schools Benefits Is The World Shifting Fast Enough To Renewable Sources Of Energy?

READ MOREDetails
Prepare Your Solar Panels for the Fall

Prepare Your Solar Panels for the Fall

Summer is done, and you can already see it by the drop in temperatures and the duration of the day. With shorter days also comes the reduced amount of sunlight during a 24 hour period, which worries some solar panel owners. Some people aren’t sure how effective their solar panels will be during the colder period of the year. However, as experts from Action Solar assure us, panels work just fine throughout the year; all you need to do is make sure that you optimize them for the season. Here’s how. Clean Your Panels: No matter how many panels you have, they are exposed to the elements all the time, and naturally, they get dirty. However, solar panels are quite durable and strong, meaning that you don’t need to clean them very often and even when you do, you don’t need to go into too much detail. In fact, if you clean them too often, you might damage them, so it’s better to give them a cursory sweep every month or so and be done with it. Removing debris like leaves and branches are more important than dusting them, as most solar panels only lose about 7% of their effectiveness when dirty, as researchers from the University of California in San Diego found out. Adjust the Tilt: During the summer, the sun falls more directly to the ground, meaning that your solar panels will absorb a lot of the sunlight even without careful positioning. However, as summer transitions into the fall and eventually winter, the sun will shift and the rays will fall in a more tilted angle. So, if you want to use as much of the sunlight as possible, you will need to adjust your panels accordingly. Naturally, you should not do this on your own, but rather invite professionals to do it for you. Not only are they skilled in handling solar panels, but they will be able to calculate the optimal tilt and positioning of your panels. The best solar companies in California recommend realigning your solar panels at least twice a year in order to maximize the productivity of your panel throughout the year and not just in summer. However, if you include the fall and spring adjustment as well, you will be able to actually bring out the maximum from your panels. Deal with the Decreased Output by Saving Energy: During the summer, days are longer and usually sunnier than any other part of the year. That’s great news for your solar panels because they will be able to produce more energy. That being said, you probably spend a lot of electricity just by running your AC all day. In the fall, on the other hand, you don’t need your AC and the days are still relatively long. So, you will be able to produce a lot more energy which you won’t immediately spend. This is the time when you will be able to bring your electricity bill down by a noticeable margin. However, as fall progresses, the days will be shorter, which means that you may need to cut some unnecessary electricity spending if you want your bill to remain low; that is until winter rolls around, and you need to fire up your furnace. The technology behind solar panels is improving every day, and the time when solar panels only used to be productive in the summer are long gone. Read Also: Everything You Need To Know About Portable Solar Power How To Start Living Off The Grid

READ MOREDetails