Avoid these 4 Mistakes during Multi Family Housing Renovation

by

26 November 2016

Home Improvement

construction-work-670278_960_720

Given the volatile nature of the economy, the demand for affordable housing has increased by leaps and bounds. Consequently, multifamily housing investors are facing stiff competition. Multifamily housing investors are not leaving a stone unturned to turn a profit from their existing or newly acquired rental properties. Many of them are undertaking occupied property renovation programs to gain a competitive edge. Renovating a rental property not only adds value to the existing property but also plays a key role in influencing renter’s willingness to rent more for the property. That being said, when investing in any construction or renovation of occupied property, it is important to come up with a plan that helps you realize seizable returns from your investment.

Read also: Kitchen Renovations Must be Done at Regular Intervals

This blog post lists four common mistakes that multifamily housing investors/owners must avoid to make the most out of occupied property renovation program. Read on!

brick-staining-1187403_960_720

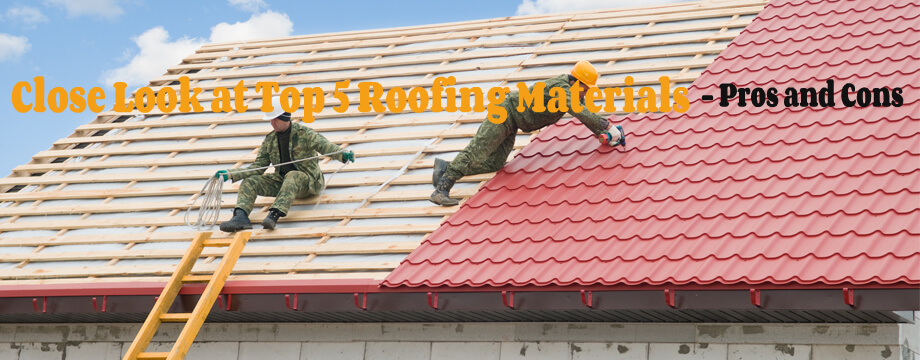
Going for the Cheapest Bid

Once you have decided to get your multi-family rental property renovated, the first thing you need to do is to approach several contractors and ask for their renovation quotes. Though the cheapest bid may sound enticing to many, choosing it may cost heavy on your pocket in the long run. A contractor may not be efficient in getting the job done or may cut corners and use poor quality material during the job. That being said, straight away going for an expensive bid is not a sensible decision either. To pull off a great deal, you must contact at least two to three contractors and get written estimates from each. Ensure there is no hidden cost involved in the project.

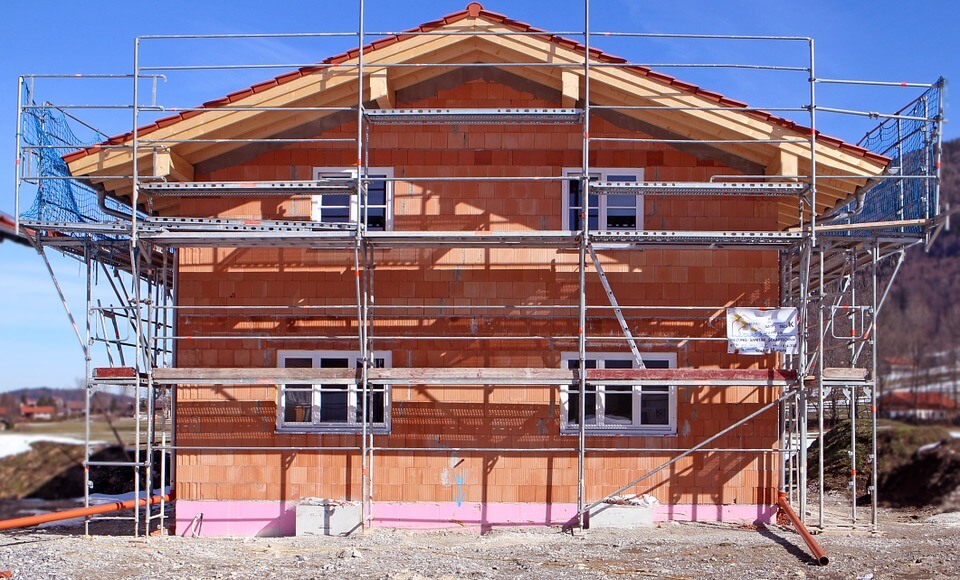
Hiring the Wrong People

Renovating a rental property is a complex process, and therefore, requires professional assistance. Before embarking on the renovation project, the professional contractor conducts due diligence to help control cost and eliminate potential obstacles down the lane. Nonetheless, as a property owner, you should not overlook the little details about the people you are hiring. There have been instances of fraudulent renovation practices in the past, which is why it is important to hire a reputable contractor and ask for their certification or record of their previous work.

Bossing Around

Though many housing contractors work in collaboration with property owners to provide customized renovation services, many property owners are in a habit of poking their nose in every step of the project. Making changes every now and then in the middle of the project can delay the renovation project, thereby stalling the rentability of the units. Always remember that you have chosen an experienced contractor with a record of successful projects in the past. It is important to let your contractor do what they think is best for your business. Having said that, it is also important to keep a check on what is being done so far and what is about to be done to complete the project.

Setting Unrealistic Budget

Budget plays an important role in the completion of your rental property renovation project. Before hiring professional multifamily, it is important to have contingent fund ready to meet unprecedented needs in the middle of the project. In projects as big as multifamily housing renovation, it is likely that you may want to spend a little extra to add value to your project. That’s when having a contingency budget in place ensures seamless renovation.

Read also: Home Decor is an Art Itself – Things To Know

Wrapping up

A properly planned and executed multi-family housing program not only helps you gain a competitive edge, but also helps you achieve your ROI goals. Always hire a reputable contractor, known to provide quality services. Go through their work portfolio to get an idea of their previous work. Lastly, ensure that there are no hidden fees involved in the project, before you sign on the dotted line.

Read More:

  1. Additional Ways To Keep Your Home Warm
  2. 6 Expert Tips For Finding The Right Home To Buy
  3. What Makes A Strong Foundation For Your Home
  4. 7 Ways To Reduce Common Allergens In Your Home

Content Rally wrapped around an online publication where you can publish your own intellectuals. It is a publishing platform designed to make great stories by content creators. This is your era, your place to be online. So come forward share your views, thoughts and ideas via Content Rally.

View all posts

Leave a Reply

Your email address will not be published. Required fields are marked *

Related

Flooring Installation Process

Flooring Installation Process Transforming Your Space With Elegance

When it comes to renovating or building a new space, one of the most crucial aspects is the flooring installation process. The type of flooring you choose can significantly impact the overall aesthetics, functionality, and durability of your space. In this comprehensive guide, we will walk you through the intricate process of flooring installation toronto, providing valuable insights and tips to ensure a successful transformation. Selecting The Right Flooring Material The first step in the flooring installation process is choosing the right material. Whether you opt for hardwood, laminate, vinyl, tile, or carpet, each material has its unique features and benefits. Consider factors such as your budget, the room's purpose, and your design preferences when making this decision. Measuring And Preparing The Space Before the installation begins, accurate measurements of the room are crucial. This step ensures that you purchase the right amount of flooring material. Additionally, you'll need to prepare the space by removing any existing flooring, baseboards, and furniture. A clean, level surface is essential for a smooth installation. Acclimating The Flooring Many flooring materials, especially hardwood, need to acclimate to the room's temperature and humidity levels before installation. This process prevents the flooring from warping or expanding after installation. Follow the manufacturer's recommendations for acclimation time. The Installation Process Subfloor Preparation A stable subfloor is the foundation of a successful flooring installation. Ensure that the subfloor is clean, dry, and free of any irregularities. Repair any damaged areas and add an underlayment if necessary. Layout And Design Planning the layout of your flooring is crucial for achieving a polished look. Decide whether you want a diagonal, herringbone, or straight pattern, depending on your design preferences. This step is especially important for tile and hardwood installations. Cutting And Fitting Precise cutting and fitting of the flooring material are essential for a seamless finish. Use the appropriate tools, such as a saw or cutter, to trim the material to fit the room's dimensions accurately. Pay special attention to corners and edges. Installation Method The installation method varies depending on the type of flooring you've chosen. For example, hardwood may be nailed or glued down, while laminate often features a click-and-lock system. Follow the manufacturer's guidelines and use the appropriate adhesives or fasteners. Finishing Touches After the main installation is complete, it's time for the finishing touches. Install baseboards and transitions to create a polished look. Seal gaps and joints to prevent moisture and dirt from seeping underneath the flooring. Maintenance And Care Cleaning And Maintenance Proper maintenance is crucial to ensure the longevity of your new flooring. Regularly sweep or vacuum to remove dirt and debris. Use manufacturer-recommended cleaning products to maintain the flooring's finish. Repairing Damage Accidents happen, and flooring can get damaged over time. Whether it's a scratch on hardwood or a chipped tile, knowing how to repair minor issues can extend the life of your flooring. Consult with professionals for major repairs. The flooring installation process is a transformative journey that adds beauty and functionality to your space. By carefully selecting the right material, preparing the space, and following the installation steps, you can achieve stunning results that will stand the test of time. Read Also: How To Pick The Perfect Flooring For Your New Home How to Protect Your Wood Flooring in a Busy Household List of Most Durable Kitchen Flooring

READ MOREDetails
content rally

Floor Cutting Using Diamond Saw: What You Need To Know

Concrete comes as the topmost choice when you are in need of durable, weather-proof, heat-proof and long-lasting flooring material. But there comes a time when you need to repair, remove or replace concrete floors and you need to look around for quality concrete cutting tools. Diamond floor saws are the no.1 choice of professional concrete cutting contractors. Diamond floor sawing is extensively used to effectively cut through all types of materials including reinforced concrete, asphalt, slab and stone. The unique design of diamond sawing machines makes them more convenient for operators to carry out floor cutting as a one man job. Floor sawing service helps you efficiently cut through concrete slabs, driveways, decorative concrete floors and many other structures in horizontal alignment. Diamond saws also let you cut through concrete roads overlaid with asphalt. Different floors demand different diamond blade and a different cutting procedure to be followed. In this article, you will read some general tips and safety guidelines for cutting concrete floors using a diamond saw. Tips You Need To Consider While Floor Cutting With A Diamond Saw Never think of playing loose with heavy diamond cutting machines. When deciding to use the diamond saw for concrete cutting, give top priority to safety. You must ensure that you have selected the right diamond sawing blade which is perfect for the kind of material you need to cut through. Make sure the floor saw and diamond blades you use are in most up-to-date condition. Check if there is no loose connection in the machine. If you are using wet cutting method for floor cutting, make sure you have arranged a source with an ample volume of water at the worksite. Supplying water to diamond blades during the operation will help prevent blades from overheating. Use of water as a coolant and lubricant help floor sawing London contractors get quality cuts. It also helps extend the lifespan of the blade. You need to wear protective gears to safeguard your body parts from any kind of physical injury while operating the machine. Manage to have ear, eye and head protection. Never wear loose clothing. And make sure you wear safety boots and a respirator mask to avoid inhaling silica from the dust particles produced during floor cutting. When cutting the floor using a diamond saw, never increase the pressure on the saw to boost speed. And remember, the diamond floor sawing machine always make straight cuts, you can’t steer it to cut curves. When you hold cutting, make sure you lock the machine or turn the power off properly. You need to be extra cautious when sawing on a steep surface. If you want to cut green concrete using diamond floor saw, do it within 24 hours of being poured. The selection of the diamond blade in the floor saw may vary based on the thickness and aggregate of the concrete structure that needs to be cut. For deep floor cutting, you will need to make multiple passes to obtain the desired depth. The thought of performing floor cutting on own doesn’t make sense unless you have the required skills and knowledge to accomplish the job with the best of industry-standard and safety guidelines. But you can always depend on a professional diamond floor sawing contractor in the town! Read More:  How To Salvage Your Furniture After A Flood List Of Most Durable Kitchen Flooring Hardwood Timber Flooring: Gives A Classic Look To Your Home

READ MOREDetails
sunroom

How quickly can I install a sunroom?

With fall already here, and winter fast approaching, there’s a certain urgency in the air to get any sunroom installation project booked, planned, paid for, and complete as soon as possible. Fortunately, a fall installation in Calgary is a relatively quick process, with your beautiful install sunroom being completed somewhere between 4 and 10 days once the plans have been finalized and approved. The actual speed of the project will depend on the results of the multiple decisions you have to make, which include the following: Different Ways You Can Quickly Install  Sunroom 3 or 4 season sunroom - this is the big factor in how long your project will take to install, and how much it will cost you in the long run. A 3 season room will be cheaper and quicker as there are less insulation, thinner windows, and the frame is usually made from aluminum. A 4 season room requires the room to be able to handle the Calgary winter conditions, so the walls have to be thicker, the windows double-paned and a heating option has to be built in and vented. You can install sunroom in your home. Wall thickness – the thickness of your walls is coupled with the number of seasons, but also how you plan on heating the room. Thinner walls with no insulation will rely on the sun on and thicker windows to keep your room warm, while thicker walls will take longer to install sunroom but provide room for internal insulation options. A number of windows – it’s possible to build a sunroom that has almost solid glass walls and the visual effect of these rooms are incredible. However, they take a much longer time to install as each piece has to be put into place manually and there’s no scope for external pre-fabrication. In this decision, you’ll also need to think about the number and shape of your skylights, and a general rule of thumb is that the more you have, the longer the installation process. Roof shape – there are two choices here; a studio roof, which is flat and literally sits across the top of your sunroom, or a gabled A-frame roof. The latter requires more time to install as the roofers will need to construct the A-frame, attach it to the walls and then add your chosen shingles or cladding to the roof structure. A studio roof often comes as one or two pieces that can be installed in under a day. You have to install sunroom in a better way. Kick plates – the final decision that has a bearing on the length of time for your sunroom installation project is whether to have kick plates at the bottom. The general industry recommendation is that if the room is more than 24 inches above the ground, then kick plates will provide the cover you need. Otherwise, a solid bottom will do the job and is much less costly. Install sunroom in your home for a better experience. Final Take Away  When you make these decisions, you will want to consider the impact they will have on the amount of time it will take for the construction, but also how they will impact the look and feel of your new sunroom. Read Also: How To Set Up Your Baby’s Room 5 Innovative Ideas To Lend Your Bedroom With More Space

READ MOREDetails