Published on: 10 November 2016
Last Updated on: 06 November 2024
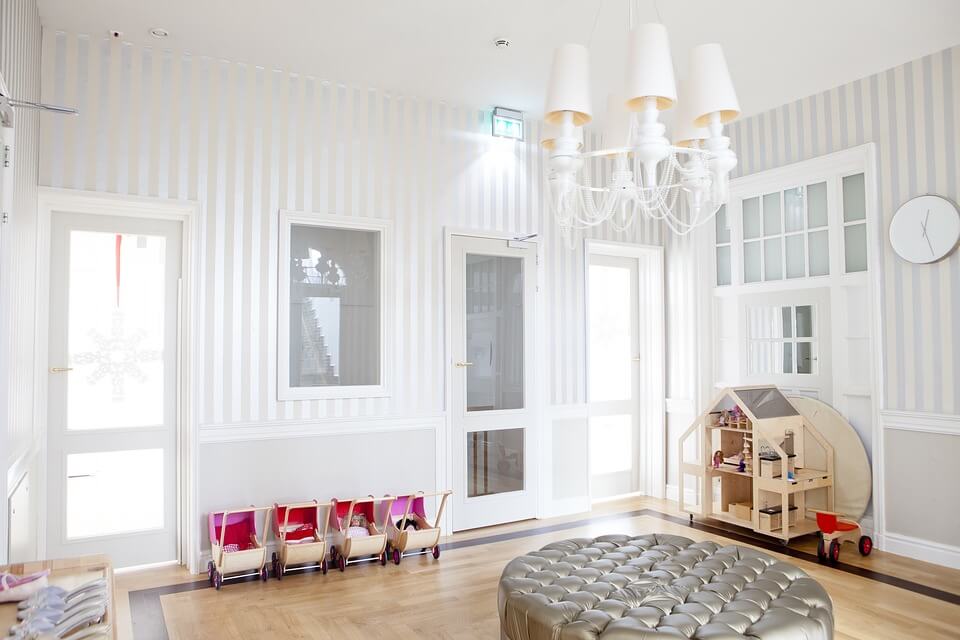
Home decor is an art itself; no one can best tell us about it only the home decorators. But unfortunately, all of us have do not have these types of creative minds and hands. The main reason to make this blog is to make your home decorate which may be a dream to you. We have different types of the post which you surely need to check out. We have different types of work which may just sweep off your feet. So, if you try to know us closely you may get great help to decorate your home.
If you hate to decorate your home by own then you may take help from the internet like home decor online or consult with a professional home interior designer might be the best option for you. They will consult with you and help you to choose the best decorating design like color, furnishings and accessories, flooring. The decorators will put the plan in motion but it’s your responsibility to hire a painter or someone to install your flooring. It’s a great option if you can afford it, but most of the people can’t afford it. Also, you may search home decor items from the Internet.
Here is some point which you can apply to decorate your home uniquely
Well, let’s starts with the most basic items: yes! Its fresh flower. Choose a random color which is to offset your room’s palette. You should notice that layered effect of the bright yellow orchid against the beautiful coral.
A starburst mirror, over a large scale of pieces like a sofa bed or a fireplace, a starburst creates the perfect focal point. Also, notice how this white starburst mirror punctuates the fun color on the wall.
A bar chart, it is great looking and practical also. This versatile piece creates the double duty as a bar annex and furniture in a living room, a dining room or a den…really you would like to serve a drink anywhere. A bar cart with wheels is the best for moving from one room to another. With some pretty bottle and different liquors can be arranged with drinking glasses.
Faux Antlers, It’s a classic accessory for walls. It’s available with a multitude of materials from iron to feel. Faux antlers add an extra touch of whimsy to a room. And antlers create a focal point when it adding visual height.
A beautiful bowl, Bowls range in different kind of style from modern to globally inspired, and it can be filled with just about anything. I also love bowls filled with beads for a textural effect.
An art grouping, if you have one great print then think how great it could look if there were six. Creating impact with a repeat placement is a naturally sure win.
Branches make a touch of nature on the inside of the home, Sculptural yet casual. Also, notice how the branches organically shaped is paired with an art collection of rectangular or square art. And Contrast in shapes is very eye-catching.
A tray, a tray is one of the accessories which can look great in many places. It is the best solution for creating a surface on an ottoman, where you may put up your feet and also display fresh flowers at the same time. But smaller trays unify a vignette on a nightstand or an end table.
Content Rally wrapped around an online publication where you can publish your own intellectuals. It is a publishing platform designed to make great stories by content creators. This is your era, your place to be online. So come forward share your views, thoughts and ideas via Content Rally.
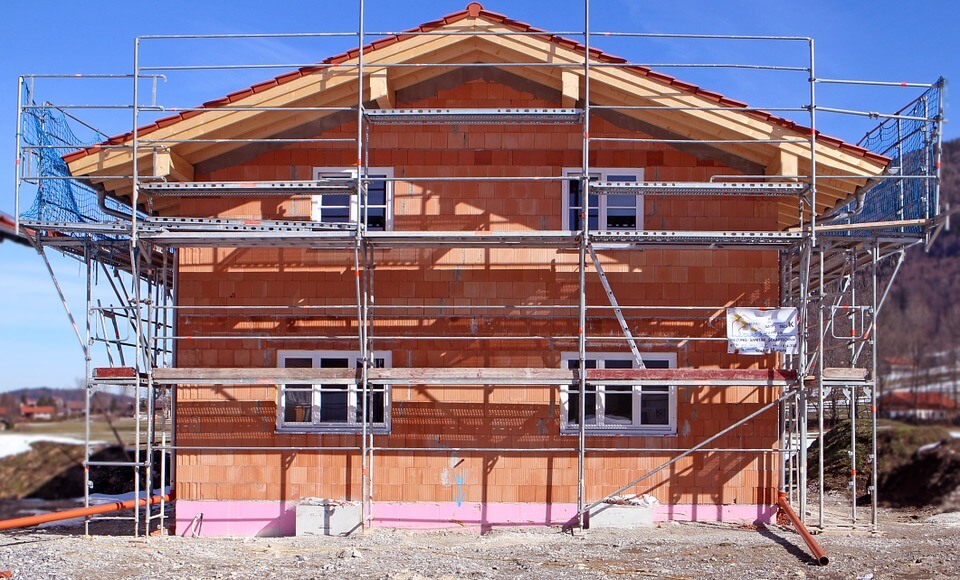
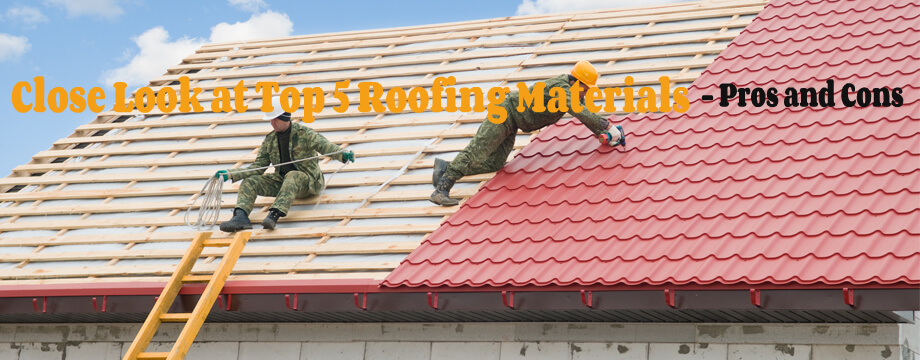
There’s no dearth of options for those mulling a new roof installation. Choosing the correct roof for your home is imperative to ensure that you get full functionality and lifespan. The final decision should be taken after considering different factors such as the owner’s location, the roof’s weight, and the cost, warranty, and lifetime of the product. This blog post discusses, five popular roofing options for homeowners taking time to look at their advantages and shortcomings:
1. Asphalt shingles
Asphalt shingles are unarguably the most common roofing option for homeowners in US, all thanks to their affordable nature and ease of installation. Moreover, many roofers also follow the practice of reinforcing shingles with organic materials or fiberglass, which has a positive impact on their durability and moisture resistance.
Pros
Asphalt shingles come in different sizes, shapes, and colors. They are easily available and the most economical roofing option available on the market.
Cons
Asphalt has a short lifespan when compared to other materials, and also incapable of providing proper insulation.
Best suited house styles: Traditional sub-urban houses
Cost: The cost of installing asphalt shingles can be anywhere between $70 to $120/sq.ft. and they can last for 20-25 years with proper maintenance.
2. Clay and concrete tiles
The use of clay adds to the roof’s texture and elegance, enhancing its aesthetic appeal. Clay and concrete tiles are heavy roofing materials and should be installed by professionals to avoid accidents and damage to property.
Pros
Clay and concrete tiles are highly durable and fire-resistant. They are also known for their energy efficiency. Installing a concrete roof can, therefore, help you lower energy costs.
Cons
Both clay and concrete are heavier than other roofing materials and usually require additional framing to function smoothly. The materials are also expensive and you may have to shell out a considerable amount of money to install clay/concrete tiles.
Best suited house styles: Mediterranean, Southwestern, and Spanish-style homes.
Cost: Prices fluctuate in the range of $300-$500/sq.ft. Concrete tiles have a lifespan of 40-50 years provided you follow maintenance schedules without fail.
3. Metal roof
Metal roofs are available in two types, panels, and shingles. Some of the common metals used by roofers who specialize in metal roofing are aluminum, copper, stainless steel, and zinc. If you’re considering a metal roof, it is advisable that you first consult your provider on the type of metal you should use after considering all the important factors.
Read also: Avoid these 4 Mistakes during Multi Family Housing Renovation
Pros
Metal roofs are highly resistant to temperature fluctuations and also offer better protection against solar radiation. They are also long-lasting and recyclable.
Cons
Installing a metal roof can be a costly decision and you may have to shell out anywhere between $100-$800/sq.ft. to install a metal roof.
Best suited house styles: bungalows, cabins, and contemporary and cottage-style homes.
Effective life: With proper maintenance, metal roofs can last anywhere between 40-75 years.
4. Slate
Opting for a slate roof is a prudent decision if you need to avail a variety of designing options. Slate roofing comes in different colors like black, green, grey, red, and purple. It lends a touch of style and elegance to your roofing.
Pros
Slate roofs are durable and equipped with fire-resistance properties. You can also recycle slate to reduce costs and save the environment.
Cons
Apart from being expensive, slate is also heavy, making any plans for a DIY approach strongly inadvisable. Moreover, the quality of the materials can vary if you plan to use imported slate.
Cost: $600/sq.ft. And above. The effective life of slate roofs can extend up to 100 years and more.
5. Wood shingles and shake
Wood shingles are handmade and available in attractive shades of gray. When opting for wood roofing make sure the material is class a certified and includes shingles with a fire-resistant coating.
Pros
The use of wood shingles lends a rough yet artistic look to your roof. The shingles are made from natural materials like cedar, and redwood and are environment-friendly.
Cons
There are high chances of the roof sustaining significant damage when exposed to moisture, high temperatures, and rainfall. Moreover, fire codes in some states may prohibit the use of these materials.
Best suited house styles: Cape Cod, cottage, Craftsman and Tudor-style homes.
Cost: $100-$150/ sq.ft. You can expect the roofing to last around 25-30 years.
The blog discusses five popular roofing choices available to homeowners. You should, however, not limit yourself to these choices. Consider exploring other options before making a final decision. Consult your contractor and ask them to share their thoughts on your choice. You must also factor-in the maintenance costs and schedules associated with each option before you.
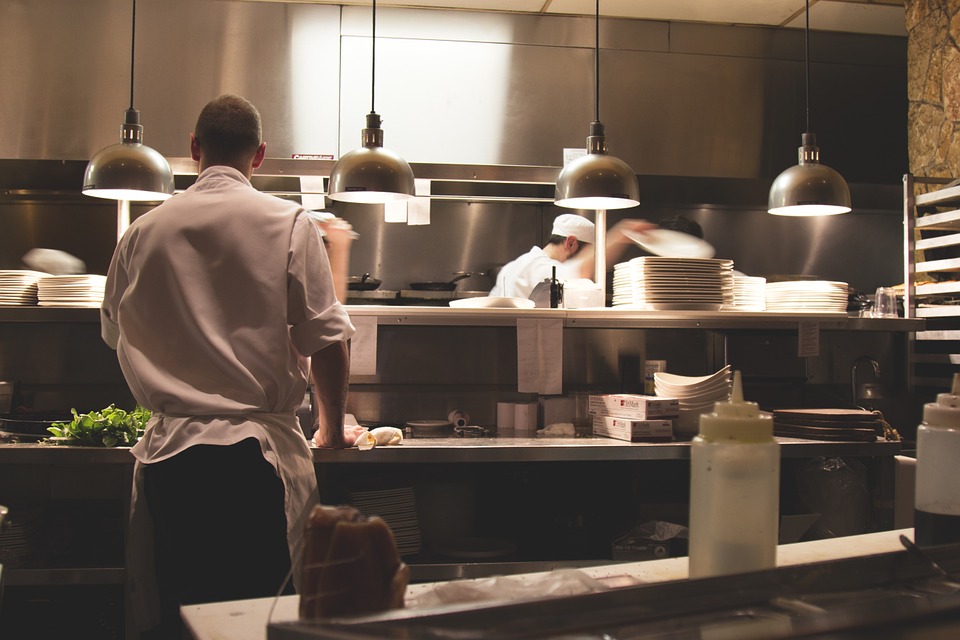
The restaurant equipment you use in your commercial business will determine if you will succeed or fail in the foodservice industry. Since this is vital, you need to have all the necessary utensils needed to ensure that the kitchen functions well and meets the customers’ demands. How will you know that the equipment you have in your restaurant will make it run in the best manner?
Measure the kitchen
You may have a perfect commercial restaurant equipment list, but you have to ensure that the items you would like to purchase can fit in the desired location. Once you understand the size of your area, you will have knowledge of the items you can accommodate. You will also have the ability to select a practical size of the floor model.
Know your menu
Before choosing your commercial restaurant equipment, it is crucial to know the type of food you are going to serve your clients. Knowing what you will offer will help you start on the right path for choosing the products needed to prepare, serve, bake, cook, preserve, and store food.
Pick top quality brands
You should not settle for anything that is not durable for your kitchen. While you would like to buy under-counter refrigerators that fit your budget, you do not want to mistake saving some money and sacrificing on quality. Do research about the manufacturer of the products that appeal and check their reputation. You need to make sure that the equipment you purchase has undergone design with safety, efficiency, and functionality in the mind. This equipment needs to withstand continual wear and tear and meet particular restaurant codes.
Think beyond the floor
You need to remember that the floor of your restaurant is not the only place where you can put your items. You can use shelves, countertops, storage carts, tabletop surfaces, and other units to hold small appliances in your kitchen. For example, if you require more than one commercial refrigerator and commercial oven in the kitchen and you do not have enough room, you might decide to purchase countertop options instead.
Whether you want new or used commercial restaurant equipment for your kitchen, possessing the right info is crucial when deciding to avoid being duped in purchasing equipment that will give you the required services. Aside from having the right info, you need to look for a store from which you can purchase these items. Ideally, if you have the right cooking items, your restaurant needs to be the place that can serve many customers at all times.
Choosing the right cooking essentials is crucial because they need to be suited to prepare and serve the restaurant offers. For example, if your restaurant is offering pizza, it is certain that you will require grills and ovens for preparing the pizzas. It is, therefore, important to choose your equipment basing on what your restaurant is offering. Conversely, if your restaurant is offering a buffet, then the hold and cook ovens will be ideal. There are crucial decisions you will have to make when choosing the appropriate equipment for your kitchen.
There are many suppliers of restaurant equipment in the market that are ready to give you the supplies you are looking for according to the numbers you will be serving and the food you will be preparing. You need to look for a supplier that will supply you with the best equipment at a reasonable cost. The most crucial components you will require in your kitchen include under-counter refrigerators, commercial refrigerators, and the cooking range hood because most of the cooking goes on during the day.
If you would like to reduce the gas required to cook, then you will have to look for an alternative cooking option. You will have to look at different options available in the market and choose the right one for your restaurant. Commercial restaurant equipment comes in many types. Therefore, it is crucial to list your needs down before buying. If you have a constrained budget, you will have to prioritize your requirements.
However, the pricing does not have to be the determining factor when you want to buy or not to buy the equipment of your commercial restaurant. If necessary, you need to consult with industry professionals so that they advise you on choosing the best commercial restaurant equipment.
Read More :
Installation Of Kitchen Cabinets: Best Way To Give Your Home A Perfect Facelift
List Of Most Durable Kitchen Flooring
Kitchen Renovations Must Be Done At Regular Intervals
If you’ve ever lost sleep over the idea of your home or commercial property catching fire, the chances are that you’re not alone. Make no mistake; this is a truly devastating prospect and one that could carry an immeasurable human and financial cost.
In the case of a commercial fire, there’s also a wider range of consequences in terms of your business and the people that you employ. Even if the fire occurs when the structure is empty, the cost of repairing the damage could be seismic while a number of jobs could be lost within a relatively short period of time.
With this in mind, structural fire protection is absolutely crucial to the safety of your premises and the people who work within it. Here’s a breakdown of structural fire protection and the purpose that it serves:
An Introduction to Passive Fire Protection (PFP) and Structural Fire Protection:
At the heart of this concept is Passive Fire Protection (PFP), which includes four main items and areas of safeguarding.
The first and most important of these is Structural Fire Protection, which has essentially been designed to introduce measures that protect structural components such as steel and join systems from the effects of fire.
But how exactly do these measures work?
It’s partially accomplished through the use of a fireproofing material, while another option is for developers to prioritise the application of concrete throughout the build wherever possible.
In terms of materials, there’s a host of options at the disposal of developers and building professionals. The most widely used include endothermic materials such as gypsum-based plasters and cementitious products, such as those sold extensively through suppliers such as CCF.
These materials play an integral role in modern construction, as they help to minimise the damage caused by fire while also enabling developers to comply with contemporary building regulations.
What Role Does Structural Fire Protection Play in PFP?
Along with the use of core fire-stopping materials that aim to minimise the spread of fire across barriers, structural protection materials provide preventative measures that stop blazes from gaining momentum from the moment that they start.
These work comfortably alongside compartmentation measures, which are included as the second part of the current PFP legislation.
These measures include fire barriers, partitions, firewalls, and smoke alarms, which are deployed widely throughout commercial buildings and across an array of strategic locations. The role of these barriers is clear, as they combine to alert people to the presence of a fire while preventing it from spreading quickly within a short space of time.
Sprinklers may also be included as part of these measures, although these work quickly to neutralise fires when they start in specific locations. This represents an extremely effective preventative measure, particularly in the case of small or accidental fires that have not been exacerbated by an accelerant.
Read Also:
Pre-Opening Inspections On Residential Buildings
5 Ways A Home Maintenance Plan Can Prevent Disaster