Whether you’ve just moved into your home or have been there for some time, odds are you need bathroom upgrades.
If you’ve recently moved into a new home, the bathroom probably showcases an outdated style or a look that just doesn’t suit you. Or, if you’ve been in your home for a while, the wear and tear of everyday life have taken their toll.
Either way, making upgrades to your bathroom will have a positive effect on how you feel about your home and, if you’re considering selling, will increase resale value.
Your renovation projects may fall into one of three categories.
Let’s take a look!
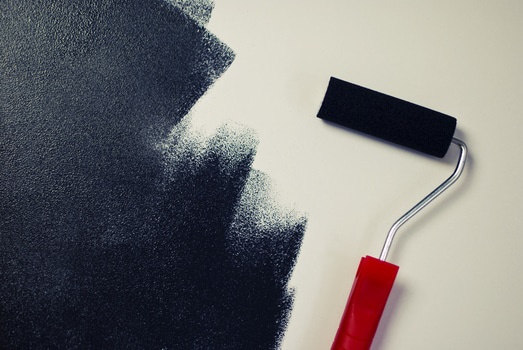
Cosmetic New Look :
This is often the remodel that many homeowners tackle themselves.
It gives a very functional bathroom an updated image with minimal expertise and inconvenience. Think paint, pictures/wall decor, new window coverings, new shower curtain, new mirror, new towels.
Switching Out/Switching Up :
Usually, this involves replacing some or all of the bathroom fixtures – toilet, sink/vanity, tub, lighting, faucets, and hardware.
It may also tie into a cosmetic update too once this has been accomplished.
Switching a dated vanity to a modern unit with glass sink and new sleek faucets can really change the look and feel of a bathroom.
Include an upgrade to one of today’s one-piece water-conserving toilets and you’re moving your bathroom into the 21st century.
At the same time, consider the lighting as it may be a good time to replace vintage light fixtures with LED fittings that will give a nice bright look and save you money on your electric bill too.
Another small but easy change is adding a curved shower rod to your tub or a European style shower door – both can be a great addition if your tub is in good shape.
At the same time consider switching bath faucet and shower fixtures to complement any other fixtures you are replacing.
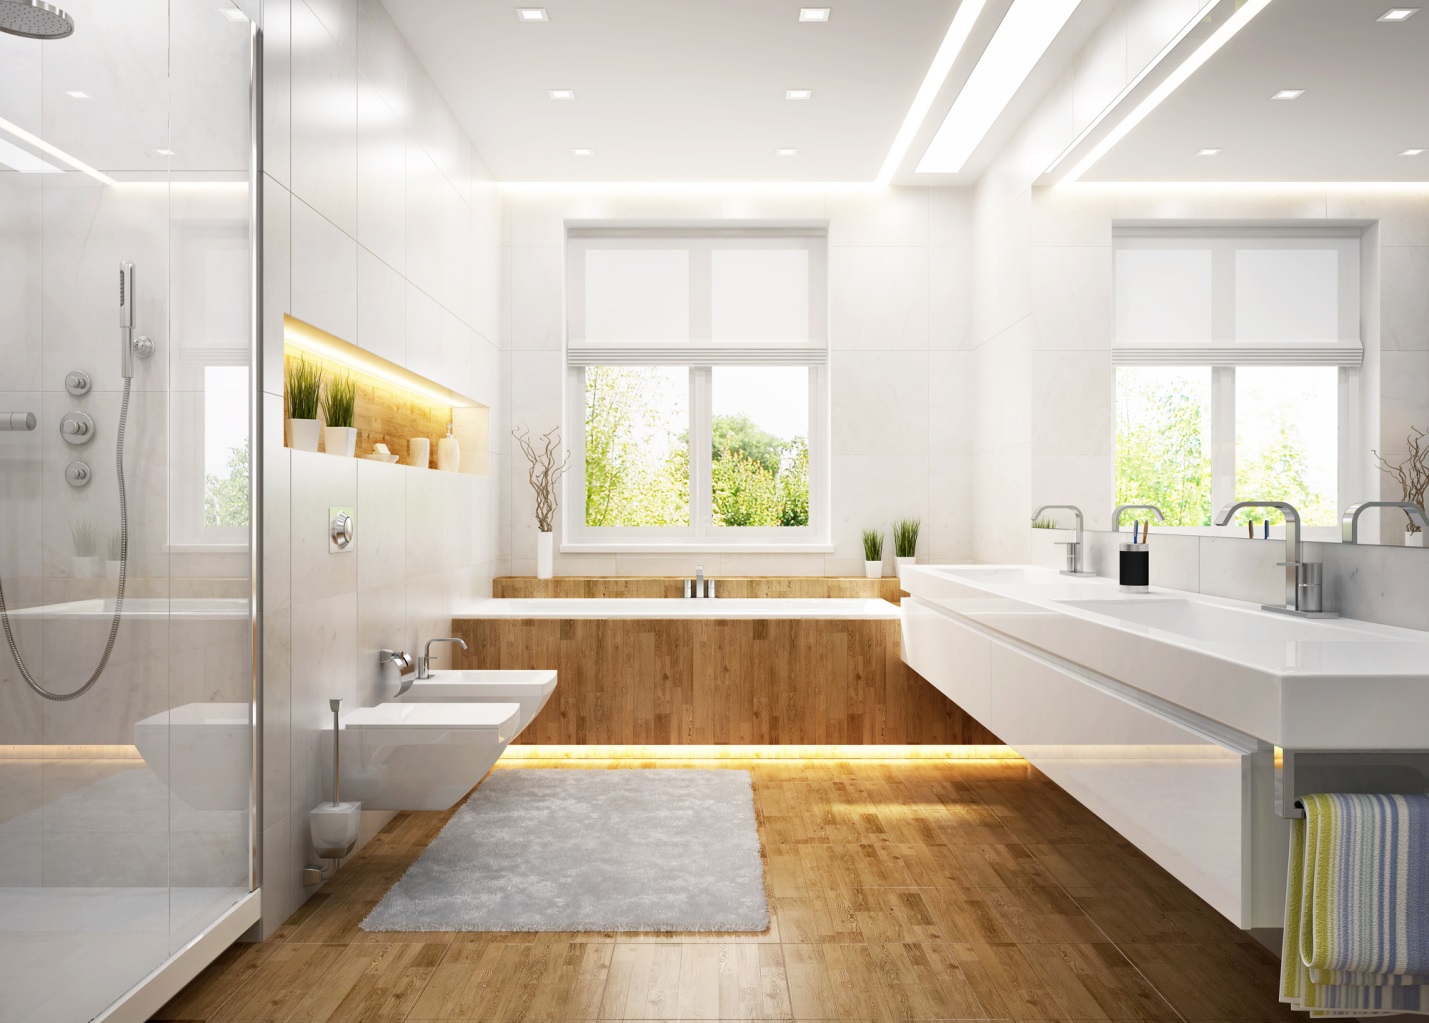
Total Renovation :
Redoing the whole bathroom can be overwhelming. So many choices, so many styles. What will work, what won’t?
For this, you may need professional help to give you some great ideas and guidance that will help you choose just the right elements for your new space based on your lifestyle and today’s current trends.
Is your bathroom in need of a quick pick-me-up well here are some easy bathroom upgrades you need to look into.
Lighting Fixtures :
Nothing dates a home quite like its lighting fixtures. If your bathroom feels like a time warp to the past, find new ideas to revamp it.
Whether you’re going for a more modern or rustic style, browsing through pictures of what others have done can give some inspiration.
Faucets :
Truth be told, the faucet in your bathroom should be a statement piece. Depending on the look you’re going for, the sky’s the limit when it comes to available options.
As long as it ties in with the lighting fixtures and the theme, a unique faucet adds character.
Bathroom Floors :
Outdated and plain can be given a new look by simply installing innovative vinyl plank flooring which is resistant to water and wear. It sits atop an underlying cushion that fits perfectly above any existing floor.
Shelving and Vanity :
These can quickly become outdated and worn, so updating the shelving and vanity in your bathroom is a must.
While the purpose of shelves and vanities is completely utilitarian, it is important that they tie in with the rest of the features in the bathroom to complete the desired look and style you are going for.
Toilet :
If you think a toilet is just a toilet, think again. Do your research and you’ll quickly notice the variety of styles available.
If you’re going with a theme for your bathroom, don’t exclude the toilet. For professional help, read more.
Get Your Bathroom Upgrades Today :
Ready to upgrade your bathroom?
Give your bathroom a new look by installing your lighting fixtures, toilets, faucets, and new flooring.
If you need help make sure to get in touch with the right people to make your vision into a reality. For more information, contact us today.
Read Also :