8 Useful Tips to Help You Prepare For Your First Motorcycle Track Day

Published on: 27 June 2022 Last Updated on: 19 February 2025
Motorcycle Track Day

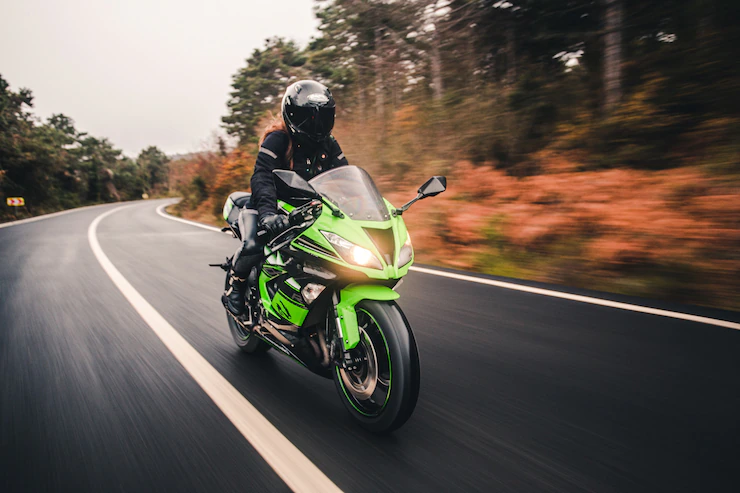
So, it seems like you have decided to go on a track with your bike. The first motorcycle track can be daunting if you don’t prepare well for it.

There could be many possible reasons why you want to join the track day. Maybe you want to practice your skills or challenge yourself to be with other racers.

Whatever your reason may be, you may have many questions in your mind. But don’t worry, we are here to help.

In this article, we have enclosed eight valuable tips you need to consider before planning your first motorcycle track, along with some easy guidelines to get you started.

What is a Motorcycle Track Day?

Many people get confused between a track day and MotoGP qualifying rounds. Taking a motorcycle to the track doesn’t mean you are going for the racing.
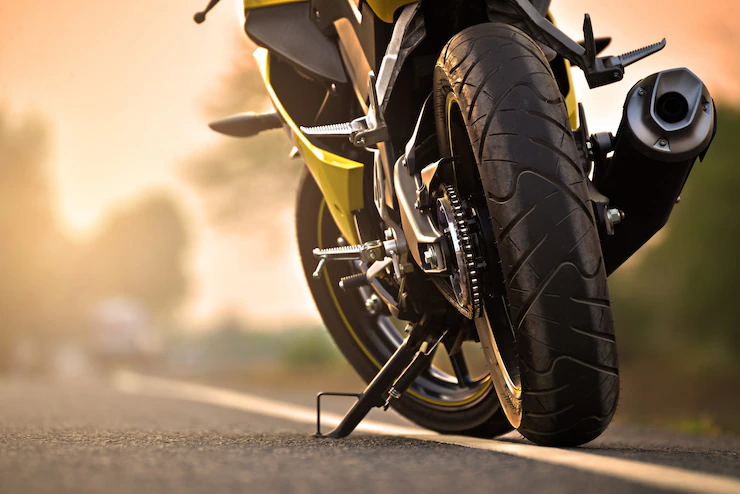
Motorcycle Track

You need to understand that a track day is not a racing day. Because track days get hosted on a closed course (racetrack), you may learn at realistic speeds and in secure surroundings.

For beginners, it is a great way to learn how to corner and to brake more confidently. You can’t do this on the streets where rules are present for speed limits. That’s why you need a track day to concentrate on improving your skills and riding freely.

You’ll also learn skills like body positioning, various cornering techniques, vision techniques, and the right time for gear shifting.

8 Useful Tips to Help You Prepare For Your First Motorcycle Track Day

As you’ve understood about the track day, it’s time to explore valuable tips to prepare yourself for the day.
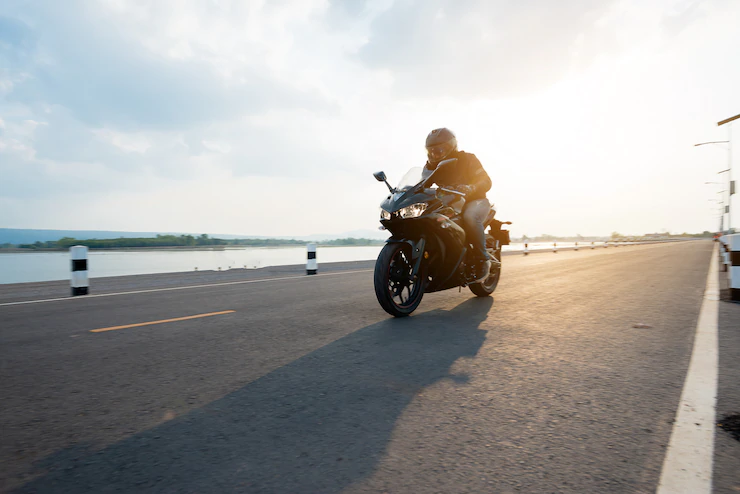
First Motorcycle Track Day

You can achieve it with the help of the following eight practical and helpful information:

Overview:

  1. Prepare Yourself Mentally And Physically
  2. Make Your Bike Ready For The Event
  3. Read The Rules and Regulations
  4. Research About The Track
  5. Wear All Necessary Gears
  6. Attend Riders Meet and Ask Experts
  7. Don’t Push Your Limits While Riding
  8. Pack Track Day Checklist Items

1. Prepare Yourself Mentally And Physically

Before you even set off for the track day, we recommend that first, you should prepare yourself mentally and physically.

You need to be relaxed and stop overthinking. Many beginner riders start thinking and hold expectations about that day. It’ll affect your mindset and performance.

One more thing is to have a good sleep before the track day. We know you must be excited, but a good sleep will put your concentration the next day on the track.

Ensure you are physically fit and ready to take up the challenge to participate in the event.

2. Make Your Bike Ready For The Event

If you’ve made yourself ready, it’s time to prepare your bike for the track day. You should be aware of your bike’s capacity and limitations, whether it can run on the track at higher speeds.

Check the air pressure in the tires and see if the brakes and clutch are working correctly. Because your bike has to do the maximum daily task, you may get it serviced, check the engine oil, and fill the required fuel.

Ensure all axle nuts, bolts, footpegs, headers, and handlebar are in perfect condition. Also, you need to remove extra things from your bike to lower the weight and increase the performance.

Don’t forget to carry your driving license and bike insurance with you. Remember, unlicensed drivers may have to pay compensation if they hit someone on the actual road.

3. Read The Rules and Regulations

Here comes one more crucial aspect that you look for. It would be best if you went through all the rules and regulations for the event.

You may face an accident-like situation if you have not read the rules. Therefore, note down the check-in timings, gear requirements, and other essential stuff.

Further, always be prepared to handle a motorcycle accident by educating yourself about it.

Most of the time, the event organizers ask to cover the lights and mirrors removal for the track day. It can drag your and the other riders’ attention and can result in a severe accident. Check if you can bring eatables and water.

4. Research About The Track

You will drive on a track that you may not be familiar with. Each track is different, so make sure you have the roadmap in mind.

You can watch several videos and read blogs to learn about the track, cornering, and what a track layout looks like.

Remember that a track day is not a racing day, so stay calm, start the first session at your comfortable speed, and analyze the track.

5. Wear All Necessary Gears

As per event hosters, you must bring a one- or two-piece riding suit. Make sure it is comfortable, fit, and lightweight. Back protection can add more comfort to your riding journey.

It would help if you had to bring an ACU gold standard approved helmet, strong track boots, and a pair of gloves. You should also not forget your elbow and knee protector.

6. Attend Riders Meet and Ask Experts

Whether an experienced rider or new to track, you must attend rider meetings. The riders you meet on track day were someday at your place, beginner riders.

You can ask for tips and ask your doubts. You may be astonished that other riders are ready to help you.

Further, organizers also appoint some instructors to help riders. Each circuit has its flags, rules, and passing standards.

7. Don’t Push Your Limits While Riding

Riding beyond your limits will lead you to the medical center. So, you must understand you are here to improve your skills, meet riders and learn about the track.

Forget about the lap time; know your riding level. Don’t push up your limits in any situation. Just drive your way and enjoy the journey.

8. Pack Track Day Checklist Items

Make a checklist a few days before the track day. It will help you to accomplish everything about the event.

Here are some essential items on your checklist: leather suit, gloves, boots, helmet, driving license, motorbike, necessary tools, fuel, noise limits, additional clothes, food and water, and bike trailer and tow.

Conclusion

If you follow all the tips and guidelines mentioned above, you are ready to hit the track day. We have learned so far about how to prepare yourself for the track day.

This guide was about the critical information a first-time rider should consider for the track day.

These things include preparing yourself mentally & physically, getting your bike ready, reading the rules & regulations, researching the track, wearing essential gears, asking experts, and driving within your limits.

Happy and safe riding!

Additionals:

1. Things to Consider Before Buying Your First Motorcycle

2. Dos and Don’ts When You’re Involved in a Motorcycle Accident

3. 5 Most Important Motorcycle Safety Tips All Riders Need to Know

4. How to Get An Accurate Valuation of Your Motorcycle When Selling

Content Rally wrapped around an online publication where you can publish your own intellectuals. It is a publishing platform designed to make great stories by content creators. This is your era, your place to be online. So come forward share your views, thoughts and ideas via Content Rally.

View all posts

Leave a Reply

Your email address will not be published. Required fields are marked *

Related

Move

Factors To Consider While Preparing For A Move

Moving from one place to another requires a lot of prior planning for you to have an easy time. It is not something that you can do in haste because you will have to deal with damages like breakages on your property. Therefore, before you consider embarking on this journey, have a strategy to guide you through the whole process. Early preparation with consideration of these tips will help you have a smooth time when you prepare for a move. Factors To Consider While Preparing For A Move: 1. Manage Your Packing Packing is the most important part of any move. Proper preparation will guarantee the safety of your items. While you sort your things for storage, please separate them depending on how fragile they are. If not, the movers might mishandle your belongings, causing you damages they will not be liable for due to improper packing. Get quality packing materials to hold up your items well. Labeling should be done boldly for easy visibility and to avoid confusion. Make a list of priority items to help you decide on what to keep or leave behind. Put into consideration the location you are moving to and the size of the home. Such aspects will guide you on how much you can ship since if the house you are moving to is smaller, then there's a possibility it will be overcrowded if you proceed with excess items. 2. Consider The Distance If you are planning to move to a place within the same state you are currently living; you can consider renting a truck and do the move yourself. However, if you are moving to a very far distance, you will be required to moving with best movers. In this case, you can go alongside the truck or take a flight and have them do the navigation in your absence. The distance to be covered will affect costs as issues like customs and security clearances will arise. Storage methods will also vary with the length of the journey for the safety purposes of your items. 3. Organize For Cleaning Of the New Home The new home you are to move in should be clean before you bring your belongings. Make prior arrangements for cleaning and any repairs to be done. You can hire a maintenance and cleaning company to do a perfect job. It is also advisable that you communicate with the real estate agent that helped you purchase the house contact a cleaning company to help you get an estimation of how much you will spend on these services. You don't want to move to a house that is dirty since you will have a lot of unpacking to do in the first days. Therefore, you should have these issues sorted earlier. 4. Check Your Budget The amount of money you will spend before you finally settling is going to be quite a lot if you don't prepare well for your move. Come up with a budget that won't have you break your bank. Put into consideration the factors that will need monetary attention and allocate a specific amount for the various quotations. If you are going to work with a moving company, take time, and settle for one that you can afford. If you are getting assistance from someone like an employer, have everything written down and signed as a guarantee you will get a moving reimbursement. 5. Get People Who Will Help You Where Necessary Although you might move in weeks or months, have a list of people who can come to your aid on that day. Prior communication will help you have a successful day as these people will create time to go in and assist you. Friends and family are the number one options in this situation. If they are not available, then you can hire someone. In a case where you have kids and pets, your friends can help babysit until when the move is over. If you have cooked meals or any other type of food, you can give your friends to avoid spoilage. 6. Provide Availability For Some Overlap Most types of house leases do not allow you to access a new house before you give up your old one. However, if your contract is flexible to favor you in this area, it is recommended that you take time and familiarize yourself with the new home and neighborhood. Also, the necessity to move in a rush without a clear plan is, therefore, not going to arise. If the move has come as a surprise, you should have some time or notice to pack up your belongings and look for somewhere new to settle in. However, too much time lapse will have you dig further in your pockets paying double rent, so time is of the essence in such situations. If you don't make early preparations, you will be planning to fail as many things might come unseen. Take your time and get guidance if necessary, to ensure you have ample time. Read also: Why should you go to a pool party in Vegas? The Ultimate Moving Checklist - Things you Need to do When Moving

READ MOREDetails
Aquatic View

Dive In and Enjoy the Aquatic View: A Guide for Beginners

When you are on vacation at a beautiful beach, it is great to savor amazing views from the shore, but be sure not to miss the action in a close-up view, snorkeling with the fishes. Even if you've never been diving before, don't worry -- getting in the water is fun and easy with a few simple tips to keep in mind before you get started. Get the Goods on the Gear: From fins to the facemask, a few pieces of critical gear make it easy to make the leap from deck chair to full immersion. If you feel like you need it, get some advice from the pros at the local dive shop, or go online at https://scubalist.pro/ for valuable tips. Feet First: Without good fins, swimming smoothly with fish is a lot harder than you might think. Try the fins on before you get to the water. You want them to go smoothly on your feet, not too tight. If the fins pinch or make your toes curl to fit in, you are likely to have cramps or pain later after some time in the water, so be sure they feel good on your feet to start. Face Down: One of the best parts about snorkeling is seeing crystal clear views beneath the surface through your facemask. Be sure the mask fits comfortably over your head and makes a slight seal around your eyes and nose. A mustache may interfere with the fit, so you may try covering your lip-hair with a light coating of Vaseline to help it to seal around your face. If air can leak in, you can be sure water will leak in. Test the fit in shallow water and adjust until it fits right. Keep It Clear: Some simple tricks can help avoid your mask fogging over. A dab of light soap rubbed into the facemask lens has been known to help. Many dive shops or rental spots may offer a product to wipe the glass with a cloth or gel to prevent fogging when underwater so you can see the view unobstructed. Practice, Practice: Once you've got your gear correctly fitted and selected, you are ready to get wet. It is a good idea to get some practice breathing through the snorkel before you get in the water. Place the mouthpiece gently between your teeth, but don't bite down on it, and get used to breathing in and out through the tube. You may want to float face down in a pool with the snorkel up and out behind you to get used to the feel and to practice calm breathing while observing the sea life below. Finally, Use Good Sense: When you are ready to go into the ocean, be cautious and pay attention to warning signs and lifeguards. Always stay with your group or diving buddy. Be careful about getting so enthralled with views under the sea surface that you lose track of where you and friends are at. Be aware that ocean currents, waves, tides, and conditions can change quickly so be aware of your surroundings at all times.   Read More: aking In The Sun And Sea. The glitches arrived in traveling to a new place. Planning for Enjoyable Travel and a Memorable Destination Wedding.    

READ MOREDetails
Photography tours

5 Essential Tips for the Traveling Photographer

Photography tours are a one of a kind opportunity to enhance and create extraordinary new photos. The exponential development of digital photography technology has permitted a booming phenomenon for the world of photography. Increased resolution and miniaturization has contributed to this expansion while significantly reducing equipment’s prices thus broadening its massive world reach. This has in part permitted a new audience to express themselves photographically. The causal image exploration attributed to the common availability of portable devices, such as smartphones and action cameras, are creating many new storytellers and video YouTubers with unique, local and fresh content to share with the world audience. This new generation of casual photo and video content creators has touched and reached virtually every spot on the planet, nowadays you can find images and photo references online for any part of the globe. Even if you’re not a professional photographer, traveling to a new destination has many advantages, the most obvious relates to the singular experience of the journey and its cultural immersion. Make sure you keep these 5 easy suggestions at bay while preparing for your photo tour 1. Pack Accordingly It’s a good idea that for any given trip, to pack your gear accordingly. A photography tour is not different. Make sure you carry enough batteries to last you for the entire day. It’s a good idea to bring at least two battery chargers, so you can charge multiple batteries simultaneously. This is also a good idea in the eventuality of charger failure. Once I had the unfortunate experience of arriving to a hotel room where only a single electrical outlet was available. Electricity might not be very reliable at your destination, so it’s a good idea to pack a small power strip with surge protection. This will add a layer of protection and the convenience of charging multiple devices at the same time. A fried camera is not fun under the sun! 2. Plan Ahead Balancing your sleep with photography can be a challenge. Usually, depending on your location and time of the day, the available light can be very unique during different parts of the year. Photographers love to photograph at the golden hour (usually at sunrise and sunset) This might require for some planning, and setting an alarm clock, but well worth it for landscape photography. 3. Bring your Smartphone Along While on location I usually walk with my professional camera, but sometimes I just want to take a quick snapshot and instantly share it in my social media stream. Use your smartphone camera, it has a more than decent megapixel resolution and it’s quick and easy. Tip: Make sure you keep your smartphone in airplane mode in order to save on battery life. 4. Get Off the Main Road Sometimes we tend to follow and stay in the common path during an excursion. It might drive your guide insane, but this will prove fantastic. Explore alternative roads. Taking an exact photo from the exact location then everyone else will produce the exact same photo. Try alternative angles and get off the main road. It doesn’t matter where you travel. Being prepared and doing your homework will prove to be an invaluable advantage. Pack accordingly for the type of photography you’re intending to do since it could mean the complete success or failure of your photography adventure. Safe journey and may you take incredible photos Read also: Handy Tools For Outdoor Photography 6 Reasons Why Every Woman Should Travel Solo

READ MOREDetails