Benefits of Working with a Realtor When Selling a Property

Published on: 22 May 2018 Last Updated on: 24 February 2020
Selling a Property

Selling a property is a very complex transaction, especially if you are selling your home. From setting the right price, to advertise the property, presenting it to potential buyers, and finally closing the deal, this process is very time-consuming, and it can cost you a lot of money. This is where a good realtor comes in handy, as they take care of most of the work, without requiring any assistance from your part. Moreover, a good realtor can actually get you a much better deal than you had ever hoped for. So, if you are still not convinced that the 3% commission is worth it, keep on reading to learn the main benefits of working with a realtor when selling a home.

List at the right price :

When you sell your home on your own, your only option is to compare other similar properties that are currently on sale and estimate how much your own property is worth. There are also online tools that you can use to estimate your property, but most of them are very inaccurate. On the other hand, a good realtor with local experience will tell you from the start how much your property is worth. Sure, you can ask for more than what they advise, but even in this scenario, the realtor can help by telling you approximately how long it will take to find a buyer willing to pay the demanded price, or whether or not you have any chances of selling at all.

Marketing expertise :

A good marketing plan should include more than just some online adds. Realtors will expose your property to the general public, but also to other agents through multiple listing services. This means that there will be other agents that could bring in potential buyers. If you don’t want your property to advertise the property, a good realtor will have valuable contacts that can make the deal happen as privately as possible. For example, say you wanted to sell an expensive property in the West Hollywood Real Estate market. You would have to work with a reputable dealer, whose network includes celebrities and wealthy investors. Moreover, a good realtor can also provide you with better home presentations. Since most of them also work with buyers, they know what small presentation details usually make a positive impact on potential buyers.
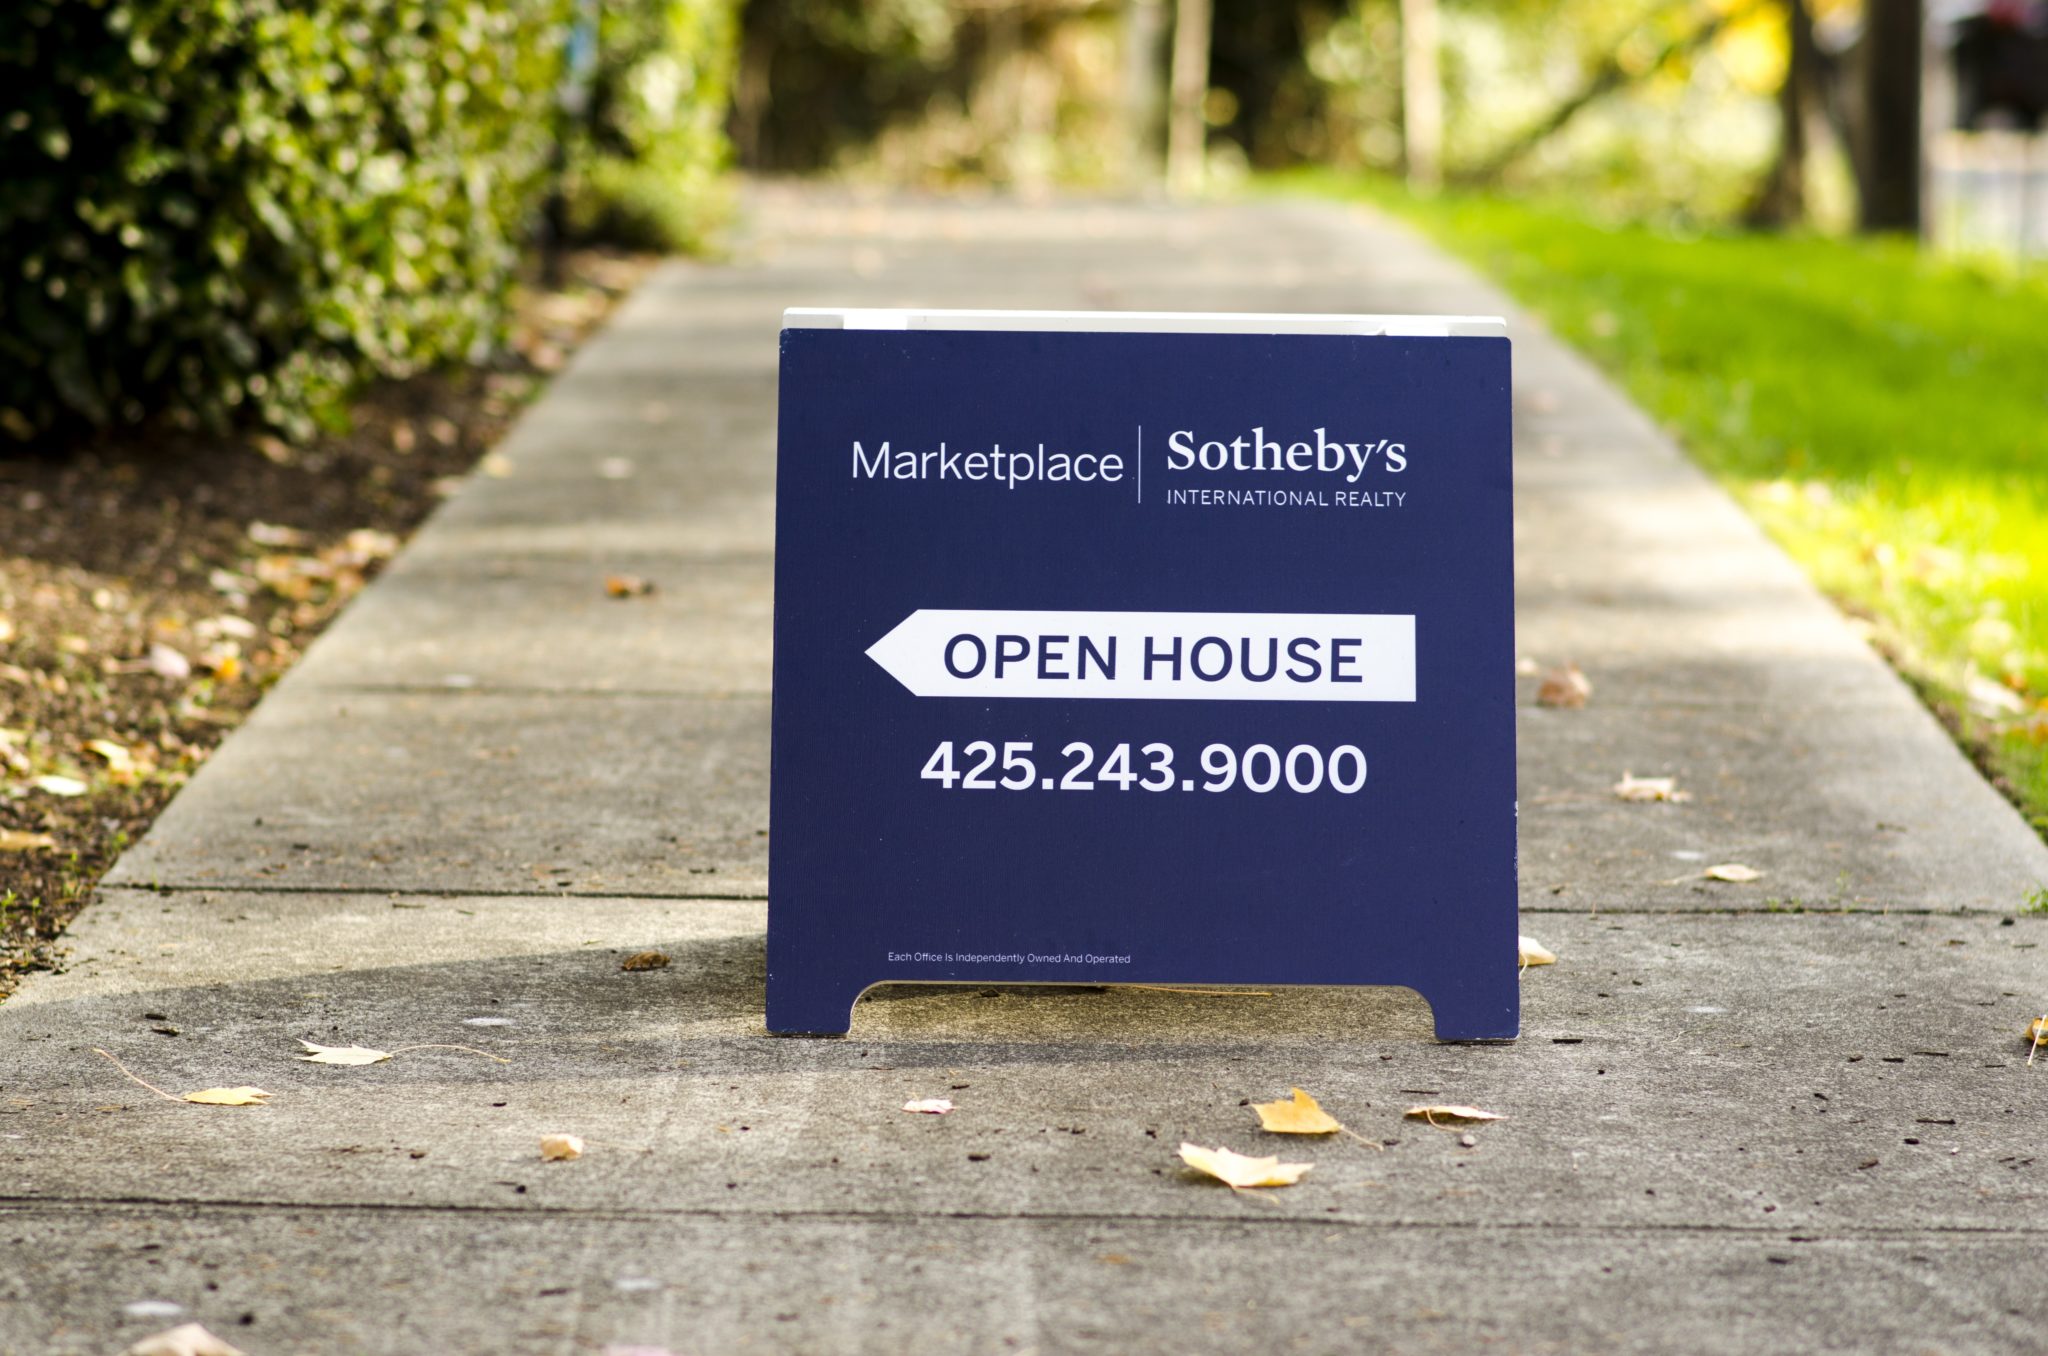
Security :

When selling a home on your own, you need to take a lot of precautions to ensure your safety. Bringing strangers into your home can be very dangerous, especially when it comes to private presentations. Keep in mind that not everybody will have the availability to attend open house events, so you will often have to bring potential buyers at home in the evening or early in the morning. However, if you work with a realtor, you don’t have to worry about these problems, as they will take care of screening the candidates, and they will handle all the presentations on their own.

Negotiating and closing experience :

First of all, the negotiation process is very tough, and inexperienced sellers can often be fooled into lowering their price on account of small damages. An experienced agent, on the other hand, will stand their ground, and they will know how to highlight a property’s advantages, in order to balance its disadvantages. Moreover, they will also take care of all the paperwork, including the written offers and counteroffers. If potential buyers ask for repairs, the realtor can tell you whether or not it is convenient for you to satisfy their demands. As a seller, your judgment will be clouded by subjective reasons, but you can count on your agent to be objective and protect your interests at all times.

Expert advice :

Whether or not you are a first-time seller, this type of transaction is a significant financial decision, so it pays to have an expert on your side to guide you through this process. There are countless details that can cost you money when dealing with the process of selling a property. You might save a little money if you handle it on your own, but you will increase the risk of encountering problems that could cause you to waste a lot more money than the realtor’s commission.

Read Also :

Content Rally wrapped around an online publication where you can publish your own intellectuals. It is a publishing platform designed to make great stories by content creators. This is your era, your place to be online. So come forward share your views, thoughts and ideas via Content Rally.

View all posts

Leave a Reply

Your email address will not be published. Required fields are marked *

Related

image001

The Ultimate Moving Checklist – Things you Need to do When Moving

If you are moving to a new place, you have to wind up a long list of things. To do all the jobs peacefully and make your move flawless it is better you create a moving checklist. Making a checklist, sticking it in a place of your frequent visits to give you timely reminders, and doing the tasks defined in the list one by one will not make you feel burdened. But what should be there is the checklist? If it is your first time everything must be haphazard for you. You might be completely clueless about where to begin. Well, there is nothing to panic about. The blog below is a complete guide for you. If you follow the things in the blog you will move with ease. Effective Checklist for Smooth Relocation: The checklist can be referred to as a schedule for different things to be done while moving. You can also write when to begin a particular time and in what duration it should be complete. The first thing to be done for moving is to divide the things at your home into four parts. The first list of what you will carry with you, the second list must contain what you want to donate, the third list must be things to be sold and last but not least things to be recycled. Get rid of the list second, third and fourth. Your home must now contain the things you want to carry along. The second thing to do is to hire movers. To hire moving companies you must know the best company in your locality You can know about it either by carrying out a ground survey or online. Make sure to contact previous customers in case of the ground survey and read the reviews in case of online inspection. Compare the cost between your preferred choices along with a comparison of the services offered by them. Now check the availability of the moving company on your desired date and time. Finalize the moving company by completing the documentation. Now, comes the packing part. Decide if you want to do it yourself or hire packers. Start with the packing process at least a month before your move or you can decide it based on the size of your home. If you are going for a long-distance move you must pack the things much before in comparison to a local move. Begin with packing starting from a single room. Once you complete with a place, then shift to another. Label each box that is packed and keep it in a single place. All the packed things must be locked in one place. Make sure you pack the most used place in the last. The kitchen would be last in the series. Change your address at all the important places like shopping websites, with friends and acquaintances on your important documents, and wherever you feel it's necessary. Put all your important documents and bills intact in a file. The file should be kept along with you in your car and not the loading truck. You might require any document anytime, so make sure you do not miss out on anything. Load the trucks, clean your home, lock, and move. It is advised that you must reach your new place prior to your luggage so that you can arrange the things instantly. Conclusion: Moving can be as easy as you feel while reading the blog if all the things are carried out in a specific order. With all the above tips you will never be in a situation of panic, not even for a single moment. Read also:  The Five Most Important Things to Know Before Moving

READ MOREDetails
Concrete Driveway Contractor

Tips When Hiring a Concrete Driveway Contractor in California

Hiring the right concrete driveway contractors in San Diego or concrete driveway contractors in Los Angeles is an important process in ensuring quality results you have desired for your home or business driveways. Improving your residential or commercial driveway areas comes with several benefits, but projects as such should be done by a professional concrete contractor in California. Driveways are the first area of your property that your visitors notice. It is essential to make sure this area is aesthetically pleasing with the help of a professional and trusted concrete driveway contractor. Improving concrete driveways has been a popular choice over the years because it offers an elegant and durable finish. There is also a wide range of colors and styles to choose from, which makes it worth the investment. If your goal is to have a driveway that would be aesthetically pleasing and last for many years to come choosing to use concrete would be a great option. To achieve your desired design finishes for your driveway, you have to make sure you are working with a professional and experienced concrete contractor. However, with so many concrete companies out there, how could you possibly find the right one? Here are five tips to help you make the right decision in choosing the best concrete driveway contractor in California: 1. Do your Research  To have some perspective contractors hire, you have to do some research and learn more about the concrete services they provide. You can do your research through the internet to easily find the best concrete contractors in your area. Most concrete companies these days offer a free estimate, this is an opportunity for you to ask them questions regarding your driveway project to better access their knowledge and abilities. Before asking any questions, it is important to know what you are looking for in a concrete company including their contractors. You can also ask your friends and family for referrals or ask your local concrete suppliers if they can recommend someone in your area. In this way, you’ll be able to ask them about the work they have done and their experience they had with a concrete contractor. Doing your research allows you to better understand the steps and processes, including the proper preparation of the area and the variety of options available to you. You’ll be able to compare your list of choices that would help you find the best concrete driveway contractor in your area. 2. Consider their Years of Experience Mixing, pouring, and laying down concrete may sound as simple as that, but in reality, this type of job is tricky. Any mistakes can’t be easily fixed, unlike other flooring materials, the job needs precision, and that can be achieved with years of experience. While finding the right concrete contractor, you need to make sure that the contractor has spent years in the industry to give you a guarantee that you’ll receive quality finishes for your driveway. Choose a contractor who has at least five years of experience in the concrete industry, ask them if they have done concrete driveway projects in the past. Asking them suggestions and tips for your concrete driveways project would also help in gauging if they are knowledgeable and skilled in that particular area. When a contractor gives you helpful answers and viable examples, it only means that they are knowledgeable and experienced in the concrete industry. Related: What Independent Contractors Need to Know about Workers Compensation 3. Ask for a Contact Reference As you interact more with your contractor, ask them to give a contact reference to verify their work, process, and how they operate. Ask their contact reference questions such as the type of project they did with them, the span of time they have completed the project, their involvement and communication, and how happy they are with the results. Their answers to your questions would help you decide which contractor to hire for your concrete driveway project. 4. Ask About the Company’s Insurance & Permits  The concrete company’s insurance gives you peace of mind over a possibility that something might go wrong during the process. You will not be held liable if in case an accident happened. It is important to verify if the concrete company is insured. You can call their insurance company to know its coverage. Ask your contractor if a permit is necessary before starting the process, obtaining a special permit depends on several factors, including location and the type of project. A professional and experienced contractor knows every process, including all the necessary paper works, hire someone who gives the right answers since day one. 5. Gauge the way they interact During your consultation with your contractor, observe how they interact or assist you with everything you need. Good interaction with your contractor and with the concrete company plays an important role in the whole process. Hire someone that accommodates you well and makes sure to respond to your questions promptly. If the concrete contractor does the opposite, it’s time to consider other contractors in your lists. Read Also: Roofing Painting Contractor Leads: Ask Before Hiring One Fix Your Home up This Summer With These Core Hacks

READ MOREDetails
Radon Test

What Is A Typical Radon Test Fee? Understanding Costs And Factors

When considering the safety of your home, radon testing is a crucial step. Radon is an odorless, colorless, radioactive gas that can pose serious health risks if present at high levels. To determine if your home is at risk, professional radon testing is advised. The cost for this service can vary based on several factors, including the size of your home and the complexity of the testing required. The fee for a radon test typically ranges from $146 to $716 for a professional inspection. This range factors in the methods used for testing, the size of the area being tested, and whether additional diagnostic tools are required. Understanding these costs is essential, especially considering the potential health implications of radon exposure. Keep in mind that while DIY test kits are a less expensive initial option, ranging from $10 to $50, they often include laboratory analysis fees.  However, it is recommended to use professional test services as they include requirements about the placement of tests, analysis, and recording and including proper test conditions for a final risk assessment For those seeking the most accurate assessment of radon levels in their home, hiring a professional is generally the most reliable option.  Understanding Radon Testing Radon testing plays a crucial role in maintaining a healthy indoor environment, as radon exposure is a known health risk. This section will detail the significance of radon testing and outline the typical process involved. The Importance of Radon Testing Testing for radon is essential because this odorless, colorless gas is the second leading cause of lung cancer after smoking. Radon naturally emanates from the decay of uranium in the soil, and without testing, there's no other way to determine if your home's levels are safe. Regular radon testing ensures that any dangerous concentration is identified and mitigated promptly, protecting you and your family from the associated health hazards. How Radon Testing Works To conduct radon testing, various devices are available, ranging from passive kits to sophisticated radon monitoring solutions. Passive devices, like charcoal canisters, collect radon samples over a specific period. In contrast, active devices like the Model 1028 XP: Professional Continuous Radon Monitor continuously measure levels, providing more dynamic data. These active monitors are preferred for their ability to deliver real-time measurements and create detailed reports, informing you about fluctuations in radon levels and allowing for a comprehensive understanding of your indoor air quality over an extended period. Factors Influencing Radon Test Fees When you're looking to test your home for radon, various factors will determine the cost. Understanding these can help you budget more effectively for a radon test. Test Duration The length of time a radon test takes can affect the price. Short-term tests may last from 2 to 90 days, while long-term tests exceed 90 days; the latter typically being more expensive due to the comprehensive data they provide. Type of Test You have options between DIY radon testing kits and professional radon testing services. While an at-home kit can cost between $10 and $75, professional service includes the necessary expertise and equipment, incurring higher fees. Test Location The price of a radon test can vary depending on your geographic location. For instance, tests conducted in regions with known radon prevalence may involve additional precautionary steps, potentially increasing the cost. Professional Expertise Opting for a certified radon inspector adds value as they bring specialized knowledge and accuracy. The complexity of your home's structure can also necessitate more time-consuming and thus, costlier, inspection methods. Average Cost of Radon Testing When exploring radon testing for your home, you'll find that prices can vary widely based on location and the type of test you select. Understanding these costs is essential for planning your budget effectively. By Region The cost of radon testing can differ depending on the region due to factors like demand, the prevalence of radon, and labor costs. In some areas, testing can be as affordable as $100, while in others it might reach up to $1,200. For example, homeowners can expect to pay an average of $420 for a radon inspection. By Test Type Radon testing varies not only by price but also by the methodology and duration of the test. Short-term tests may range from $10 to $30 for home test kits, whereas professional long-term testing or the use of a continuous radon monitor could cost significantly more. Tools like a continuous radon monitor might incur higher upfront costs but provide more detailed information over time. Additional Costs and Considerations When budgeting for radon testing, it's important to factor in not just the base cost but also potential additional expenses. These can vary depending on several factors, including whether you require a more thorough inspection or if follow-up testing is necessary. Mitigation System Inspection If your property already has a radon mitigation system in place, you'll need to include the cost of an inspection to ensure it's functioning correctly. This typically involves checking the system's components like the fan and the vent and can add to your overall expenses. Follow-Up Testing After the initial radon test, follow-up testing may be recommended, especially if levels are close to or above the EPA's action limit. You may need short-term follow-up tests for a quick verification, or long-term tests for a more accurate assessment, impacting your total testing costs. Home Size and Test Complexity The size of your home and the complexity of the test required can also affect the cost. Larger homes or those with multiple foundations may need several test kits or longer testing periods, potentially increasing expenses. Remember, these costs are on top of the typical radon inspection fee which can range from $146 to $716, with an average of around $420. Your specific costs will vary based on these additional factors and the options you choose. Choosing a Radon Testing Provider When faced with the task of selecting a professional to conduct your radon test, focusing on their expertise and the variety of services offered will ensure you receive a reliable and thorough assessment of radon levels in your home. Certifications and Qualifications Certifications: Make sure the provider you choose is certified to perform radon testing in your state. The National Radon Proficiency Program (NRPP) and the National Radon Safety Board (NRSB) are two leading certification bodies. A certified tester will have a sound understanding of radon testing protocols and state-specific requirements. Qualifications: Beyond certifications, assess the provider’s experience and training. Years in the field and specialized knowledge can greatly influence the accuracy of your radon test results. Experienced professionals will also be adept at using the most current and effective testing methodologies. Service Comparisons Range of Services: Compare different providers based on the scope of services they offer. Some may only conduct tests, while others provide comprehensive services including radon mitigation. It's crucial to understand whether follow-up services are available, should your test results show high radon levels. Test Types: Ensure they offer both short-term and long-term testing options to suit your specific needs. Equipment Used: High-quality, calibrated equipment yields more accurate results. Verify the type of devices used in testing. Pricing: Prices can vary, with professional radon inspection costs ranging between $146 to $716, with a common average being around $420. While cost is a factor, it shouldn't be the sole criterion. Lower prices may not always guarantee the same level of service as providers charging industry-standard fees. Interpreting Test Results Before you proceed with any steps following a radon test, it's crucial to accurately interpret the results. The test reveals the radon concentration levels in your home, allowing you to make informed decisions on necessary measures. Understanding Safe Levels Radon levels are commonly measured in picocuries per liter (pCi/L) in the United States. The Environmental Protection Agency (EPA) states that there is no completely safe level of radon exposure. However, levels less than 2 pCi/L are considered acceptable, while readings between 2 and 4 pCi/L suggest a moderate risk that warrants your attention. It's important to know that some organizations, like the World Health Organization (WHO), suggest more stringent action if levels surpass 2.7 pCi/L. Low radon levels: (<2 pCi/L) Moderate radon levels: (2-4 pCi/L) High radon levels: (>4 pCi/L) Conclusion Professional radon testing can vary in cost, generally ranging from $146 to $716 with a national average of around $420. Factors that can influence your radon inspection fee include the size of your home and the type of test conducted. For those preferring a more economical approach, DIY radon test kits are priced between $10 and $50 and include lab analysis. It's important to ensure accurate results, which might lead you to opt for a professional inspection over a DIY approach. Read Also: How Pests Control Maintains The Aesthetic Appeal Of Your Home Guide To Making Your Home Guest-Ready On Time Exploring Ideas For A Biophilic Home Design

READ MOREDetails