How Does Structural Fire Protection Work?

Published on: 09 October 2018 Last Updated on: 30 October 2024
Fire Protection

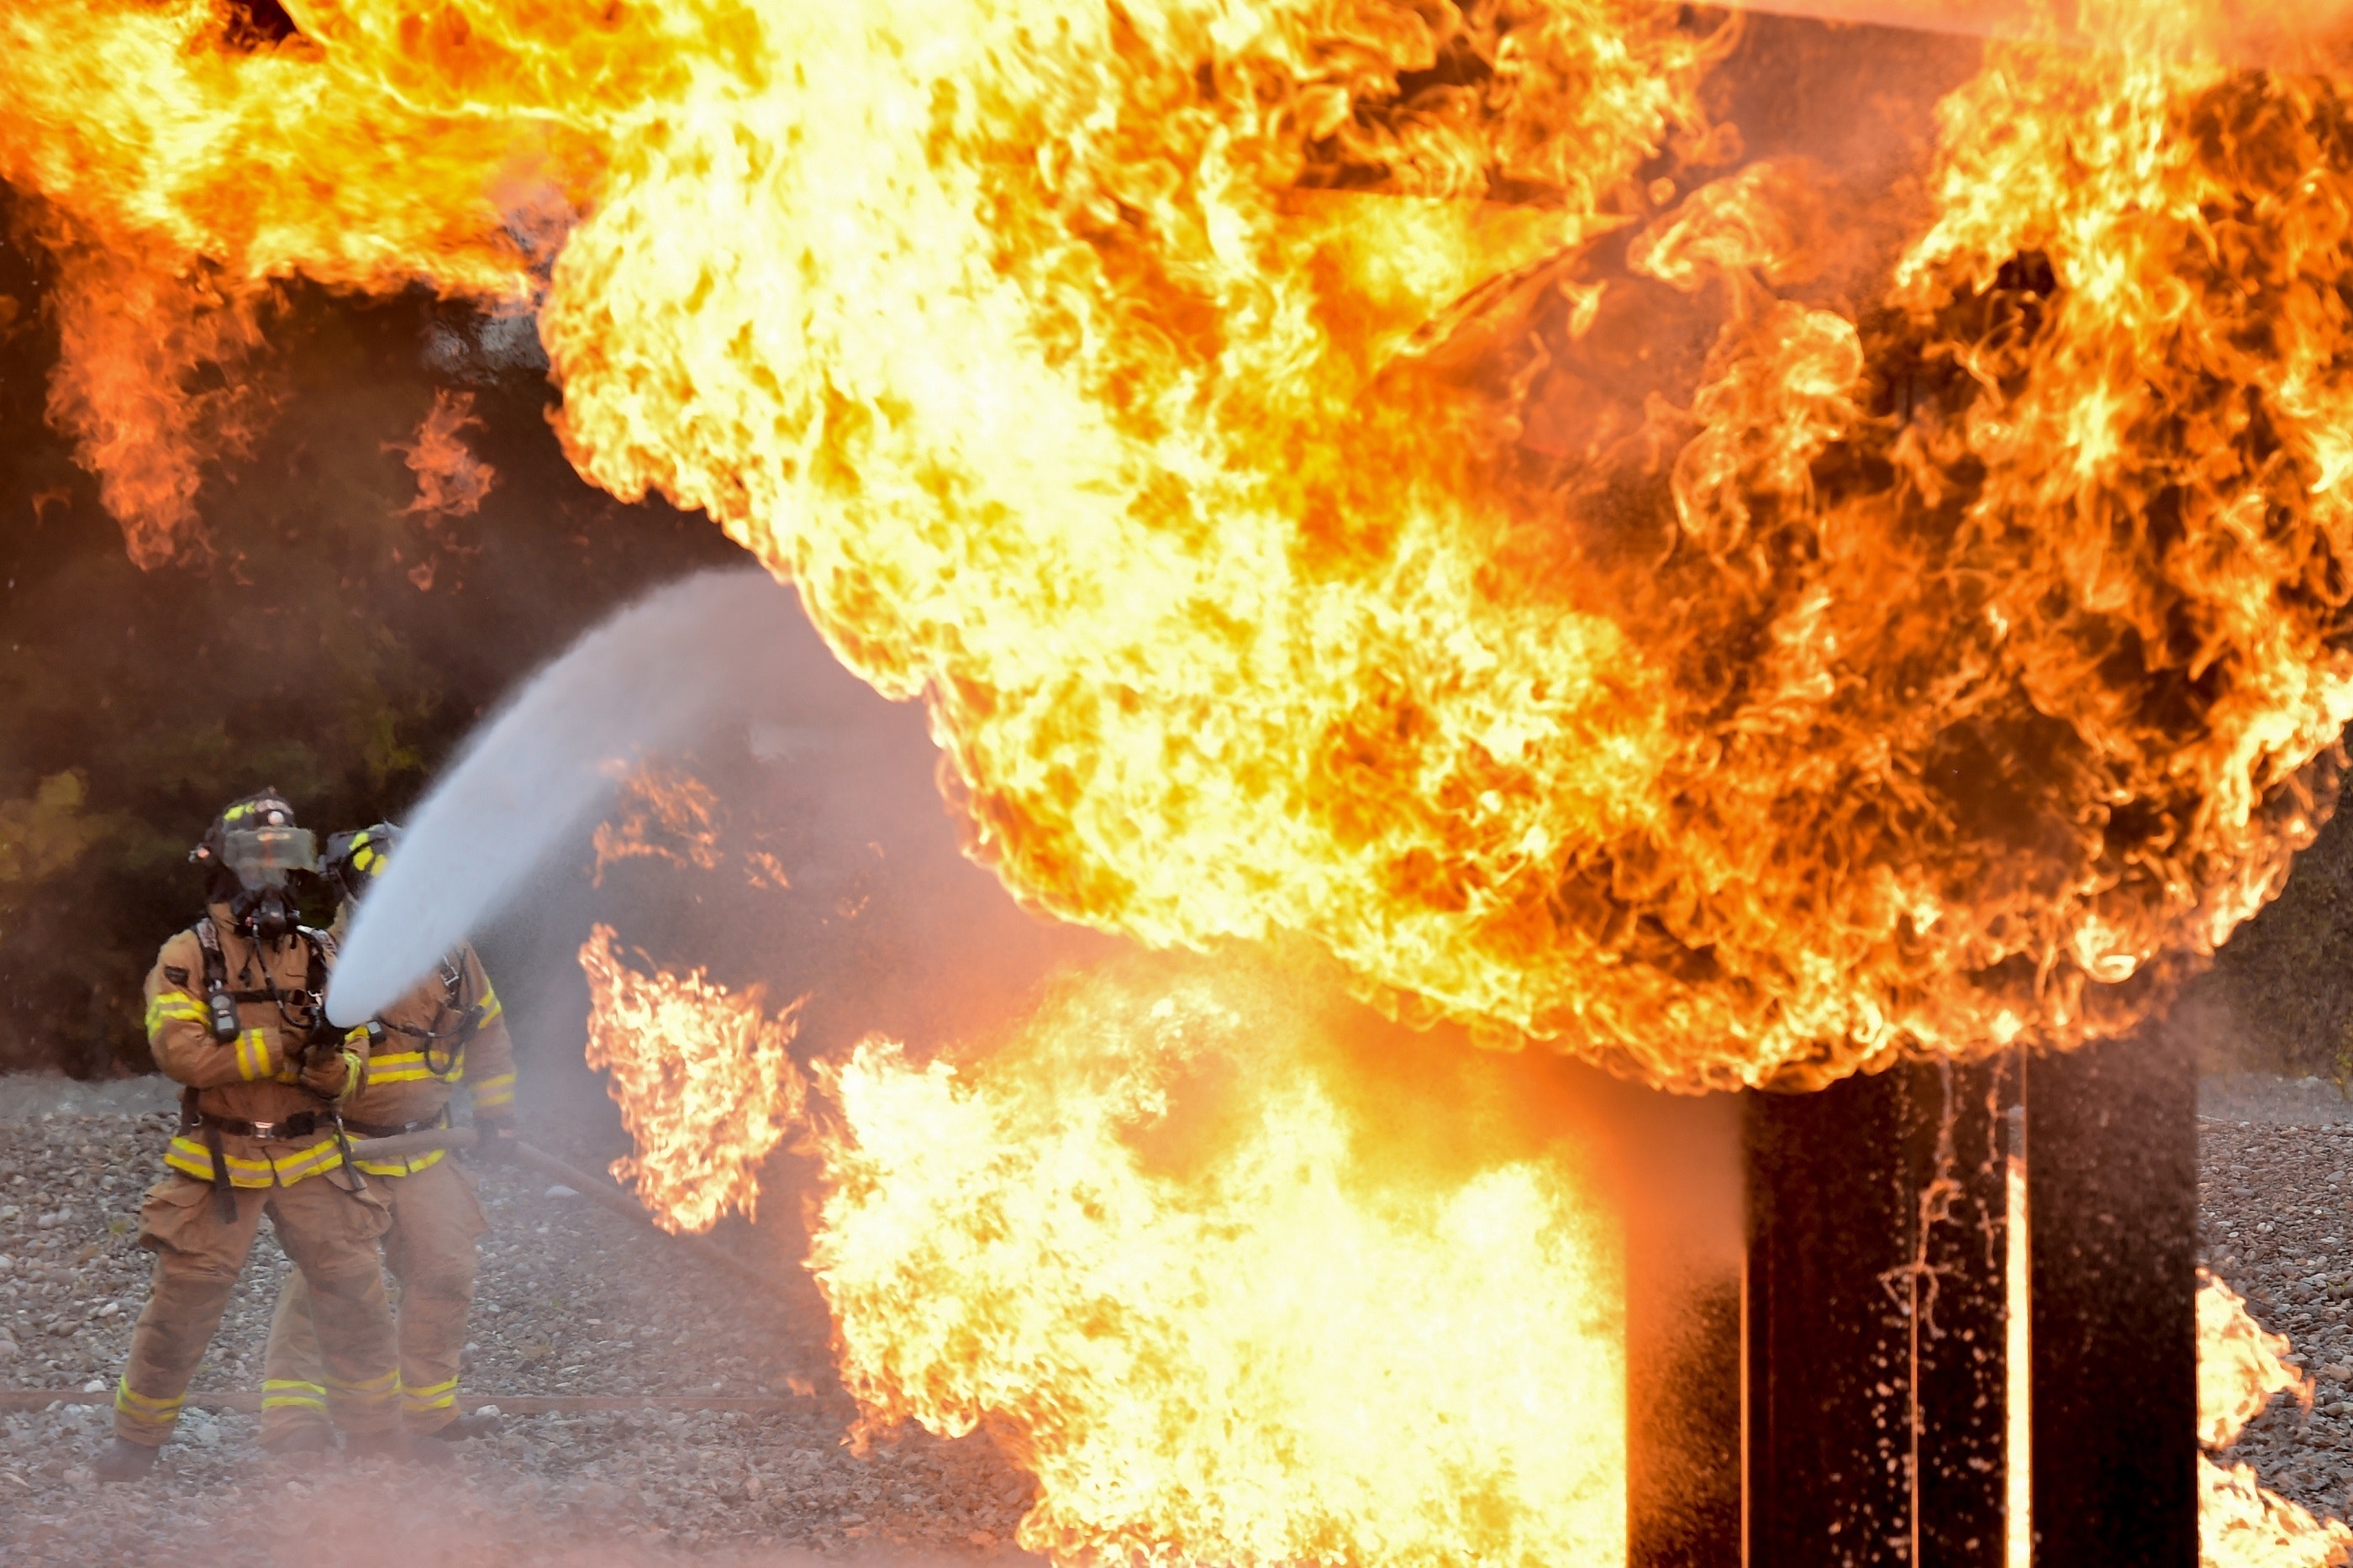
If you’ve ever lost sleep over the idea of your home or commercial property catching fire, the chances are that you’re not alone. Make no mistake; this is a truly devastating prospect and one that could carry an immeasurable human and financial cost.

In the case of a commercial fire, there’s also a wider range of consequences in terms of your business and the people that you employ. Even if the fire occurs when the structure is empty, the cost of repairing the damage could be seismic while a number of jobs could be lost within a relatively short period of time.

With this in mind, structural fire protection is absolutely crucial to the safety of your premises and the people who work within it. Here’s a breakdown of structural fire protection and the purpose that it serves:

An Introduction to Passive Fire Protection (PFP) and Structural Fire Protection:

At the heart of this concept is Passive Fire Protection (PFP), which includes four main items and areas of safeguarding.

The first and most important of these is Structural Fire Protection, which has essentially been designed to introduce measures that protect structural components such as steel and join systems from the effects of fire.

But how exactly do these measures work?

It’s partially accomplished through the use of a fireproofing material, while another option is for developers to prioritise the application of concrete throughout the build wherever possible.

In terms of materials, there’s a host of options at the disposal of developers and building professionals. The most widely used include endothermic materials such as gypsum-based plasters and cementitious products, such as those sold extensively through suppliers such as CCF.

These materials play an integral role in modern construction, as they help to minimise the damage caused by fire while also enabling developers to comply with contemporary building regulations.

What Role Does Structural Fire Protection Play in PFP?

Along with the use of core fire-stopping materials that aim to minimise the spread of fire across barriers, structural protection materials provide preventative measures that stop blazes from gaining momentum from the moment that they start.

These work comfortably alongside compartmentation measures, which are included as the second part of the current PFP legislation.

These measures include fire barriers, partitions, firewalls, and smoke alarms, which are deployed widely throughout commercial buildings and across an array of strategic locations. The role of these barriers is clear, as they combine to alert people to the presence of a fire while preventing it from spreading quickly within a short space of time.

Sprinklers may also be included as part of these measures, although these work quickly to neutralise fires when they start in specific locations. This represents an extremely effective preventative measure, particularly in the case of small or accidental fires that have not been exacerbated by an accelerant.

Read Also:

Content Rally wrapped around an online publication where you can publish your own intellectuals. It is a publishing platform designed to make great stories by content creators. This is your era, your place to be online. So come forward share your views, thoughts and ideas via Content Rally.

View all posts

Leave a Reply

Your email address will not be published. Required fields are marked *

Related

Clean Blocked Drains

7 Ways to Clean Blocked Drains in Your Home

The drains in your home really do take a lot of abuse. Not only are things sometimes accidentally flushed down toilets and drains, but they also naturally collect all of the dust, hair, and whatever else is in the air. Over time, your pipes are bound to get clogged at some point.Clean Blocked Drains cxan make things work for you in all the aspects. Of course, a plumber can clear out a clog in a snap. But, here are seven things that you can try on your own first without using harsh chemicals which could harm your pipes. 7 Ways to Clean Blocked Drains in Your Home: 1. Find the clog: It might not be that deep. In a toilet, it's generally somewhere in the base. And, in sinks, it's often in the trap underneath it where hair and other debris will settle. There are a few different tools that you can use to attack the clog from the outside of the drain. Trap cleaner: You can find one at your local hardware store. It's usually made of plastic and is about the length of your arm. It has ridges along the sides and is designed to fit inside of your drain. You can use it to fish out anything that might be clogging the trap. Drain snake: It's the same idea as the trap cleaner, only it's longer and has a hose that rolls up, so it can get to clogs that may be deeper inside of the drains. Wire coat hanger: In a pinch? Just grab a wire coat hanger, unwind it, fashion it into a long hook, and use it to clear the trap. 2. Use a plunger: It's a basic home necessity for toilets. And, it can also be used for sinks. All you need is a solid suction and you may get the same results on a sink drain that you would with a toilet. In a sink, it might help to have a little standing water while you are plunging. 3. Dish Detergent: You can use it in toilets and sink drains. Pour it straight down the drain or into the toilet, about a quarter of a cup. The detergent will settle on the clog, and start to break it down. Let it sit for a few hours, run some hot water, and try plunging. The soap is sometimes strong enough to break up the clog. 4. Boiling Water: This would be more effective for a sink drain. Pouring boiling water directly down the drain could break up the clog. You could add boiling water, wait a few minutes, try plunging, and repeat the process a couple of times, if necessary. Just make sure the water isn't still boiling while you are plunging to protect yourself from any scalding. 5. Use a wet/dry vac: Wet/dry vacs are great for many purposes, including clearing clogs in your drain. If the clog isn't too deep, you can use it to either pull the clog out or push it down the drain. It's a good idea to try to pull it out first to remove the clog from your plumbing system. But, sometimes pushing it will also clear the clog and allow it to drain. 6. Clean the trap: If you are dealing with a clogged sink, you can usually access the trap underneath the drain. Most likely, that's where the clog will be. If you're handy with home repairs, here's a quick how-to. You'll need a plumber's wrench. Have a bucket underneath to catch the water. Unscrew the fittings on the top and bottom of the trap. Remove the trap and clean it out. An old toothbrush is perfect. Clean out the surrounding pipes. Put it back together. A plumbing company such as Red Dog knows all about unblocking drains so if you are not confident taking apart the pipes in the drain, it may be worth hiring a professional. 7. DIY Clog-removing Recipes: You may actually have a few things in your pantry that can be used to clear up clogged drains. Here a few different ideas that you can try before calling a plumber. Mix salt and baking soda: Combine equal parts of salt and baking soda, maybe a half-cup of each. Pour it directly into the clogged drain, and let it sit for a few minutes. The salt and baking soda will settle on the clog and start to eat away at parts of it. Then, pour boiling water down the drain. If there is standing water in the sink, you can also include plunging the drain in the process to get things moving around. Combine baking soda and vinegar: Mix together equal parts of white vinegar and baking soda, maybe a half-cup of each. Stand over the sink when you mix them. The reaction of the two substances will result in an almost immediate fizz. Pour everything down the drain. This one is best to let sit for a few hours or overnight. Afterward, try rinsing the drain with hot water. Sodium Hydroxide: More commonly known as caustic soda, you can find it at your local hardware store if you don't already have it on hand. You will mix 3 cups of soda with about a gallon of water. The mixture will get warmer and begin to fizz. Pour all of it directly into the drain. Wait for a half-hour or so, and pour boiling water down the drain. If it seems a little better, but still draining slowly, you can repeat the process. Unfortunately, some clogs are either too deep or too intense for any of these home remedies. If you've tried everything, and you just can't seem to get that clog cleared on your own, give Brisbane Drain Cleaning by Conrad Martens a call today. Our team of dedicated service professionals will quickly assess your individual circumstances and easily get your drains cleared. Let us show you have we've built our reputation of providing dependable service focused on quality of workmanship to the entire Brisbane area since 1982. Read Also: 8 Plumbing Myths Busted 3 Reasons Why Business Organizations Need To Get The Drains Cleaned Regularly

READ MOREDetails
Oil Heater vs. Fan Heater: Which Is Better

Oil Heater vs. Fan Heater: Which Is Better

A dependable heater may make all the difference in keeping your home warm and inviting during the bitterly cold winter months when the frigid air bites your nose. However, it might not be easy to select the best heater for your needs, given the variety of products on the market. Oil heaters and fan heaters are two standard options, each having pros and cons of their own. This article will examine the differences between oil and fan heaters to see which is better. Oil Heaters: The Basics Oil heaters also referred to as oil-filled heaters, work by heating a particular kind of oil inside the metal fins of the device. Because of the effective heat retention of this oil, the heater can continue to provide warmth long after it has been switched off. Oil heaters give a steady, soft warmth that many people find comfortable, although they usually take longer to heat up than fan heaters. Fan Heaters: The Basics In contrast, fan heaters operate by drawing air over a heating element and then using a fan to distribute it around the space. Fan heaters are renowned for their ability to heat a space quickly, increasing the ambient temperature. They can, however, occasionally produce a dry heat, which some people may find less comfortable. Here are the various considerations before you buy oil heaters online: Energy Efficiency And Cost-Effectiveness The energy efficiency of oil heaters is highly praised. The heater's oil holds heat efficiently after it reaches the proper temperature, reducing the frequency of on and off cycles. As a result, there may be a decrease in energy use and, eventually, heating costs. Furthermore, oil heaters can contribute to energy conservation by maintaining a comfortable temperature without continuously using power because they generate heat even when shut off. Meanwhile, fan heaters use more energy even though they are good at warming a space rapidly because they run continuously. Using a fan to disperse heat is another way that using more electricity might increase. But thanks to developments in fan heater technology, more energy-efficient models with eco modes and thermostat controls have been created to help reduce energy use. Cost Comparison Fan heaters are typically less expensive upfront than oil heaters, which makes them the more logical option for consumers on a tight budget. The long-term operating costs, however, must be taken into account. Oil heaters are typically more energy-efficient because they use a heating element soaked in oil, which maintains heat well and permits less frequent cycling. As a result, this may lead to decreased energy use and cheaper heating costs over time. Improvements in fan heater technology have created more energy-efficient versions with features like eco modes and thermostat settings, which help partially offset their higher energy usage. Consequently, even though fan heaters could be less expensive initially, the overall cost-effectiveness of the two differ based on several variables, including usage habits, energy costs, and the particular model. Heating Performance And Comfort Known for its capacity to deliver even, delicate warmth, oil heaters are highly recommended for use in living rooms, bedrooms, and other spaces where keeping a comfortable temperature is crucial. Many people describe the warm, comforting, radiant heat that oil heaters create as ideal for resting and relaxing. Meanwhile, fan heaters are excellent at quickly heating a space, making them ideal for short bursts of heat in areas like bathrooms or home offices that need to be warmed up immediately. However, some people might feel that the dry heat of fan heaters is less comfortable, mainly if they use them for an extended period. Safety Considerations Because of how they are made, oil heaters are typically considered safer than fan heaters. The oil-filled fins encase the heating element, reducing the possibility of fire or burns from direct contact with the hot surface. Oil heaters usually have automatic shut-off systems and overheating prevention to prevent further mishaps. Unfortunately, burn risks are increased by fan heaters, mainly when they come in contact with skin or explosive objects. Fan heaters can also be dangerous due to their exposed heating element and moving parts, so they must be positioned steadily, away from potential threats. Read Also: What To Do When Your AC Unit Stops Working Impact On The Environment Due to its higher energy consumption and shorter lifespan, fan heaters typically have a more significant environmental impact. Carbon emissions are increased when electricity is used to run the fan and heating element, mainly when that electricity is produced from non-renewable resources. Nonetheless, the environmental impact of fan heaters can be reduced by selecting and operating them wisely. Oil heaters are often seen as being more environmentally friendly. They are quieter to operate and have less emissions since they use radiant heat instead of forced air. Fan Heaters vs Oil Heaters: In Summary It's critical to consider your unique heating requirements and preferences when choosing between oil and fan heaters. An oil heater can be a better option if you need constant, soft warmth in larger areas, including living rooms or bedrooms. Oil heaters are excellent at producing radiant heat that heats the surrounding space gradually, making it seem friendly and suitable for rest or sleep. However, a fan heater can be a better option if you're searching for a rapid and effective heating solution for smaller spaces or regions that need instant warmth, such as home offices or restrooms. Fan heaters are renowned for their speedy heating qualities, allowing them to relieve chilly air and raise the room's temperature instantly. Make The Right Choice There must always be a clear winner in the age-old comparison between oil and fan heaters. The ideal option ultimately relies on your preferences, budget, and particular heating demands. Each type of heater has a mix of benefits and drawbacks. Whichever kind of heater you use, you must always take safety precautions. By researching and using your heater sensibly, you may have a warm and comfortable house all winter while consuming the least energy and having the least damaging effect on the environment. Read Also: What You Should Know about Solar Energy for Schools Benefits The Benefits of Solar Lighting in a Nutshell Everything You Need to Know About Portable Solar Power

READ MOREDetails
Patio Decor Ideas

Creative Bohemian Patio Decor Ideas

Also known as the boho-chic or the gypsy style, the bohemian style is a colorful style, with strong ethnic vibes inspired by the Indian culture and other Eastern influences. In fashion, this style is usually associated with festival looks, with the hippie culture, or with the yoga practice. Overall, it is a style characterized by joy, peace and good vibes. It follows the same rules in interior décor, and due to the fact that it uses a lot of natural materials, this décor style is great for the outdoors. So, if you want to add a colorful touch to a boring patio, we have some excellent suggestions for you. 1. Start with a colorful carpet: A colorful carpet is the foundation of a bohemian patio. Try to avoid earthly shades like brown or beige, because they have a strong Persian vibe and they will lead the overall décor into a different style. Instead opt for a carpet in shades of pink, green, purple, blue, yellow, and orange. The more colorful the carpet is, the more joyful the whole décor will be. 2. Choose patio furniture made of natural materials: If you want classic patio furniture, featuring a table and some chairs, avoid manmade materials like plastic, and instead opt for basic wood or bamboo. As far as the style of the furniture, opt for plain models, without any embellishments, carvings, or decorations. Wicker furniture can also work. DIY furniture is also great for this décor style. For example, you can use tree stubs instead of chairs. You can use pallets to make a sofa. You can even attach some legs or wheels to a thick wood board and use it as a table. 3. Relaxation areas are essential: When it comes to relaxation areas, a sofa just isn’t enough for a bohemian patio. If your space allows it, opt for a baldachin. If not, a hanging chair, a hammock or both can work just as well. Just make sure that all items are colorful and match the overall décor theme. Moreover, don’t forget to throw in some colorful pillows. You can opt for crochet pillows or pillows with Eastern patterns. 4. Don’t forget the plants: Despite the fact that it features a lot of bold colors that don’t really make you think of nature, the bohemian culture is actually all about embracing nature. So, make sure to add some lush greenery to your patio. You can choose any type of plant, but try to stick to leafy plants, as natural green will look great with the bold colors of the bohemian décor. 5. Choose the proper lighting elements: If you are creating a patio, the first thing that should you should be looking at is natural light. This means that natural sunlight should play an important role to elevate the overall experience of the patio. Make sure that you are working with your designer to install a retractable glass patio roof that opens up to allow goodness from sunlight to enter. If your budget is tight, a dozen candles are all you need to give your patio a magical vibe on a warm summer evening. Colorful paper lanterns can also work well. However, if you are willing to spend a little more, there are some great lighting fixtures that you can use in this décor style. From chandeliers to Moroccan lanterns, the bohemian décor embraces all lighting fixtures featuring intricate details. 6. Decorations: Any colorful decorations will go well on a bohemian patio, but there are some classic elements that go well with this décor style. First of all, go crazy with wood stock windchimes. Not only do windchimes look great, but they will also add some musicality to your patio. Dream catchers are also widely associated with this style. For a more authentic vibe, you can also use some eastern pottery as decorations. If you can’t find anything like that or if you can’t afford it, painted bottles can look just as good. A beaded curtain can also be a great idea. If you can’t find one, you can make it yourself. All you need is some string and lots of beads. Yoga-inspired decorations also work well with this décor style, and so do any other decorations inspired by Eastern cultures. Read Also: Mirror Decorating Ideas To Style Your Bathroom Professional Roofing Services And Different Decorating Styles 6 Important Factors Related To Painting And Decorating

READ MOREDetails