Headphones vs Earbuds: How to Choose for the Best Music Experience

Published on: 01 March 2019 Last Updated on: 09 August 2019
headphones vs earbuds

Are you looking for the best way to listen to your music?

Most phones come bundled with a set of earphones but these are often of poor quality. The next step is to either buy a new set or to invest a little more for a headset.

Which one is better?

Choosing between headphones vs earbuds is a lot more complicated than some people think. Only a few people know this, but choosing the right extension enhances your experience tenfold than when you opt for the other choice. Your choice determines how comfortable you are, how deep and resonate the sounds are, and it affects portability too.

Having a hard time knowing which one suits you better?

Read what we have below to find out. We’ll help you find out which is better for you with the help of this earbud and headphone buying guide:

1. Earbuds:

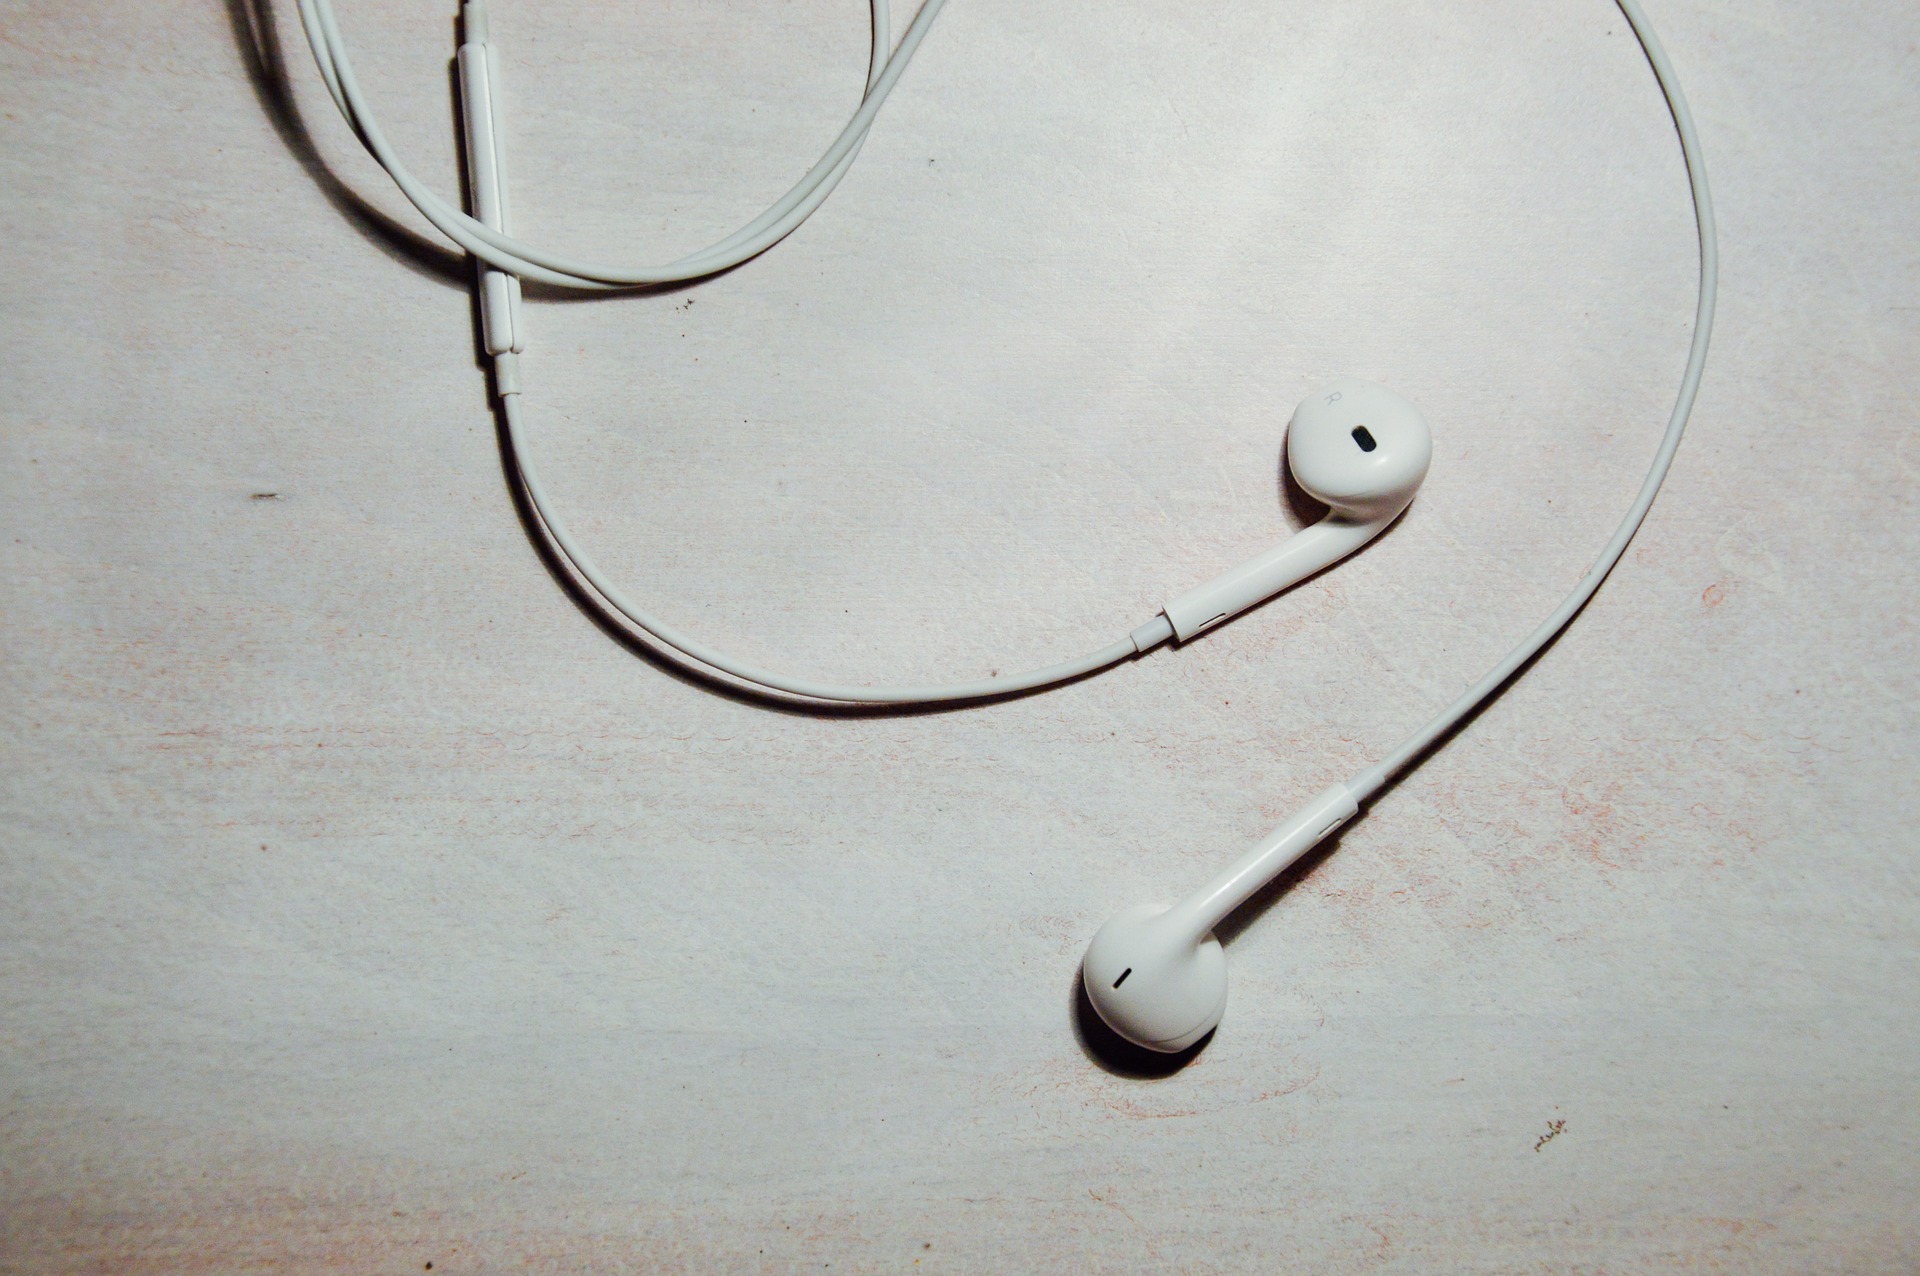
Earbuds

Despite the different types of earbuds though, they tend to follow a similar basic look. Earbuds are 2 devices connected to wires that extend to fill your ear canal.

The way they extend into your ear canal aids you in hearing the bassline of what you’re listening to. This makes them perfect for people who enjoy listening to bass-heavy music nowadays. That’s not the only reason why most people tend to decide to buy earphones.

Convenience is also another reason why most people prefer earphones. They’re small and easy to carry when you’re on the go. You can also put them away with ease as all you need to do is gather their wires and bundle them together.

Speaking of wires, some of them don’t have them anymore. Since earphones are a popular choice among the general populace, a lot of research and development goes towards making them better for their users. This leads to many forms of wireless earbuds.

Yes, it’s true that there may be complications in using wireless earbuds. There is no denying though that they give an unmatched experience when you’re listening to music with them.

People love earbuds because they tend to be cheaper too. You can find high-quality earbuds for a fraction of the price headphones cost with ease.

In fact, there’s a blog about the best earbuds that are below $10. Check it out now!

2. Headphones:

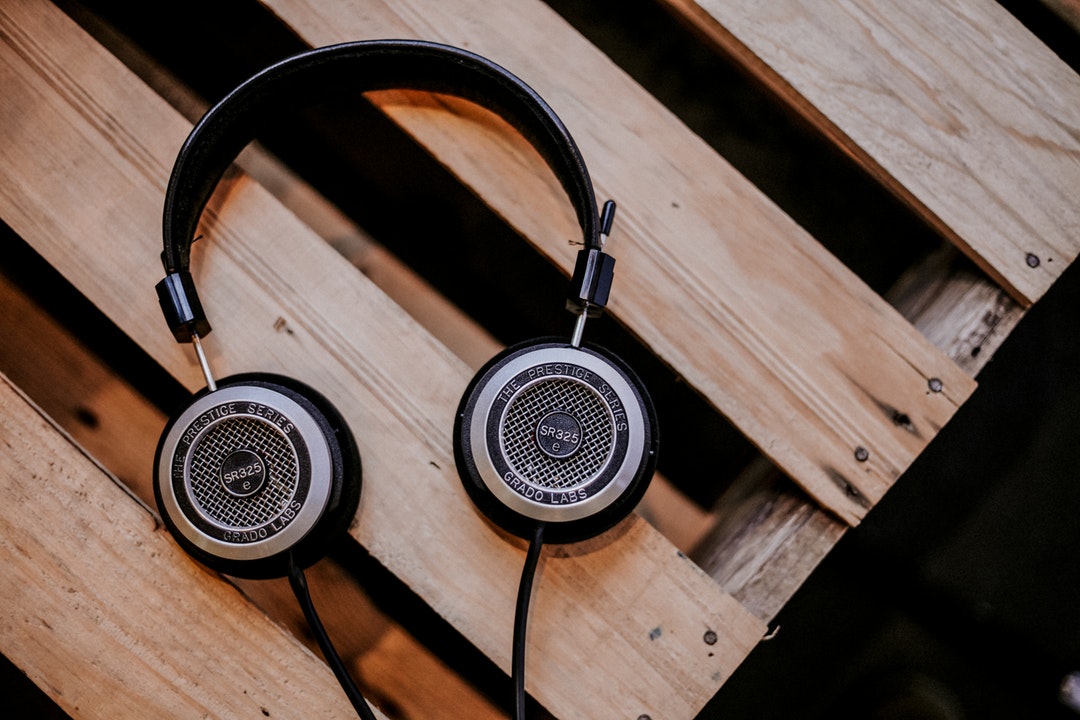
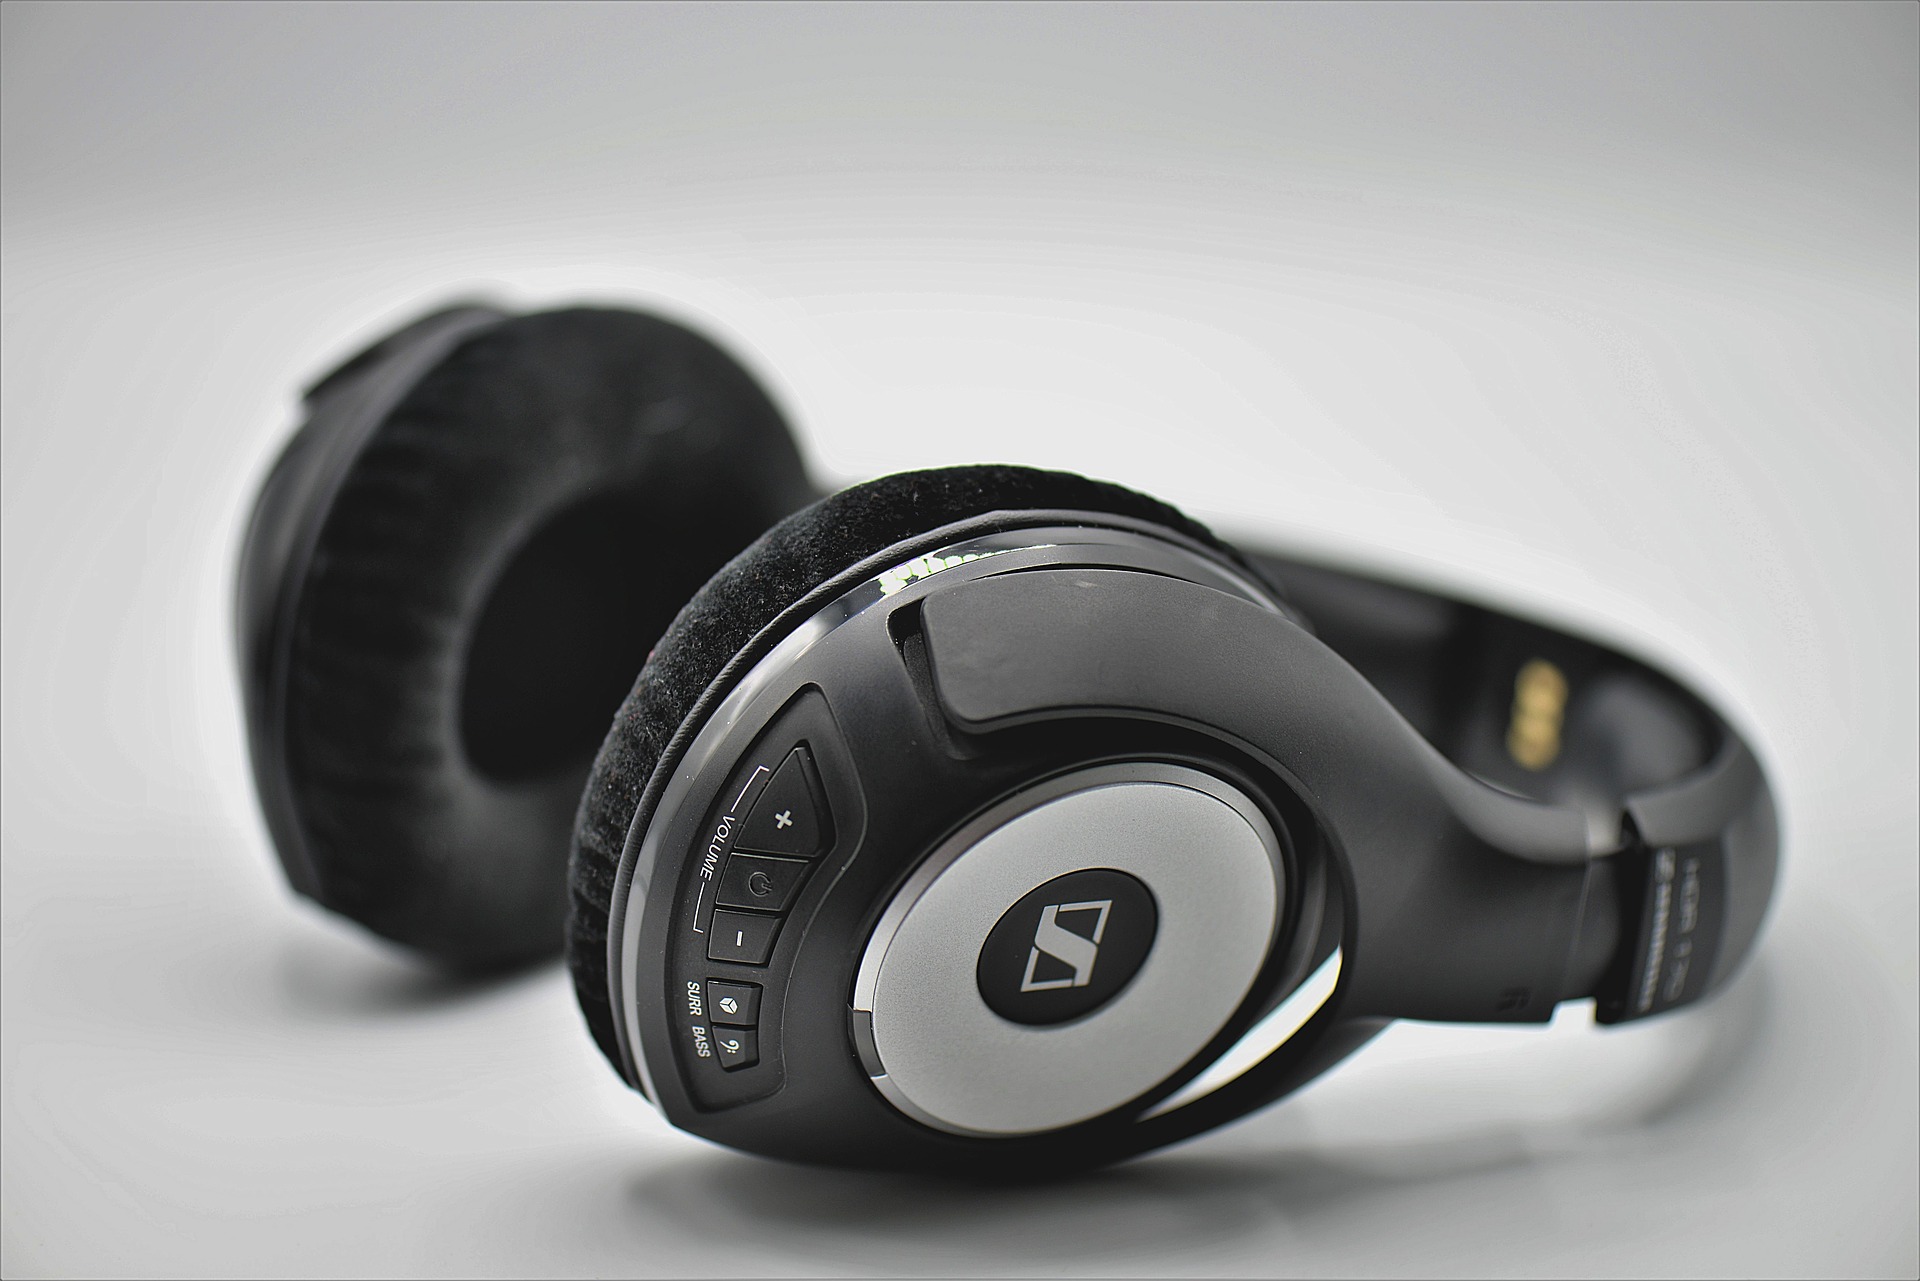
Headphones

Headphones often take up a big part of the user’s head when they wear them. This makes them bulkier than earbuds, thus harder to pack up and use on the go. The added bulk doesn’t come without some added features though.

Instead of going into your ear canal, headphones rest around the outside of your ears. While you won’t be able to hear basslines as well with this setup, this allows acoustic sounds to become more accentuated. This makes them better for people who need to be attentive in listening to audio files for a project or for work.

Like earbuds, there are also wireless versions of headphones. Bluetooth headphones tend to produce top of the line quality for sound. This makes them one of the top electronic gadgets to buy this year.

Another reason why people love headphones is that they have a noise-canceling feature. Because they cover the entire outside of the ear, headphones guide the sound around them, reducing the ambient noise that users hear. This gives some people some degree of privacy as they feel like they’re in their own world.

Make a Choice Between Headphones Vs Earbuds Today:

Choosing between headphones vs earbuds can be a tough decision to make. Use our guide to help you find out which one is better for you. Get your own pair today!

Why stop here? We’ve got other guides for you to read.

If you’re not buying for yourself, then you’re likely buying for your nephew, niece, or child. This is because they’re a popular choice as gifts for children. Check out our guide to buying gadgets for kids to learn more about it.

Read Also:

Content Rally wrapped around an online publication where you can publish your own intellectuals. It is a publishing platform designed to make great stories by content creators. This is your era, your place to be online. So come forward share your views, thoughts and ideas via Content Rally.

View all posts

Leave a Reply

Your email address will not be published. Required fields are marked *

Related

Bikini Trimmer

Useful Tips to Help You Buy the Best Bikini Trimmer

Managing body hairs in sensitive areas can be tricky. Let’s say you want to sport that figure when you head out to the beach. You want to look polished, but some hairs can spoil it for you. As such, you need to go through the best guides that arm you with bikini trimmer buying tips. There is a hill of information about this topic online, and it can be difficult to separate the real stuff from the shallow tips. The good thing about bikini trimmer guides is that they will lead you to a variety of trimmers that fit your needs. It’s important that you factor in your preferences, budget, and lifestyle. Apparently, you need to sift through trimmer reviews and go for one with excellent feedback from other users. The perfect bikini trimmers will come with ergonomic handles that will offer control such that you can maneuver those curves and folds them down there. Buying a bikini trimmer goes past the machine itself. You need to consider the cost of blade replacements, or batteries if it’s a cordless trimmer. You need precision cutting and you should opt for the trimmer whose features enable you to shave with accuracy. What Qualities to Look For? Design: The modern bikini trimmer comes with a range of designs. Away from the fabulous trimmer looks, there is a need to check whether the design specifics match with your needs. Assess whether a given trimmer feels good in your hands and bag. The grip should be excellent. Nobody wants to use a shaver that keeps slipping when you need to be precise. You can opt for straight or curved designs as long as the ergonomics are okay. Bikini trimmer designs and portability go hand in hand. For the ever-mobile woman, the cordless design will suffice. Check whether it can fit your conventional carry pocket. You don’t have to choose the bulky types. Proper research will lead you to a design that is versatile, slim in shape, and with great shaving power. If you don’t want to shave outdoors, the corded, mains power trimmer will suffice. Some bikini trimmers are built with the idea that they can be transformed into an all in one hair clipper device. If you want your trimmer to help you with your eyebrows, check whether there are options to fit in blades that can hack your eyebrows. If not, you can choose a single-use trimmer that is customized to handle more than just bikini shaving. Easy to Maintain and Clean: When you buy a bikini shaver, you want to be sure that it’s easy to maintain the gadget. If you have thick hair, you want the gadget to operate smoothly without issues caused by hair clogging up in some parts. The less the add-on features or ports the better. Remember to choose a trimmer that you can fix on your own. There are low-quality clippers that will keep breaking and require professional attention and money to revive them. Blade Quality: For excellent shaving, check whether the trimmer you buy comes with high-quality stainless steel blades. Who wants to buy trimmers with blades that rust? It can end up posing risks to your sensitive skin. It’s prudent that you consider the trimmer with self-sharpening blades. You don’t have to worry about surgical precision even when your tufts seem troublesome. Waterproof-Wet and Dry Shave: There are individuals who want to shave right after a dip in the pool. If you want to get it done after a shower, you need to have a trimmer that can handle a wet shave. It’s advisable if it’s a double wet and dry shave trimmer. Warranties: Do you want a trimmer that will last and meet the claims that the manufacturer makes? Going for the bikini trimmer that comes with a warranty sounds like a logical idea. In essence, the manufacturer is telling you that they believe in their brand. Don’t fall for cheap trimmers even if the prices are enticing. They will end up costing you more in the long run. Choosing the perfect bikini trimmer is a matter of personal preference and adequate product research. Don’t dive into the purchasing process, when you have no idea about the trimmer that best meets your bikini shaving needs. Read Also: 5 Tips to Give your Hairstyle a Perfect Look What To Know About Laser Hair Removal Utica NY

READ MOREDetails
aeropress machine

How to Make Coffee with Aeropress Machine

 The Aero press is one of the most straightforward gadgets that you can use to make your morning coffee faster. Invented in 2009 by Engineer Allan Adler, the Aeropress machine has gained popularity due to its small size, high portability and efficient speed in brewing coffee. Due to its portability, you can carry the device to your camping escapade, fishing, or any sporting coffee. With the Aeropress machine, you can have your coffee anywhere at any time. How to assemble an Aeropress machine Remember, you can buy your Aeropress coffee maker from a trustworthy place. Some of the accessories that come with the coffee machine include: The Aeropress device which is a plastic plunger Cap that should get placed at the end of the AeroPress device The fillers which should be used alongside the cap A scoop that should be used to measure the coffee A funnel to put the beans and neatly organize them in the chamber Paddle to be used in stirring the coffee Once you have acquired all the accessories of the AeroPress machine, here is how to assemble the machine: Step 1: Push the plunger of the machine out of the chamber Step2: Remove the filter and put it in the filter cap Step3: By twisting the filter cap, put it into the chamber Step4:  Put the chamber on top of a stand. Put the chamber on a sturdy mug and ensure it stands firmly. Put the ground coffee in the chamber. Step5: Share properly to ensure the coffee is leveled correctly. Step 6:  Add water to the chamber. Ensure the water fill up to level 1. At this point, you are ready to brew the coffee. If you want hot coffee, use hot water, but if you need cold coffee, use cold water. Remember, with the AeroPress machine, the coffee taste is determined purely by the water's temperature. If you use boiling water, it will make your coffee bitter. The manufacturer's recommendation is to use water at 175 degrees. Though it is not practical to achieve the exact temperature, you can boil the water and allow it to cool down before using it. Also, ensure that you use high-quality coffee bean; preferably, coffee beans that have been ground recently. The coffee bean should be finely ground. How to brew coffee If you have everything in place, the process of brewing coffee should take less than two minutes. There are two ways to make coffee using the AeroPress machine; the inverted way, and the usual way. Both methods make delicious coffee, but one is faster. Equipment required Electric stove and kettle The AeroPress machine; stirrer, funnel, and scoop A coffee grinder Small pitcher, or a mug Timer Original method Start by boiling the water. Remember, boil the water and let it cool for a minute since the coffee maker works best at a temperature of 175 degrees. Grind your beans. Depending on the amount of coffee that you want to make, grind the beans accordingly. For the two cups, grind at least two spoonfuls of coffee. Remember, you must grind the coffee until its fine. Ensure the filter is wet. After assembling the Aeropress machine, put paper filler inside the cap. Place the device on top of a mug and dab the filter with warm water. Place the warm funnel on top of a mug and dispense the coffee. After pouring the coffee, remove the funnel. Add warm water. Ensure you add the water until it gets to the marked line in the machine. Remember, the water should be recently boiled and cooled. Using a spoon or a paddle stirrer, stir the coffee until it dissolves. Insert the plunger by pressing it down till a hiss is heard. If you fill any resistance, pause briefly. Push the plunger gently until it reaches the ground. 8. Remove filler cap while pushing the plunger. This should eject the used coffee while rinsing the seal. Dilute and taste your coffee. Depending on how you want your coffee to taste, add more water. The Aeropress machine makes concentrated coffee. Thus you can split the concentrated coffee and make more cups. Reverse method Reverse method is similar to the standard process but with few adjustments. Here is the method: Start by assembling the Aeropress machine. Remember, in this method, and the machine must get assembled in an upside-down manner. Put the plunger in the chamber, flip the device upside-down, and don't put the cap and the filter. Put the funnel and pour the ground coffee. Use fine coffee grits enough for the amount of coffee needed. Next, add boiled water until you fill the filter. Remember, you should boil the water and let it cool for a few minutes. using a spoon or a paddle, stir the coffee gently. Steep the coffee for at least one minute. Place the paper cap and tightly screw it into the chamber Carefully, flip over the machine. Remember, this should get done accurately and quickly. After flipping, place the device on a mug Taste the coffee and dilute as desired. Remember, both ways make concentrated coffee, thus add water until you get the desired coffee. The Aeropress machine features as the most resourceful and most efficient coffee maker. It is less fussy and makes minimum noise; hence, you can use in places that require minimum noise. The machine is also highly affordable, with some brand costing less than twenty dollars on amazon. It is light and highly durable; thus, it can last long and give you value for money. It is easy to assemble and clean, even if you don't have any technical knowledge. The only downside of this machine is that you can only make two cups of coffee. Thus, if you are hosting a party, or your household has more than two people, then you will be forced to make the coffee several times. How to make coffee: [embed]https://www.youtube.com/watch?v=jlCUYNe9pes&t=100s[/embed] Read Also: 10 Best Coffee Places In The US How You Can Create A Coffee House Experience In Your Own Home 7 Fantastically Unusual Uses Of Old Coffee Beans Monthly Best Coffee Subscription

READ MOREDetails
Never Keep a Loaded Gun

5 Must need Accessories for a Firearm Owner

When the talk is about guns and firearms, it is highly recommended that you stay careful and protective. Here are five awesome must need accessories that a firearm owner should keep ensuring safety. These are inexpensive and add extra value to your firearm. To know 5 must need accessories for your firearm, keep reading. 5 Must need Accessories for a Firearm Owner 1. Sling: When it comes to firearms, a sling means a form of strap or harness specifically designed to allow a user to carry his gun comfortably with his body. There are different types of slings for a gun available in the market such as a traditional two-point sling, ching sling, three-point sling, single-point sling, etc. Different types of slings offer different advantages and disadvantages. So, before buying, know your and your firearm’s needs and buy accordingly. 2. Gun case: While it is an open secret that owning a firearm is quite an expensive hobby, so you would surely want to keep your gun safe so that you can use it for a lifetime. A gun case is a container or box which provides your gun with an extra layer of security from unauthorized access, spillage, scratch, or dropping. It also safeguards your firearm from dust and dirt and maintains its finish. Before buying a gun case, make sure it suits your gun model and the quality remains optimum. 3. Gun cleaning kit: Gun cleaning kit is something essential to keep your gun in good health. A gun cleaning kit is a box that contains a set of tools to be used for different purposes. You can clean your gun after a few uses or oil it regularly so that it holds its functionality to the optimum level for years. Apart from that, with a single cleaning kit, you can take good care of your multiple firearms. Before buying a gun cleaning kit, do not forget to check what tools it offers. 4. Trigger guard: Trigger guards are small and custom-fit pieces that slip over on the trigger to safeguard your gun from any unintended discharge. In general, trigger guards come with a paracord lanyard to help it remove quickly and safely. As trigger guards totally cover your gun’s trigger and nicely attach with your firearm, so it is a very good option for pocket carry. Using it is also very simple; attach the lanyard with your belt loop or belt and when necessary, just press the lanyard to snap off the trigger guard. Adding to that, these trigger guards come with different colors to add some extra coolness to your firearm. 5. Empty-chamber indicator: Empty-chamber indicators are brightly colored plastics that indicates whether your firearm is loaded or unloaded. The indicators slide into the chamber and make the firearm unworkable. While you are on the range and place your firearm on the bench, these empty-chamber indicators let other shooters know that your weapon is unloaded and harmless. These are a great and helpful tool while kids are around your firearm. Read Also: 6 Tips for Keeping Your Home Clean (With Pets and Kids) How Gun and Security Gear Advanced through the Years

READ MOREDetails