Budget Friendly Home Improvement Hacks To Save Your Pockets

Published on: 22 March 2021 Last Updated on: 27 December 2024
Home Improvement Hacks

Home improvement is a big deal now, with more people embracing their creativity and letting it show in the places they live.

This has led to the rise of incredible trends and hacks that provide the perfect opportunity for people to work in their homes. However, with all this development, it also gets confusing and daunting for some people.

This is mainly because they have no idea where to start or some of the hacks they can include in different areas.

These hacks are meant to be easily doable tasks that will transform your space when implemented. We’ve categorized these hacks in terms of placement and application. Some of them include:
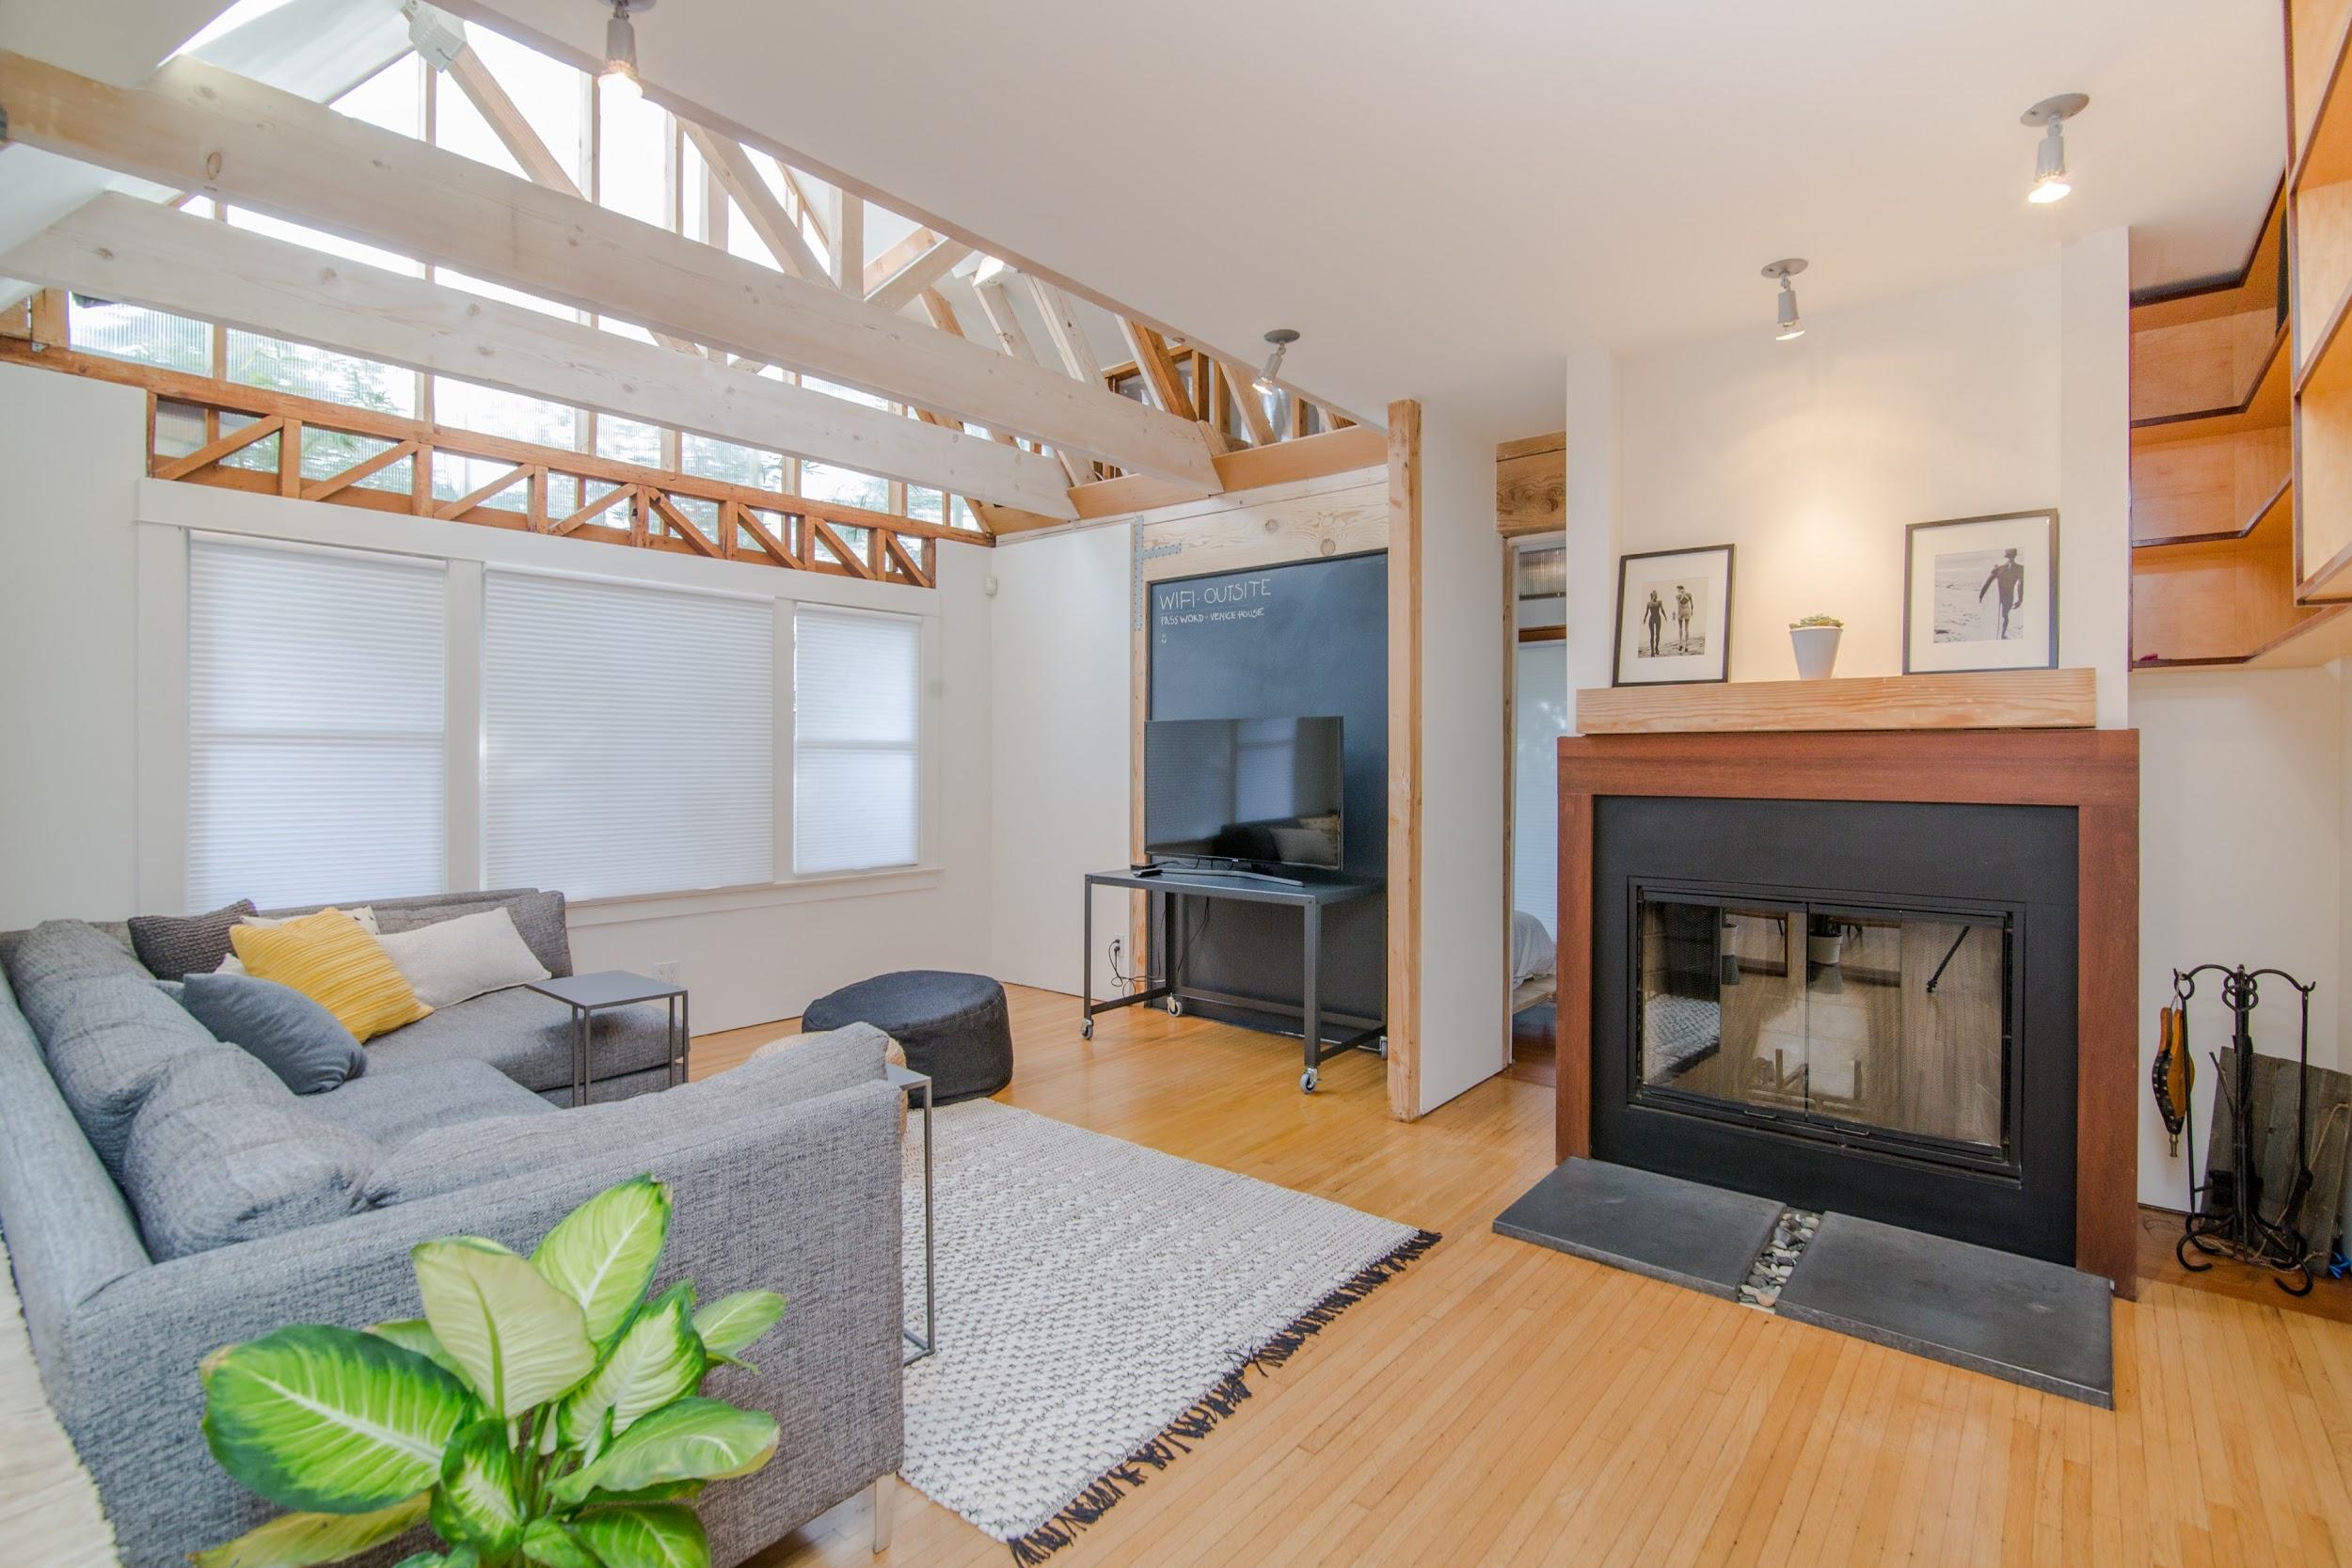
Floors

Floors

In the home, floors play a big role in how the home looks and the general style you’ll be working with.

A few tweaks here and there can completely change the look of your floors and add style and character. Some of the most versatile hacks to include for your flooring include:

Peel And Stick Tiles

When it comes to finding the perfect flooring for that annoying red floor or just need a new look, peel and stick tiles will do the trick. These tiles are amazing given that you can easily install them yourself.

They are designed to give off the illusion of regular tiles without having to deal with grout, glue, and other tedious processes.

You can get them in different colors, styles, and patterns making them the perfect option.

Replacing Your Tile Grout

When dealing with tiles for your flooring, you may find that the grout may get stained and turn to a different color which becomes hard to clean.

However, you have the option of replacing the grout with a new one in the same color or a different one.

Adding A New Finish

This is especially a great idea if you are dealing with wooden flooring. With this, it is easier to add a new finish when needed to give the floors a new and vibrant look.
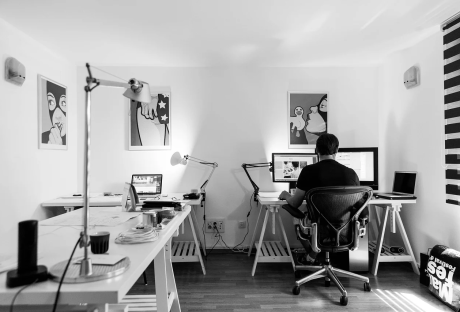
Lighting

Lighting

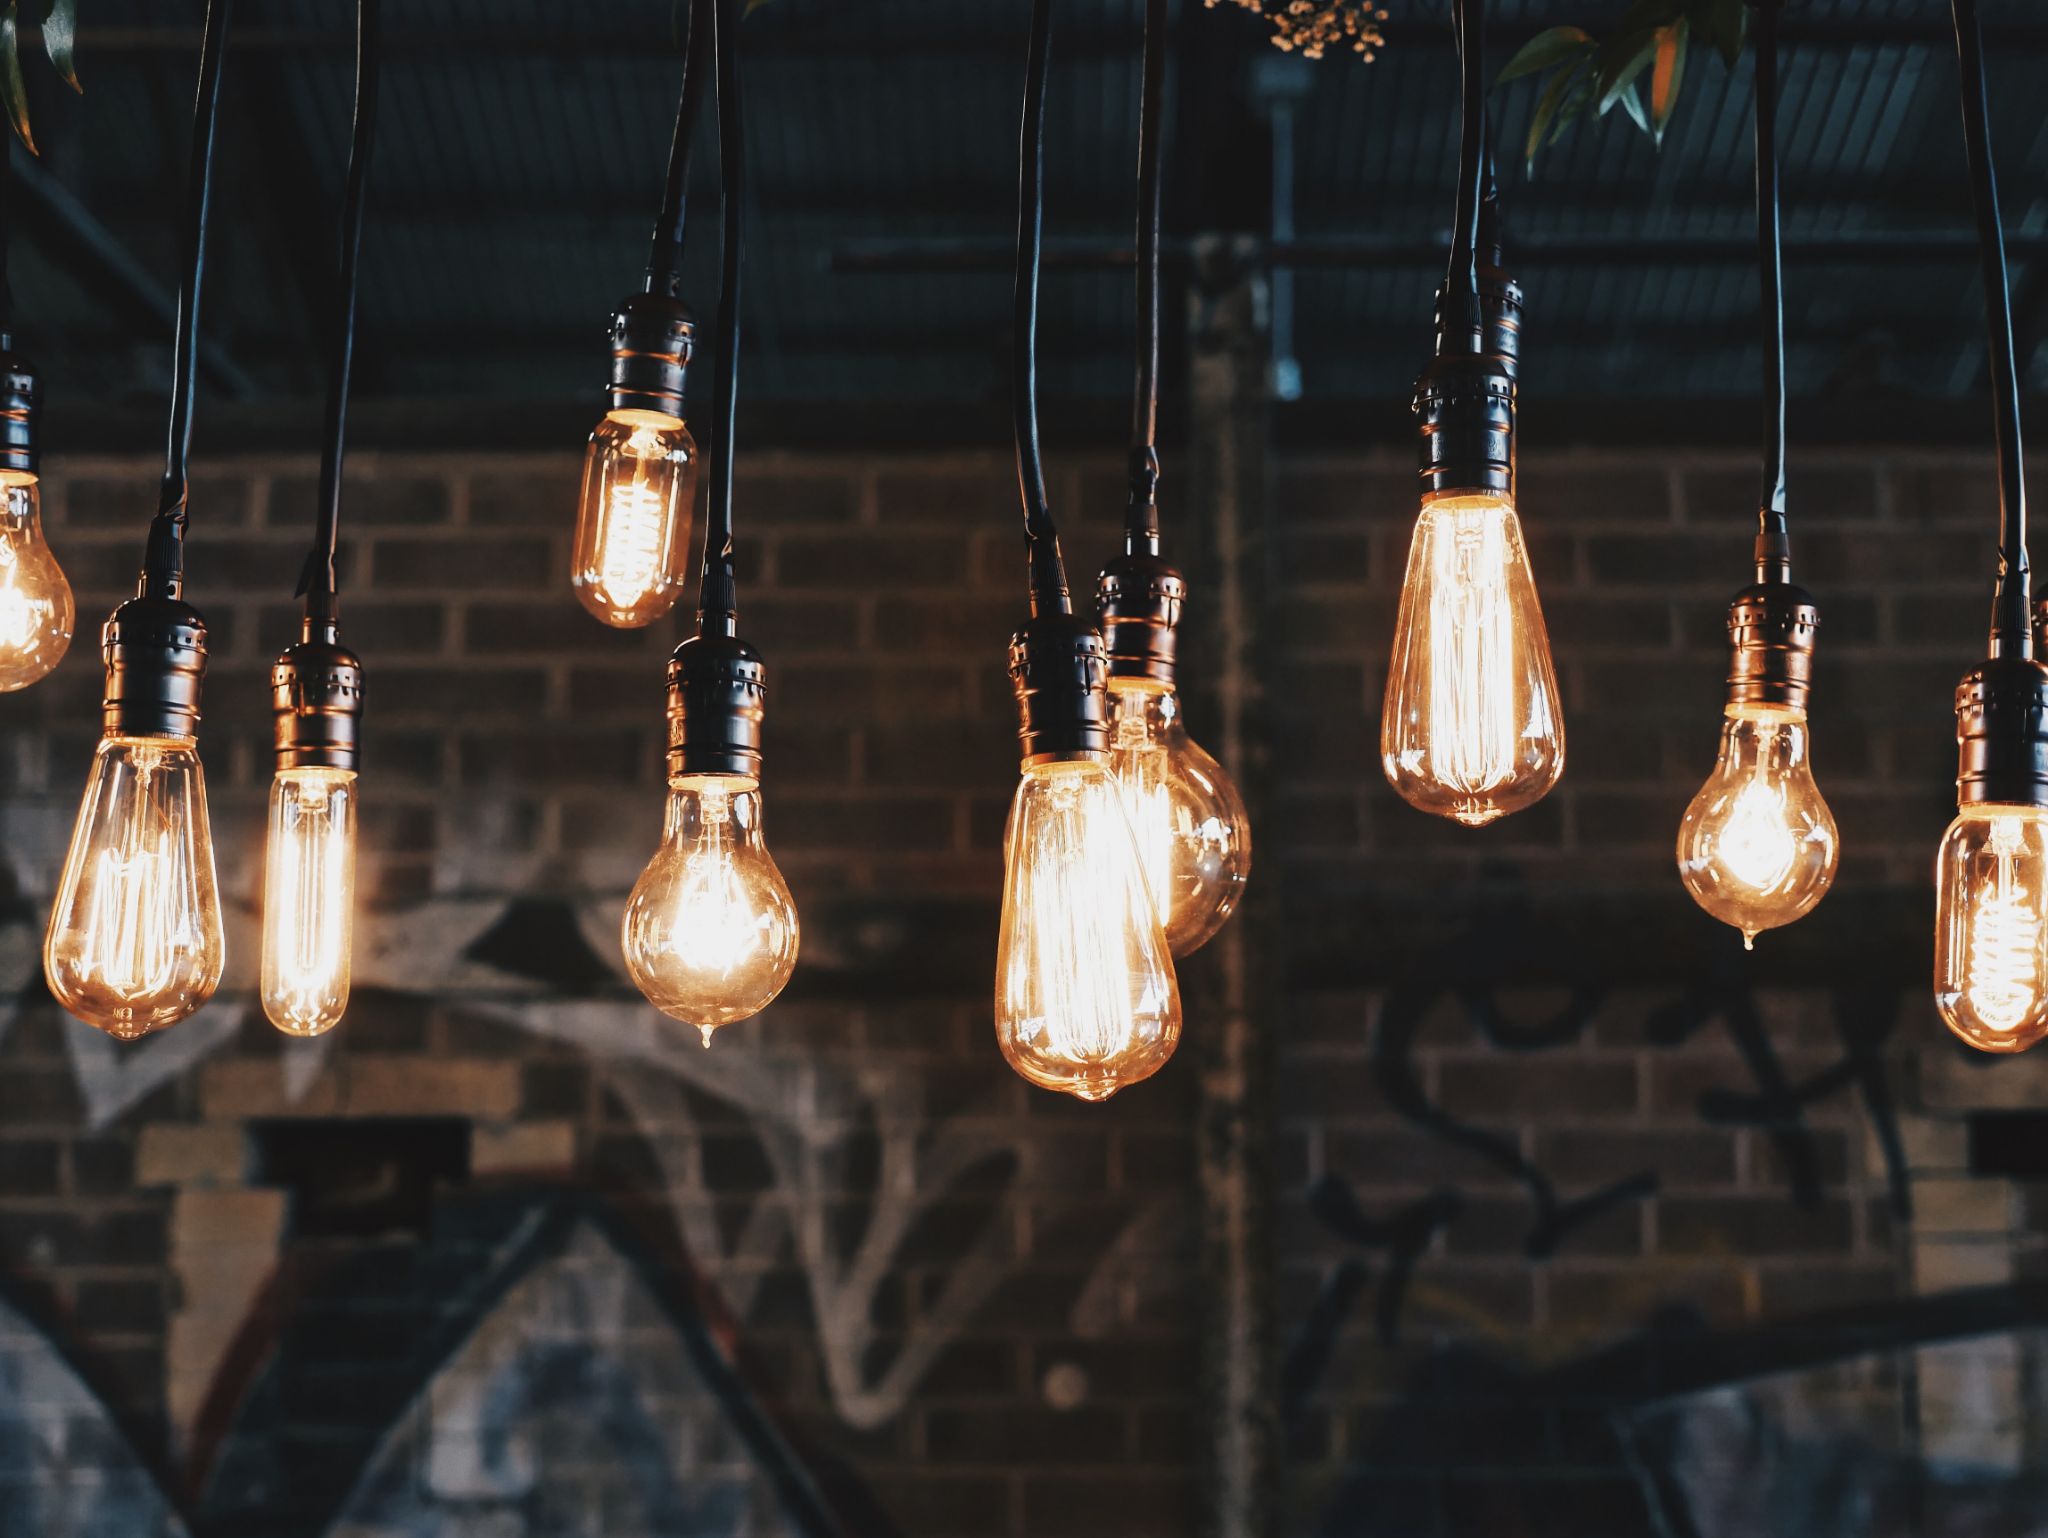
One of the most understated hacks is the ability to switch out your light fixtures and improve the overall look significantly. Most people don’t know what role lighting plays in your space. You need to improve your lighting situation, which will give your space more life.

To make it more appealing, consider getting light fixtures that feature some detail and a unique design.

Additionally, you could also include under-cabinet lighting for your kitchen featuring the use of custom led lights.

You also have the option of choosing to go with statement chandeliers, floor lamps, wall lights, and pendant lights among others. When it comes to lighting, you are spoilt for choice and can easily improve your space.
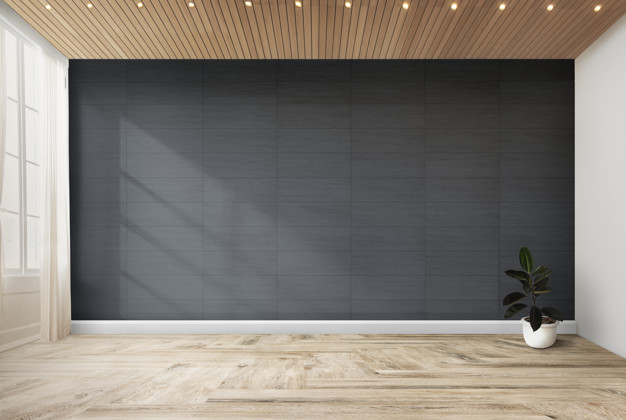
Walls

Adding some style to your walls is another great way to improve the overall look of your home. For this, you have a few options to choose from that are easy to work with and get quality results. They include:

Adding a Fresh Coat of Paint

Paint is a great easy way to get a different look when working on your walls. With this, you have the option of working with a variety of colors depending on the vibe you are going for.

Additionally, you could paint one wall a different color and have that as your accent wall. This will improve the look of your room significantly.

Adding A Wallpaper

Wallpapers provide a layout, especially if you don’t want to do a paint job on your walls. They come in different types, patterns, and designs to ensure that they cater to everyone’s needs.

With this, you can choose to cover all your walls or use them on one wall that will serve as your accent wall.

Hanging Art

Art is another great way to bring your taste and style into your home. For this, you can create your art piece or purchase one made by another artist.

Entryway

When it comes to your entryway, the first thing you need to consider is your storage options. Once you get into the house, where do your shoes, bag, coat, and keys go?

Having a station where all these items can be kept will keep the home tidy and add a great design aspect to your space. Additionally, you can also add other decor items to make your entryway arrangement more visually appealing.

Patio

Patio

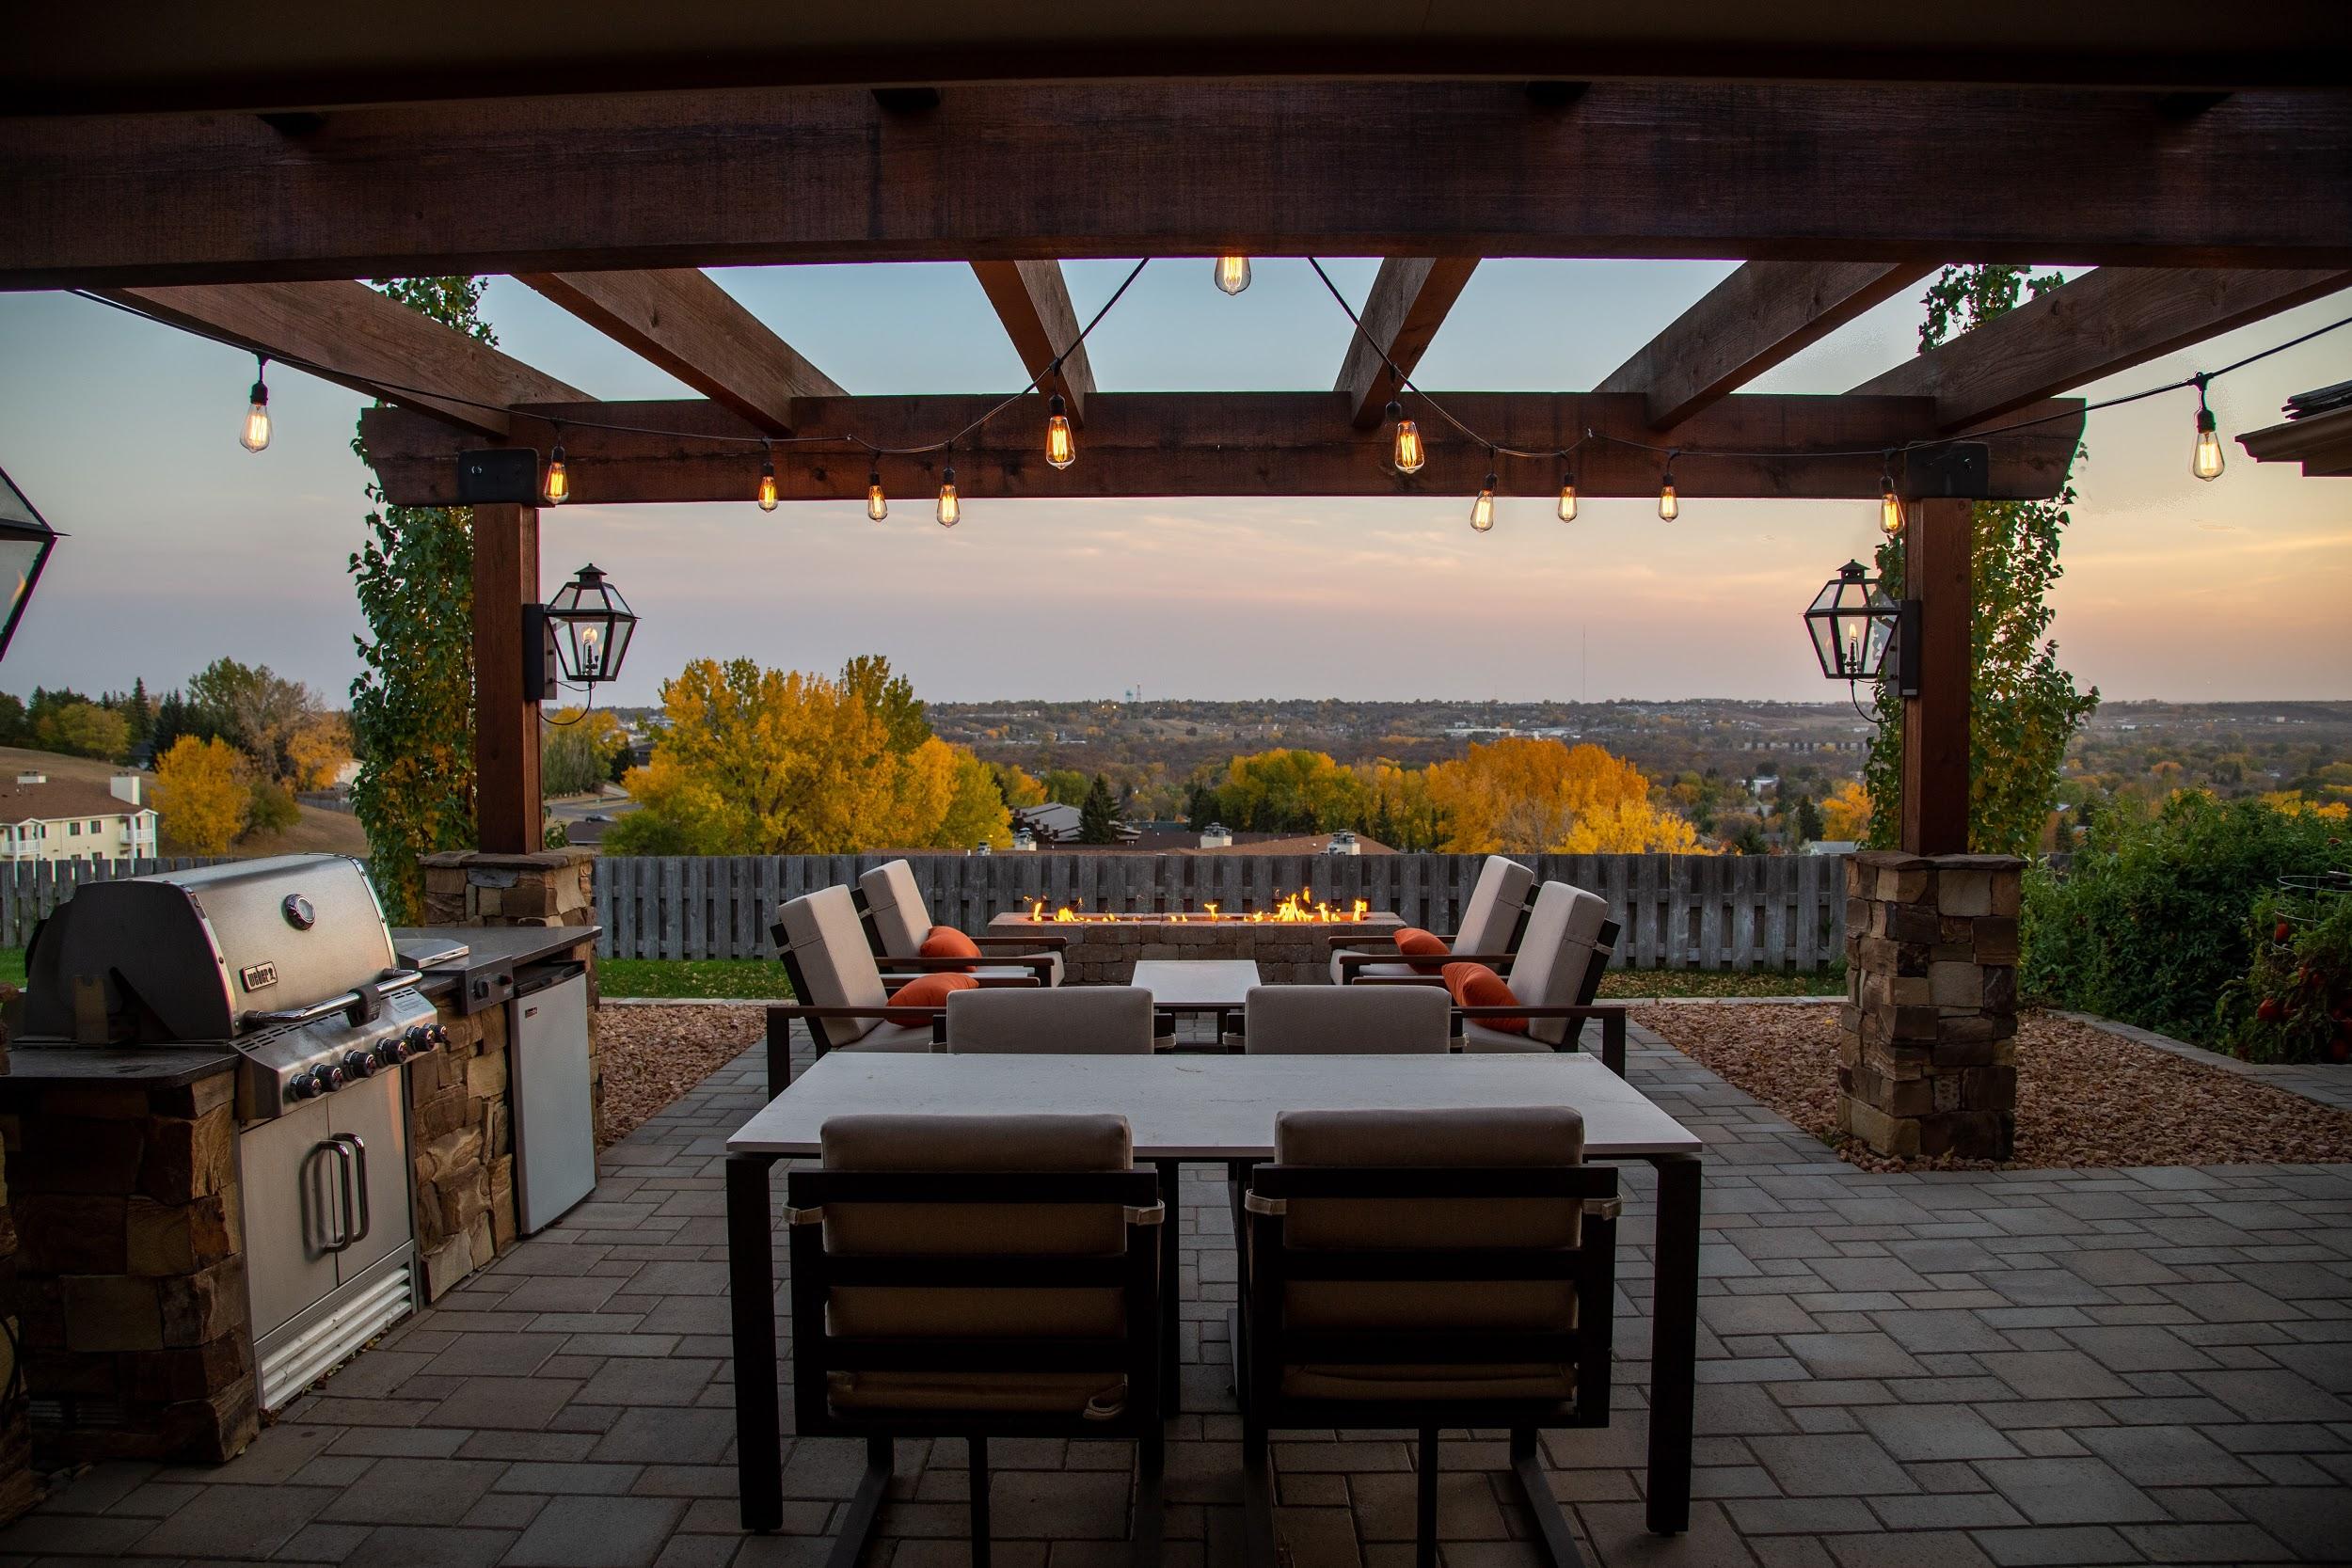
When it comes to dealing with the outdoors, one of the most effective ways to change it is by adding a seating area. Be creative with this and go for something that portrays who you are. Don’t be too rigid and only stick to what’s normal.

Find what works for you and add it to your space. Play around with colors and create a cozy space to relax with family and friends.

Greenery

Adding some green aspects to your home is an amazing way to improve the look and add some character. The best part about adding greenery to your space is that it will help improve air circulation.

When working with greenery, you need to take the time to water them to ensure they are healthy at all times. You could also opt for fake plants, given that they will add the same look and style.

Adding Budget-Friendly Feng-Shi To Home-Decor

Adding Budget-Friendly Feng-Shi To Home-Decor

Are you looking to bring more balance and good vibes into your home without breaking the bank?

Feng Shui is all about creating harmony in your living space, and you don’t need to spend a fortune to make it happen.

With just a few budget-friendly changes, you can invite positive energy, or “Chi,” into your home and make it a calming, welcoming space.

Clear The Clutter

The first and easiest Feng Shui tip: declutter! It’s amazing how much difference a tidy room can make. When you get rid of the excess, you’re not only creating physical space, but you’re also allowing the energy to flow freely.

Take a walk around your home and ask yourself: Do I really need this? Less clutter equals more clarity and positive energy.

Maximize Natural Light

Good lighting is key to great Feng Shui. Natural light boosts the energy in any room, so open up those curtains and let the sunlight pour in.

If you’re working in a space that doesn’t get much natural light, don’t worry. You can place mirrors strategically to reflect and amplify what little sunlight you have. Mirrors are like energy boosters!

Bring in Some Green

Plants are a staple in Feng Shui. They not only clean the air but also represent life, growth, and vitality. Even a small potted plant can make a huge difference.

If you’re not exactly a plant person (hello, brown thumbs!), opt for easy-to-care-for plants like succulents or snake plants. And don’t worry; artificial plants can also work if they look realistic.

Use Soft, Calming Colors

You don’t need to repaint your entire house to improve the flow of energy. Start by adding calming colors like soft greens, blues, or neutrals in small touches, think cushions, throws, or wall art.

These tones promote peace and relaxation, which is exactly what you want in a balanced space.

Arrange Furniture With Intention

Did you know that where you place your furniture can affect the energy in a room? Try to arrange your furniture so that you can see the door from where you’re sitting or sleeping.

It promotes a feeling of safety and control. Plus, don’t block pathways with furniture, as it interrupts the flow of energy.

Ready to try it out? Let Feng Shui transform your space!

Improve Your Living Space!

Investing in your home and interior design is essential to ensure that you are content with your living space. This is something you can do by implementing a few hacks here and there.

Take your time to go through them and add them to your space one at a time. Transformation is a gradual process which means you’ll need to keep at it until you get to your desired outcome.

Read Also:

Content Rally wrapped around an online publication where you can publish your own intellectuals. It is a publishing platform designed to make great stories by content creators. This is your era, your place to be online. So come forward share your views, thoughts and ideas via Content Rally.

View all posts

Leave a Reply

Your email address will not be published. Required fields are marked *

Related

Remodeling Tips for New Homeowners

Remodeling Tips for New Homeowners

Everyone has their reason for embarking on a home remodeling project, but the thrill remains the same, especially as a new homeowner. Perhaps, you want to improve the value of your home or want it to fit your style? Regardless, it's an exciting project that comes with a lot of work— sometimes more than bargained. It can be devastating to embark on a remodeling project only to realize halfway that it's unachievable. So, whether you will be getting the assistance of a remodeling company or you'll be handling this project alone, here are five tips you should know before starting. 1. Try to ask for help: It takes more than a pair of jeans and a well-equipped toolbox to produce quality work on a renovation project. First off, as an amateur, certain tools aren't suitable for you. Secondly, YouTube tutorials may not always have all the answers and solutions you need. So, except remodeling is something you have years of experience in, don't shy away from asking for help. A simple Google search should come in handy in this respect. For example, if you live in Houston, Texas, a quick search for Houston, Tx remodeling company should deliver some viable results. 2. Make a priority list: While some people can afford to stay in hotels during home renovations, you may not have that luxury and will have to keep living in your home during the renovation. The best way to avoid feeling overwhelmed by the home renovation process is to tackle time-sensitive projects first, like water damage or a leaking roof. Additionally, areas of the house you use frequently should be a top priority. That way, you can still go about your daily life even though your home is under renovation. 3. Set a budget: Contrary to what some TV shows make us believe, remodeling a house can run your account dry, especially if you don't have an accurate budget. So, the next step after drawing out a plan would be to determine your budget and financing. Although budgeting isn't the most fun thing to do (as it requires you to find a balance between the available finance and your dream design), it's an essential part of the remodeling process because it helps you gauge your expectations. Your budget should ideally include everything from the costs for permits to building materials, labor, painting, and cosmetic touch. It's easier to stick to your budget if it's accurate. So, make sure you get a contractor to review it or request cost estimates from professionals. You can look up companies in the Houston area that offer free estimate and consultation services to save costs here. 4. Remember the big picture: When taking up a remodel project, it's essential always to keep the big picture in mind. Remember that energy costs, water bills, and repair expenses can add up quickly in the future. So, make sure you include them all in your plan. Furthermore, since you're remodeling, you may want to invest in sustainable appliances that respect resources and support sustainable living. This is especially vital for a bathroom renovation. This area of the home can spike up your future heating and water costs. In a nutshell, you need to consider ways to save money both now and in the future; your bank account will thank you for these decisions in years to come. 5. Don't focus solely on design: Sure, many of us have a design that fits our style in mind before embarking on a remodel project. Perhaps, it's your kitchen, bedroom, or study that concerns you. However, you'll have to find a balance between getting the design you want and maintaining functionality. Many contemporary homes now blend functionality with design. For instance, if you have a small kitchen space, you may want to consider forfeiting some fixtures like the planning desk that no one really uses. That way, you save on space and maintain functionality. Read Also: Home Improvement Hacks to Add to Your Space Ideas for Modern Flooring Designs for Home Improvement Plans 6 Interior Design Tips to Make Your House a Home

READ MOREDetails
Drywall

Elevate Your Home With Unique Ceiling Textures

Drywalls are those construction materials that are used to create walls and ceilings in your home. Not all that, but drywalls also come in handy if you want to create design features like eaves, arches, or any mind-blowing architectural requirements!!! Do you know the best part about drywalls? These are super easy to install, highly durable, and only require simple repairs when damaged. So, drywall is a flat component composed of calcium sulfate dihydrate, typically between thick sheets of backer paper, and facer, used to construct interior ceilings. Let’s talk about the ceiling textures and the drywall options you can choose for your home!!! The Ceiling Textures And Your Drywall Options Decorating your home can be a real challenge for many !!! Therefore, choosing the right drywall finish or texture can prove to be a hard nut to crack. And it’s very natural to get in a state of indecision if you are handpicking it for your new home or renovation project. There are so many options that it feels like you are “searching for a pearl in an ocean.” Making up your mind about whether or not to go texturing your ceiling can be a tough job. And even if you choose to texture your ceilings, there are chances you’ll be confused about which one to go for!!!! And remember, getting the drywall right is the first step of tiling projects?”. But No Need to Worry!! This article will guide you in choosing the perfect texture and drywall option for your ceilings to look more elegant than ever!! 1. Sheetrock Texture: Old Is Gold Sheetrock ceiling texture is a drywall ceiling texture that has been famous since 1917. The reason this drywall texture is so awesomely renowned is because of the artistic look that it gives to your ceiling And the best part is you don’t need to use any sort of spray paint in this case. You can achieve this texture by using your artistic hand technique and without using any special brushes. This texture is perfect for any room. There are no restrictions on the use of this ceiling texture. 2. Stipple Brush Texture: A Test Of Your Skill This texture is not as easy as it seems. You need skills to create this texture. To create this texture, you need a roller and slap brush. The fascinating fact about this texture is it can cover the bumps and holes on your ceiling. And if you have the skills, then this texture can surely make your ceiling look gorgeous than ever!! 3. Swirl Texture: Creativity Taken To A New Level To achieve this texture, you need either a roller or sprayer. You can also do this by using a technique called “the basic swirl” method. But one thing that you need to keep in mind is while creating this texture, you’ll need a lot of patience to get the best result. And the difficult part is you need to create the pattern before the mud dries. So, make sure to have a helping hand by your side. Overall, the texture can really give that awesome look on your ceilings if you do it in the right way!!! 4. Orange Peel Texture: A Color Of Choice The name suggests all the colors of orange skin, but sometimes it’s also called “an eggshell” ceiling texture. If you really love this color, then this can be on the top of your favorite lists. To create this texture, you need to apply thin mud to the ceiling using a spray gun set at very high pressure. The more artistic mind you have, the more artistic look it has got!!!! 5. Smooth Textures: Choice Of Many If you are someone who wants the best at a cheap cost, then this texture is just the right choice for you. Moreover, you don’t need to have many skills to create this texture design. The look of this texture is just mind-blowing, and if you are someone who likes things to be consistently gorgeous, then this is the texture you can have for your ceiling. This texture is effortless to remove and is also perfectly suited for any room. 6. Tree Bark Texture: Beauty Of Nature If you are someone who loves nature and wants to bring the reflection of nature inside your home, then this textured style is just the option you can have. This ceiling has the look of a tree. You can create this texture just by using a heavy roller. The texture might look simply, but it’s very artistic and can surely catch the eyes of many. If you have a farmhouse, then this texture will double the beauty!!!!! 7. Slap Brush Texture: Slap The Beauty Out Artistic, gorgeous, beautiful, and elegant are the nicknames you can give to this texture. A complete package of beauty!!!! To get this texture, you’ll need a brush with very stiff bristles and thin mud. Firstly, you have to cover your ceiling with mud using a roller, then take the brush and slap the ceiling from the edge. This can be a hard nut to crack because if you don’t get it right on the first shot, the whole ceiling might end up looking messy. 8. Popcorn Texture: Cottage Cheese This texture, also known as the “cottage cheese” or “acoustic” ceiling texture, is probably one of the most famous ceiling textures ever!!! If you look closely, you’ll see it’s kind of a look-alike of “popcorn.” That’s why it’s called “popcorn texture.” To achieve the correct texture, you need to use a sprayer to apply to your ceiling. This contains Styrofoam with mud which gives that puffy effect. But it will require you to have a lot of skill to achieve this effect. That’s because the “popcorn texture” is both challenging to apply and remove. I hope this article will help you to know about the needs of ceiling textures and drywall options. And now I believe you’ll be able to get yourself the perfect texture for your ceilings. How Can I Remove Old Ceiling Textures Safely? Removing old ceiling textures can be a big job, but it doesn’t have to be intimidating! If you want to update your ceiling and get rid of that outdated texture, I’m here to help. No matter if you have popcorn, stipple, or another type of texture, this process takes a little bit of care, but don’t worry! Here’s a step-by-step guide on how to remove an old ceiling texture without breaking your back or the bank. Step 1: Test For Asbestos Before you get out any tools…safety first!  Remember, many older ceilings (especially those with popcorn texture installed prior to 1980) contain asbestos. Before doing anything else, have your ceiling tested for asbestos. You can hire a pro to test the ceiling or buy a self-test kit. If asbestos is present, halt all work and consult pros immediately. Asbestos removal is not a do-it-yourself job because it poses serious health risks if mishandled. Step 2: Clear The Room If there’s no asbestos present, it’s time to get the room ready. Cover all the furniture. You’d be amazed at how far a fine mist of water, compound, and paint can travel! Also, plastic should be removed from the floors, and tape should be around any ceiling fans or lights that are not being removed. I can personally tell you we didn’t do this. We found dried white dust on our bedspread when we were stripping the wallpaper in our bedroom, and we had to clean up all the residual dust a little too late. It was wild! Step 3: Soften The Texture For Better Finish Here’s where the fun starts! To make that texture easier to remove, you’ll need to soften it. Fill a spray bottle with warm water and mist the ceiling. You don’t want to drench it. If you put too much water on the ceiling, it could end up damaging the drywall underneath. Allow the water to sit for about 15–20 minutes or so, giving it time to penetrate and loosen up that texture material. Don’t rush this step. It’ll only cause more work for you in the long run. Step 4: Clean Your Work Grab a wide putty knife or scraper and start scraping off the texture. Do small sections at a time, and scrape at a shallow angle so that you don’t gouge the drywall underneath. If it’s not coming off well, spray some more with the water bottle and let it sit for a little longer. This step can be kind of messy and time-consuming, but have patience because, in the end, you will have a nice smooth ceiling. Step 5: Patch & Sand Once the texture is gone, you may notice a few dings or dents in the ceiling. Don’t worry! Just fill them with some joint compound, sand it smooth, wipe away any dust and you’re ready for a new ceiling. And that’s it! A fresh, smooth ceiling in no time! Read Also: Here’s How to Turn Your Garage into a Bedroom on a Budget! Turn your attic into a living space

READ MOREDetails
Prevent Insects

Simple Ways To Prevent Insects From Taking Over Your Kitchen

No one wants to come home to a kitchen crawling with critters. Imagine coming home and seeing ants, weevils, cockroaches, and other insects moving amongst your foodstuff and utensils. If that doesn’t make the hairs on your neck stand, we don’t know what will. Not only do these insects carry germs and other harmful substances, but they also have a distinctive odor that lingers even after they leave. Pests can chew through boxes and plastic containers; some can even chew through metal. They can also contaminate food and surfaces, and they leave droppings on drawers and pantries. These pests are a nuisance that most homemakers don't want to encounter because they know how wasteful and problematic they can become. You don’t want to throw away (but you have to) cereals, pasta, and other foodstuffs that have been crawled and nibbled upon by rodents, cockroaches, and other pests, don't you? In this case, you need to look for a reputable pest control company like Top Line Pest Control to ensure there won’t be any pests in your home fast. Here Are Four Prime Steps To Prevent Insects From Taking Over Your Kitchen If you want to keep your home pest-free, here are some things you need to consider. 1. Immediate clean-up Crumbs, leftovers, and spills always attract pests inside the house. It would be best to conduct an immediate clean-up after every meal. Remove leftovers and place them in your recycling bin or trash compactor, place your dishes and utensils in the dishwasher, and wipe down eating surfaces immediately after eating. Doing this will prevent pests from making their way to your kitchen. You can also prevent pests by wiping surfaces and problematic areas with 50% vinegar, dish soap, and water. You can also use a salt and water solution to directly wipe the surface and spray on bugs.  2. Buy and stock food in cans and glass jars When you shop for your groceries, select products that come in cans. Most pests can chew through paper, cardboard boxes, and even thin plastic containers. If you stock the pantry, it will be better to stock cans or glass jars of food because pests rarely chew through these materials.  3. Check on the kitchen pipes  Another way to prevent insects from coming into your home is to check the kitchen pipes. If the holes are bigger than the pipes, you have to cover them properly with sealant to prevent mice and other pests from using them as the entryway to your home. You can do it yourself by using caulking agents, glue, or expanding foam to cover such spaces, however, you can ask a pest control company to eliminate insects and pests professionally and safely in the long term. 4. Take out the trash If you don’t have waste disposal in your sink, you must take out the trash regularly. You also have to use top-grade trash bags to keep pests away.  Endnotes Keeping pests away from your kitchen can be challenging. However, with a few simple methods, you can ensure your kitchen is as clean as possible. Read Also: How To Choose the Right Brass Range Hood for Your Kitchen Know About The Type Of Kitchens According To Different Size Different Styles of Kitchen Cabinets

READ MOREDetails