


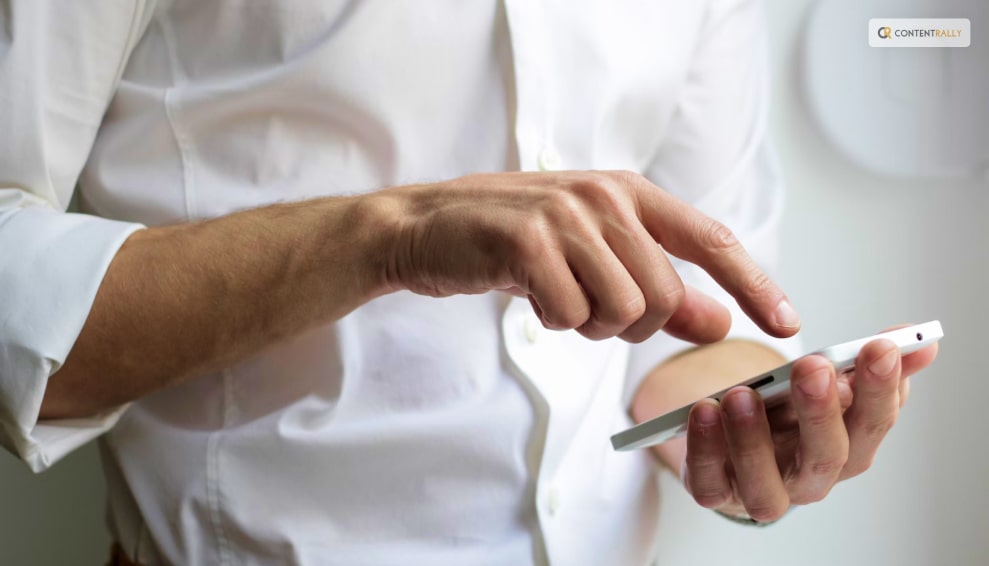
Want to know how to call someone who blocked you? Well, trust me, you are not the only one doing so!
In the realm of relationships, rocky times are as inevitable as software updates on your smartphone. Disagreements, arguments, and misunderstandings are the glitches that pop up in the code of any human connection. Face it, no matter how much love you share, agreeing 100% of the time is simply impossible.
Parents and children clash, siblings squabble, best friends have falling-outs, and even happily married couples lock horns from time to time. It’s all part and parcel of the grand tapestry of life.
Unfortunately, sometimes these conflicts escalate to the point where one party decides they’re no longer “on speaking terms.” In today’s digital age, that often translates to a dreaded outcome: they block your number.
Keep scrolling down till the end to learn more about the same…
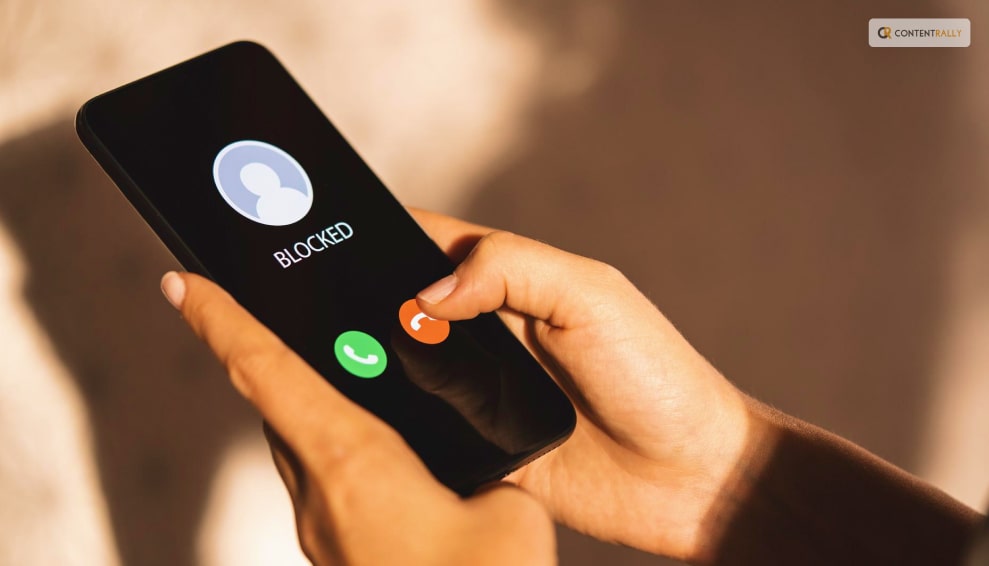
But First, How To Know If Someone Has Blocked Your Number?
Imagine this: you dial a friend’s number, eager to chat about the latest episode of your favorite TV show or share exciting news, but instead of the cheerful ringtone, you’re greeted with an eerie silence. You’ve been ghosted, and not in the trendy, playful way. You suspect you might have been blocked.
But how can you know for sure?
Let’s embark on a journey to uncover the telltale signs of a blocked number, in a casual and friendly tone.
1. Straight To Voicemail Every Time
One of the first hints that your number may be on someone’s blocklist is that your calls go straight to voicemail. It’s as if your calls are being mysteriously rerouted to a digital voicemail dungeon, bypassing their phone’s ringtone entirely. If this becomes a recurring theme when trying to reach someone, it’s a good indicator that they might be actively avoiding your calls.
2. The Perpetual Text Abyss
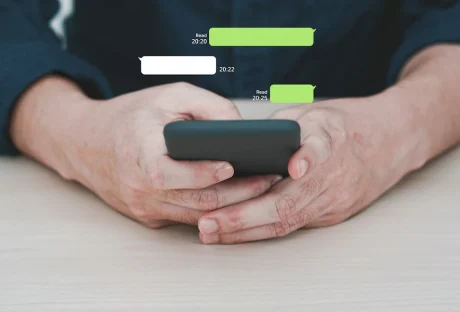
You’ve sent your friend a series of witty texts or heartwarming messages, but there’s not a single blue bubble in sight. It’s like your words have vanished into the digital void.
When someone has blocked your number, your text messages won’t be delivered, and you won’t see those reassuring read receipts. It’s like you’re texting into an alternate dimension where your words simply cease to exist.
3. Mysterious Disappearance From Social Media
In our interconnected world, social media is often the playground where we share our lives and keep in touch with friends. If someone has blocked your number, they might also choose to sever digital ties with you on platforms like Facebook, Instagram, or Twitter.
Suddenly, you notice their profile is nowhere to be found, and your friend count just dropped by one. It’s a social media ghosting that leaves you scratching your head.
4. The Ring And A Swift Hang-Up
Imagine you finally get through after multiple attempts, and their phone starts ringing. But before you can exhale a sigh of relief, it abruptly goes silent, and the call ends. It’s like a tease, leaving you with unanswered questions.
This behavior could be a result of call-blocking apps that instantly disconnect calls from blocked numbers. It’s a bit like being shut out at the door of a VIP party.
5. No Profile Picture Or Status Updates
If your friend has blocked your number on messaging apps like WhatsApp or Telegram, you may notice that their profile picture and status updates have vanished.
You’re left staring at a generic silhouette or a blank space where their witty status once was. It’s like a digital cloak of invisibility, leaving you to wonder what’s going on behind the scenes.
6. Mutual Friends Report Silence
In some cases, your mutual friends might be the ones to spill the beans. They may casually mention that your friend hasn’t been responding to their calls or messages either.
This could be a clue that your number is indeed blocked. After all, if it’s not just you experiencing the silence, there’s a pattern emerging.
7. The Subtle Social Snub
In the world of social media, a subtle snub could also be a sign. Your friend may continue posting and engaging with others but consistently ignores your comments or messages. It’s a virtual cold shoulder, and it stings just as much as the real thing.
8. The Final Frontier: Directly Asking
Sometimes, the best way to settle the mystery is the simplest one: just ask. If you suspect you’ve been blocked, reach out through an alternative method, like email or a different phone number, and express your concern politely.
Remember, communication is key in any relationship, and a sincere conversation can help clear the air and address any issues that might have led to the blocking in the first place.
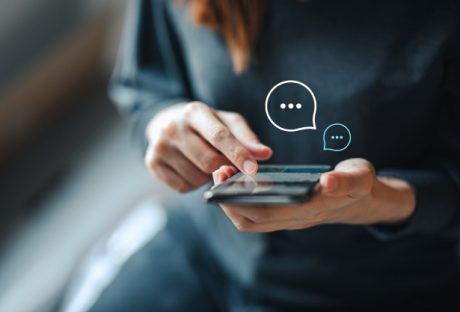
How To Call Someone Who Blocked You?
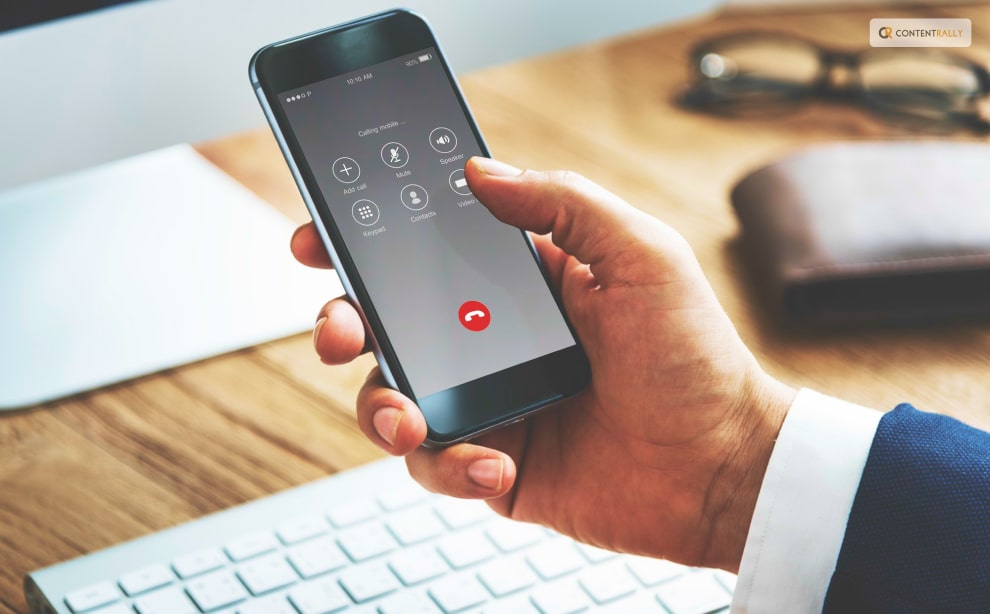
When you’re blocked, your calls divert straight to voicemail, and your heartfelt text messages remain undelivered. It feels like you’re shouting into the void, with no way to reach out, and they remain blissfully unaware of your attempts to reconnect.
But here’s the silver lining: blocking doesn’t always spell the end of the relationship. Sometimes, both parties just need some time and space to reflect on what transpired. After a cooling-off period, they may unblock you, paving the way for a much-needed heart-to-heart conversation.
In some cases, a sincere apology can mend fences. The real challenge, though, is how to apologize when your number is firmly on their block list.
Apologizing to someone who refuses to answer your calls or read your messages may seem impossible. Yet, owning up to your mistakes is often the right course of action. So, how do you go about it when they’ve blocked you?
Well, fear not, for there are a few clever tricks up your digital sleeve to reestablish contact:
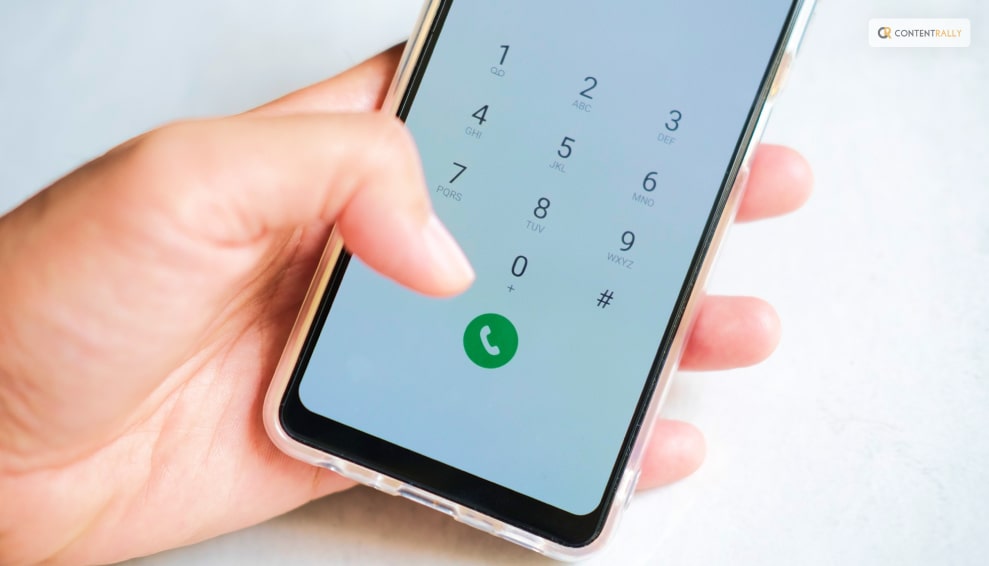
1. Use A Different Phone
Sometimes, simplicity reigns supreme. The most straightforward approach is to use a different phone to call the person who’s given you the digital cold shoulder. Phones can’t block individuals; they can only block specific numbers. Therefore, dialing from an unblocked number is a surefire way to get around the blockade.
While using a public pay phone used to be an option, they’re not as common these days. Instead, you could ask to borrow a work phone or even a business landline, though this may require some convincing.
A more effective and less complicated option is to seek help from a friend or family member. They likely know the person and the situation and may be willing to lend a hand, as long as it doesn’t entangle them in the feud.
2. Dial *67
An age-old technique for disguising your number involves dialing *67 before you make the call. This method has been around for decades, and it’s incredibly simple. All you have to do is input *67 before dialing the number. However, remember that you’ll need to enter their number manually, as you can’t select it directly from your contacts. When the call goes through, their Caller ID will display “Unknown” or “Private Number,” keeping your identity under wraps.
3. Disguise Your Caller ID
Both Apple and Android phones offer features to conceal your Caller ID information. By activating this setting, the recipient will see “Hidden” on their Caller ID, akin to dialing *67, but it automatically applies to every call you make. Here’s how to enable it:
For iPhone:
If you want to know how to call someone who blocked you on your iPhone, follow the steps below:
- Open the “Settings” app.
- Select the “Phone” option.
- Scroll down until you see the “Show My Caller ID” option.
- Slide the toggle to the “Off” position.
For Android:
If you want to know how to call someone who blocked you on Android, follow the steps below:
- Open the “Settings” app.
- Select the “Additional Settings” option.
- Tap the “Caller ID” option.
- Choose the “Hide Number” option.
4. Change Your Phone Number
Admittedly, this one’s a bit extreme. Changing your phone number just to bypass a block is quite the hassle, involving updating contacts and contact information across the board.
However, it’s an option worth mentioning, even if it’s not the most practical for a single phone call. Changing your phone number is relatively straightforward and usually free. Just call your service provider and request a new number.
Keep in mind that once you change it, there’s no turning back—you’ll permanently lose access to your old number.
How To Call Someone Who Has Blocked You On WhatsApp?
In this age of digital communication, WhatsApp stands as one of the pillars of staying connected. But what happens when the digital door gets slammed in your face, and you find yourself blocked by someone you need to reach? Fear not, for we’re about to embark on a journey to decode the mysteries of calling someone who has blocked you on WhatsApp.
The Art Of WhatsApp Blocking
First, let’s decode what happens when you’re blocked on WhatsApp. You’ll notice a distinct lack of updates on their profile picture, a blank last-seen status, and no more read receipts for your messages. It’s like they’ve vanished into the digital ether. But don’t despair; there are ways to pierce this virtual veil.
Try Sending A Message
Believe it or not, sometimes a blocked contact can still receive your messages. They won’t see them in real time, but the messages will be there waiting when they eventually unblock you. So, go ahead and craft that heartfelt message or apology, and press send. It’s like sending a message in a digital bottle, waiting to wash up on their shore someday.
The Unblocking Game
Here’s where the real strategy comes into play. Often, those who block you might reconsider their decision with time. Be patient; give them the space they need to cool off and reflect. It’s like waiting for a cloudy sky to clear – eventually, the sun will shine again.
Change Your Number
Now, this one’s a little more drastic. Changing your phone number can be a last resort. It’s like getting a new identity in the digital world. While it guarantees a fresh start, it’s not without its complications. You’ll need to inform everyone in your contacts about the change, update your accounts, and wave goodbye to your old number forever.
Getting blocked on WhatsApp might feel like a digital slap in the face, but there are ways to navigate around it. Be patient, craft thoughtful messages, and remember that even in the virtual realm, time can heal wounds. While changing your number is an option, it’s a last-ditch effort. So, whether you’re seeking reconciliation or just trying to reconnect, don’t let a blocked contact hold you back in the WhatsApp world.
Things To Keep In Mind While You Try To Reconnect!
Now, before you embark on your mission to reconnect, there are a few crucial considerations. Here are some of the things that you should keep in mind while you try to call someone who has blocked your number:
1. Think About Why They Blocked You:
Remember that blocking doesn’t typically happen by accident. The person who blocked you did so deliberately for a reason. Reflect on what led to this action and whether a call will genuinely resolve the issue. Surprising someone who blocked you might not yield the desired outcome.
2. Beware of Legal Ramifications:
The Truth In Caller ID Act of 2009 made it illegal to use Caller ID spoofing technology to harm or defraud someone. Depending on how the person who blocked you feels, your attempts to contact them through unconventional means could be deemed harassment. Ensure that reaching out won’t lead to legal trouble.
3. Consider Alternative Communication:
While a phone call might be the most direct approach, it’s not always the most effective or considerate one. Explore other avenues, such as asking a mutual friend to mediate, using social media or email, or even sending a heartfelt handwritten letter. These methods respect their need for space and provide them with something to ponder while maintaining a less intrusive approach.
Wrapping It Up!
Reconnecting with someone who’s blocked your number may seem like a daunting task, but it’s not impossible. You have several strategies at your disposal, each with its own set of pros and cons. However, before attempting any of these methods, it’s wise to consider whether reaching out is genuinely in the best interest of all parties involved.
Sometimes, the best course of action is to exercise patience and allow time to heal wounds, knowing that they can reach out when they’re ready. After all, respect for their boundaries and feelings should be your top priority.
In case you wanted to know how to call someone who blocked you, I hope that this blog has been of help to you. If there are any other queries related to the same, please feel free to let me know. All that you need to do is scroll down till you reach the bottom of the page. Then leave your comments and queries in the box below. And I will be there to answer them all for you!
Learn More About: